Home>Production & Technology>Stereo>How To Wire A Boat Stereo
Stereo
How To Wire A Boat Stereo
Modified: January 22, 2024
Learn how to properly wire a boat stereo for an enhanced audio experience on the water. Get expert tips and step-by-step instructions for installing and connecting your stereo system.
(Many of the links in this article redirect to a specific reviewed product. Your purchase of these products through affiliate links helps to generate commission for AudioLover.com, at no extra cost. Learn more)
Table of Contents
Introduction
Welcome to the world of boat stereos, where you can enjoy your favorite music while cruising on the water. Whether you’re a passionate angler, a water sports enthusiast, or simply love spending time on your boat, having a high-quality stereo system can enhance your overall boating experience. A boat stereo not only provides entertainment but can also serve as a source of information or emergency communication while out on the water.
Setting up a boat stereo may seem like a daunting task, especially if you’re not familiar with electrical systems. However, with the right guidance and a little bit of patience, you can easily wire a boat stereo yourself. In this article, we will walk you through the step-by-step process of wiring a boat stereo, ensuring that you have clear instructions to follow.
Before we dive into the details, it’s essential to note that safety should be your top priority when working with electrical equipment. Ensure that the boat’s main power source is turned off before you begin any wiring procedures. Additionally, familiarize yourself with the specific instructions provided by your stereo manufacturer, as they may have model-specific requirements or recommendations.
Now, let’s gather the necessary equipment and get ready to wire your boat stereo!
Step 1: Gather the necessary equipment
Before you start wiring your boat stereo, it’s important to gather all the necessary equipment. This will ensure that you have everything you need on hand and save you time and frustration later on. Here are the essential items you’ll need:
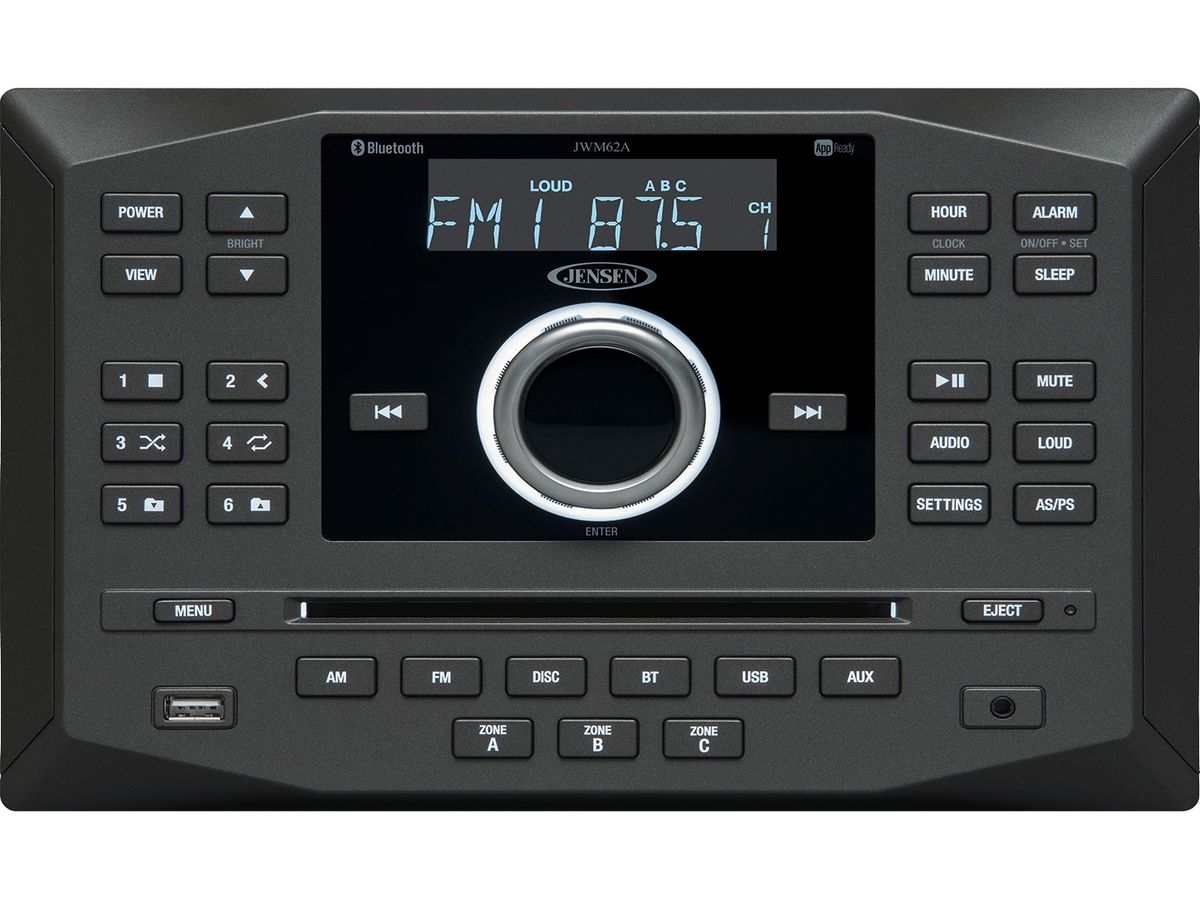
- Marine Stereo: Choose a marine-grade stereo designed specifically for boat use. These stereos are built to withstand the harsh marine environment, including exposure to water, UV rays, and salt air.
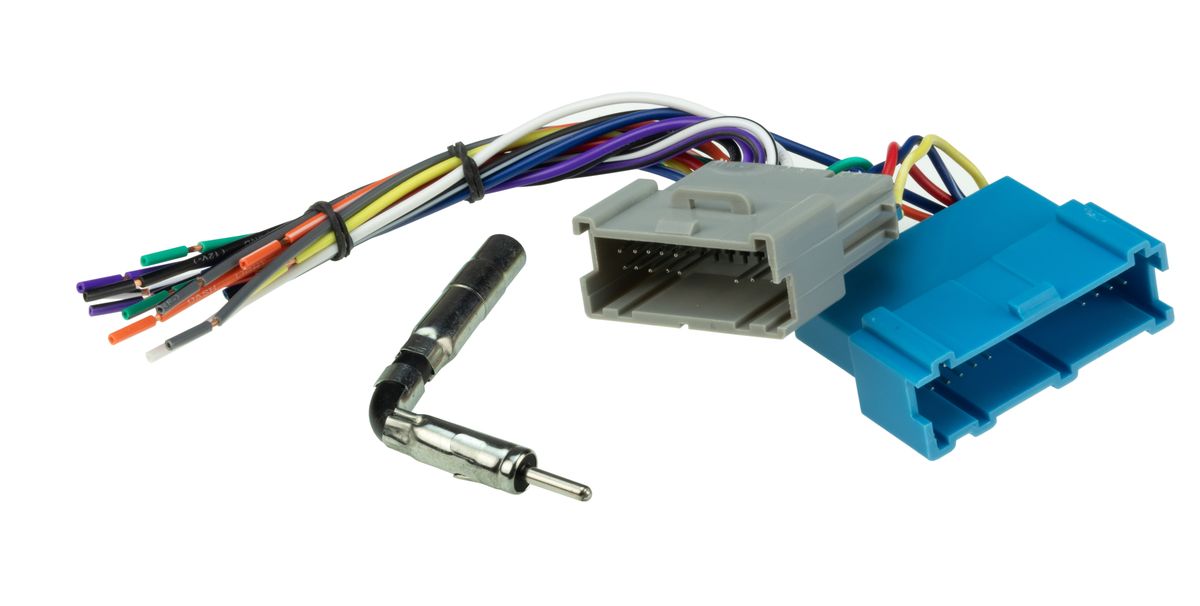
- Wiring Harness: A wiring harness is a pre-wired set of cables and connectors that simplifies the installation process. Make sure to get a wiring harness that is compatible with your boat and stereo model.
- Power and Ground Wires: These wires provide the necessary electrical connection for your stereo. Use marine-grade wires that are the appropriate gauge for your stereo’s power requirements.
- Speakers: Choose marine-grade speakers that are durable and can handle the harsh marine conditions. Consider the size, power rating, and compatibility with your stereo to ensure optimal sound quality.
- Speaker Wire: You’ll need speaker wire to connect your speakers to the stereo. Choose a wire that is compatible with the power and distance requirements of your setup.
- Mounting Hardware: Depending on the installation location, you may need screws, brackets, or other mounting hardware to securely install your stereo and speakers.
- Fuse Holder and Fuse: It’s crucial to protect your stereo system from electrical overloads by using a fuse holder and appropriate fuse. Consult your stereo’s manual for the recommended fuse size.
- Tools: Gather the necessary tools such as wire cutters, wire strippers, crimping tool, soldering iron (if necessary), electrical tape, and zip ties to ensure a clean and secure installation.
Make a checklist and double-check that you have all the items mentioned above before you begin the installation process. Having everything ready will make the wiring process smoother and more efficient.
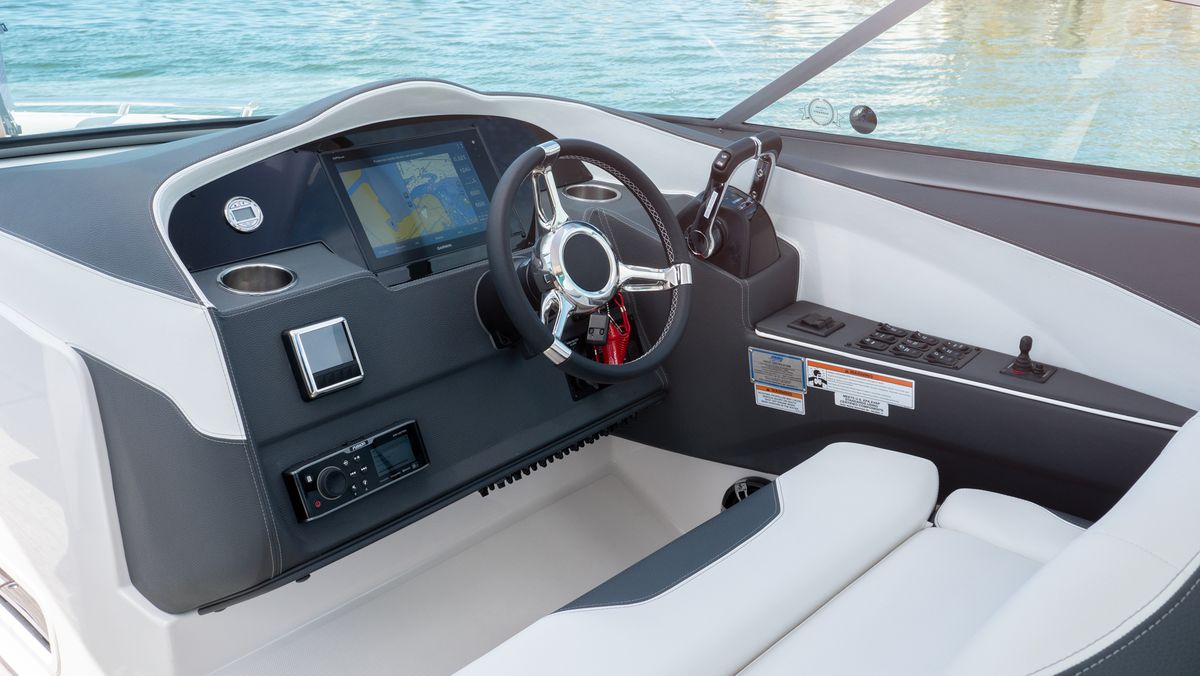
Step 2: Determine the location for the stereo
Choosing the right location for your boat stereo is crucial for both convenience and sound quality. Consider the following factors when determining the placement:
- Accessibility: Select a location that is easily accessible for the boat operator and passengers. It should be within reach and easy to control while on the water.
- Protection from the elements: The location should be protected from direct exposure to water, sunlight, and extreme weather conditions. Look for areas where the stereo will be shielded from splashes and potential water damage.
- Visibility: Ensure that the stereo display can be easily seen and read, even in bright sunlight. Consider any glare or obstructed views that may affect readability.
- Ventilation: Electronics can generate heat, so choose a location that allows for proper ventilation to prevent overheating. Avoid enclosed spaces or areas with limited airflow.
- Wiring accessibility: Select a location that provides easy access for running wiring and connecting the stereo components. This will make the installation process more straightforward.
- Speaker placement: Consider the placement of speakers and their proximity to the chosen stereo location. Ensure that the sound can be evenly distributed throughout the boat and that there are no obstructions that could affect audio quality.
Based on these considerations, common locations for boat stereos include the dashboard, overhead consoles, or cabin bulkheads. However, every boat is unique, and you may need to find a location that suits your specific vessel and personal preferences.
Once you have identified the ideal location, ensure that there is enough space to mount the stereo securely. Use the provided mounting hardware and follow the manufacturer’s instructions for an optimal installation. Take into account any required clearances and ensure that the stereo is mounted level and stable.
Remember, the location you choose will impact your overall audio experience, so take your time to find the perfect spot for your boat stereo.
Step 3: Prepare the wiring harness
Before you start connecting the stereo, it’s important to prepare the wiring harness. The wiring harness acts as a bridge between the stereo and the boat’s electrical system, simplifying the installation process. Follow these steps to prepare the wiring harness:
- Read the instructions: Familiarize yourself with the wiring harness instructions provided by the manufacturer. This will ensure that you understand the specific connections and color codes.
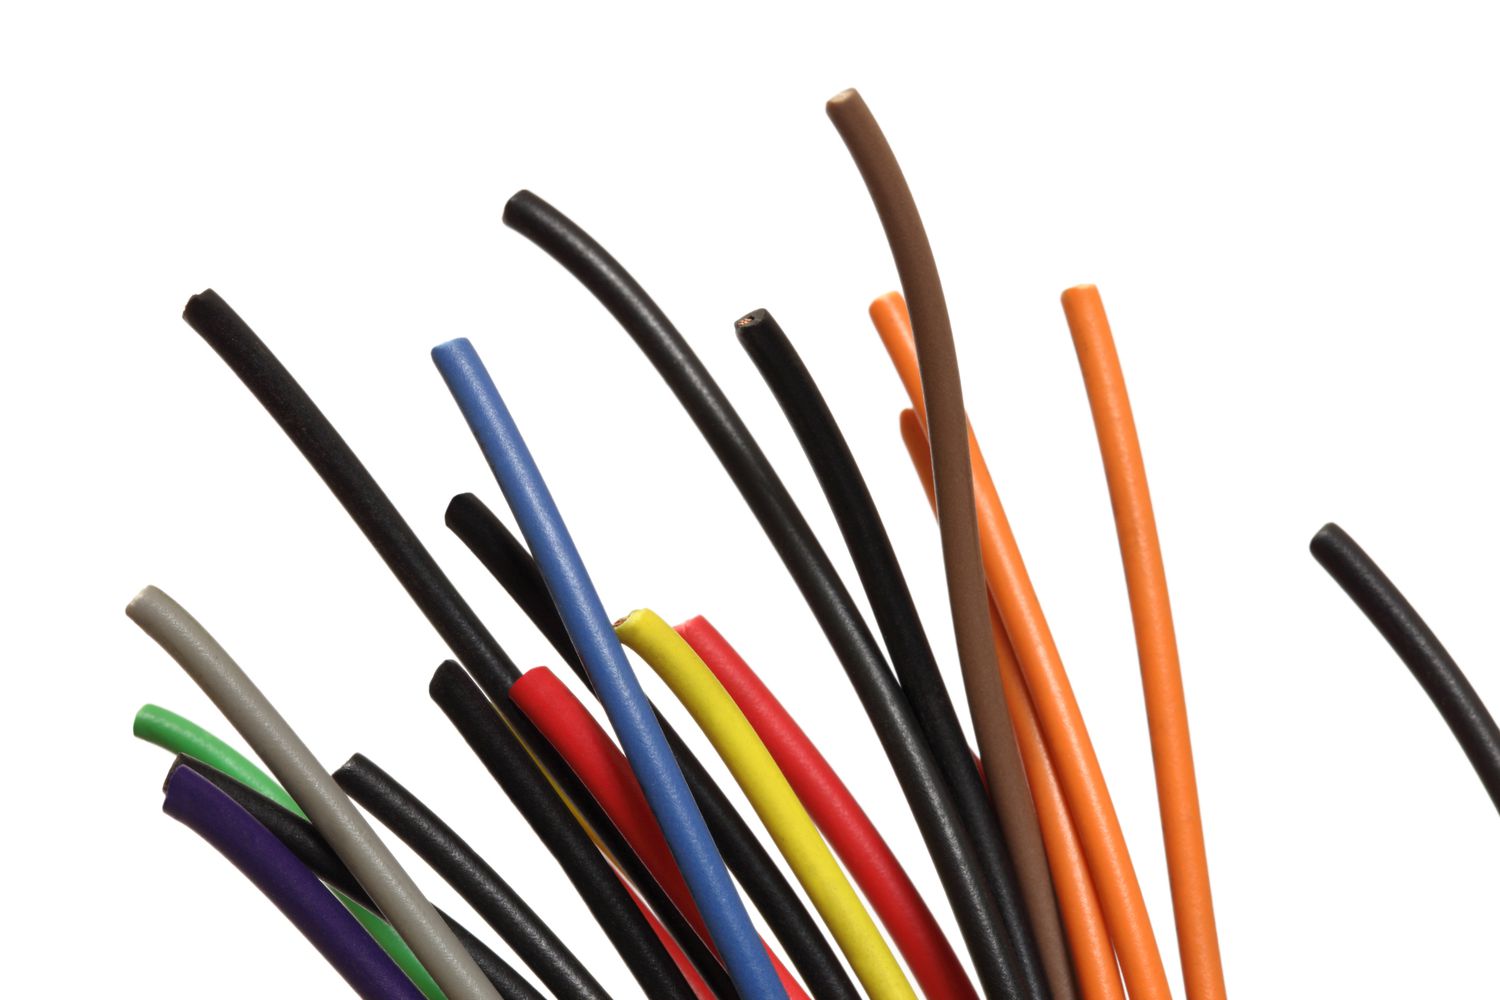
- Match the wires: Identify the wires on the wiring harness that correspond to the power, ground, speaker, and accessory connections. Most wiring harnesses are color-coded, making it easier to match them with the corresponding wires on the stereo.
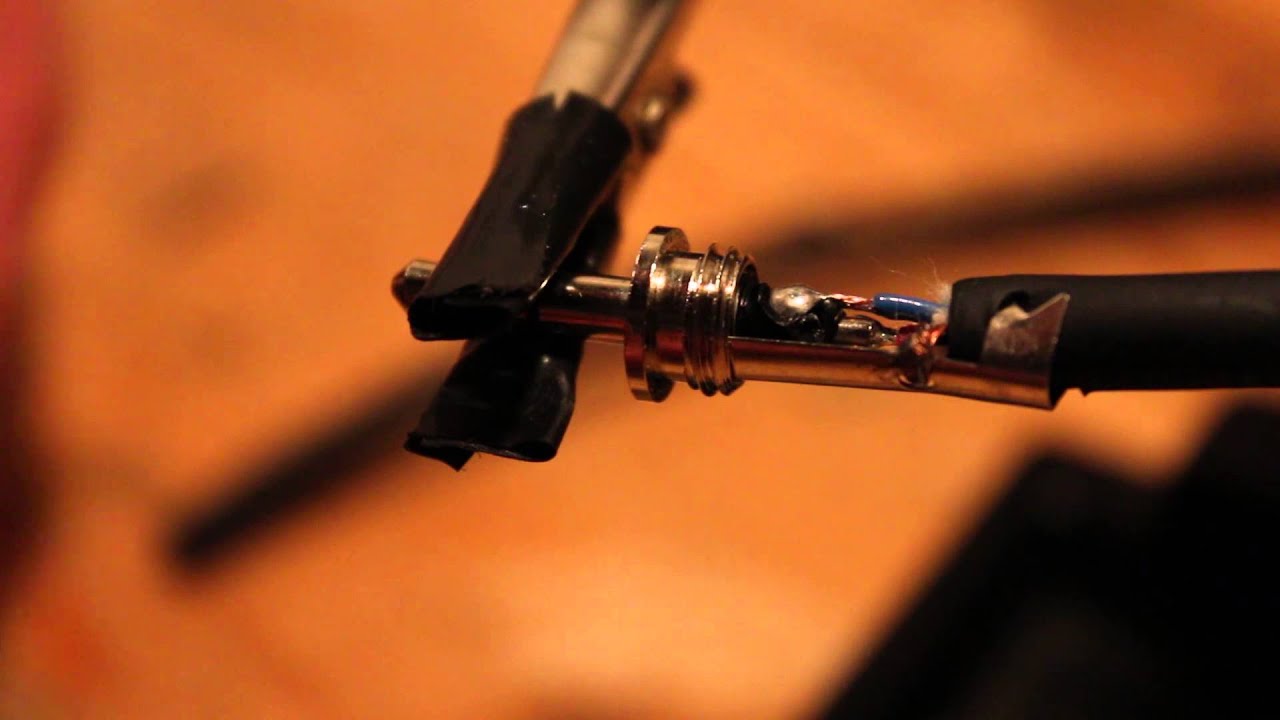
- Strip the wires: Use wire strippers to remove a small section of insulation from the end of each wire. Be careful not to cut into the wire strands. The stripped length should be sufficient to make a secure connection.
- Crimp the connectors: Attach the appropriate connectors to each wire, either by crimping them or soldering them in place. Crimp connectors provide a secure and reliable connection between the wiring harness and the stereo.
- Label the connections: To avoid confusion during the installation process, label each wire and connector with the corresponding connection it will be attached to, such as power, ground, or speaker channels.
By preparing the wiring harness in advance, you will save time and ensure a more organized installation process. Once the wiring harness is ready, you can move on to connecting the power and ground wires.
Step 4: Connect the power and ground wires
Connecting the power and ground wires is a crucial step in wiring your boat stereo system. Follow these steps to ensure a secure and reliable connection:
- Locate the boat’s power source: Before connecting the power wire, locate the boat’s power source. This is typically the boat’s battery or a designated power distribution panel. Consult your boat’s manual for specific instructions on locating the power source.
- Turn off the power: Before making any electrical connections, ensure that the boat’s main power switch is turned off. This will prevent any accidental electrical shocks or damage to the stereo system.
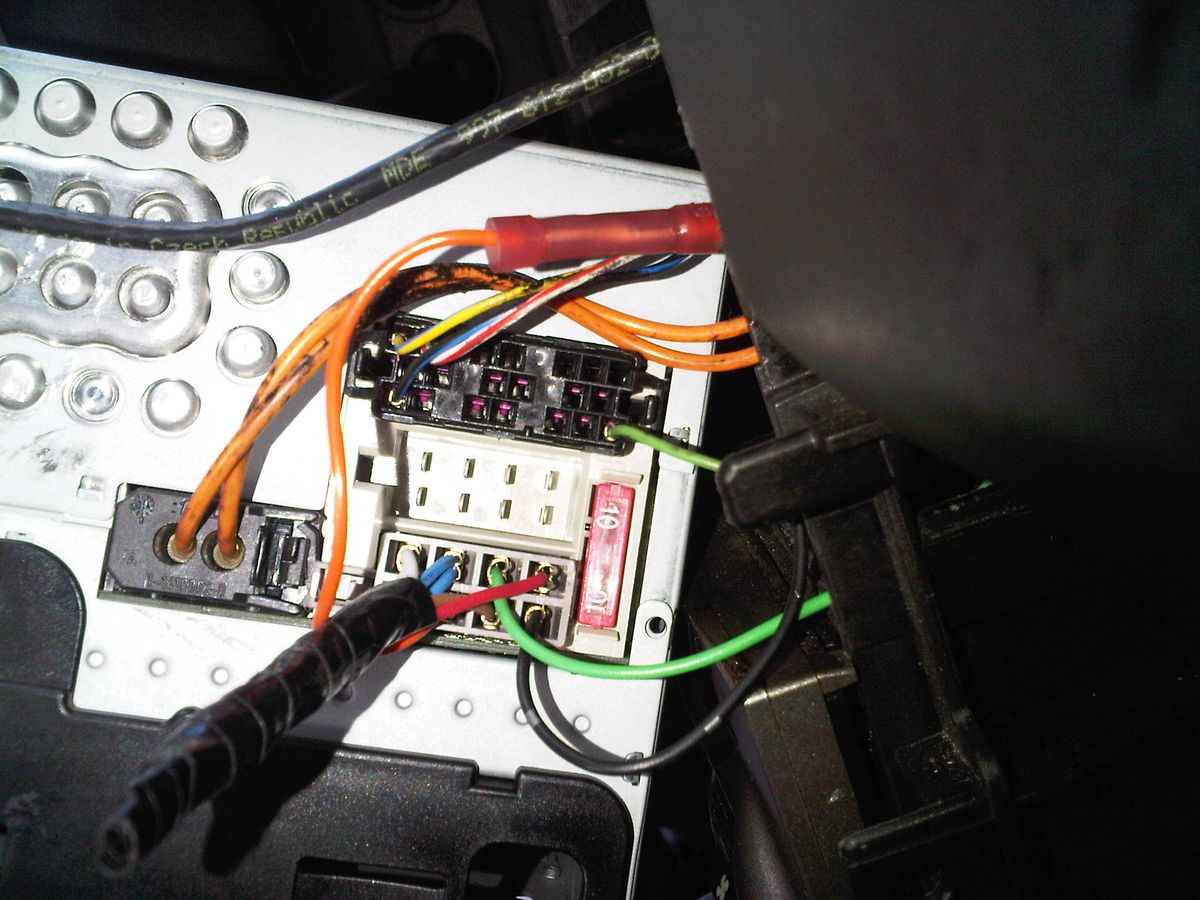
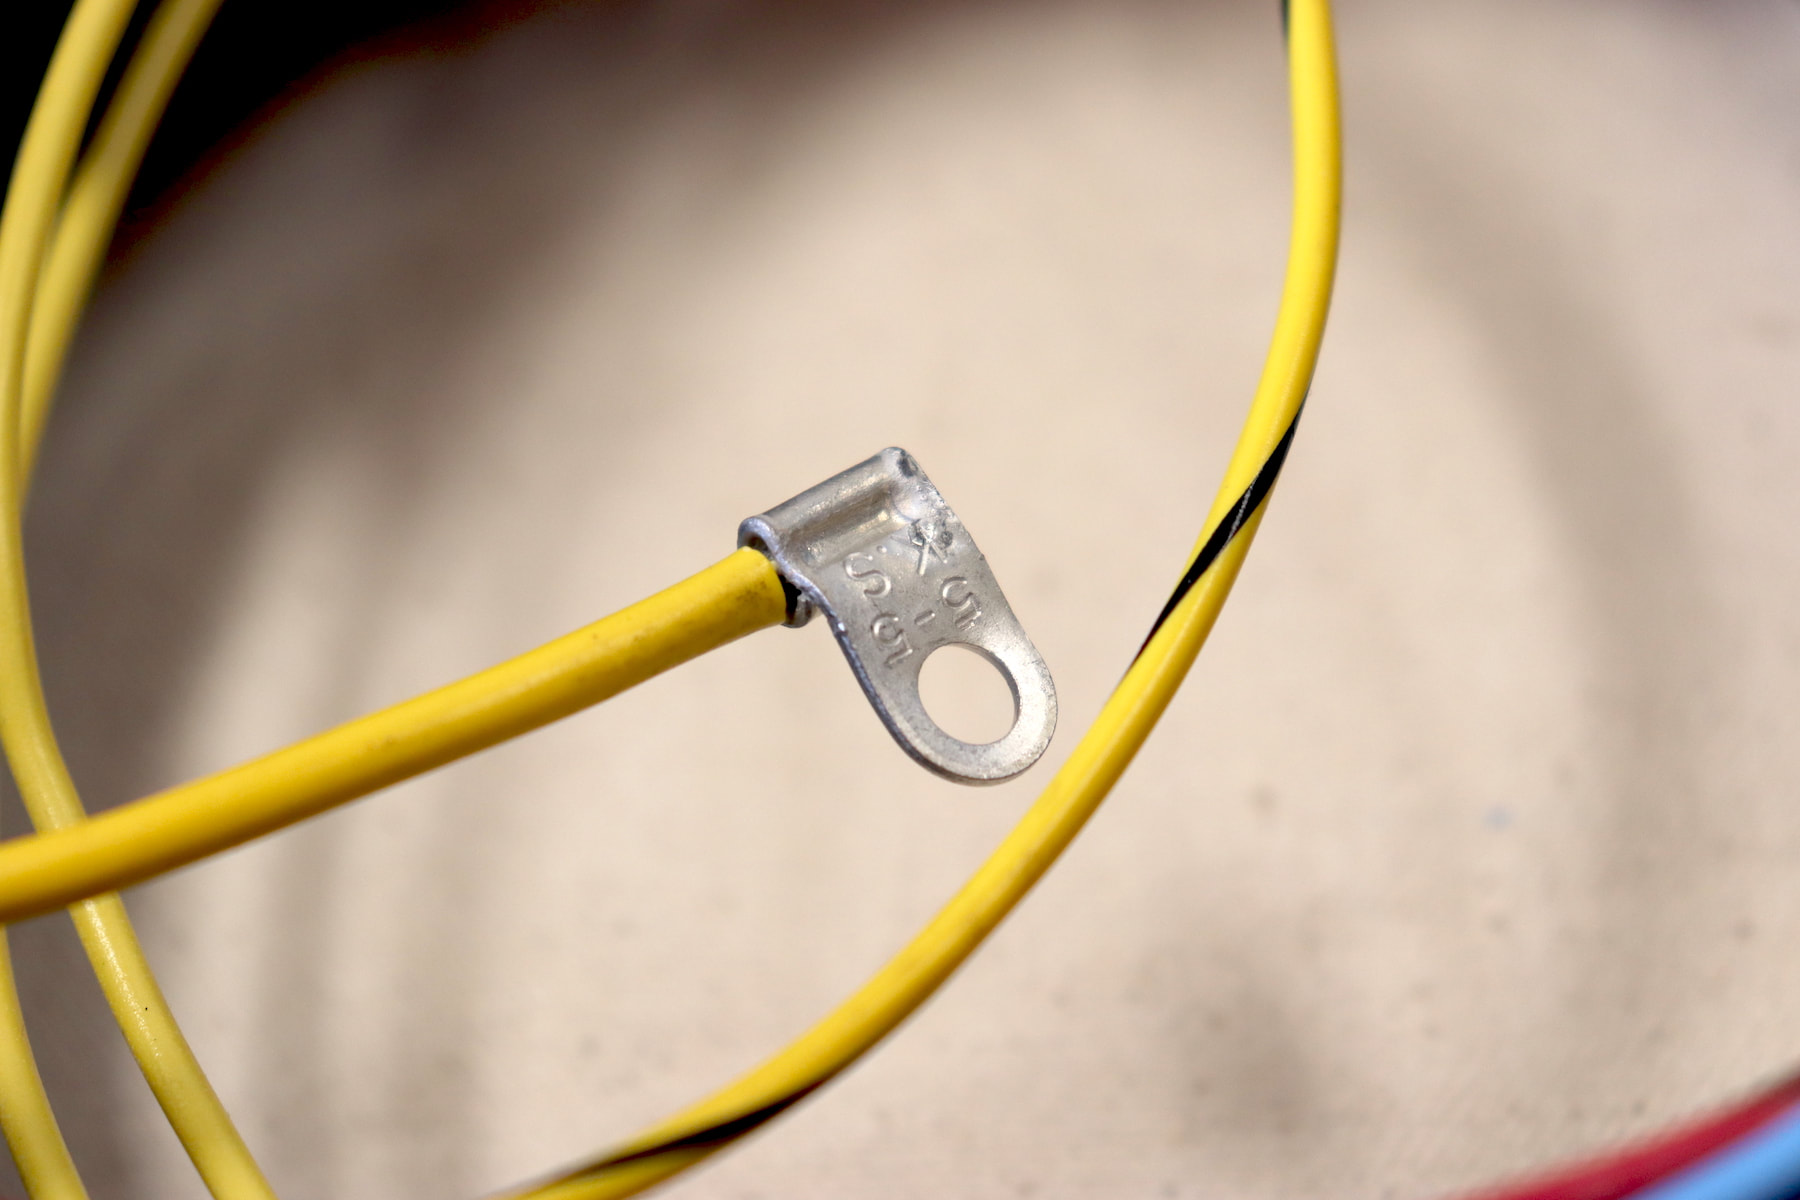
- Connect the power wire: Take the red wire from the wiring harness and connect it to the positive terminal of the boat’s power source. Use a ring terminal or appropriate connector to ensure a secure and tight connection. If necessary, crimp or solder the connection for added security.
- Connect the ground wire: Take the black wire from the wiring harness and connect it to a suitable grounding point on the boat. This can be a metal part of the boat’s structure or a designated grounding bus. Ensure that it provides a solid connection for proper grounding. Again, use a ring terminal or appropriate connector for a secure connection.
- Secure the connections: Once the power and ground wires are connected, use electrical tape or heat shrink tubing to insulate the exposed connections. This will protect them from moisture and minimize the risk of electrical shorts.
- Verify the connections: Before proceeding, double-check that the power and ground connections are secure and properly insulated. This will help prevent any potential issues with the stereo system’s performance or electrical safety.
Once the power and ground wires are successfully connected, you can move on to connecting the speakers and any additional components to complete your boat stereo installation.
Step 5: Connect the speakers
Connecting the speakers is an essential step in wiring your boat stereo system. Here’s how you can do it:
- Determine speaker placement: Decide on the locations where you want to install your speakers. Consider factors such as sound quality, balance, and overall aesthetics of your boat. Ensure that the chosen locations have enough space and are suitable for the size and mounting requirements of your speakers.
- Measure and cut the speaker wire: Measure the distance between the stereo and each speaker location. Cut the speaker wire accordingly, ensuring you have enough wire to reach each speaker with some slack for flexibility during installation.
- Strip the wire ends: Strip a small section of insulation from each end of the speaker wire. This will expose the wire strands for a proper connection.
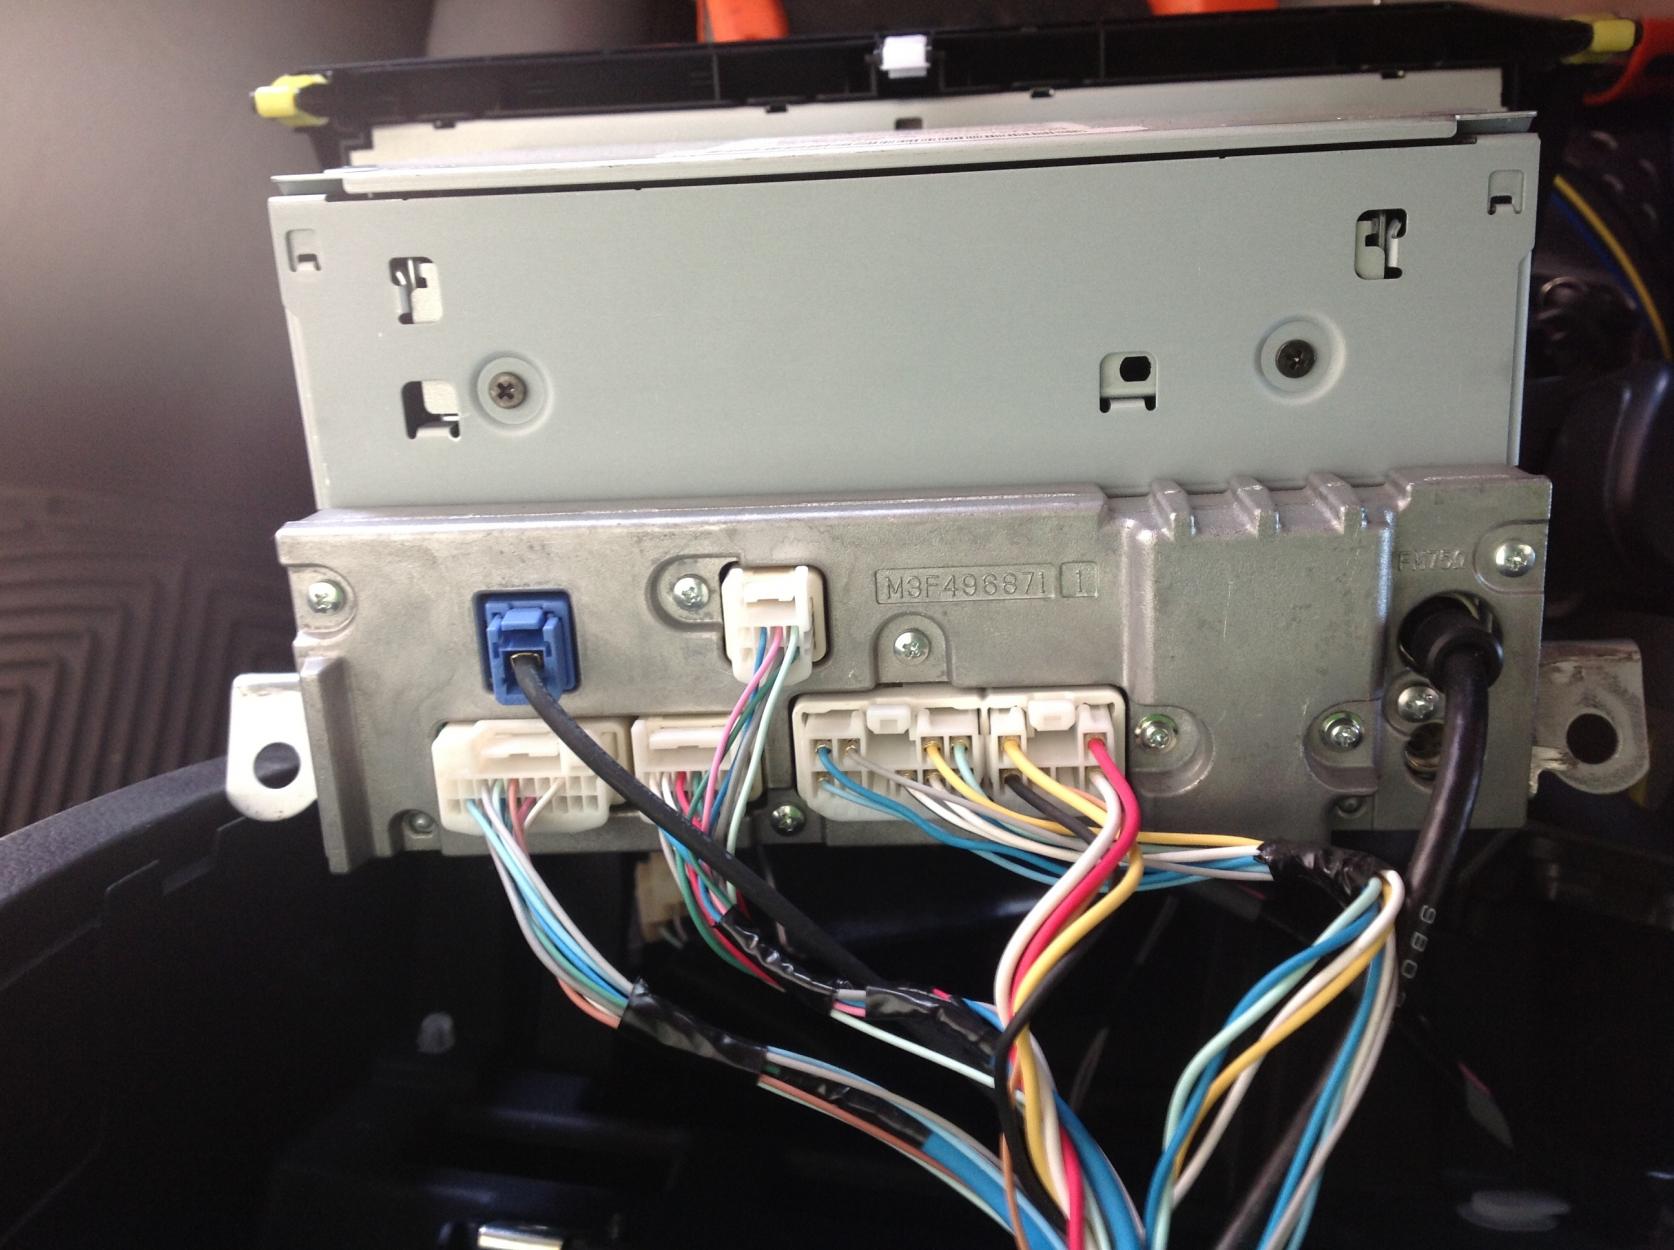
- Connect the speaker wire to the stereo: Identify the positive (+) and negative (-) terminals on the back of the stereo or the wiring harness. Connect the corresponding positive and negative wires from the speaker wire to these terminals. Ensure a secure connection by either using screw terminals or crimp connectors.
- Connect the speaker wire to the speakers: Similarly, identify the positive (+) and negative (-) terminals on each speaker. Connect the corresponding positive and negative wires from the speaker wire to these terminals. Again, use screw terminals or crimp connectors to secure the connections.
- Secure the connections: Once all the speaker connections are made, double-check their tightness and security. Use electrical tape or heat shrink tubing to insulate and protect the exposed wire connections.
- Mount the speakers: Install the speakers in their designated locations using the mounting hardware provided. Ensure that they are securely fastened and positioned correctly for optimal sound projection.
After connecting and mounting all the speakers, your boat stereo system is one step closer to completion. However, if your stereo setup includes additional components like amplifiers or subwoofers, you’ll need to connect them as well.
Step 6: Connect any additional components
If your boat stereo system includes additional components such as amplifiers, subwoofers, or external audio sources, this step is where you’ll connect them. Here’s how:
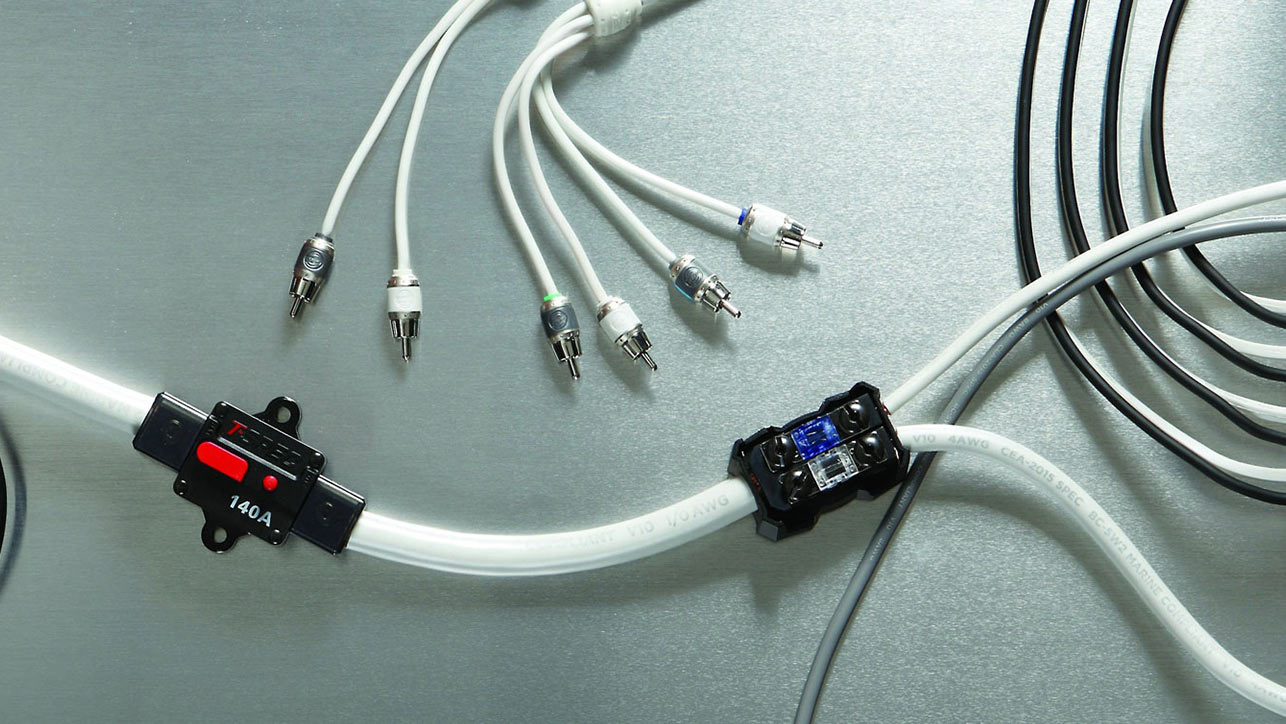
- Amplifiers: If you have an amplifier, locate the amplifier’s input connections. Connect the appropriate RCA cables from the stereo’s preamp outputs to the amplifier’s input jacks. Ensure that you match the left and right channels correctly. Additionally, connect the amplifier’s power and ground wires to the boat’s power source, following the same procedures as for the stereo.
- Subwoofers: If you have subwoofers, identify the subwoofer outputs on your stereo or amplifier. Connect the subwoofer cables to these outputs, ensuring proper polarity. Then, connect the other end of the cables to the corresponding input jacks on the subwoofers.
- Audio sources: If you have external audio sources such as MP3 players or Bluetooth receivers, identify the auxiliary or Bluetooth input connections on the stereo. Connect the appropriate audio cables to these inputs and to the corresponding outputs on the external device.
- Verify and secure connections: Double-check all your connections to ensure they are secure and properly insulated. Use cable ties or wire clips to organize and secure any loose cables, preventing them from getting tangled or snagged during use or storage.
During this step, it’s important to consult the instructions provided with each component to ensure correct and optimal connections. Taking the time to properly connect any additional components will help you achieve the desired audio performance and maximize your boat stereo system’s capabilities.
Step 7: Test the stereo
Once you have completed the wiring and connections for your boat stereo system, it’s time to test it to ensure everything is functioning correctly. Here’s how to do it:
- Turn on the power: Turn on the boat’s main power switch to supply power to the stereo system. Ensure that the power switch for the stereo itself is also in the “on” position.
- Adjust the volume: Gradually increase the volume on the stereo to a moderate level. Ensure that you can hear sound coming from all speakers. If not, check your connections and ensure that everything is properly wired.
- Test different audio sources: If your stereo system has multiple audio sources such as AM/FM radio, CD player, or Bluetooth, switch between these sources to ensure they are working correctly. Verify that you can hear sound and control the functions of each source.
- Check the equalizer and balance: Adjust the equalizer settings to your preference and test the balance control to ensure that sound is evenly distributed between the speakers.
- Test the additional components: If you have connected amplifiers, subwoofers, or other external audio sources, check that they are functioning properly. Adjust their settings as needed and verify that they are producing the desired audio output.
- Make any necessary adjustments: If you detect any issues or inconsistencies in the sound quality or functionality, troubleshoot the problem or consult the manufacturer’s instructions for guidance. It may be necessary to revisit your connections, adjust settings, or seek professional assistance.
By thoroughly testing your boat stereo system, you can ensure that it is performing up to your expectations and delivering the best audio experience on the water.
Conclusion
Congratulations! You have successfully wired your boat stereo system and are now ready to enjoy your favorite music, podcasts, or radio stations while out on the water. By following the step-by-step instructions provided in this guide, you have learned how to gather the necessary equipment, determine the ideal location for your stereo, prepare the wiring harness, connect the power and ground wires, attach the speakers, connect any additional components, and test the stereo system.
Remember, safety should always be a top priority when working with electrical equipment. Ensure that you have turned off the boat’s main power source before starting any wiring procedures, and follow the manufacturer’s instructions for your stereo and other components.
By making informed choices about the location of your stereo, the quality of your equipment, and the proper wiring techniques, you can create a boat stereo system that delivers exceptional sound quality, convenience, and durability. Take the time to maintain and care for your stereo system, protecting it from exposure to water, UV rays, and extreme weather conditions, to ensure its longevity.
Now, crank up the volume, sit back, and enjoy the music as you navigate the waters with a top-notch boat stereo system!