Home>Production & Technology>Surround Sound>How Do You Restore An Onkyo Surround Sound Receiver To Default Setting
Surround Sound
How Do You Restore An Onkyo Surround Sound Receiver To Default Setting
Published: December 23, 2023
Learn how to restore your Onkyo surround sound receiver to its default settings and get your audio system back to its optimal performance.
(Many of the links in this article redirect to a specific reviewed product. Your purchase of these products through affiliate links helps to generate commission for AudioLover.com, at no extra cost. Learn more)
Table of Contents
Introduction
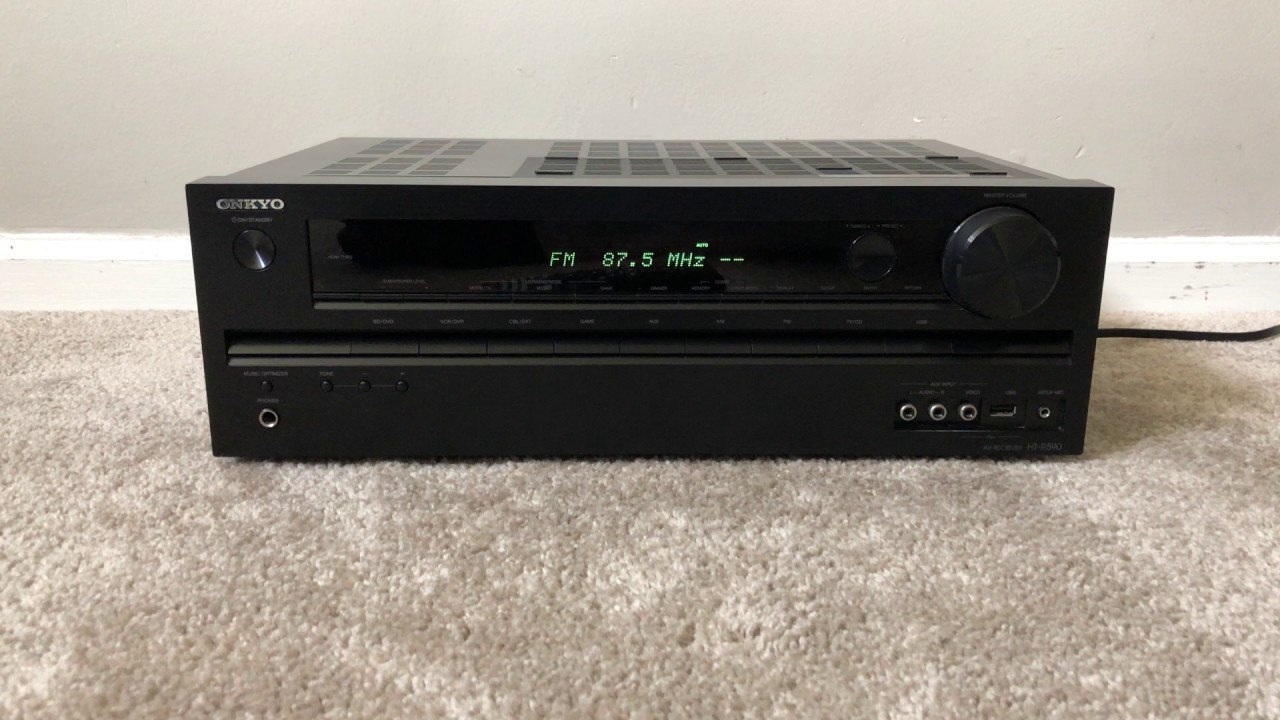
Welcome to the world of surround sound! If you’re a true audio enthusiast, you’ve probably invested in an Onkyo surround sound receiver to bring the cinematic experience to your living room. These receivers are known for their exceptional audio quality and advanced features, allowing you to immerse yourself in a truly captivating soundstage.
However, there may come a time when you need to restore your Onkyo surround sound receiver to its default settings. This could be due to a variety of reasons, such as troubleshooting audio issues, fixing incorrect settings, or simply starting fresh with a clean slate. Regardless of the reason, restoring your receiver to its default settings can often resolve these issues and get your audio system back on track.
In this article, we will guide you through the process of restoring an Onkyo surround sound receiver to its default settings. Whether you’re a beginner or a seasoned audio enthusiast, you’ll find step-by-step instructions to ensure a smooth and hassle-free restoration process.
Before we dive into the steps, it’s important to note that restoring an Onkyo surround sound receiver to its default settings will erase all user-defined settings and configurations. This includes speaker levels, audio presets, network settings, and any other customized preferences. Therefore, it’s crucial to make a note of all your settings or take pictures before undertaking the restoration process to easily reconfigure them later.
Now that you’re familiar with the purpose and implications of restoring your Onkyo surround sound receiver, let’s jump right into the steps to bring your audio system back to its factory defaults.
Background Information
Before we delve into the step-by-step process of restoring an Onkyo surround sound receiver to its default settings, it’s important to understand why and when you might need to perform this action.
There are several scenarios where restoring your Onkyo surround sound receiver to its default settings can be beneficial. Here are a few common ones:
- Troubleshooting Audio Issues: If you’re experiencing strange audio behavior, such as distorted sound, audio dropouts, or incorrect speaker assignments, restoring the receiver to its default settings can often resolve these issues. It clears any potential software glitches or conflicting settings that might be causing the problem.
- Incorrect Settings: Often, users unintentionally change important settings or modes that negatively impact the audio performance. Restoring the receiver to its default settings allows you to start fresh and ensure all the settings are set to their optimal values.
- Upgrading or Replacing Components: If you’re upgrading or replacing components in your audio system, such as speakers or subwoofers, restoring the receiver to its default settings can help recalibrate the system for the new components. This ensures optimal audio performance and compatibility.
- Selling or Donating: If you’re planning to sell or donate your Onkyo surround sound receiver, restoring it to its default settings ensures that none of your personal information or custom configurations are left behind.
Restoring an Onkyo surround sound receiver to its default settings is relatively straightforward, but it’s important to remember that this action will erase all user-defined settings. Therefore, it’s crucial to document or photograph your current settings so that you can easily reconfigure them after the restoration process.
Now that you have a clear understanding of why and when you might need to restore your Onkyo surround sound receiver, let’s move on to the step-by-step process of accessing the setup menu and performing the restoration.
Step 1: Accessing the Setup Menu
The first step in restoring an Onkyo surround sound receiver to its default settings is accessing the setup menu. This menu allows you to navigate through various configuration options and make changes to your receiver’s settings.
Here’s how to access the setup menu on your Onkyo surround sound receiver:
- Ensure that your receiver is powered on and connected to your TV or display.
- Using the remote control that came with your receiver, press the “Setup” or “Home” button. This button is typically located towards the top of the remote.
- You should now see the setup menu displayed on your TV or display. The setup menu provides a range of options for configuring various aspects of your receiver, including audio settings, network settings, and input/output assignments.
By following these steps, you will be able to access the setup menu on your Onkyo surround sound receiver. Once you have accessed the setup menu, you can proceed to the next step, which involves selecting the “Restore Default” option to initiate the restoration process.
It’s important to note that the exact method of accessing the setup menu may vary slightly depending on the model of your Onkyo surround sound receiver. If you’re having trouble accessing the setup menu, consult the user manual or contact Onkyo customer support for assistance.
Now that you’re in the setup menu, let’s move on to the next step of restoring your Onkyo surround sound receiver to its default settings: selecting the “Restore Default” option.
Step 2: Selecting the “Restore Default” Option
After accessing the setup menu on your Onkyo surround sound receiver, the next step in restoring it to its default settings is selecting the “Restore Default” option. This option allows you to reset all the settings on your receiver to the original factory defaults.
Follow these steps to select the “Restore Default” option:
- Using the navigation buttons on your remote control, scroll through the options in the setup menu until you find the “Restore Default” or “Reset” option. It is usually located under a section such as “System,” “Advanced Settings,” or “Setup Options.”
- Select the “Restore Default” option by pressing the enter or select button on your remote control. This action will open a confirmation dialog box, warning you that all user-defined settings will be erased.
- Read the confirmation message carefully to understand the implications of restoring your Onkyo surround sound receiver to its default settings.
- If you’re certain that you want to proceed with the restoration, select “Yes” or “OK” to confirm your decision.
Once you’ve confirmed the restoration, the receiver will begin the process of resetting all the settings to their default values. This may take a few moments, so be patient and avoid interrupting the restoration process.
It’s important to note that some Onkyo surround sound receiver models may require a PIN or password to proceed with restoring the default settings. If prompted, enter the PIN or password associated with your receiver.
Now that you’ve selected the “Restore Default” option, let’s move on to the next step: confirming the restoration process.
Step 3: Confirming the Restoration Process
After selecting the “Restore Default” option on your Onkyo surround sound receiver, the next step is to confirm the restoration process. This step ensures that you understand the consequences of restoring your receiver to its default settings and gives you a final chance to change your mind.
Follow these steps to confirm the restoration process:
- Once you’ve selected “Restore Default” and read the warning message, a confirmation screen will appear on your TV or display.
- Take a moment to carefully review the information on the confirmation screen to ensure that you want to proceed with the restoration.
- If you’re certain that you want to restore your Onkyo surround sound receiver to its default settings, select “Yes” or “OK” to confirm.
- If you change your mind or want to cancel the restoration process, select “No” or “Cancel”. This will return you to the setup menu without making any changes to the receiver’s settings.
It’s important to note that once you confirm the restoration process, all user-defined settings and configurations will be permanently erased from the receiver. This includes audio presets, network settings, speaker levels, and any other customized preferences.
Before confirming the restoration, make sure you have documented or photographed your current settings. This will help you reconfigure them later when you set up your receiver again.
Now that you’ve confirmed the restoration process, let’s move on to the next step: restarting the Onkyo surround sound receiver.
Step 4: Restarting the Receiver
Once you have confirmed the restoration process on your Onkyo surround sound receiver, the next step is to restart the receiver. Restarting allows the changes to take effect and ensures that your receiver boots up with the default settings.
Follow these steps to restart your Onkyo surround sound receiver:
- Press the power button on the front panel of your receiver or use the power button on your remote control to turn off the receiver.
- Once the receiver is powered off, wait for a few seconds to ensure that it fully shuts down.
- After the receiver has completely powered down, press the power button again to turn it back on.
- Allow the receiver to boot up. This may take a few moments as the default settings are restored and the receiver initializes.
- Once the receiver has fully restarted, you can proceed with the setup process, including configuring your audio settings, network settings, and any other preferences.
It’s important to note that after restarting your Onkyo surround sound receiver, all the settings will be reset to their default values. This means you will need to reconfigure the receiver according to your preferences and audio setup.
Now that you have restarted your Onkyo surround sound receiver, let’s move on to the final step: checking the restored settings.
Step 5: Checking the Restored Settings
After restarting your Onkyo surround sound receiver, it’s important to check the restored settings to ensure that everything is back to its original state. This step allows you to verify that the default settings have been successfully applied and that your receiver is functioning as expected.
Here’s how to check the restored settings on your Onkyo surround sound receiver:
- Access the setup menu on your receiver using the same steps mentioned in Step 1.
- Navigate through the setup menu and review each section to confirm that the settings are reset to their default values. Pay close attention to audio settings, speaker configurations, network settings, and any other specific preferences you may have had.
- If you notice any settings that are not in their default state or require adjustment, use the navigation buttons on the remote control to make the necessary changes. Refer to the manual or online resources if you need assistance in configuring specific settings.
- Make sure to save any changes you make, either by selecting a “Save” or “Apply” option within the setup menu or by following the on-screen prompts.
- Once you have reviewed and adjusted the settings as needed, exit the setup menu.
By thoroughly checking the restored settings, you can ensure that your Onkyo surround sound receiver is ready to deliver the optimal audio experience. If you encounter any issues or have difficulties with certain settings, consult the user manual or contact the Onkyo support team for further assistance.
With the restored settings verified, you can now enjoy your Onkyo surround sound receiver and immerse yourself in the captivating world of high-quality audio.
Congratulations! You have successfully restored your Onkyo surround sound receiver to its default settings. Whether you have resolved audio issues, corrected incorrect settings, or prepared your receiver for a new setup, this process has helped you get your audio system back on track.
Remember that if you ever need to restore your Onkyo surround sound receiver again, you can follow these same steps to bring it back to its factory defaults.
Thank you for choosing Onkyo and exploring the world of surround sound. Enjoy your audio journey!
Conclusion
In conclusion, restoring an Onkyo surround sound receiver to its default settings is a simple yet crucial process that can resolve various audio issues and bring your audio system back to its optimal performance. By following the step-by-step instructions outlined in this article, you can easily navigate the setup menu, select the “Restore Default” option, confirm the restoration process, restart the receiver, and check the restored settings.
Restoring your Onkyo surround sound receiver to its default settings can be beneficial in troubleshooting audio problems, correcting incorrect settings, preparing for component upgrades or replacements, or even when selling or donating your receiver. It allows you to start fresh with a clean slate and ensures that all configurations are set to their original factory defaults.
However, it’s important to note that restoring your receiver to its default settings will erase all user-defined settings, including customized speaker levels, audio presets, network settings, and more. Therefore, it’s essential to document or photograph your current settings before undertaking the restoration process.
Remember that accessing the setup menu, selecting the “Restore Default” option, and restarting the receiver are standard steps that may vary slightly based on the specific model of your Onkyo surround sound receiver. If you encounter any difficulties or have specific questions, refer to the user manual or contact the Onkyo customer support team for assistance.
Now that you’re equipped with the knowledge and steps to restore an Onkyo surround sound receiver to its default settings, you can confidently troubleshoot audio issues, correct settings, or prepare for upgrades, ensuring an optimal audio experience that brings your movies, music, and entertainment to life.
Thank you for choosing Onkyo and embracing the world of surround sound. Enjoy the immersive, captivating audio journey that awaits you!