Home>Production & Technology>Surround Sound>How To Set Up Bose Surround Sound
Surround Sound
How To Set Up Bose Surround Sound
Modified: February 18, 2024
Learn how to set up Bose surround sound for an immersive audio experience at home. Our step-by-step guide covers everything you need to know about connecting and configuring your surround sound system.
(Many of the links in this article redirect to a specific reviewed product. Your purchase of these products through affiliate links helps to generate commission for AudioLover.com, at no extra cost. Learn more)
Table of Contents
- Introduction
- Step 1: Unpack and Organize the Bose Surround Sound System
- Step 2: Connect the Audio/Video Receiver
- Step 3: Configure the Audio/Video Receiver Settings
- Step 4: Position and Mount the Bose Speakers
- Step 5: Run Speaker Wires and Connect the Speakers
- Step 6: Connect External Devices to the Audio/Video Receiver
- Step 7: Test and Calibrate the Bose Surround Sound System
- Conclusion
Introduction
Welcome to the world of immersive audio experiences with Bose Surround Sound. If you’re a fan of movies, music, or gaming, you’re in for a treat. Bose is renowned for its high-quality sound systems that deliver a captivating and realistic audio environment. Whether you’re setting up a home theater or looking to upgrade your existing audio system, this article will guide you through the process of setting up your Bose Surround Sound system.
Imagine being able to hear every detail, from the footsteps of your favorite movie character to the subtle notes of a musical masterpiece, all around you. Bose Surround Sound creates a three-dimensional soundstage that envelops you, allowing you to feel like you’re part of the action. With carefully positioned speakers and advanced audio technology, Bose systems provide an immersive experience that enhances your entertainment, bringing it to a whole new level.
Setting up a Bose Surround Sound system may seem daunting at first, but with the right guidance, it can be a straightforward process. In this article, we’ll break down the steps involved in unpacking, connecting, and configuring your system, as well as positioning and calibrating the speakers for optimal sound quality. Whether you’re a seasoned audio enthusiast or a beginner, this guide will help you achieve the best possible audio experience in your home.
Before we begin, it’s important to note that the specific steps may vary depending on the model of your Bose Surround Sound system and the equipment you have. However, the general principles and concepts discussed in this article can be applied to most Bose systems. Now, let’s dive into the exciting world of Bose Surround Sound and begin the journey to transform your entertainment experiences.
Step 1: Unpack and Organize the Bose Surround Sound System
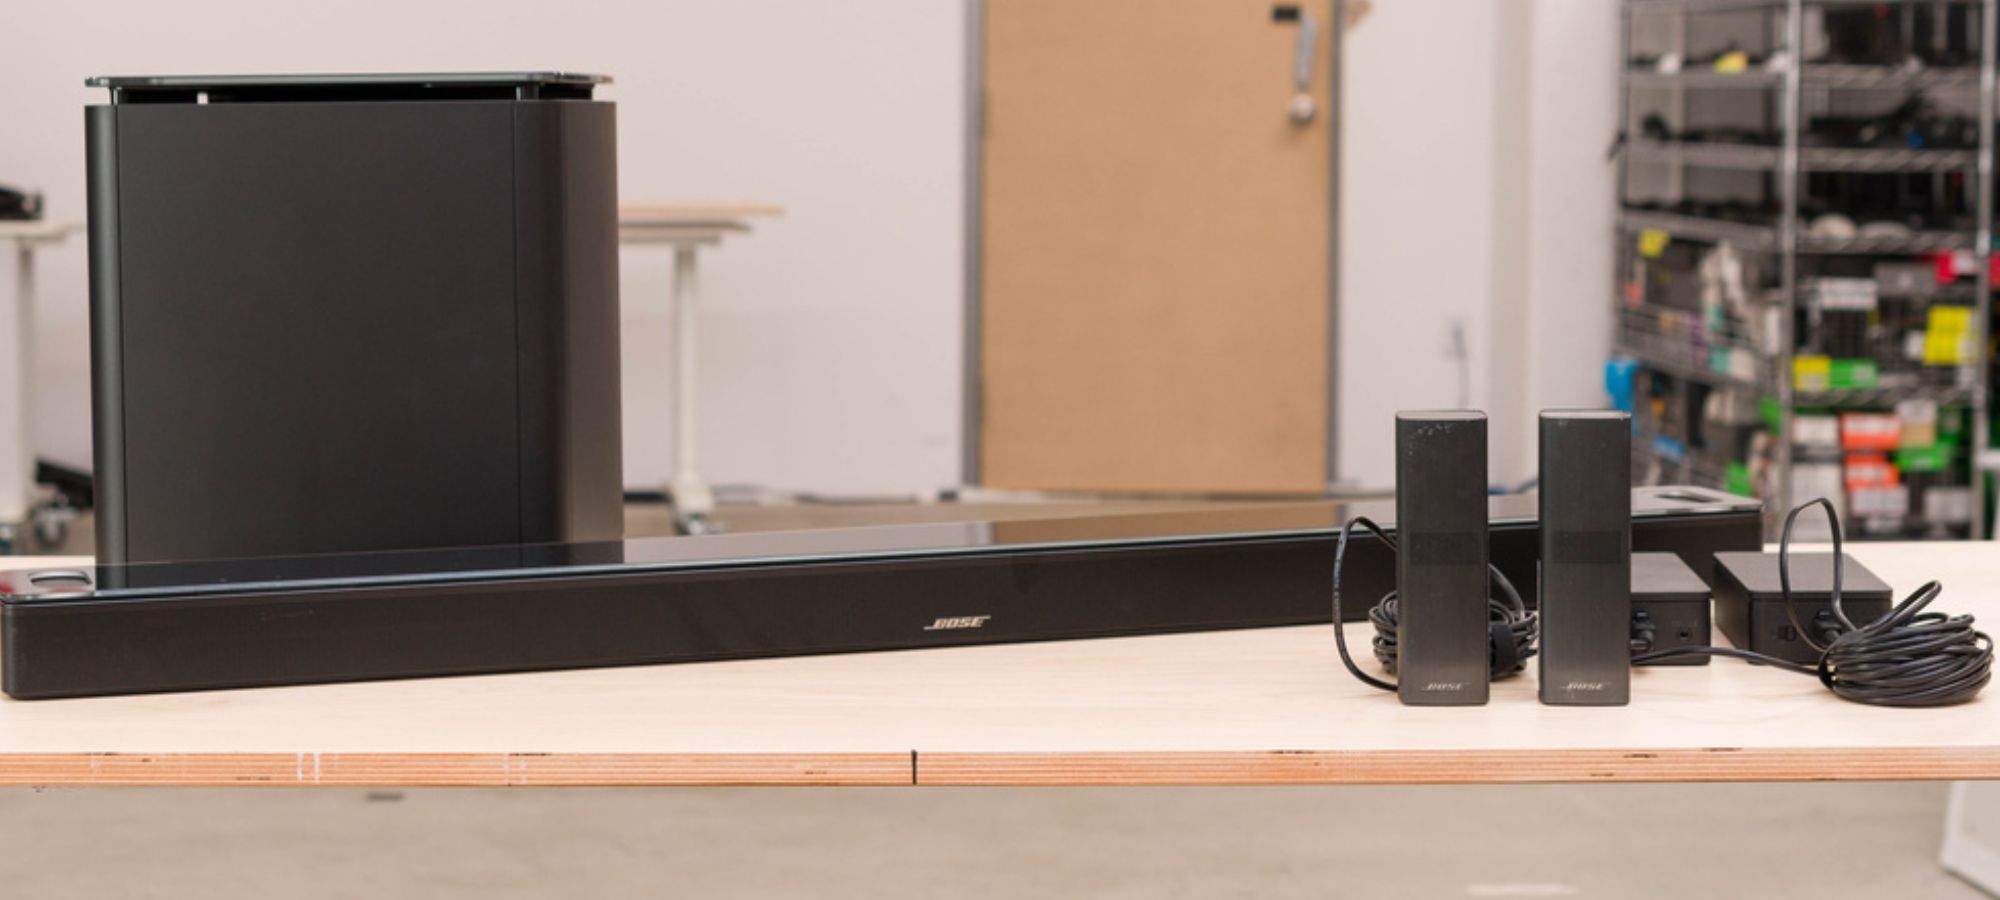
The first step in setting up your Bose Surround Sound system is to unpack and organize all the components. When you purchase a Bose system, it typically comes with a variety of components, including speakers, an audio/video receiver, speaker wires, and any necessary accessories.
Start by carefully unpacking each component and inspecting it for any visible damage. It’s always a good idea to refer to the user manual or setup guide provided by Bose to ensure you understand the purpose and functionality of each component.
Once the components are unpacked, it’s important to organize them in a way that makes the setup process easier. Clear some space on a table or any flat surface where you can lay out all the components and easily access them as you proceed with the setup.
Take inventory of all the components and make sure you have everything you need for the setup. This includes the main speakers, surround speakers, center speaker, subwoofer, audio/video receiver, speaker wires, remote control, batteries, and any other accessories that may have been included with your Bose system.
Before moving on to the next step, familiarize yourself with the different connectors and ports on each component. This will make it easier for you to connect the various pieces together later in the setup process. Refer to the user manual or setup guide to understand the specific connections required for your particular Bose Surround Sound system.
By taking the time to unpack and organize your Bose Surround Sound system, you’ll ensure that you have all the necessary components and accessories at hand. This will make the setup process smoother and more efficient, allowing you to move on to the next steps with ease. So, let’s move on to Step 2 and start connecting the audio/video receiver.
Step 2: Connect the Audio/Video Receiver
Once you have unpacked and organized your Bose Surround Sound system, it’s time to connect the audio/video receiver. The receiver acts as the central hub that connects all your audio and video sources, such as Blu-ray players, gaming consoles, and streaming devices, to your speakers.
Start by locating the audio/video receiver in your system. It is typically the largest component with various inputs and outputs on the back. Connect the power cord to the receiver and plug it into a wall outlet. Make sure to leave enough space around the receiver for proper ventilation.
Next, connect your television to the audio/video receiver. This allows you to route the audio from your TV to the surround sound speakers. Depending on the type of connection available on your TV and receiver, you can use HDMI, optical, or RCA cables to establish the connection. Refer to the user manual or setup guide for detailed instructions on how to connect your TV to the receiver.
Now, it’s time to connect your audio sources to the receiver. If you have a Blu-ray player, gaming console, or any other device that outputs audio, use HDMI cables or optical cables to connect them to the corresponding inputs on the receiver. Make sure to select the appropriate input on the receiver for each connected device.
It’s also important to connect the speakers to the audio/video receiver. Refer to the user manual or setup guide to determine the correct speaker wire connections for your specific speakers. Typically, you will have separate outputs on the receiver labeled for each speaker, such as front left, front right, center, surround left, and surround right. Insert the positive and negative ends of the speaker wires into the corresponding speaker terminals on the receiver.
Once all the connections are made, double-check that everything is securely plugged in and properly aligned. This will ensure that you get the best audio quality and prevent any potential issues during setup. Now that you have successfully connected the audio/video receiver, we can move on to Step 3 and configure the receiver settings for optimal sound performance.
Step 3: Configure the Audio/Video Receiver Settings
Configuring the audio/video receiver settings is an essential step in setting up your Bose Surround Sound system. These settings allow you to customize your audio experience and optimize the sound performance based on your preferences and the characteristics of your room.
Start by turning on the audio/video receiver and accessing the settings menu. Most receivers have an on-screen display that guides you through the setup process. Use the remote control to navigate the menu options and make adjustments as needed.
One important setting to configure is the speaker configuration. This involves specifying the size and placement of your speakers. Refer to the user manual or setup guide for recommended settings based on your specific Bose system. You may need to adjust the speaker sizes, crossover frequencies, and speaker distance settings to ensure the audio is properly balanced and synchronized.
Next, check the audio decoding settings on the receiver. These settings determine how the receiver processes different audio formats, such as Dolby Digital or DTS. Select the appropriate settings based on your audio sources and personal preferences. If you’re unsure, you can leave the settings on the default options, as many receivers are designed to automatically detect and decode the audio format for optimal playback.
Another important setting to configure is the room correction or calibration feature. This feature analyzes the acoustics of your room and adjusts the audio output accordingly. Follow the instructions provided by the receiver to run the calibration process. This may involve using a microphone or following on-screen prompts to measure the room’s characteristics. Once the calibration is complete, the receiver will make adjustments to ensure an optimized sound experience.
Don’t forget to check the volume levels and balance settings on the receiver. Adjust the master volume to a comfortable level and ensure that the audio is evenly distributed across all your speakers. Some receivers also offer advanced features like dynamic range control and equalizer settings, which allow you to further fine-tune the audio output based on your preferences.
Once you have configured all the necessary settings on the audio/video receiver, take a moment to test the audio by playing some content. This will allow you to confirm that the speakers are working correctly and the sound performance is satisfactory. Make any necessary adjustments to the settings until you are satisfied with the audio quality.
With the audio/video receiver settings properly configured, you are now ready to move on to the next step and position and mount the Bose speakers to create an immersive surround sound experience.
Step 4: Position and Mount the Bose Speakers
Properly positioning and mounting your Bose speakers is crucial to achieving optimal sound quality and creating an immersive surround sound experience. The placement of the speakers greatly affects the audio dispersion, imaging, and overall balance of the soundstage.
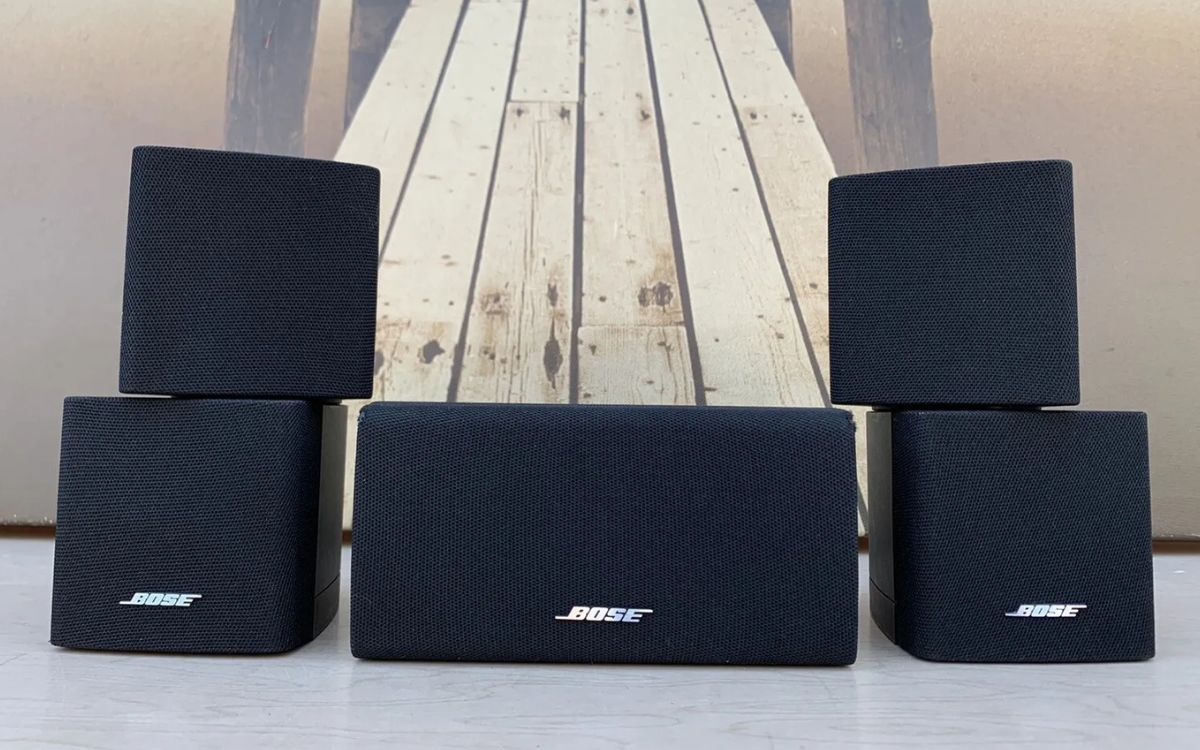
Start by identifying the different types of speakers in your Bose Surround Sound system, such as the front left, front right, center, and surround speakers. Refer to the user manual or setup guide to determine the recommended placement for each speaker based on your particular system.
For the front left and right speakers, position them on either side of your television or the screen where you typically watch movies or play games. These speakers should be placed at ear level or slightly above, angled towards the listening area. This ensures that the dialogue and sound effects are accurately localized and create a spacious soundstage.
The center speaker, typically placed below or above the television, is responsible for delivering clear and precise dialogue. Make sure it is positioned in line with the front left and right speakers, creating a cohesive and seamless sound image.
When it comes to surround sound speakers, they are designed to create an immersive audio experience by reproducing ambient sounds and effects. Ideally, place the surround speakers on either side of the listening area, slightly behind the viewers. Angling them towards the listening area helps in dispersing the sound effectively and creates a sense of envelopment.
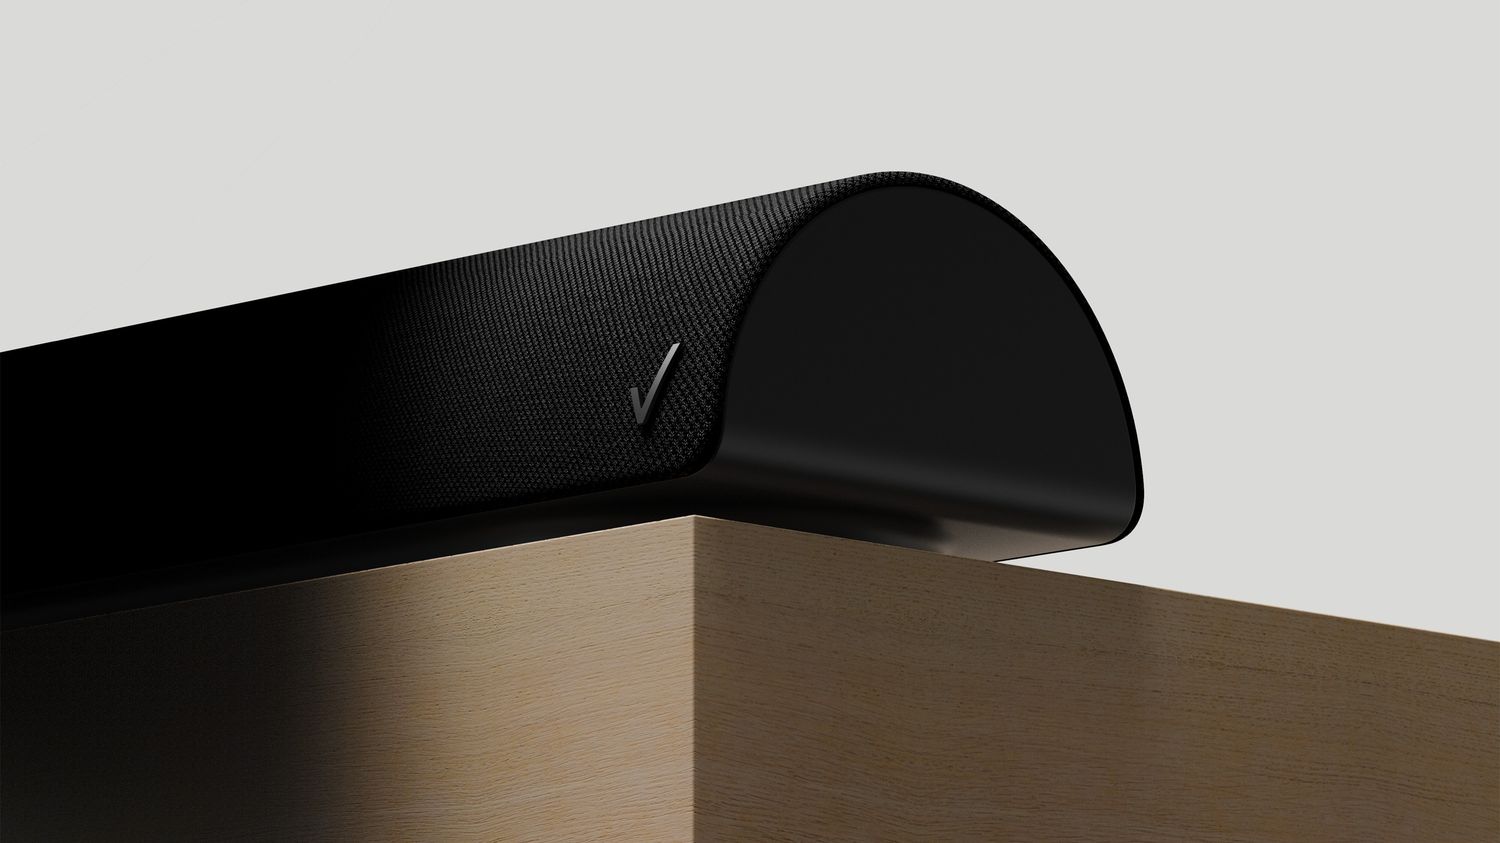
Mounting the speakers can offer even more flexibility in placement and help optimize the sound performance. Check for mounting brackets or wall-mount options that may be included with your Bose Surround Sound system. Follow the instructions provided to securely mount the speakers at the desired locations. Wall mounting can help minimize reflections and improve the overall sound imaging.
Ensure that the speakers are placed at an appropriate height and distance from the walls and other objects in the room. Avoid placing them too close to corners or obstructing them with furniture, as this can result in unwanted audio reflections and dampen the sound quality.
Remember, the specific positioning of the speakers may vary depending on your room layout and personal preference. Take the time to experiment with different placements and angles to find the configuration that works best for your space.
By accurately positioning and, if necessary, mounting your Bose speakers, you’ll enhance the audio projection and create a lifelike and immersive surround sound experience. With the speakers in place, it’s time to move on to the next step and run speaker wires to connect them to the audio/video receiver.
Step 5: Run Speaker Wires and Connect the Speakers
Running speaker wires and connecting the speakers is an essential step in setting up your Bose Surround Sound system. Properly routing and connecting the wires will ensure that the audio signal is transmitted accurately from the audio/video receiver to each speaker, enabling you to enjoy immersive surround sound.
Start by determining the length of speaker wire needed to connect each speaker to the audio/video receiver. Measure the distance from the receiver to each speaker, adding a bit of extra length to allow for flexibility and easy installation. Avoid excessively long wires, as they can introduce signal degradation.
Once you have measured the required length, cut the speaker wire accordingly. It’s recommended to use the same gauge and type of wire provided with your Bose system or choose an appropriate gauge based on the distance and power requirements of your speakers.
Next, carefully run the speaker wires from the audio/video receiver to each speaker location. Conceal the wires along the baseboards, under carpets, or within cable management systems to maintain a neat and organized appearance. If needed, use wire clips or tape to secure the wires to the wall or floor to prevent tripping hazards.
Before connecting the speakers, strip a small portion of insulation from the ends of the speaker wires. This exposes the conductor copper wire, allowing for a clean and secure connection. Twist the exposed wire strands to prevent fraying and ensure optimal conductivity.
Refer to the user manual or setup guide to determine the correct connections for each speaker on the audio/video receiver. Typically, each speaker will have a corresponding positive (+) and negative (-) terminal on the receiver. Match the positive wire (usually indicated by a red stripe or marking) to the positive terminal and the negative wire (typically without any marking) to the negative terminal.
Insert the twisted wire strands into the respective speaker terminals and tighten the terminals to secure the connection. Make sure there is a secure and tight connection to prevent any signal loss or intermittent audio issues.
Repeat this process for each speaker, ensuring that the wires are connected correctly and securely for all speakers in your Bose Surround Sound system.
Once all the connections are made, take a moment to double-check each speaker connection to ensure they are properly secured. A loose or faulty connection can lead to audio issues or a reduction in sound quality.
Now that the speakers are connected, you are one step closer to enjoying the immersive audio experience provided by your Bose Surround Sound system. In the next step, we will cover how to connect external devices, such as Blu-ray players and gaming consoles, to the audio/video receiver for a complete audio-visual setup.
Step 6: Connect External Devices to the Audio/Video Receiver
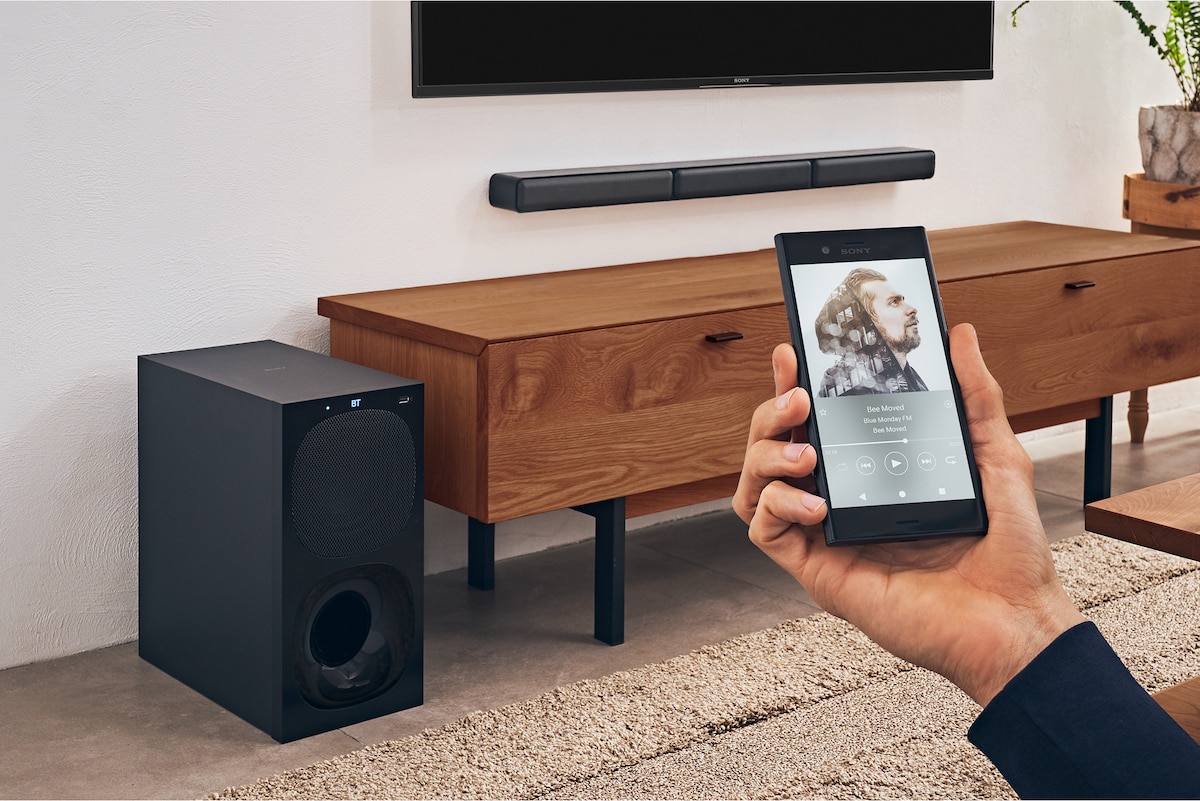
Now that your Bose Surround Sound speakers are connected, it’s time to connect external devices, such as Blu-ray players, gaming consoles, and streaming devices, to the audio/video receiver. This step allows you to fully utilize your surround sound system and enjoy immersive audio with your favorite entertainment sources.
Start by identifying the audio and video outputs on your external devices. Most devices will have HDMI, optical, or RCA outputs. HDMI is the preferred option as it supports both high-definition audio and video signals. If your devices have HDMI outputs, connect them directly to HDMI inputs on your audio/video receiver. Use high-quality HDMI cables to ensure the best audio and video transmission.
If your devices only have optical or RCA outputs, connect them to the corresponding inputs on your audio/video receiver. Optical cables are used for digital audio signals, while RCA cables transmit analog audio signals. Use the appropriate cables and ensure a secure connection.
Once you have connected the audio outputs of the external devices to the appropriate inputs on the audio/video receiver, you need to configure the inputs on the receiver. Access the settings menu on your receiver and assign the correct input labels for each connected device. This makes it easier to select the desired input when switching between different sources.
After configuring the input labels, turn on your external devices and select the corresponding input on the audio/video receiver. This ensures that the audio signal from the devices is routed through the receiver to your Bose Surround Sound system, allowing you to enjoy the immersive audio experience.
If you have multiple devices connected to the receiver, such as a Blu-ray player, gaming console, and streaming device, you can switch between them using the input selection on the receiver or the remote control. This gives you the flexibility to enjoy different media sources with the superior sound quality of your Bose system.
Lastly, make sure to test the audio output from each connected device to ensure everything is properly connected and functioning. Play a movie, a music track, or a game with surround sound capabilities to experience the full potential of your Bose Surround Sound system.
By connecting external devices to your audio/video receiver, you can unlock the true potential of your Bose Surround Sound system and enjoy immersive audio with all your entertainment sources. In the next step, we will walk you through the process of testing and calibrating the system for optimal sound performance.
Step 7: Test and Calibrate the Bose Surround Sound System
After connecting all the components and devices, it’s time to test and calibrate your Bose Surround Sound system to ensure optimal sound performance. Testing and calibrating the system will help fine-tune the audio settings and tailor the sound to your specific room and listening preferences.
Start by playing a test video or audio content that is specifically designed to showcase surround sound capabilities. This can be a movie scene with intricate sound effects or a test pattern that moves the sound around the speakers. As the content plays, listen carefully to ensure that the sound is coming from the correct speakers and that the surround sound effect is working properly.
If you notice any imbalance in the sound or if certain speakers seem quieter or louder than others, you may need to adjust the individual speaker levels. Most audio/video receivers have a built-in speaker level adjustment feature that allows you to increase or decrease the volume of each speaker. Access the settings menu on your receiver and navigate to the speaker settings to make these adjustments.
Additionally, many receivers have an automatic calibration feature that analyzes the room’s acoustics and makes adjustments to optimize sound performance. This typically involves using a microphone placed at the primary listening position to measure sound reflections and calculate the appropriate speaker delays and EQ settings. Refer to your receiver’s user manual or setup guide for instructions on how to run the automatic calibration feature.
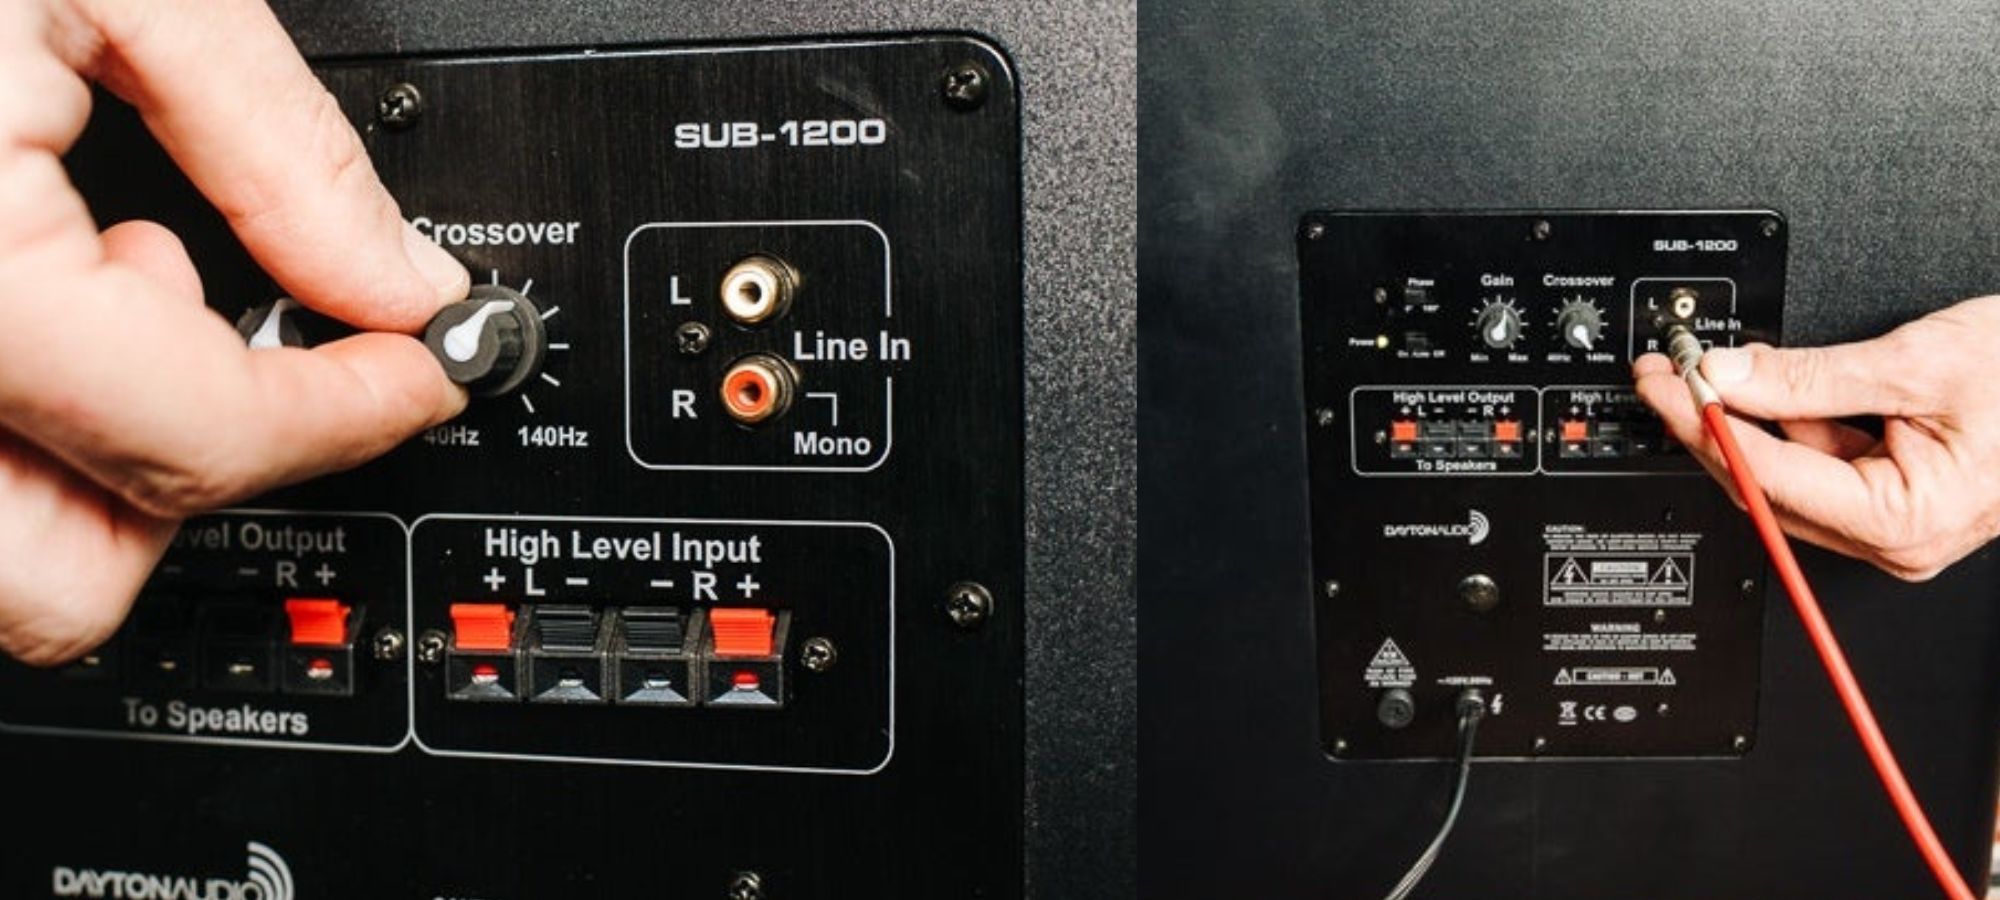
Another important aspect of calibration is setting the crossover frequency for the speakers. The crossover frequency determines which frequencies are delivered to each speaker. It’s recommended to set the crossover frequency to a level that complements the capabilities of your speakers and subwoofer, ensuring a smooth transition between audio frequencies.
Once the initial calibration is complete, it’s a good idea to spend some time listening to different types of content, such as movies, music, and games, to further fine-tune the system to your liking. Adjust the master volume, bass, and treble settings to achieve the desired sound balance and impact.
Remember that room acoustics can significantly affect the overall sound quality. Consider adding acoustic treatments like curtains, rugs, or wall panels to minimize sound reflections and improve the overall sound experience.
By testing and calibrating your Bose Surround Sound system, you ensure that it is performing at its best, delivering an immersive and enjoyable audio experience. Take your time to experiment with different settings and listen to a variety of content to find the perfect balance that suits your preferences.
Congratulations! You have successfully set up and calibrated your Bose Surround Sound system. Now sit back, relax, and immerse yourself in the rich, immersive sound quality that Bose is renowned for.
Conclusion
Congratulations on successfully setting up your Bose Surround Sound system! By following the steps outlined in this guide, you have transformed your entertainment space into a captivating audio environment. Whether you’re enjoying movies, gaming, or music, the immersive sound experience provided by your Bose system will enhance your overall enjoyment and engagement.
From the initial step of unpacking and organizing your system to the final step of testing and calibrating, each stage was crucial in ensuring that your Bose Surround Sound system is optimized for the best audio performance. By carefully positioning and mounting the speakers, running the speaker wires, and connecting external devices, you have created a cohesive audio setup that will immerse you in a lifelike soundstage.
Remember that the specific steps and settings may vary based on your Bose system model and personal preferences. Always refer to the user manual or setup guide provided by Bose for detailed instructions and recommendations specific to your system.
With your Bose Surround Sound system now fully set up and calibrated, make sure to regularly maintain and update your system as new features and enhancements may become available. This will ensure that you continue to have the best audio experience possible, keeping you at the forefront of immersive entertainment.
Now, it’s time to sit back, relax, and enjoy the incredible audio quality and immersive sound that your Bose system provides. Whether you’re watching a movie, playing games, or listening to music, prepare to be captivated by the rich surround sound experience that brings your entertainment to life.
Thank you for choosing Bose, and may you enjoy countless hours of immersive audio enjoyment in your newly set up Bose Surround Sound system!