Home>Production & Technology>Surround Sound>How To Set Up Polk Surround Sound
Surround Sound
How To Set Up Polk Surround Sound
Modified: February 17, 2024
Learn how to easily set up Polk surround sound system in your home. Experience immersive audio with our step-by-step guide.
(Many of the links in this article redirect to a specific reviewed product. Your purchase of these products through affiliate links helps to generate commission for AudioLover.com, at no extra cost. Learn more)
Table of Contents
Introduction
Welcome to the world of immersive audio with Polk Surround Sound! If you’re looking to take your home entertainment experience to the next level, setting up a surround sound system can make a world of difference. Whether you’re a movie aficionado craving the cinematic experience, a gamer seeking to be fully immersed in the action, or a music lover in pursuit of rich, immersive sound, a surround sound system can transport you into a whole new realm of audio enjoyment.
Polk Audio is renowned for their high-quality audio products, and their surround sound systems are no exception. By investing in a Polk Surround Sound system, you can bring the excitement and depth of sound found in movie theaters and concert halls right into your living room.
In this guide, we’ll walk you through the steps of setting up your Polk Surround Sound system to ensure optimal performance. From choosing the ideal room setup to connecting the speakers and configuring the audio settings, we’ll cover everything you need to know to create a truly immersive audio experience.
But before we dive into the details, it’s important to note that setting up a surround sound system requires some basic knowledge of audio equipment and cables. If you’re unfamiliar with the terminology or unsure about any step along the way, consult the user manual that comes with your Polk Surround Sound system or seek assistance from a professional. Now, without further ado, let’s get started on your journey to transform your entertainment space into a surround sound haven!
Step 1: Gather the Necessary Equipment
Before you begin setting up your Polk Surround Sound system, you’ll need to make sure you have all the necessary equipment. Here’s a list of the basic components you’ll need:
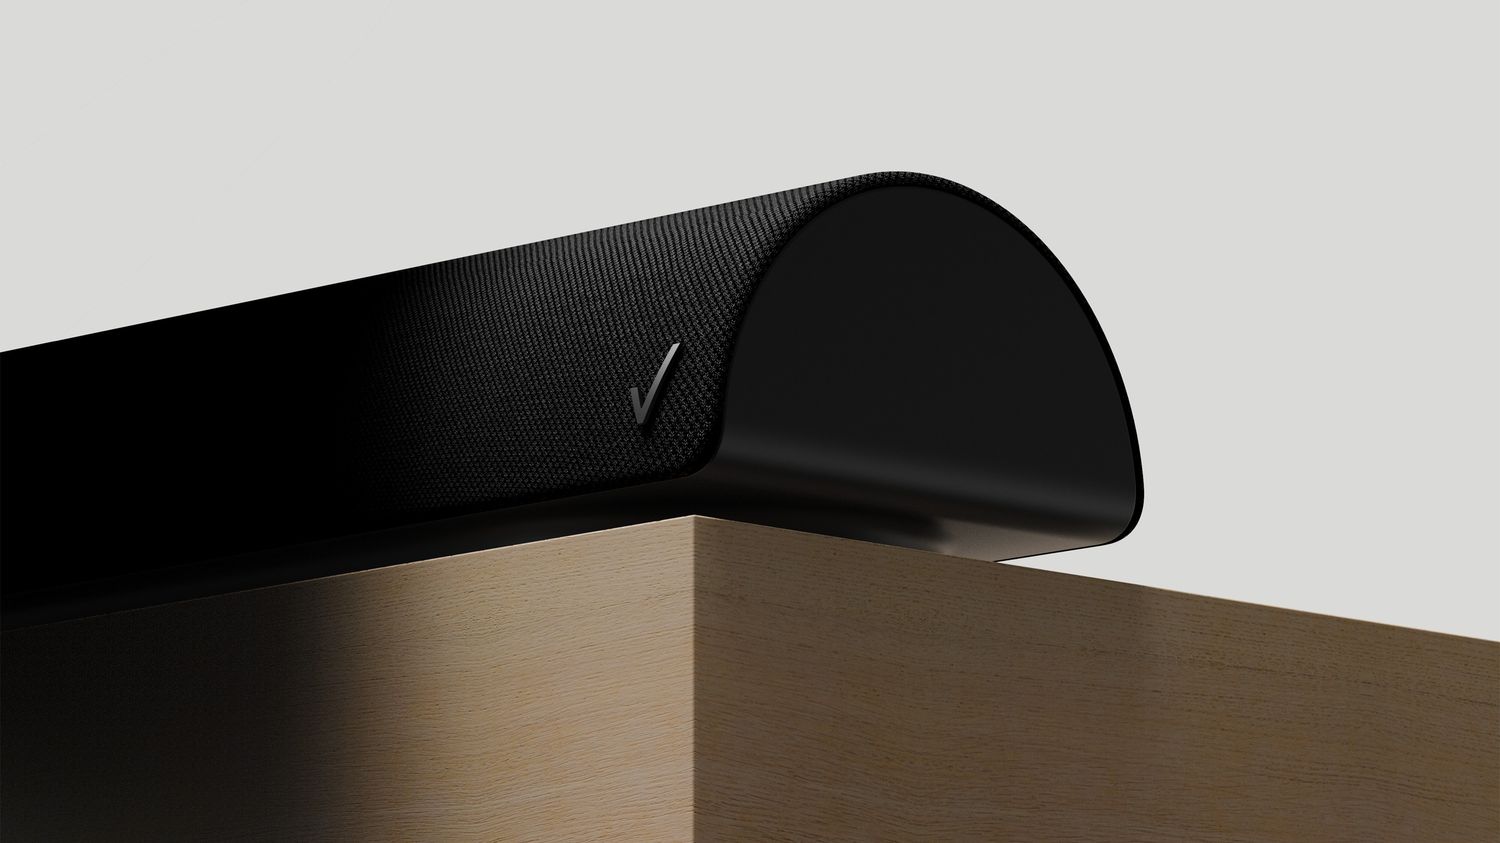
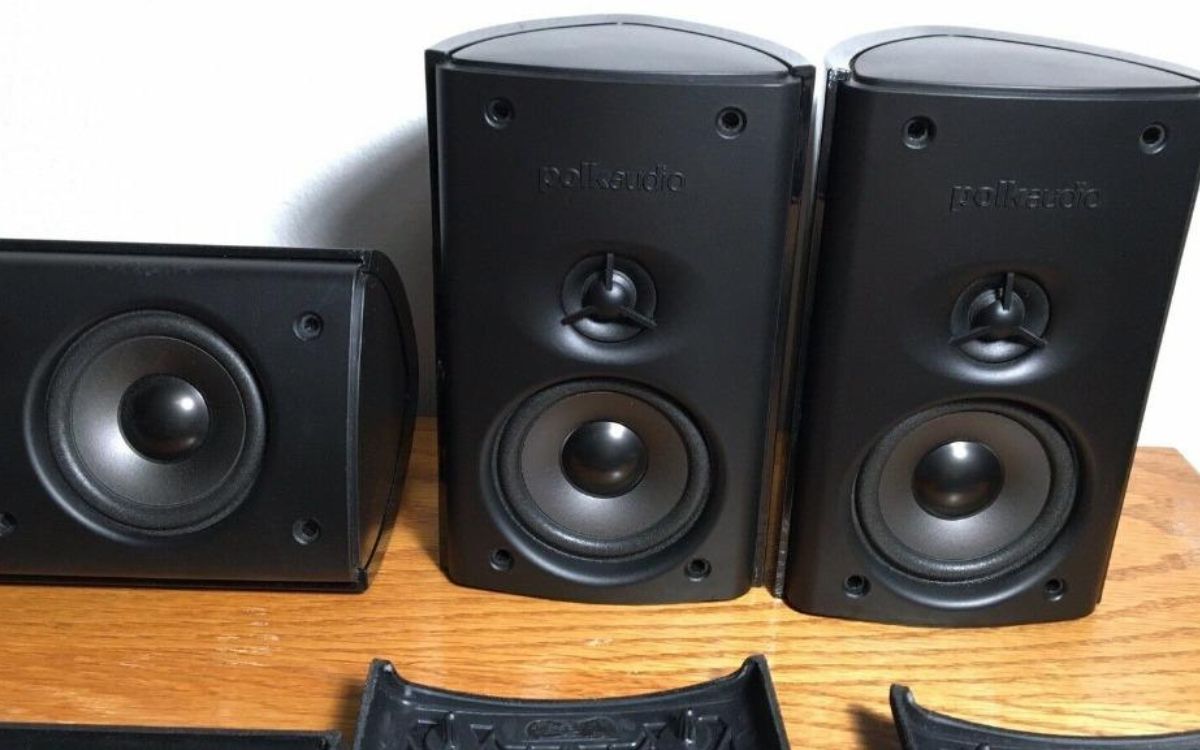
- Polk Surround Sound speakers: Depending on your preferences and budget, you can choose from a variety of Polk speaker options, including front speakers, center channel speakers, satellite speakers, and subwoofers. The number and type of speakers you need will depend on the size and layout of your room.
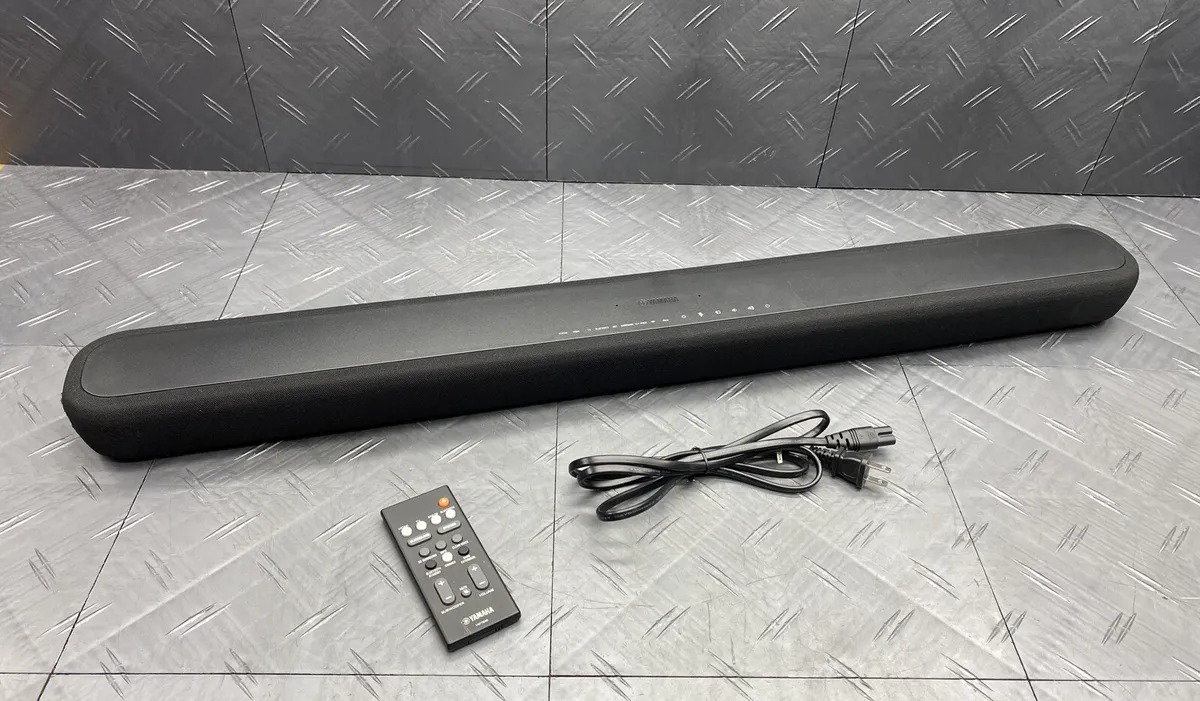
- Receiver: A receiver acts as the control center of your surround sound system, allowing you to connect and control all your audio sources. Make sure your receiver is compatible with the Polk speakers you’ve chosen and has sufficient inputs and outputs for your needs.
- Speaker wire: You’ll need speaker wire to connect your speakers to the receiver. Ensure that you have enough length to reach each speaker from the receiver without strain or tangles.
- Audio cables: Depending on your setup, you may need additional audio cables such as HDMI cables, optical cables, or RCA cables to connect your audio sources (TV, Blu-ray player, game console, etc.) to the receiver.
- Mounting brackets or stands: If you plan to wall-mount or place your speakers on stands, make sure you have the necessary mounting brackets or stands to securely hold your Polk speakers in place.
- Subwoofer cable: If your Polk system includes a subwoofer, you’ll need a subwoofer cable to connect it to the receiver.
- Remote control: Check if your receiver comes with a remote control for convenient operation.
Once you have gathered all the necessary equipment, you’re ready to move on to the next step: choosing the ideal room setup for your Polk Surround Sound system.
Step 2: Choose the Ideal Room Setup
Choosing the right room setup is crucial for achieving optimal performance from your Polk Surround Sound system. Here are some factors to consider when selecting the room for your setup:
- Room size: The size of the room will determine the type and number of speakers you’ll need. Larger rooms may require more speakers to evenly distribute the sound, while smaller rooms may benefit from a compact system.
- Room shape: The shape of the room can affect the acoustics and sound quality. Square or rectangular rooms are ideal as they provide more even sound distribution. Irregularly shaped rooms may require additional adjustments and speaker placement.
- Furniture and room layout: Consider the placement of your furniture and the layout of the room. Avoid placing large objects or furniture that may obstruct sound waves. Arrange your furniture in a way that ensures an unobstructed listening experience.
- Lighting and décor: Ambient lighting and room décor can impact the overall ambiance of your entertainment space. Consider using dimmable lighting or blackout curtains to create a more immersive experience, and avoid excessive reflective surfaces that may cause sound distortion.
- Electrical outlets and cable management: Make sure you have sufficient electrical outlets near your desired speaker locations. Plan ahead for cable management to avoid messy and tangled wires. Consider using cable management solutions like cable channels or wire clips to keep everything organized.
Once you have chosen the room and assessed its suitability for your Polk Surround Sound system, you’re ready to move on to the next step: positioning the speakers.
Step 3: Position the Speakers
Properly positioning your Polk Surround Sound speakers is essential for achieving a balanced and immersive audio experience. Follow these guidelines to position your speakers effectively:
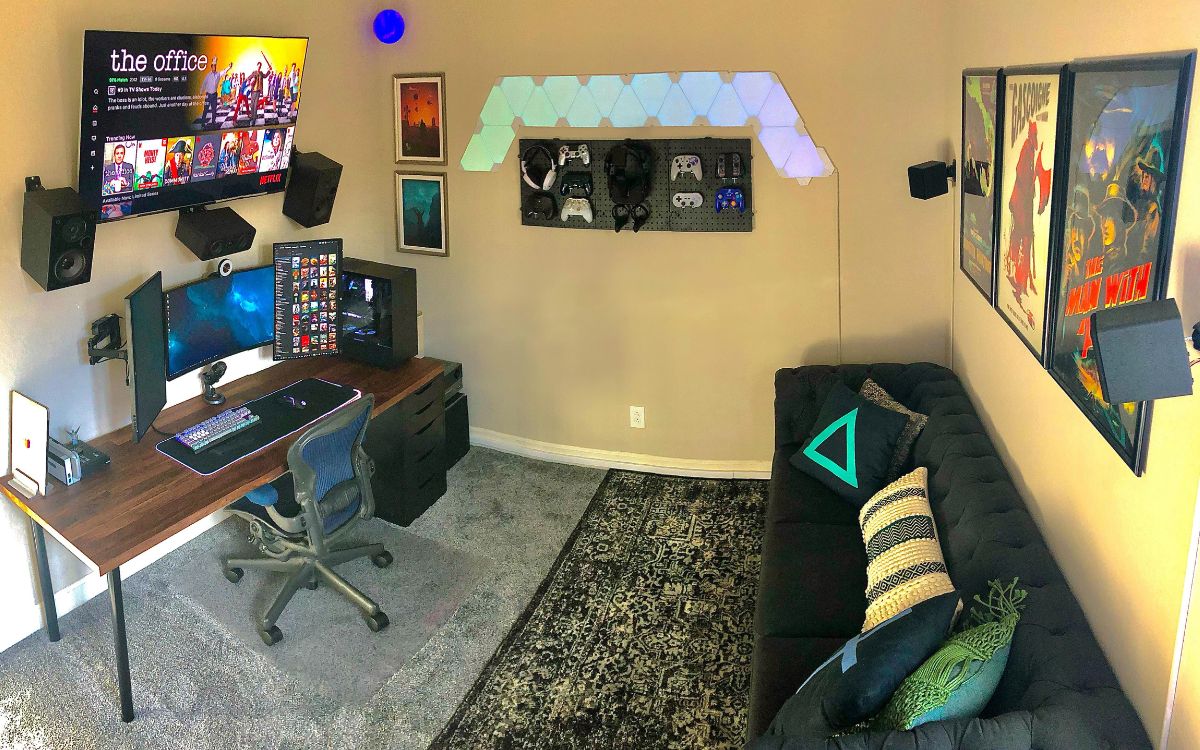
- Front speakers: Place the front speakers on either side of your TV or screen. Position them at an equal distance from the center of the screen, and angle them slightly inward to create a wider soundstage.
- Center channel speaker: If your Polk system includes a center channel speaker, position it directly above or below your TV. Make sure it is facing you at ear level to ensure clear dialogue and vocals.
- Surround speakers: The surround speakers should be placed to the sides or slightly behind your listening area. Ideally, they should be positioned at ear level or slightly above. Angle them inward towards the listening area to create a enveloping sound experience.
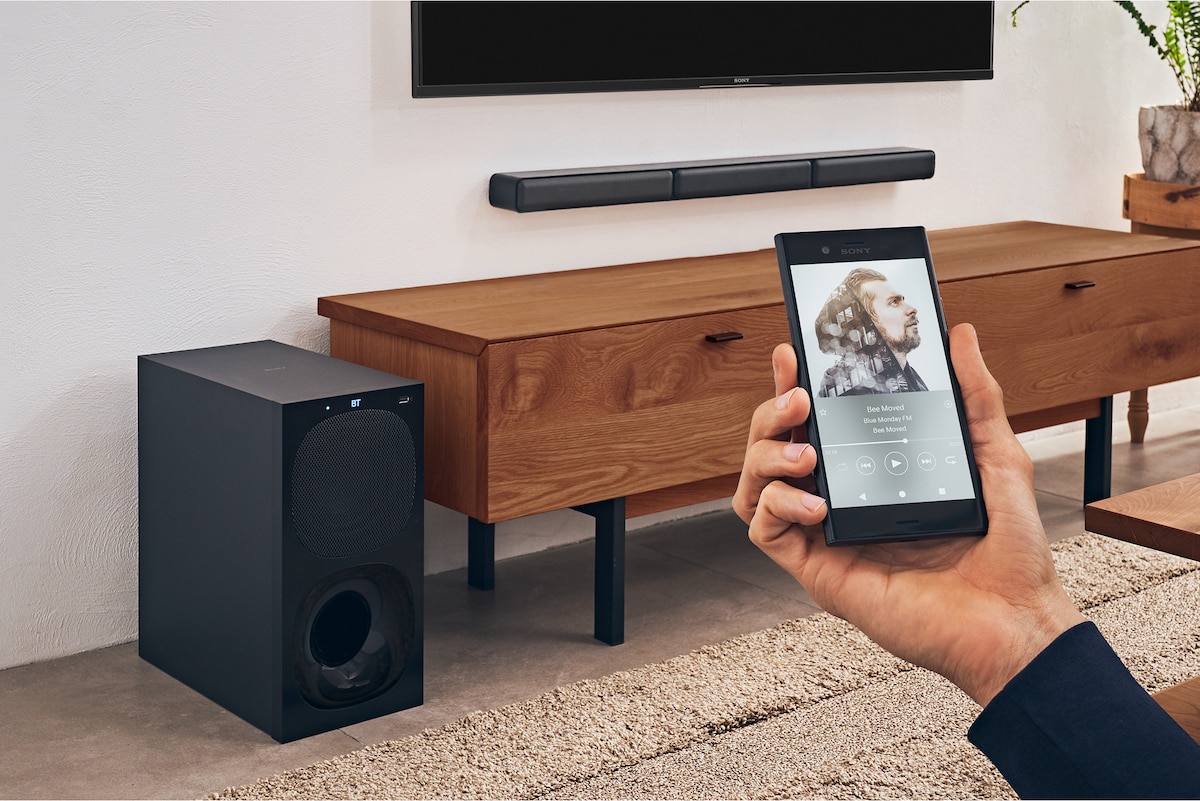
- Subwoofer: The subwoofer can be placed anywhere in the room, as low-frequency sounds are non-directional. Experiment with different positions to find the spot that provides the most balanced bass response.
Consider using wall mounts or speaker stands to ensure stability and optimize sound performance. If using stands, make sure they are positioned securely and at the correct height to align with your seating position.
Take note of any obstructions in the room, such as furniture or walls, and try to position the speakers in a way that minimizes obstacles and allows for unobstructed sound projection.
Once you have positioned the speakers, it’s time to move on to the next step: connecting the speakers to the receiver.
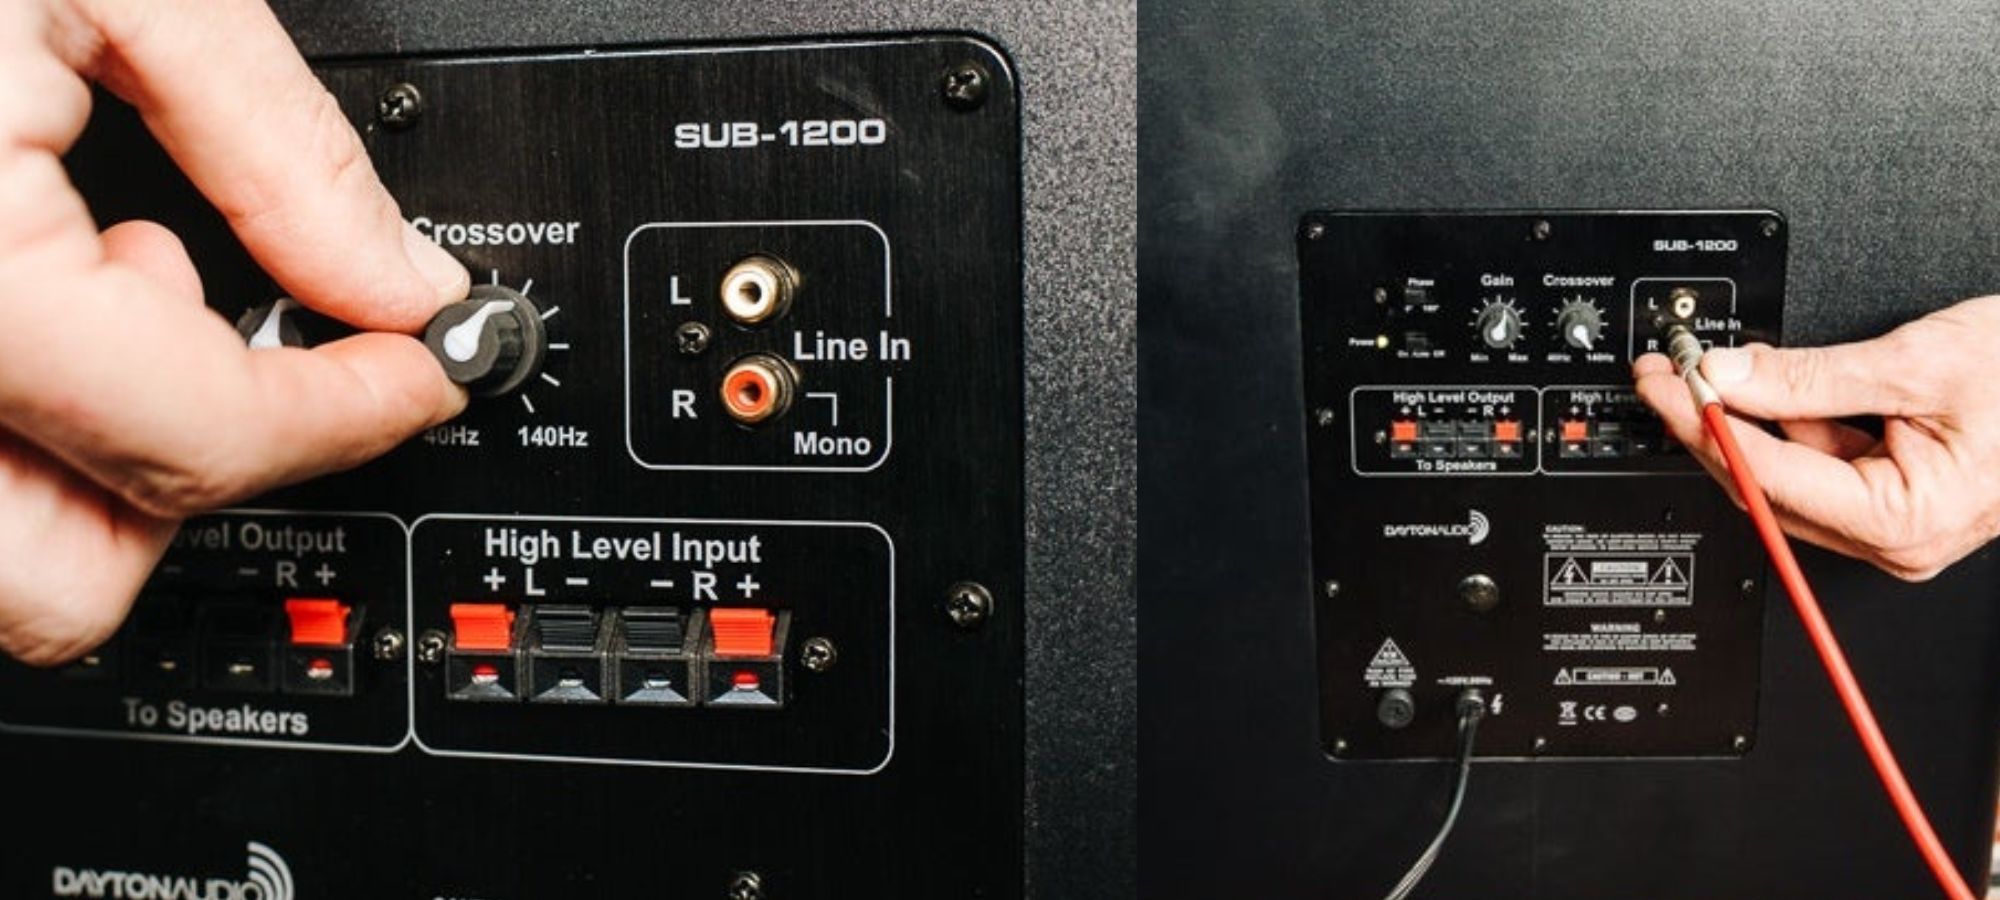
Step 4: Connect the Speakers to the Receiver
Now that you have positioned your Polk Surround Sound speakers, it’s time to connect them to the receiver. Follow these steps to ensure a proper connection:
- Identify the speaker wire: Start by identifying the speaker wire that came with your Polk speakers. Most speaker wires are color-coded, with one wire having a stripe or mark to indicate polarity.
- Strip the ends of the speaker wire: Use wire strippers or scissors to carefully strip off about ⅜ inch of insulation from the ends of the speaker wire. Make sure you expose enough bare wire to make a solid connection.
- Connect the speaker wire to the receiver: Locate the speaker terminals on the back of your receiver. Insert the bare wire into the corresponding terminal for each speaker channel. Ensure that the positive (+) terminal of the speaker wire is connected to the positive terminal on the receiver, and the negative (-) terminal is connected to the negative terminal. Tighten the terminals to secure the connection.
- Connect the speaker wire to the speakers: Repeat the same process on the speakers themselves. Connect the speaker wire to the corresponding terminals on the back of each speaker. Again, ensure that the polarity is correct.
- Subwoofer connection: If your Polk system includes a subwoofer, connect it to the subwoofer output on the back of the receiver using a subwoofer cable. The cable should have a distinctive RCA connector that plugs into the subwoofer input on the subwoofer itself.
Be careful to make solid and secure connections to avoid any loose wires or intermittent audio signals. Once all speakers and the subwoofer are connected, tidy up the wires using cable ties or cable management solutions to keep everything organized.
With the speakers successfully connected to the receiver, you’re ready to move on to the next step: configuring the audio settings.
Step 5: Configure the Audio Settings
Configuring the audio settings on your receiver is crucial for optimizing the sound performance of your Polk Surround Sound system. Follow these steps to ensure your audio settings are properly configured:
- Access the receiver’s menu: Turn on your receiver and access the menu settings. This can usually be done using the remote control or buttons on the receiver itself.
- Select the correct speaker configuration: In the audio settings menu, select the appropriate speaker configuration based on the Polk system you have set up. This may include options such as 5.1, 7.1, or Dolby Atmos, depending on the number of speakers and type of system you have.
- Configure speaker size and distance: Set the size and distance for each speaker in the audio settings menu. This information can usually be found in the user manual or on the manufacturer’s website. Adjusting the speaker size and distance ensures that the receiver correctly balances the audio output and timing for each speaker.
- Adjust crossover settings: The crossover setting determines the frequency at which low-frequency sounds are sent to the subwoofer. Set the crossover frequency in the audio settings to ensure a smooth transition between the main speakers and the subwoofer.
- Select the appropriate sound mode: Most receivers offer various sound modes, such as stereo, surround, or movie modes. Experiment with different modes to find the one that best suits your listening preferences.
- Enable room correction or equalization: If your receiver offers room correction or equalization features, make use of them to optimize the audio performance in your specific room. Follow the instructions in the receiver’s manual to set up and calibrate these features.
After configuring the audio settings, remember to save and apply the changes. Your receiver is now tuned to work in harmony with your Polk Surround Sound system, bringing you one step closer to an immersive audio experience.
With the audio settings configured, it’s time to move on to the next step: calibrating the surround sound system.
Step 6: Calibrate the Surround Sound System
Calibrating your Polk Surround Sound system is essential to ensure accurate audio reproduction and create a balanced and immersive soundstage. Follow these steps to calibrate your system:
- Activate the auto-calibration feature: Many receivers have an auto-calibration feature that helps optimize the sound settings based on your room’s acoustics. Consult your receiver’s manual to find out how to activate this feature.
- Set up the included calibration microphone: Place the included calibration microphone in your primary listening position. Ensure that it is positioned at ear level and free from any obstructions.
- Initiate the auto-calibration process: Follow the instructions on your receiver’s display to initiate the auto-calibration process. The receiver will emit test tones through each speaker and analyze the results to fine-tune the speaker levels, distances, and delays.
- Review the calibration results: After the auto-calibration process, review the results displayed on your receiver’s screen. Ensure that the detected speaker sizes, distances, and volume levels align with your setup and expectations. Make manual adjustments if necessary.
- Save and confirm the calibration: Once you are satisfied with the calibration results, save the settings on your receiver. Some receivers may prompt you to save the calibration profile for future use, while others may automatically apply the calibration settings.
- Perform a sound test: To verify the calibration and ensure everything is working correctly, play different types of audio content, such as movies, music, and games. Pay attention to the sound reproduction, channel separation, and overall surround effect.
It’s worth noting that auto-calibration is a great starting point, but it may not always produce perfect results. Use your ears as the final judge and make manual adjustments if needed. Trust your instincts and fine-tune the settings to your personal preferences.
Once you have calibrated your Polk Surround Sound system, you’re almost ready to enjoy the immersive audio experience it provides. However, there’s one final step: testing and adjusting the sound to perfection.
Step 7: Test and Adjust the Sound
After calibrating your Polk Surround Sound system, it’s time to test and fine-tune the sound to ensure optimal performance. Follow these steps to test and adjust the sound:
- Play test content: Use a variety of test content, such as movies, music, or video games, to evaluate the performance of your surround sound system. Choose content that showcases different audio elements, such as dialogue, music, and special effects.
- Listen for balanced sound: Pay attention to the overall balance of sound across the different speakers. The dialogue should be clear and centered, while the surround effects should envelop you without overpowering the main audio elements.
- Adjust speaker levels: If you feel that certain speakers are too loud or too quiet compared to the others, you can manually adjust the individual speaker levels in your receiver’s settings. Fine-tune the levels until you achieve a well-balanced sound.
- Experiment with surround sound modes: Try different surround sound modes on your receiver to find the one that suits your listening preferences. Some modes may emphasize specific audio elements or create a more immersive experience.
- Test different audio sources: Play audio from different sources, such as Blu-ray discs, streaming services, or gaming consoles, to check the compatibility and performance of your surround sound system across different media.
- Adjust equalization (EQ) settings: If your receiver allows, experiment with the equalization settings to fine-tune the sound characteristics. Boost or cut certain frequency ranges depending on your personal preference and the acoustic properties of the room.
- Seek professional assistance: If you’re having difficulties achieving the desired sound or want expert guidance, consider consulting with a professional audio technician who can help optimize your system based on your room’s acoustics.
Remember, sound preferences are subjective, so trust your ears and adjust the settings according to your personal taste. Don’t be afraid to experiment and make minor tweaks to find the perfect sound balance for your environment and listening preferences.
Once you’re satisfied with the sound quality and surround experience, sit back, relax, and enjoy the immersive audio delivered by your Polk Surround Sound system. Congratulations on setting up a truly captivating home entertainment system!
Conclusion
Congratulations on successfully setting up your Polk Surround Sound system! By following the steps outlined in this guide, you have transformed your home entertainment experience into a truly immersive audio journey.
From gathering the necessary equipment and choosing the ideal room setup to positioning the speakers, connecting them to the receiver, configuring audio settings, calibrating the system, and testing and adjusting the sound, you have taken all the necessary steps for optimal performance and enjoyment.
With Polk Audio’s high-quality speakers and your carefully calibrated system, you can now enjoy a movie theater-like experience in the comfort of your own home. Whether you’re watching movies, playing video games, or listening to music, the enveloping soundstage and crystal-clear audio will enhance your immersion and elevate your entertainment to new heights.
Remember, the setup process may require some fine-tuning to suit your personal preferences and the characteristics of your room. Trust your ears, experiment with different settings, and make the necessary adjustments to achieve the sound experience that resonates with you.
Should you have any questions or encounter any challenges along the way, don’t hesitate to consult the user manual or seek assistance from a professional. They can offer valuable insights and guidance to help you get the most out of your Polk Surround Sound system.
Now, sit back, relax, and immerse yourself in the breathtaking soundscapes delivered by your Polk Surround Sound system. Get ready to be amazed by the power, clarity, and depth of audio that will transport you into a world of captivating entertainment.