Home>Production & Technology>Surround Sound>How Do You Hook Up A Surround Sound To A Vizio TV?
Surround Sound
How Do You Hook Up A Surround Sound To A Vizio TV?
Modified: February 17, 2024
Learn how to hook up a surround sound system to your Vizio TV and enhance your audio experience. Find step-by-step instructions and tips to optimize your surround sound setup.
(Many of the links in this article redirect to a specific reviewed product. Your purchase of these products through affiliate links helps to generate commission for AudioLover.com, at no extra cost. Learn more)
Table of Contents
Introduction
Welcome to the world of surround sound! If you’re a fan of immersive audio experiences, then setting up a surround sound system for your Vizio TV can take your entertainment to a whole new level. By creating a multi-channel audio environment, surround sound brings movies, TV shows, and games to life, enveloping you in a rich and dynamic soundscape.
However, setting up surround sound might sound intimidating for some, but fear not! In this article, we will guide you through the process of hooking up a surround sound system to your Vizio TV. Whether you’re a complete beginner or have some audio experience, we’ve got you covered.
Before we dive into the steps, it’s essential to understand the basic components of a surround sound system. The core elements include a TV, a surround sound receiver, speakers, and various audio cables. The receiver acts as the central hub, connecting your TV to the speakers and audio sources. The speakers are strategically placed around the room to create an enveloping soundstage.
Now that we have a general understanding of what surround sound entails, let’s get started on how to hook it up to your Vizio TV. By following these steps, you’ll be able to enjoy an immersive audio experience right in the comfort of your own home.
Step 1: Check the compatibility
Before you begin setting up your surround sound system with your Vizio TV, it’s crucial to ensure that the two are compatible. Here’s what you need to check:
- Audio Output: Check if your Vizio TV has audio output options that are compatible with a surround sound system. The most common audio output connections include HDMI ARC (Audio Return Channel), optical audio, or RCA outputs. Make sure your TV has at least one of these options.
- Audio Formats: Verify that your Vizio TV supports the audio formats that your surround sound system uses. Common audio formats include Dolby Digital, DTS (Digital Theater Systems), and PCM (Pulse Code Modulation). Refer to your TV’s specifications or user manual for this information.
- HDMI CEC: Check if your TV has HDMI CEC (Consumer Electronics Control) enabled. HDMI CEC allows you to control multiple devices through a single remote by sending commands over the HDMI cable. This feature can simplify the operation of your surround sound system.
If your Vizio TV meets these compatibility requirements, you’re all set for the next steps. However, if your TV lacks the necessary audio output connections or doesn’t support the required audio formats, you may need to consider alternative options such as using an HDMI audio extractor or upgrading your TV.
Having ensured compatibility between your Vizio TV and surround sound system, you can now proceed with the setup process. In the following steps, we will guide you through the necessary connections and configurations to create a seamless audio experience.
Step 2: Gather the necessary equipment
Now that you’ve verified the compatibility between your Vizio TV and surround sound system, it’s time to gather the necessary equipment. Here’s a list of items you’ll need:
- Surround Sound Receiver: This is the central component of your audio setup. It acts as the hub for connecting your speakers and audio sources. Make sure you have a surround sound receiver that supports the audio formats you’ll be using.
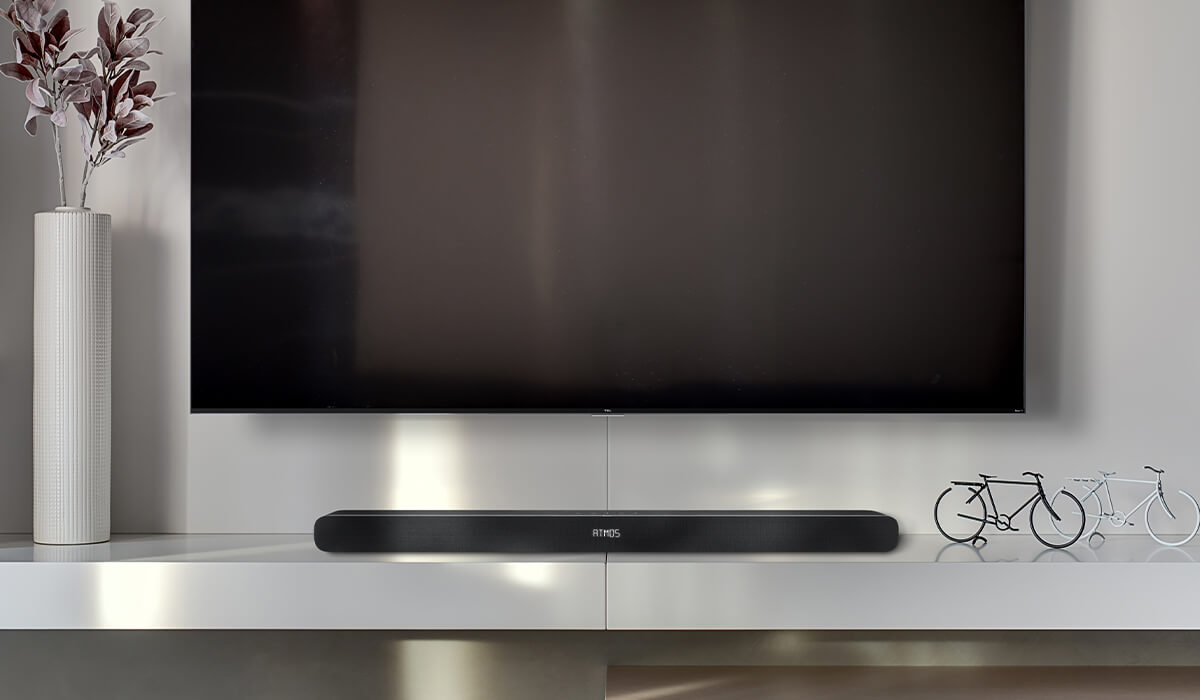
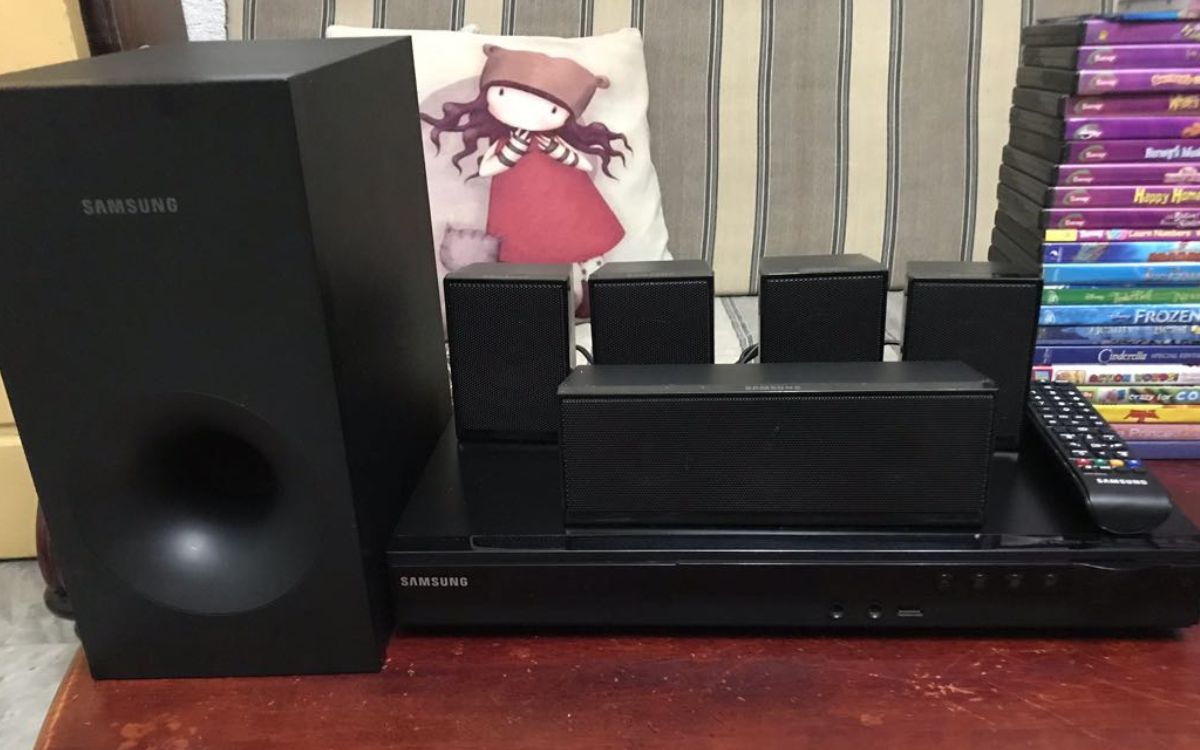
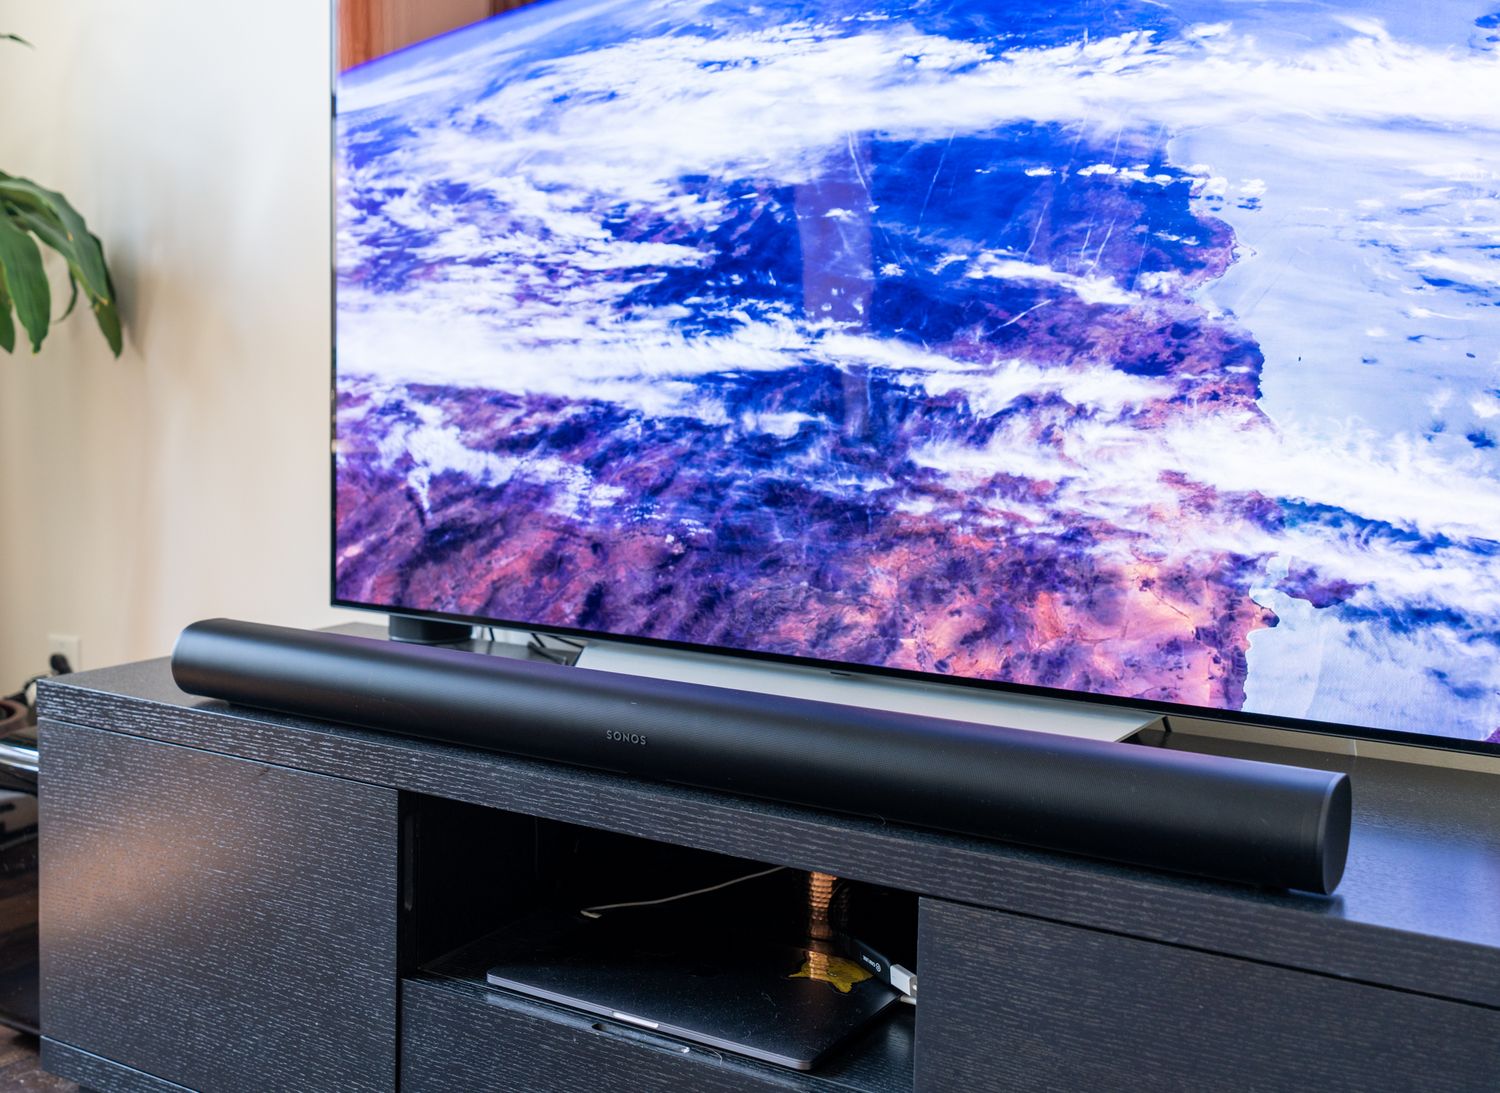
- Speakers: Choose a set of speakers that match your listening preferences and room size. Typical configurations include a center channel speaker, two front speakers, two rear speakers, and a subwoofer for deep bass. You can also opt for a soundbar system that combines all the speakers into one sleek unit.
- HDMI Cable: An HDMI cable is essential for transmitting both audio and video signals from your TV to the surround sound receiver. Make sure you have a high-quality HDMI cable that supports the latest standards, such as HDMI 2.0 or higher.
- Audio Cables: Depending on the available audio outputs on your TV and surround sound receiver, you may need additional cables such as optical audio cables or RCA cables. Ensure you have the appropriate cables to connect your devices.
- Remote Control: Check if your surround sound receiver comes with a dedicated remote control. Some receivers also offer smartphone apps that allow you to control the system wirelessly.
- Mounting Hardware: If you plan to mount your speakers on the wall or ceiling, make sure you have the necessary hardware, such as brackets or speaker mounts, to securely install them.
By gathering these equipment, you’ll have everything you need to proceed with the setup process. Once you have everything ready, it’s time to move on to the next step: connecting the HDMI cable between your Vizio TV and surround sound receiver.
Step 3: Connect the HDMI cable
Connecting the HDMI cable between your Vizio TV and surround sound receiver is a crucial step in ensuring the transmission of audio and video signals. Follow these steps to establish the connection:
- Identify HDMI ARC port: Look for the HDMI ARC port on your Vizio TV. This port is specifically designed for connecting audio devices, such as a surround sound receiver. It is usually labeled as “HDMI ARC” or “Audio Return Channel”. Refer to your TV’s user manual if you’re unsure about the location of this port.
- Identify HDMI ARC port on receiver: Locate the HDMI ARC port on your surround sound receiver. It is typically labeled as “HDMI ARC” or “Audio Return Channel”. Ensure that the receiver is turned off before making the connection.
- Connect the HDMI cable: Take one end of the HDMI cable and plug it into the HDMI ARC port on your Vizio TV. Then, connect the other end of the cable to the HDMI ARC port on your surround sound receiver.
- Power on the devices: Turn on your Vizio TV and surround sound receiver. Make sure to select the appropriate HDMI input on your TV to access the audio and video signals from the receiver.
Once the HDMI cable connection is established, your Vizio TV will be able to transmit audio signals to the surround sound receiver, allowing you to enjoy the immersive sound experience. However, there are still a few more steps to complete the setup process and configure the audio settings on your TV. Let’s move on to the next step!
Step 4: Configure the audio settings on your Vizio TV
After connecting the HDMI cable between your Vizio TV and surround sound receiver, it’s time to configure the audio settings on your TV to ensure that the sound is properly routed to the surround sound system. Follow these steps to configure the audio settings:
- Access the audio settings: Use your TV’s remote control to navigate to the audio settings menu. This can usually be done by pressing the “Menu” button and selecting the “Audio” or “Sound” option.
- Select the audio output: In the audio settings menu, find the “Audio Output” or “Sound Output” option. Choose the HDMI ARC or the appropriate audio output option that corresponds to the HDMI connection you made earlier with the surround sound receiver.
- Enable audio formats: Look for the “Audio Format” or “Sound Format” option in the audio settings menu. Make sure to enable the audio formats that your surround sound system supports, such as Dolby Digital or DTS. Refer to your TV’s user manual for specific instructions on enabling audio formats.
- Adjust volume control: Some TVs have the option to adjust the volume control for the HDMI ARC or audio output. Check for a “Volume Control” or “Audio Control” option and make sure it’s set appropriately. You may also want to disable any volume leveling or dynamic range compression to preserve the surround sound experience.
- Save and exit: Once you’ve adjusted the audio settings, save the changes and exit the menu. Your Vizio TV is now configured to send audio signals to the surround sound system.
Congratulations! You have successfully configured the audio settings on your Vizio TV to work with the surround sound system. Now, let’s move on to the next step: connecting the speakers to the receiver.
Step 5: Connect the speakers to the receiver
Now that your Vizio TV is properly configured to work with the surround sound system, it’s time to connect the speakers to the receiver. Follow these steps to ensure a seamless connection:
- Identify the speaker terminals: On the back of your surround sound receiver, locate the speaker terminals. These are usually labeled with corresponding channels, such as “Front Left”, “Front Right”, “Center”, “Rear Left”, and “Rear Right”.
- Match the speaker terminals: Take a look at the back of each speaker to identify the matching terminals. The terminals on the speakers should be labeled with the corresponding channels.
- Connect the speakers: Take the speaker wires (usually included with the speakers) and strip off a small portion of insulation from each wire. Insert the bare wire into the corresponding speaker terminal on the receiver, making sure to match the positive (+) and negative (-) terminals correctly.
- Secure the connections: Once the wires are inserted into the terminals, tighten the terminal screws to secure the connections. Ensure that there is a good, tight connection for optimal sound quality.
- Repeat for all speakers: Repeat the above steps for each speaker in your surround sound system, connecting them to the appropriate channels on the receiver. This typically includes front, center, and rear speakers, as well as a subwoofer if you have one.
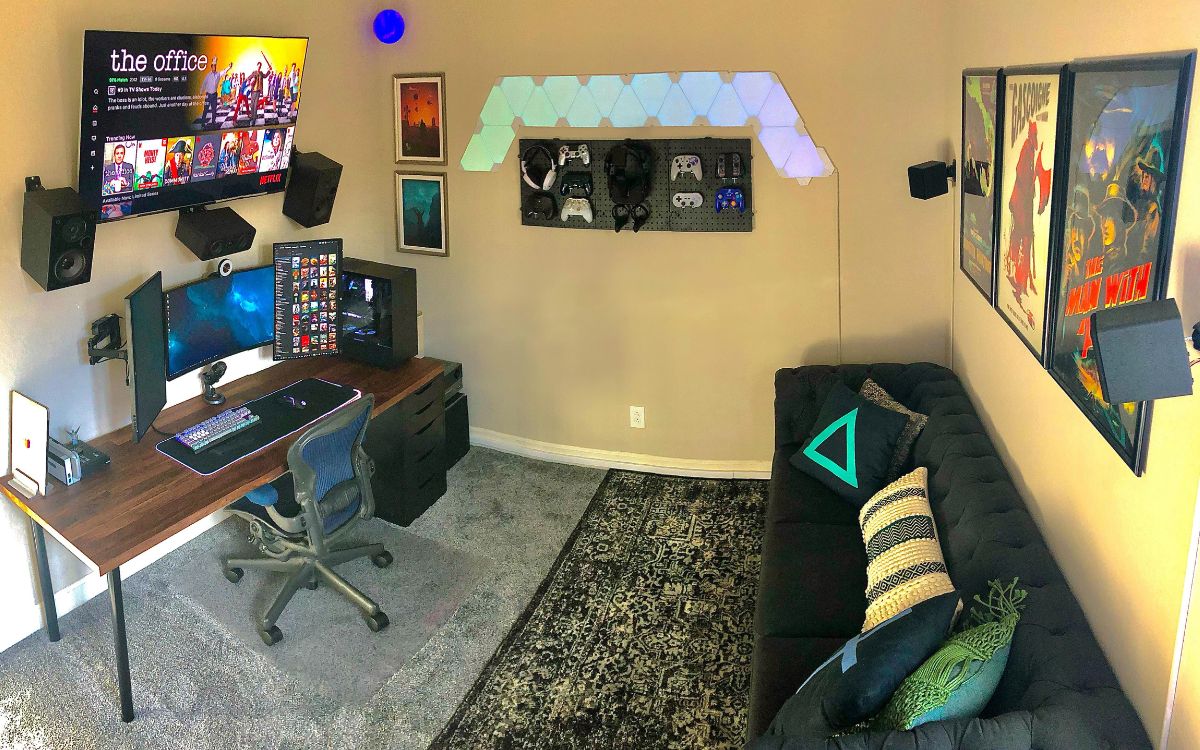
- Position the speakers: Place the speakers in their desired locations around the room. Follow general guidelines for speaker placement, such as having the front speakers at ear-level and the rear speakers behind the listening area. Experiment with positioning to achieve the best sound balance.
- Verify the connections: Double-check all the speaker connections to ensure they are secure. Loose connections can result in poor sound quality or no sound at all.
After following these steps, your surround sound speakers should be connected to the receiver, ready to deliver immersive audio. Now, let’s move on to the next step: adjusting the speaker settings.
Step 6: Adjust the speaker settings
Now that your surround sound speakers are connected to the receiver, it’s important to adjust the speaker settings to optimize the audio performance. Follow these steps to fine-tune the speaker settings:
- Access the speaker settings: Using your surround sound receiver’s remote control or front panel, access the speaker settings menu. This can usually be done by pressing the “Menu” button and selecting the “Speaker Setup” or “Audio Settings” option.
- Configure speaker size: In the speaker settings menu, you’ll have the option to specify the size of each speaker. Typically, you can choose from options like “Small” or “Large”. Select the appropriate size based on the capabilities of your speakers. This setting helps the receiver send the correct frequencies to each speaker for optimal performance.
- Set speaker distance: Input the distance between each speaker and your listening position in the speaker settings menu. This helps the receiver adjust the sound delay for accurate sound localization.
- Adjust channel levels: Many receivers offer channel level adjustments to balance the volume output for each speaker. Use the volume control settings to increase or decrease the output level for individual channels. This helps ensure that the sound is evenly distributed across all speakers.
- Enable calibration: Some receivers have built-in calibration systems that use a microphone to automatically optimize the speaker settings. Follow the instructions provided with your receiver to run the calibration process if available.
- Test the speaker setup: Most receivers have a built-in test tone feature that allows you to hear a sound from each speaker individually. Use this feature to ensure that all speakers are functioning correctly and positioned correctly in the room.
- Save and exit: Once you’ve adjusted the speaker settings, save the changes and exit the menu. Your surround sound system is now configured to deliver an immersive and balanced audio experience.
By adjusting the speaker settings, you can fine-tune the performance of your surround sound system, ensuring that the audio is optimized for your room and personal preferences. Now, let’s move on to the final step: testing the surround sound system.
Step 7: Test the surround sound system
After setting up and configuring your surround sound system, it’s essential to test it to ensure everything is working correctly. Follow these steps to perform a system test:
- Play a test source: Choose a test source that is specifically designed to demonstrate surround sound capabilities. This can be a surround sound test video, a movie trailer, or a video game with immersive audio.
- Adjust volume levels: Start with the volume levels set to a moderate level. This allows you to increase or decrease the volume based on your preferences during the test.
- Listen for sound from each speaker: Pay close attention to the sound coming from each speaker in your surround sound system. Make sure that sound is being delivered from the correct speakers, as per their designated channels (front, center, rear, and subwoofer).
- Ensure sound balance and imaging: As you listen to the test source, check for a balanced sound distribution across all speakers. The front speakers should provide clear dialogue, while the rear speakers should create a sense of spaciousness and enveloping sound. The subwoofer should deliver deep and impactful bass.
- Check for synchronization issues: Verify that there are no noticeable delays or synchronization issues between the audio and video. If there is a mismatch, consult your receiver’s settings to adjust the audio delay, if possible.
- Make adjustments as needed: Based on your observations during the test, make any necessary adjustments to the speaker levels, positioning, or settings. Fine-tuning may be required to achieve the desired sound quality.
- Repeat the test with different content: Test your surround sound system with a variety of content, such as movies, TV shows, and music, to ensure that it performs consistently across different media types. This will give you a better understanding of its capabilities and limitations.
By thoroughly testing your surround sound system, you can identify any issues and make necessary adjustments to enhance the audio experience. Remember, experimentation and fine-tuning can significantly improve the performance of your system.
Congratulations! You have successfully set up and tested your surround sound system with your Vizio TV. Sit back, relax, and enjoy the immersive audio experience that your surround sound system provides. Happy watching and listening!
Conclusion
Setting up a surround sound system for your Vizio TV can be a rewarding experience that elevates your entertainment to new heights. By following the steps outlined in this guide, you’ve successfully learned how to hook up a surround sound system to your Vizio TV.
Starting with checking the compatibility between your TV and surround sound system, you then gathered the necessary equipment to create a fully immersive audio setup. You connected the HDMI cable between your TV and receiver, configured the audio settings on your TV, and seamlessly connected the speakers to the receiver.
Afterwards, you adjusted the speaker settings to optimize audio performance and conducted a thorough test to ensure everything was working correctly. By testing your surround sound system with different content, you guarantee a consistent and captivating audio experience across various media types.
By investing the time and effort into setting up a surround sound system, you have transformed your living room into a personal theater, allowing you to immerse yourself in movies, TV shows, and games like never before. The rich and dynamic audio created by your surround sound system envelops you in a three-dimensional soundscape, enhancing the realism and enjoyment of your multimedia experiences.
Remember to fine-tune your system as needed, experiment with positioning and settings, and stay up to date with the latest audio technologies and formats to make the most out of your surround sound setup.
Now that you have successfully set up your surround sound system, get ready to sit back, relax, and enjoy an audio experience that will bring your entertainment to life. Happy surround sound listening!