Home>Production & Technology>Surround Sound>How To Hookup Surround Sound
Surround Sound
How To Hookup Surround Sound
Modified: February 18, 2024
Learn how to hookup surround sound for an immersive audio experience at home. Get step-by-step instructions and expert tips for setting up your surround sound system.
(Many of the links in this article redirect to a specific reviewed product. Your purchase of these products through affiliate links helps to generate commission for AudioLover.com, at no extra cost. Learn more)
Table of Contents
Introduction
Surround sound systems have revolutionized the way we experience audio in our homes. Whether you’re watching a movie, playing a video game, or listening to music, a high-quality surround sound setup can take your entertainment to the next level by immersing you in a rich and immersive audio landscape.
However, setting up a surround sound system can be intimidating for beginners. With all the wires, speakers, and connections involved, it’s easy to feel overwhelmed. But fear not! In this article, we’ll guide you through the process of hooking up a surround sound system, step by step.
Before we dive into the nitty-gritty, it’s important to understand the basic components of a surround sound system. The core of the system is the AV (Audio/Video) receiver, which acts as the hub for all your audio and video sources. It receives the audio signals and distributes them to the various speakers in your setup.
Speaking of speakers, a typical surround sound system consists of multiple speakers strategically placed around your listening area. These speakers work together to create a three-dimensional sound experience, where sounds can be heard from different directions, adding depth and realism to your audio.
Now that you have a basic understanding of what a surround sound system entails, let’s get into the detailed steps required to hook it up. By the end of this article, you’ll be well-equipped to enjoy your favorite movies, games, and music with the immersive sound quality that only a surround sound system can provide.
Step 1: Gather the necessary equipment
Before you can start setting up your surround sound system, you’ll need to ensure that you have all the necessary equipment on hand. Here’s a list of the essential components you’ll need:
- AV Receiver: This is the heart of your surround sound system. Look for a receiver that supports the latest audio formats and has enough channels to accommodate your speaker setup.
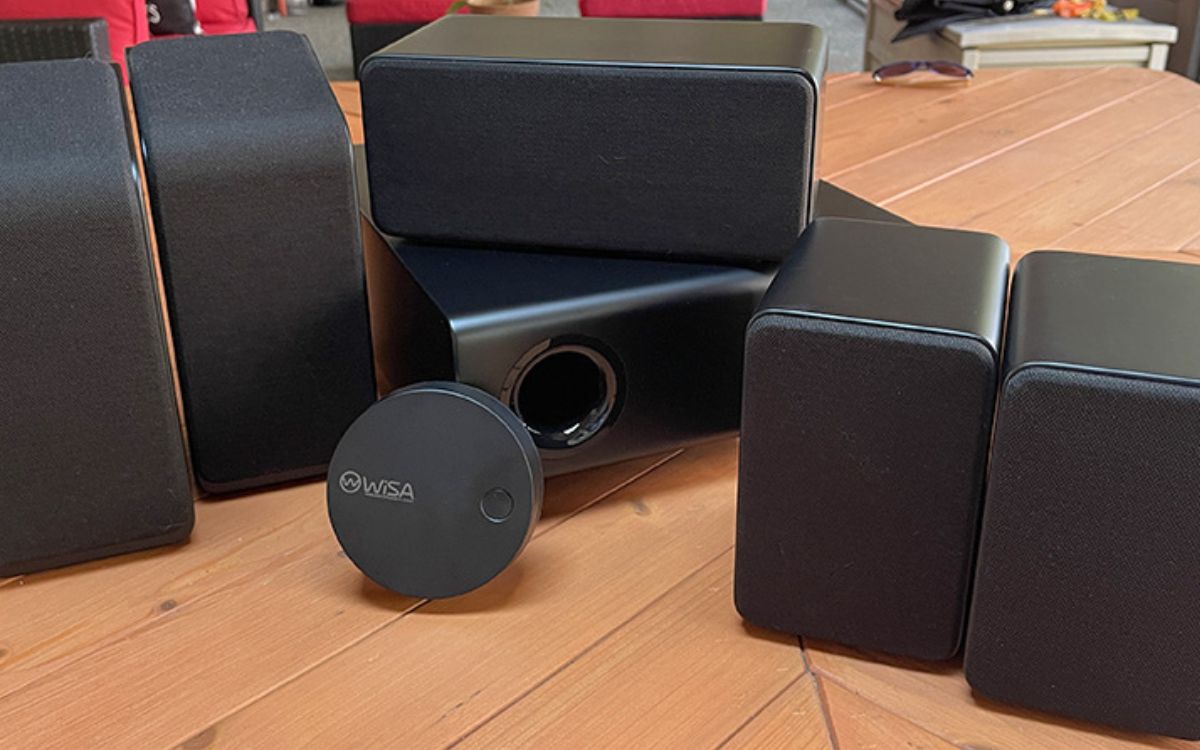
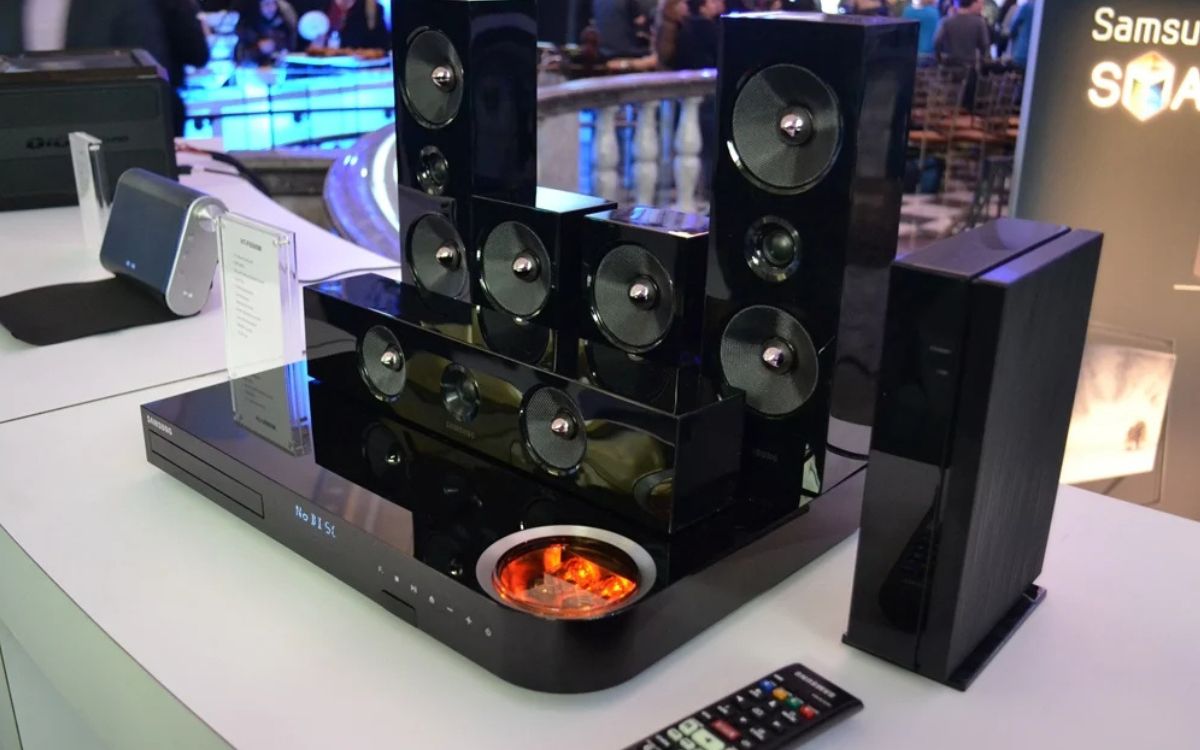
- Speakers: The number and type of speakers you’ll need will depend on the specific surround sound configuration you want to achieve. A typical setup includes front speakers, center speaker, surround speakers, and a subwoofer for low-frequency effects.
- Speaker Wire: High-quality speaker wire is essential for reliable and clear audio transmission. Make sure to choose wire with the appropriate gauge and length for your room.
- HDMI or Optical Cables: These cables will be used to connect your AV receiver to your TV and other audio/video sources. Ensure that you have enough cables of the appropriate length.
- Subwoofer Cable: If your subwoofer doesn’t have a wireless option, you’ll need a subwoofer cable to connect it to your AV receiver.
- TV: A high-definition television is recommended to fully enjoy the visual aspect of your entertainment. Ensure that your TV has the necessary audio output ports.
- Audio/Video Sources: This could include devices like Blu-ray players, gaming consoles, streaming devices, or cable/satellite boxes. Make sure you have the necessary cables to connect these devices to your AV receiver.
- Remote Control: Check if your AV receiver comes with a remote control or consider investing in a universal remote for ease of use.
Once you have gathered all the necessary equipment, make sure to read through the user manuals and familiarize yourself with the setup process. This will help you understand the connections and settings required for your specific equipment.
With everything ready to go, you’re now prepared to move on to the next step: positioning the speakers. Ensure that you have enough space in your room and an ideal layout to maximize the surround sound experience.
Step 2: Position the speakers
The placement of your speakers is crucial for achieving optimal surround sound performance. Each speaker in your setup has a specific role to play in delivering an immersive audio experience. Here are some general guidelines for speaker placement:
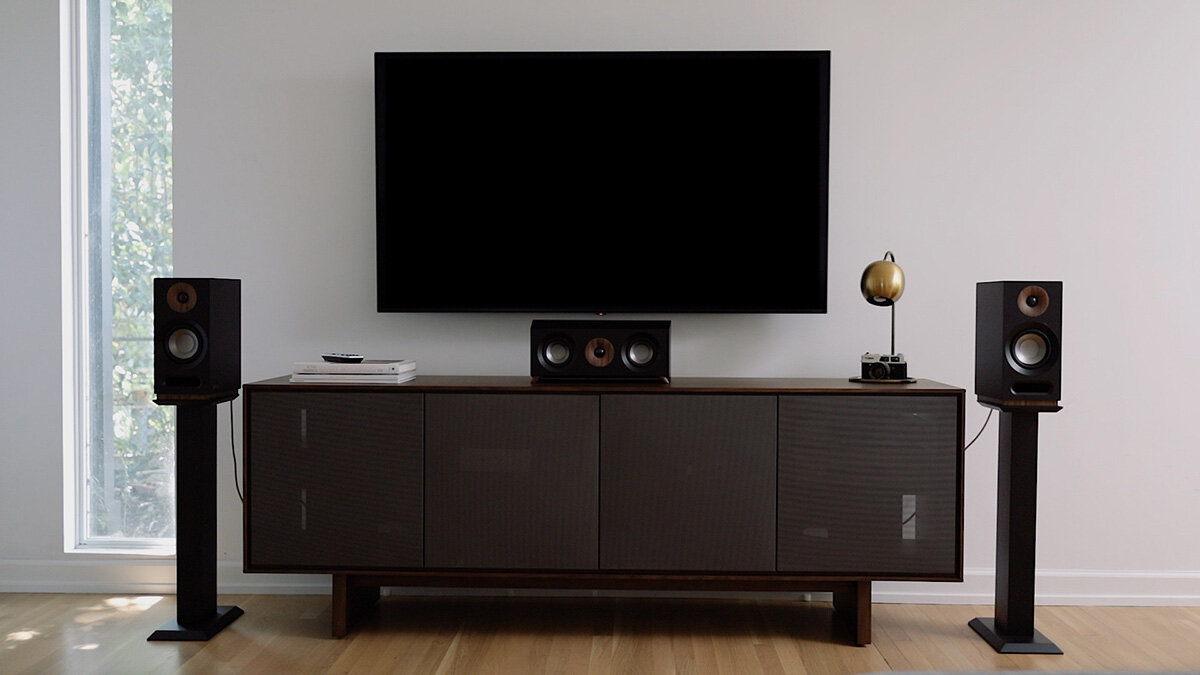
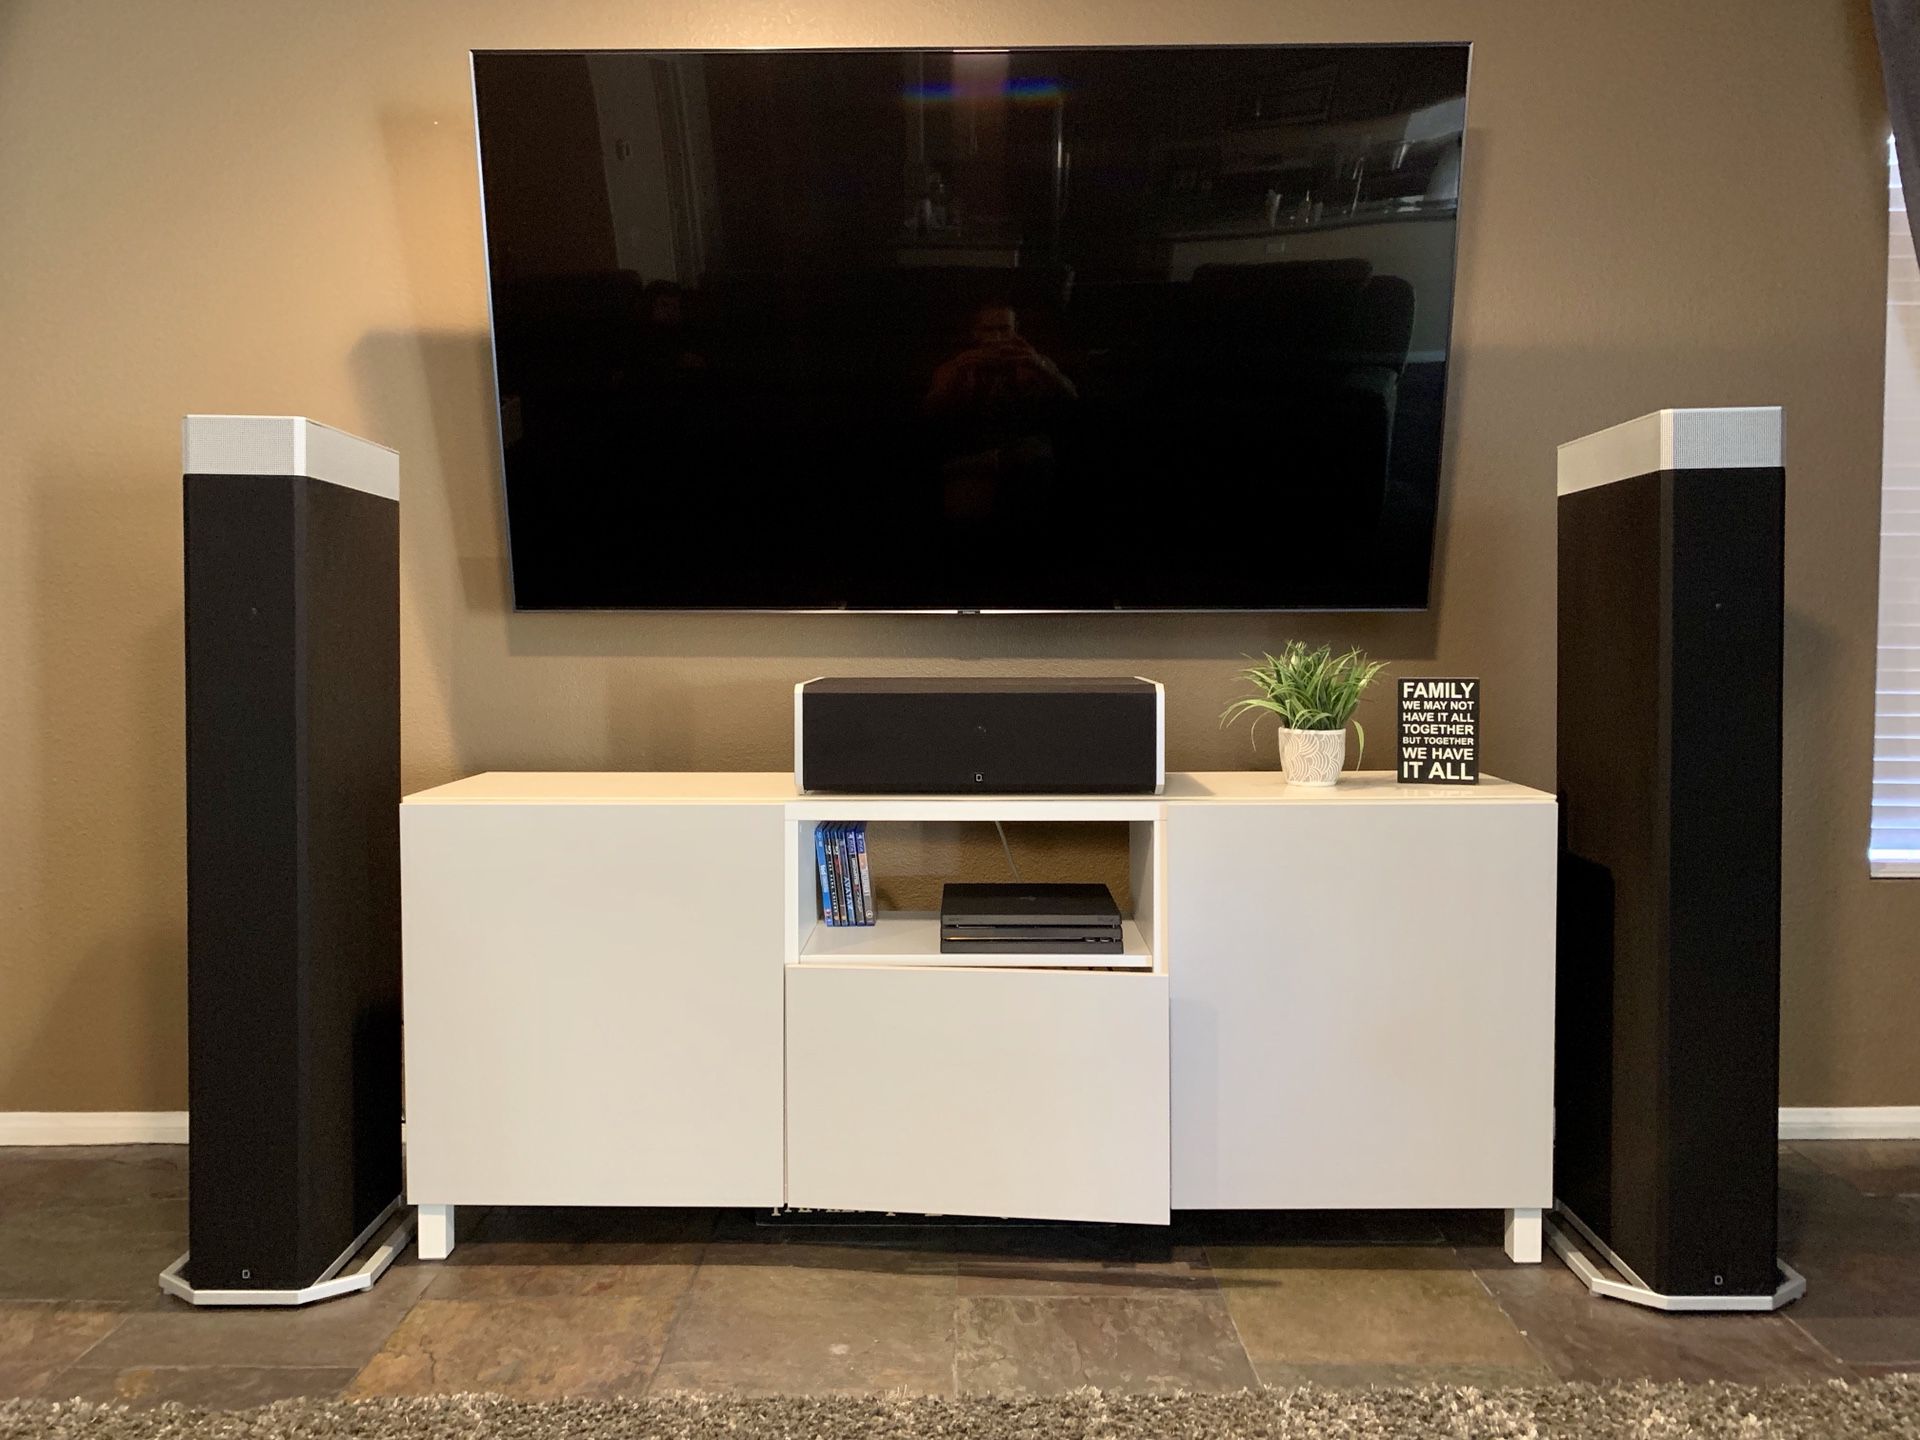
- Front speakers: These speakers should be placed on either side of your TV or projection screen, facing the seating area. Position them at ear level or slightly higher for the best sound projection.
- Center speaker: The center speaker should be positioned directly above or below your TV, with its tweeter aligned with ear level. This speaker is responsible for delivering dialogue and other central sounds.
- Surround speakers: For a typical 5.1 surround sound setup, the surround speakers should be placed to the sides or slightly behind the seating area. Aim to position them at ear level or slightly higher, pointing towards the center of the room.
- Subwoofer: The subwoofer can be placed anywhere in the room, as low-frequency sounds are non-directional. Experiment with different locations to find the spot that offers the best bass response.
It’s worth noting that the specific layout and size of your room may require some adjustments to these general guidelines. Additionally, different speaker systems may have their own recommendations for positioning. Consulting the user manuals for your speakers can provide more specific guidelines tailored to your setup.
Once you have positioned your speakers, take the time to perform some basic speaker calibration. Most AV receivers come with automatic calibration systems that analyze and adjust the sound output based on your room’s acoustics. Follow the instructions in your receiver’s manual to optimize the audio performance of your speakers.
With your speakers positioned and calibrated, you’re one step closer to enjoying the full surround sound experience. Next, we’ll move on to connecting the speakers to your AV receiver.
Step 3: Connect the speakers to the AV receiver
Now that you have your speakers positioned, it’s time to connect them to your AV receiver. This step is crucial for ensuring that the audio signals are properly transmitted to each speaker. Here’s how to do it:
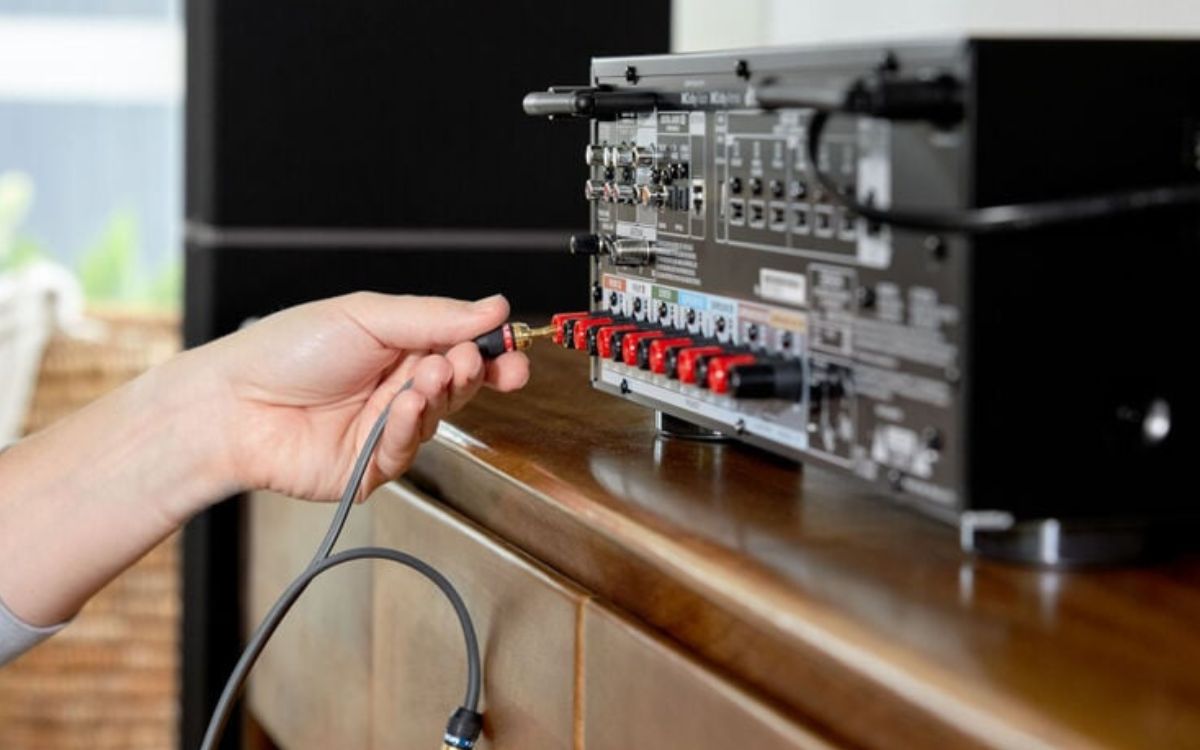
- Start by identifying the speaker terminals on the back of your AV receiver. Each speaker channel will have a corresponding terminal, typically labeled with a letter or number.
- Take the speaker wire and strip off a small portion of insulation from each end, exposing the metallic wire. Make sure the exposed wire is clean and free from frayed ends.
- For each speaker, insert the exposed wire into the corresponding speaker terminal on the AV receiver. Ensure that the wire is securely connected and that there is good contact between the wire and the terminal.
- Repeat this process for all of your speakers, connecting them to the appropriate terminals on the AV receiver.
- If you have a powered subwoofer, connect it to the dedicated subwoofer output on the AV receiver using a subwoofer cable. Again, ensure a secure connection.
When connecting the speakers, it’s important to observe proper polarity. This means that the positive terminal on the AV receiver should be connected to the corresponding positive terminal on the speaker, and the same goes for the negative terminals. Mixing up the polarity can result in phase cancellation and negatively impact the audio quality.
Some speakers may have color-coded terminals or markings to indicate polarity. Pay attention to these indicators and ensure consistent polarity across all your speakers.
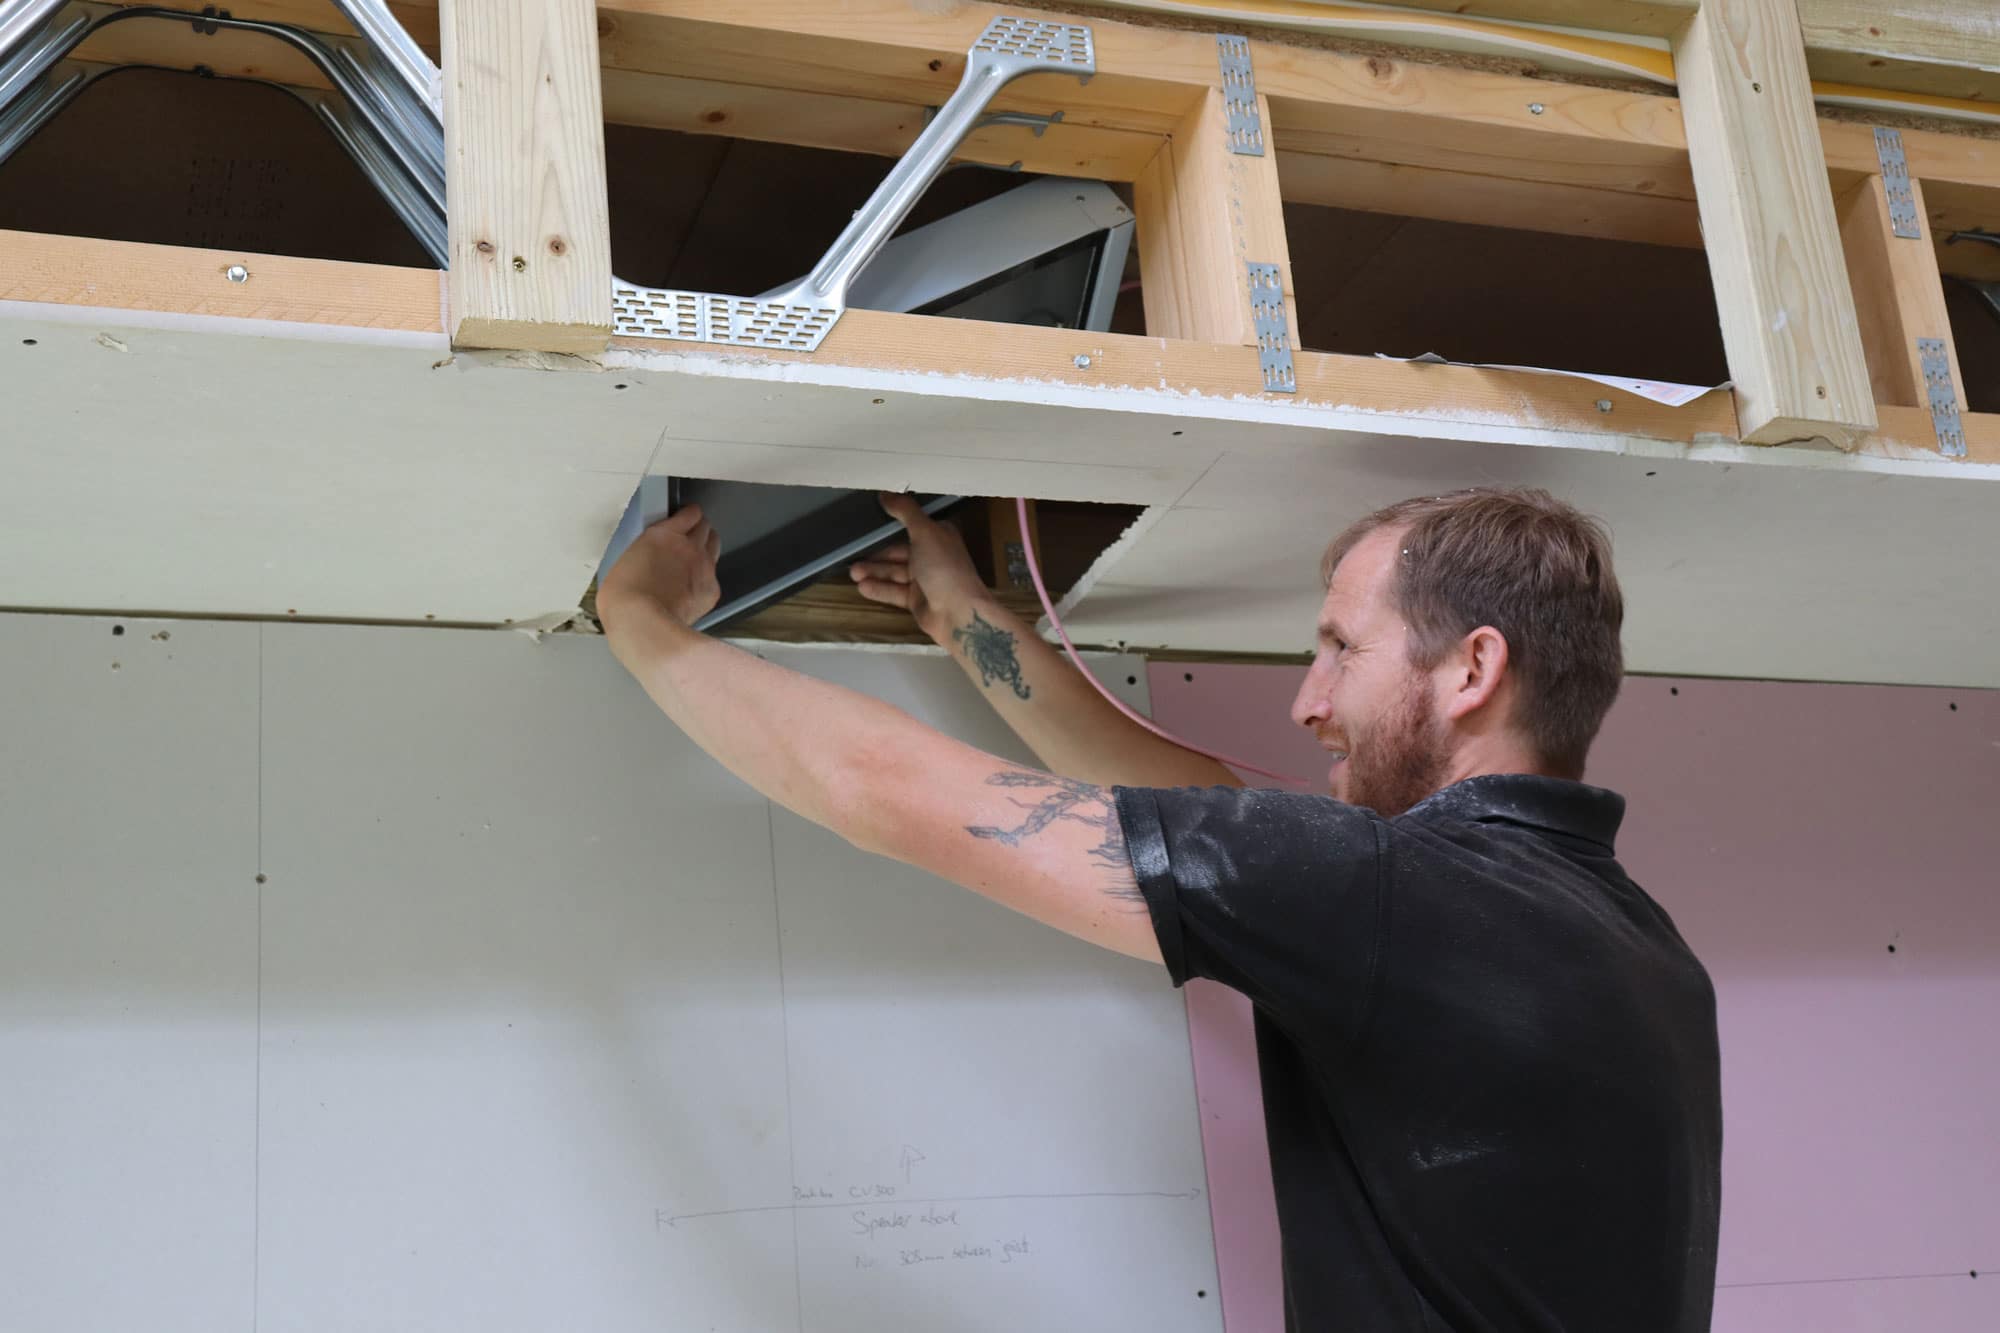
Once all the speakers are connected, make sure to organize and manage the speaker wires to avoid tripping hazards or tangled cables. You can use cable management solutions or hide the wires behind furniture or walls for a clean and tidy setup.
With the speakers successfully connected to the AV receiver, you’re ready to move on to the next step: connecting the AV receiver to your TV.
Step 4: Connect the AV receiver to the TV
Now that you have your speakers connected, it’s time to wire up your AV receiver to your TV. This step is crucial for ensuring that both audio and video signals are properly transmitted from your audio/video sources to your television. Follow these steps to make the necessary connections:
- Locate the HDMI or Optical output on your AV receiver. These are usually labeled and color-coded for easy identification.
- Connect one end of the HDMI or Optical cable to the corresponding output on the AV receiver.
- Identify the HDMI or Optical input on your TV. It is usually located on the back or side of the TV, and may also be labeled and color-coded.
- Connect the other end of the HDMI or Optical cable to the corresponding input on your TV.
- If you have multiple audio/video sources, such as a Blu-ray player or gaming console, repeat the above steps to connect them to the available HDMI or Optical inputs on your AV receiver.
- Once all the connections are made, power on your AV receiver and TV. Use the TV remote or the input/source button on the TV to select the appropriate input where your AV receiver is connected.
- Check the display and audio on your TV to ensure that both the video and audio signals are being transmitted correctly. If not, double-check the connections and consult the user manual for your AV receiver and TV for troubleshooting.
It’s important to note that HDMI cables are capable of carrying both audio and video signals, whereas Optical cables transmit only audio. Depending on your setup and the capabilities of your devices, choose the appropriate connection method.
In addition, if your AV receiver supports 4K video or other advanced video formats, make sure that the HDMI cables you’re using are compatible with these specifications. This ensures that you can enjoy high-resolution video without any loss in quality.
With the AV receiver connected to the TV, you’re now ready to configure the audio settings in the next step.
Step 5: Configure the audio settings
Once you have connected your AV receiver to your TV, it’s important to configure the audio settings to ensure optimal sound quality and performance. Here are the steps to follow:
- Power on your AV receiver and TV, and navigate to the audio settings menu on your TV.
- Choose the appropriate audio output option. This will typically be HDMI or Optical, depending on how you have connected your AV receiver to the TV.
- On your AV receiver, access its setup menu or settings. The specific process may vary depending on the brand and model of your receiver.
- Within the AV receiver settings, select the appropriate speaker configuration. This will depend on the number and type of speakers you have in your setup (e.g., 5.1, 7.1, etc.).
- Configure any other desired audio settings, such as speaker distance, speaker size, crossover frequency, and equalization. Refer to your AV receiver’s manual for specific instructions on these settings.
- If your AV receiver supports it, consider enabling any advanced audio features, such as Dolby Atmos or DTS:X, to take full advantage of the capabilities of your surround sound system.
- Once you have made the necessary settings adjustments, save and apply the changes.
It’s important to note that the specific menu options and settings available may vary depending on the manufacturer and model of your AV receiver. Consulting the user manual or online resources specific to your receiver can provide more detailed guidance on configuring the audio settings.
After configuring the audio settings, it’s a good idea to test your surround sound system to ensure that all speakers are functioning properly. You can do this by playing a test tone or using a surround sound test video or audio source. Make any necessary adjustments to speaker volume or settings to achieve a balanced and immersive audio experience.
With the audio settings configured and tested, you’re now ready to enjoy your surround sound system to its fullest potential. Sit back, relax, and immerse yourself in the audio experience that only a properly set up surround sound system can provide.
Step 6: Test the surround sound system
After setting up and configuring your surround sound system, it’s essential to test it to ensure that all speakers are functioning correctly and that you’re experiencing the full immersive audio experience. Follow these steps to test your surround sound system:
- Choose a source that offers surround sound content. This could be a Blu-ray movie, a video game, or a streaming service that supports surround sound.
- Play the selected content and pay attention to the audio. Make sure that the sounds are coming from the appropriate speakers as intended. For example, dialogue and central audio should come from the center speaker, while ambient sounds and effects should come from the surround speakers.
- Listen for a smooth transition of sound from one speaker to another as objects move on the screen. The sound should seamlessly travel across the front and surround speakers, creating a realistic and immersive audio experience.
- Ensure that the subwoofer is producing deep, low-frequency bass without overpowering or distorting the overall audio. Adjust the subwoofer volume or crossover settings if necessary to achieve the right balance.
- If you notice any issues, such as no sound from certain speakers or imbalanced audio, double-check the connections and settings. Consult the user manuals for your AV receiver and speakers for troubleshooting instructions.
- Make minor adjustments to the speaker levels, if needed, to achieve a well-balanced audio output. Some AV receivers offer auto-calibration features that can analyze the room’s acoustics and make these adjustments automatically.
- Continue testing your surround sound system with various types of content, such as movies with different audio tracks or video games with varying sound effects. This will allow you to further fine-tune the settings and ensure consistent audio performance across different sources.
Testing your surround sound system not only helps you identify and fix any issues but also allows you to appreciate the immersive audio experience it delivers. Take the time to adjust and personalize the settings according to your preferences, ensuring that you’re fully satisfied with the audio performance.
Remember that every room and setup is unique, so it may take some trial and error to achieve the optimal sound quality. Don’t be afraid to experiment and make changes until you achieve the desired surround sound experience.
Congratulations! You have successfully set up and tested your surround sound system. Now, sit back, relax, and enjoy the immersive audio that will bring your movies, games, and music to life.
Conclusion
Setting up a surround sound system may seem intimidating at first, but with the right equipment, positioning, and configuration, you can create an immersive audio experience that will enhance your entertainment like never before. By following the steps outlined in this article, you can confidently hook up your surround sound system and enjoy high-quality audio in the comfort of your own home.
Remember to gather all the necessary equipment, including an AV receiver, speakers, speaker wire, HDMI or Optical cables, and a TV. Position your speakers strategically to achieve optimal sound projection, and ensure they are securely connected to the AV receiver using proper polarity. Connect the AV receiver to your TV, configuring the audio settings and testing the system to ensure everything is functioning as desired.
Throughout the process, don’t be afraid to consult user manuals or online resources specific to your equipment for additional guidance and troubleshooting. Fine-tune the audio settings to your preferences and test the surround sound system with different content to fully immerse yourself in the audio experience.
With a properly set up surround sound system, you can enjoy movies, games, and music in a whole new way. The rich, three-dimensional sound will transport you into the heart of the action, adding depth, detail, and realism to your entertainment.
So, gather your equipment, position your speakers, connect everything together, configure the settings, and start enjoying the immersive audio experience of surround sound. Get ready to be amazed at how a well-designed surround sound system can truly transform your home entertainment.