Home>Production & Technology>Surround Sound>How To Connect Rca Surround Sound To TV

Surround Sound
How To Connect Rca Surround Sound To TV
Published: December 22, 2023
Learn how to connect RCA surround sound to your TV and enhance your audio experience. Step-by-step guide for setting up surround sound systems.
(Many of the links in this article redirect to a specific reviewed product. Your purchase of these products through affiliate links helps to generate commission for AudioLover.com, at no extra cost. Learn more)
Table of Contents
Introduction
Welcome to our guide on how to connect RCA surround sound to your TV. Whether you enjoy watching movies, playing video games, or simply want to enhance your audio experience, connecting your TV to a surround sound system can greatly enhance the immersive sound quality. Surround sound systems provide a multi-dimensional audio experience, with speakers placed strategically around the room to create a more realistic and immersive soundstage. RCA cables, also known as composite cables, are a common choice for connecting audio devices due to their simplicity and wide compatibility.
In this article, we will walk you through the step-by-step process of connecting RCA surround sound to your TV. We will explain the necessary equipment, guide you through the connection process, and provide tips for adjusting audio settings. By the end of this guide, you’ll be able to enjoy the cinematic sound quality of your surround sound system while watching your favorite TV shows, movies, or playing games.
Before we dive into the steps, it’s important to note that the specific instructions may vary depending on the model and make of your TV and surround sound system. It’s always recommended to consult the user manuals for your specific devices for any additional instructions or troubleshooting steps.
Step 1: Gather necessary equipment
Before you can connect your RCA surround sound system to your TV, you will need to gather the necessary equipment. Here’s what you’ll need:
- RCA cables: These cables have red and white connectors (or sometimes red and black connectors) on both ends. The length of the cables will depend on the distance between your TV and surround sound system. Make sure to choose high-quality cables for optimal sound transmission.
- TV: The TV should have an available audio output. Most modern TVs have multiple audio output options, including RCA, HDMI ARC (Audio Return Channel), or optical audio. Make sure to check your TV’s specifications to determine the available audio outputs.
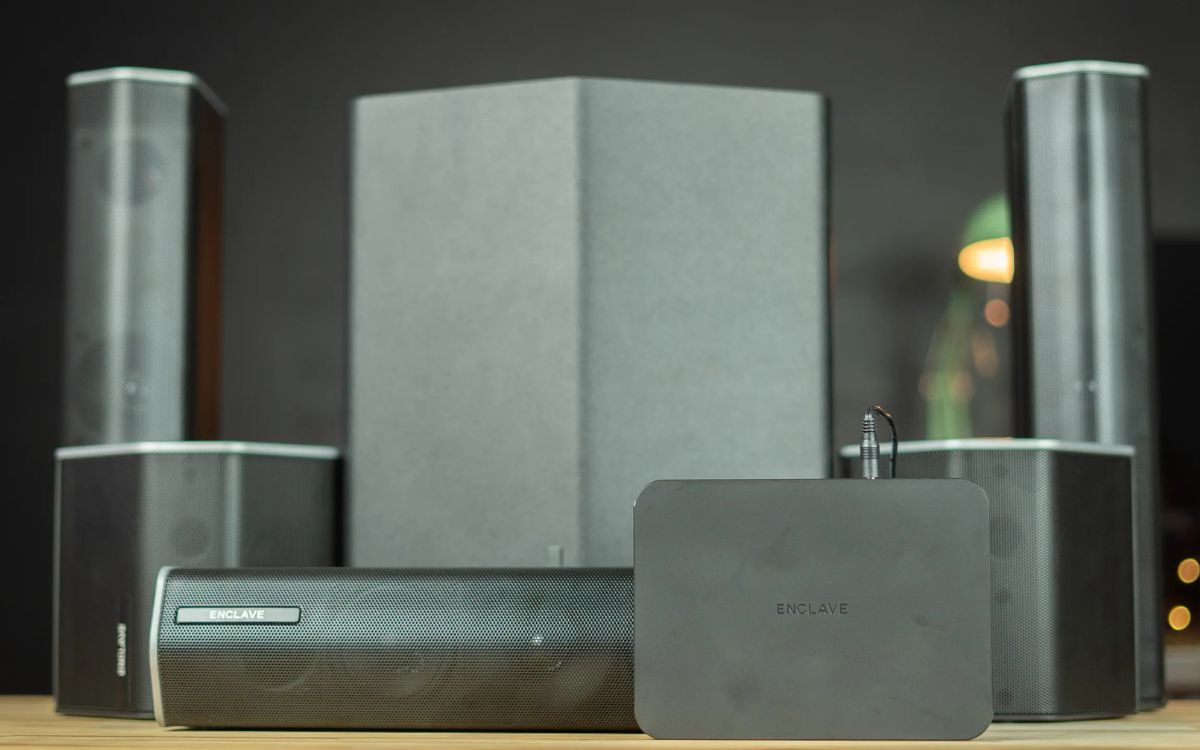
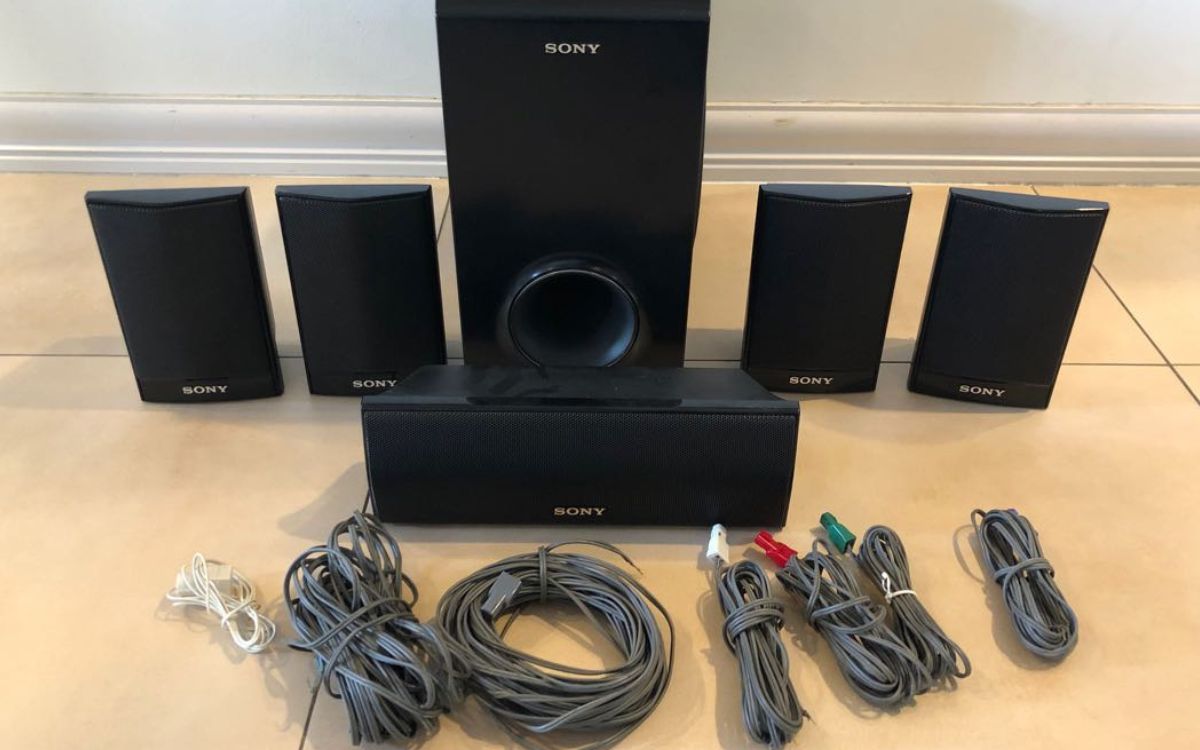
- Surround sound system: This includes the main receiver, speakers, and subwoofer. Depending on the model, it may also include additional components such as a Blu-ray player, amplifier, or soundbar. Ensure that your surround sound system supports RCA audio connections.
- Power cables and adapters: Make sure to have the necessary power cables and adapters for both your TV and surround sound system. These will vary depending on your specific devices.
Once you have gathered all the necessary equipment, you can proceed with the next steps to connect your RCA surround sound system to your TV.
Step 2: Locate audio output on the TV
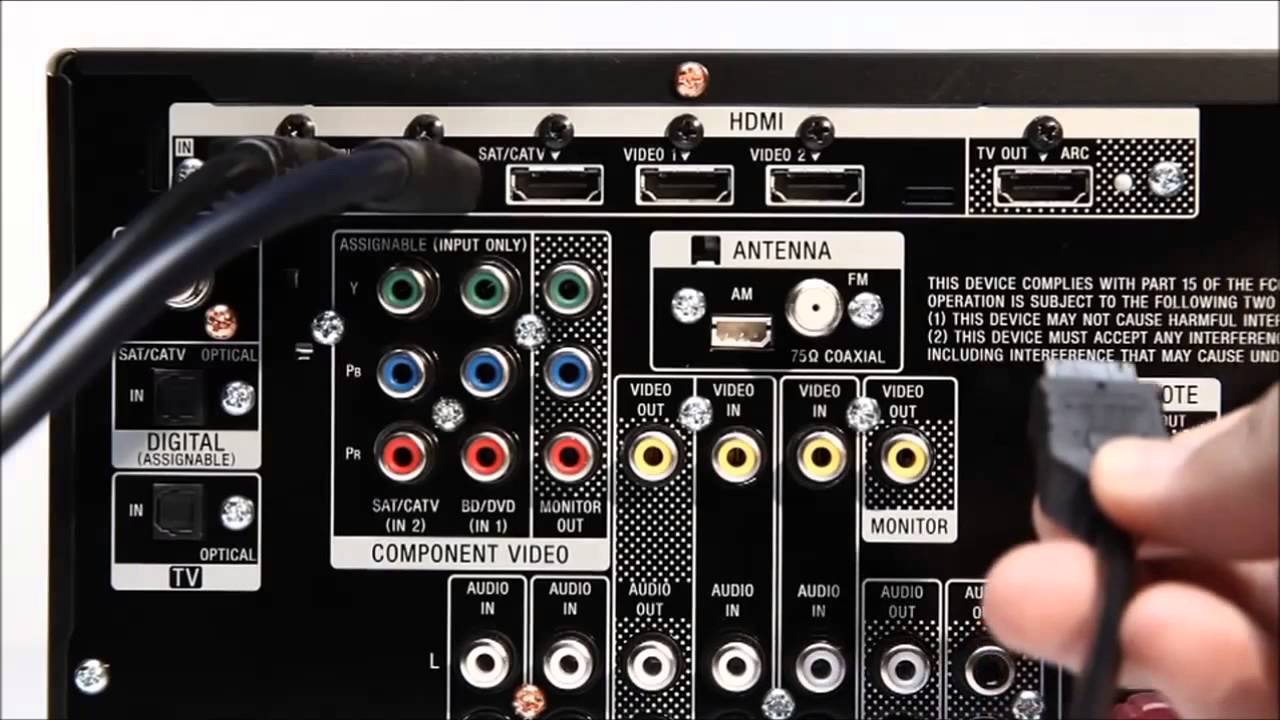
Once you have gathered the necessary equipment, the next step is to locate the audio output on your TV. The audio output is where you will connect the RCA cables to transmit the audio signal from your TV to the surround sound system. The location of the audio output may vary depending on the make and model of your TV, but here are some common audio output options:
- RCA output: Many older TVs have RCA audio output ports, which are typically color-coded red and white. These ports are labeled “Audio Out” or “Line Out.” Make sure to identify whether your TV has RCA output and locate the corresponding ports.
- HDMI ARC: If your TV supports HDMI ARC, you can use this option for audio transmission. HDMI ARC stands for Audio Return Channel, allowing both audio and video signals to be transmitted through a single HDMI cable. Look for an HDMI port labeled “ARC” on your TV.
- Optical audio output: Some TVs come with optical audio output, which uses a square-shaped port. It is labeled as “Optical Out” or “Digital Audio Out.” If your TV has this output, you can also use an optical cable to connect to your surround sound system.
Once you have identified the audio output on your TV, you are ready to proceed to the next step of connecting the RCA cables.
Step 3: Connect RCA cables to the TV
Now that you have located the audio output on your TV, it’s time to connect the RCA cables. Follow these steps to connect the RCA cables to your TV:
- Identify the RCA output ports on your TV. These ports are typically color-coded and labeled as “Audio Out” or “Line Out.”
- Take the red RCA cable and plug one end into the red output port on the TV. Make sure to match the color of the cable with the corresponding port.
- Take the white (or black) RCA cable and plug one end into the white (or black) output port on the TV. Again, match the color of the cable with the corresponding port.
- If your TV supports stereo sound, you can now proceed to connect the other end of the RCA cables to the stereo input ports on your surround sound system. The stereo input ports on the surround sound system are typically labeled as “Audio In” or “Line In.” Make sure to match the colors of the cables with the corresponding input ports.
- If your TV supports surround sound, you may have additional RCA output ports for the center, rear, or subwoofer channels. In this case, you will need additional RCA cables to connect these channels to the corresponding input ports on your surround sound system.
Once you have connected the RCA cables from your TV to the surround sound system, you are ready to move on to the next step of connecting the RCA cables to the surround sound system.
Step 4: Connect RCA cables to the surround sound system
With the RCA cables connected to the TV, the next step is to connect them to the surround sound system. Follow these steps:
- Locate the RCA input ports on your surround sound system. These ports are typically labeled as “Audio In” or “Line In.”
- Take the other end of the RCA cables (the end connected to the TV) and plug the red cable into the corresponding red input port on the surround sound system.
- Plug the white (or black) cable into the corresponding white (or black) input port on the surround sound system. Make sure to match the colors of the cables with the corresponding input ports.
- Repeat the above steps for any additional RCA output ports on your TV, such as for center, rear, or subwoofer channels, if applicable. Connect these additional RCA cables to the respective input ports on your surround sound system.
- Ensure that the RCA cables are securely inserted into the ports on both the TV and the surround sound system. This will ensure a stable connection and optimal audio quality.
Once the RCA cables are connected to the surround sound system, you are now ready to adjust the audio settings on both your TV and surround sound system.
Step 5: Adjust audio settings on the TV and surround sound system
After connecting the RCA cables to your TV and surround sound system, it’s important to adjust the audio settings to ensure optimal sound quality. Here are the steps to follow:
- Turn on your TV and navigate to the settings menu. Look for the audio or sound settings section. The exact location and terminology may vary depending on your TV model.
- Select the audio output option that corresponds to the RCA connection. This could be labeled as “Analog” or “Line Out.” Make sure to choose the correct output option to ensure that the TV audio is transmitted through the RCA cables.
- Within the audio settings, you may have options to adjust the sound mode, equalizer settings, or surround sound options. Experiment with these settings to find the audio configuration that best suits your preferences.
- On your surround sound system, refer to the user manual to locate the audio settings. This may involve accessing a menu on the receiver or using a remote control. Adjust the audio settings on the surround sound system to match your desired sound mode, equalizer preferences, and surround sound options.
- Test the audio by playing a movie, TV show, or music through your TV. Make sure to set the volume to a comfortable level and listen for the surround sound effect. Verify that all the speakers connected to the surround sound system are producing sound.
By adjusting the audio settings on both your TV and surround sound system, you can fine-tune the sound quality to your liking and fully immerse yourself in the audio experience.
Step 6: Test the connection
Now that you’ve connected the RCA cables and adjusted the audio settings, it’s time to test the connection and ensure that everything is working properly. Here’s how you can test the connection:
- Play a video or audio source on your TV, such as a movie or music. Ensure that the volume is set to a reasonable level.
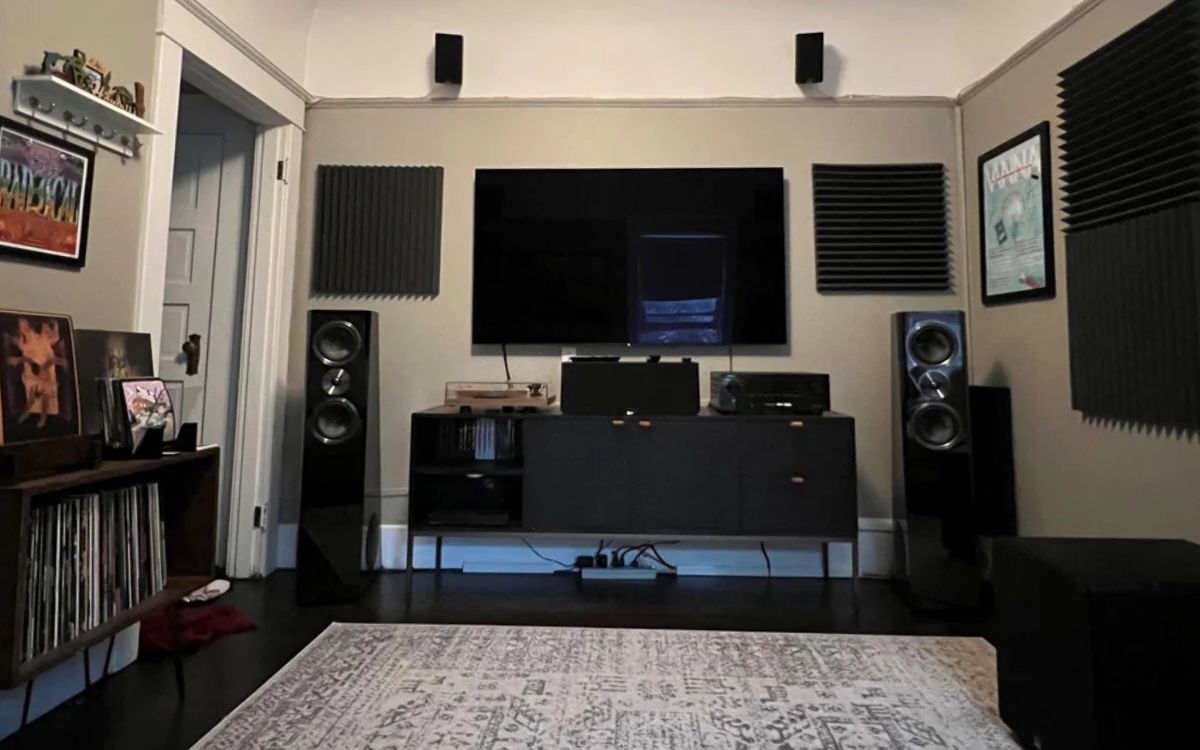
- Listen for the sound coming from the surround sound system. Pay attention to the placement of the sounds and the overall audio experience. The surround sound speakers should provide an immersive sound field, with audio coming from different directions.
- Check that the sound is balanced and the volume levels are consistent across all the speakers. Adjust the individual speaker volumes on your surround sound system, if necessary.
- If you have a subwoofer connected to your surround sound system, pay attention to the low-frequency sounds. The subwoofer should add depth and impact to the overall audio experience.
- Continue to test different audio sources, such as movies, TV shows, or games, to ensure that the surround sound system is functioning properly across various content.
- If you encounter any issues or if the audio is not as expected, double-check all the connections and audio settings. Make sure that the RCA cables are securely plugged into both the TV and the surround sound system. Also, ensure that the audio output settings on the TV and the audio settings on the surround sound system are correctly configured.
- If you’re still experiencing problems, consult the user manuals for your TV and surround sound system for additional troubleshooting steps or reach out to the manufacturer’s customer support for further assistance.
Once you are satisfied with the sound quality and everything is working as expected, you can sit back, relax, and enjoy the immersive audio experience provided by your RCA surround sound system.
Conclusion
Congratulations! You have successfully connected your RCA surround sound system to your TV. By following the steps outlined in this guide, you can now enjoy a more immersive audio experience while watching your favorite movies, TV shows, or playing games.
Remember, the key steps in connecting RCA surround sound to your TV are gathering the necessary equipment, locating the audio output on the TV, connecting the RCA cables to the TV and surround sound system, adjusting the audio settings, and testing the connection for optimal sound quality.
If you encounter any issues during the setup process, refer to the user manuals for your specific devices or reach out to the respective manufacturer’s customer support for further assistance. They can provide you with specific troubleshooting steps based on your equipment.
Now that you have your RCA surround sound system connected, you can enjoy a more immersive and captivating audio experience. Sit back, relax, and let the rich, multidimensional sound transport you into the heart of your entertainment.
Thank you for reading this guide. We hope it has been helpful in helping you connect your RCA surround sound system to your TV. Happy viewing and listening!