Home>Production & Technology>Audio Cable>Monster Optical Audio Cable How To Change Ends
Audio Cable
Monster Optical Audio Cable How To Change Ends
Modified: January 27, 2024
Looking to change the ends of your audio cable? Find helpful tips and step-by-step instructions for replacing ends on your Monster Optical Audio Cable.
(Many of the links in this article redirect to a specific reviewed product. Your purchase of these products through affiliate links helps to generate commission for AudioLover.com, at no extra cost. Learn more)
Table of Contents
Introduction
Audio cables are an essential component in any sound system, connecting audio devices such as speakers, amplifiers, and audio interfaces. Among the various types of audio cables available, optical audio cables, also known as TOSLINK or fiber optic cables, have gained popularity due to their ability to transmit high-quality digital audio signals without interference or signal loss.
If you have a damaged or malfunctioning optical audio cable, don’t worry – you don’t need to replace the entire cable. Instead, you can simply change the ends of the cable, which is a cost-effective solution that can save you from the hassle of purchasing a new cable.
In this article, we will guide you through the process of changing the ends of a Monster Optical Audio Cable. Monster is a renowned brand known for producing high-quality audio cables, ensuring top-notch performance and durability.
Before we dive into the step-by-step process, it is important to familiarize yourself with the necessary tools and materials you will need for this project. This will ensure that you have everything required to successfully complete the cable end replacement.
Step 1: Gather the necessary tools and materials
Before you begin the process of changing the ends of your Monster Optical Audio Cable, it’s important to gather all the required tools and materials. Having everything prepared beforehand will ensure a smooth and efficient workflow. Here’s a list of what you’ll need:
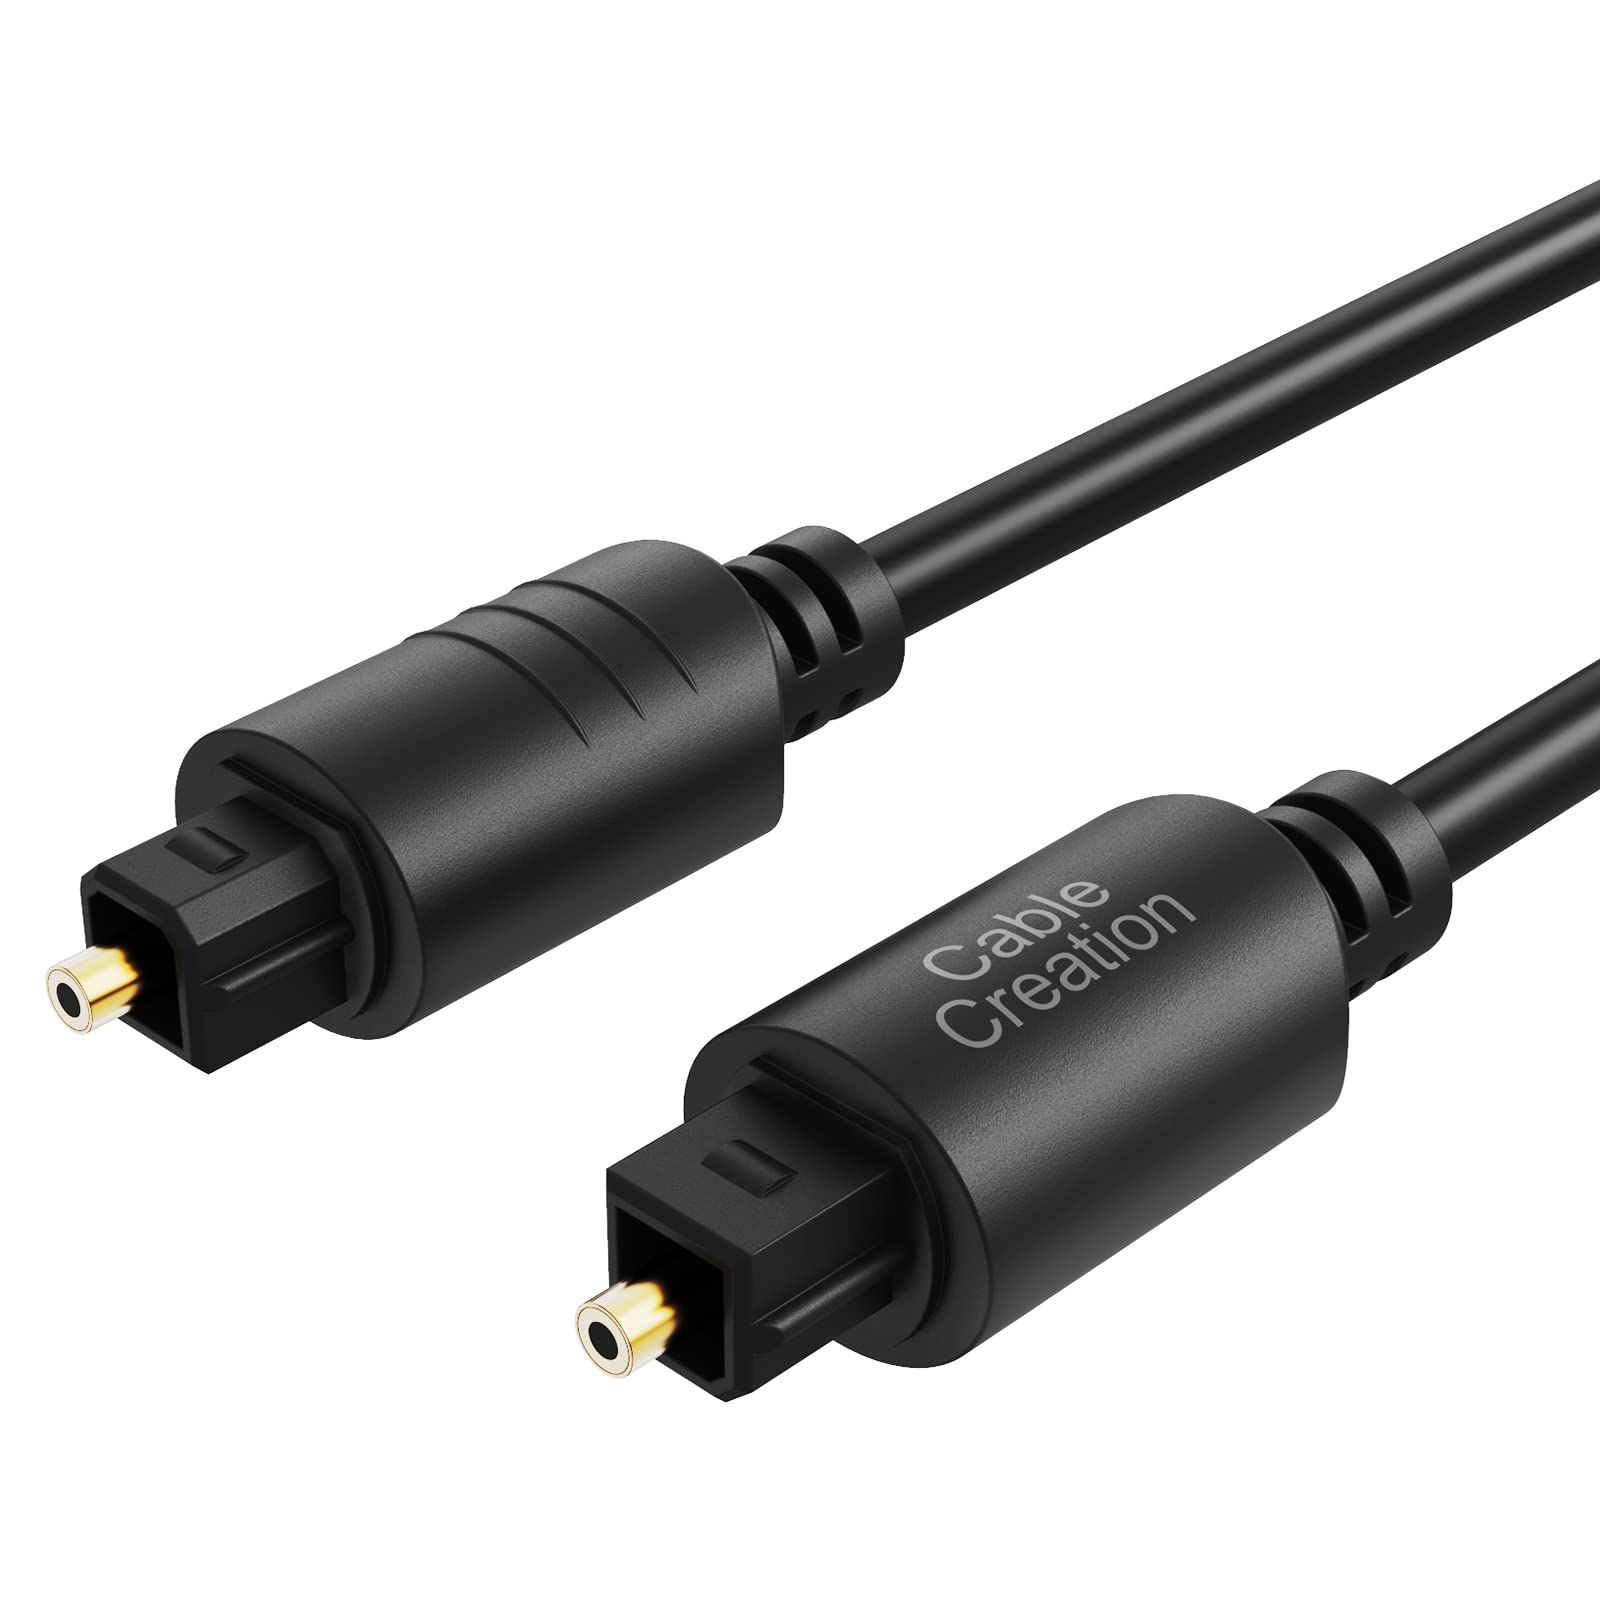
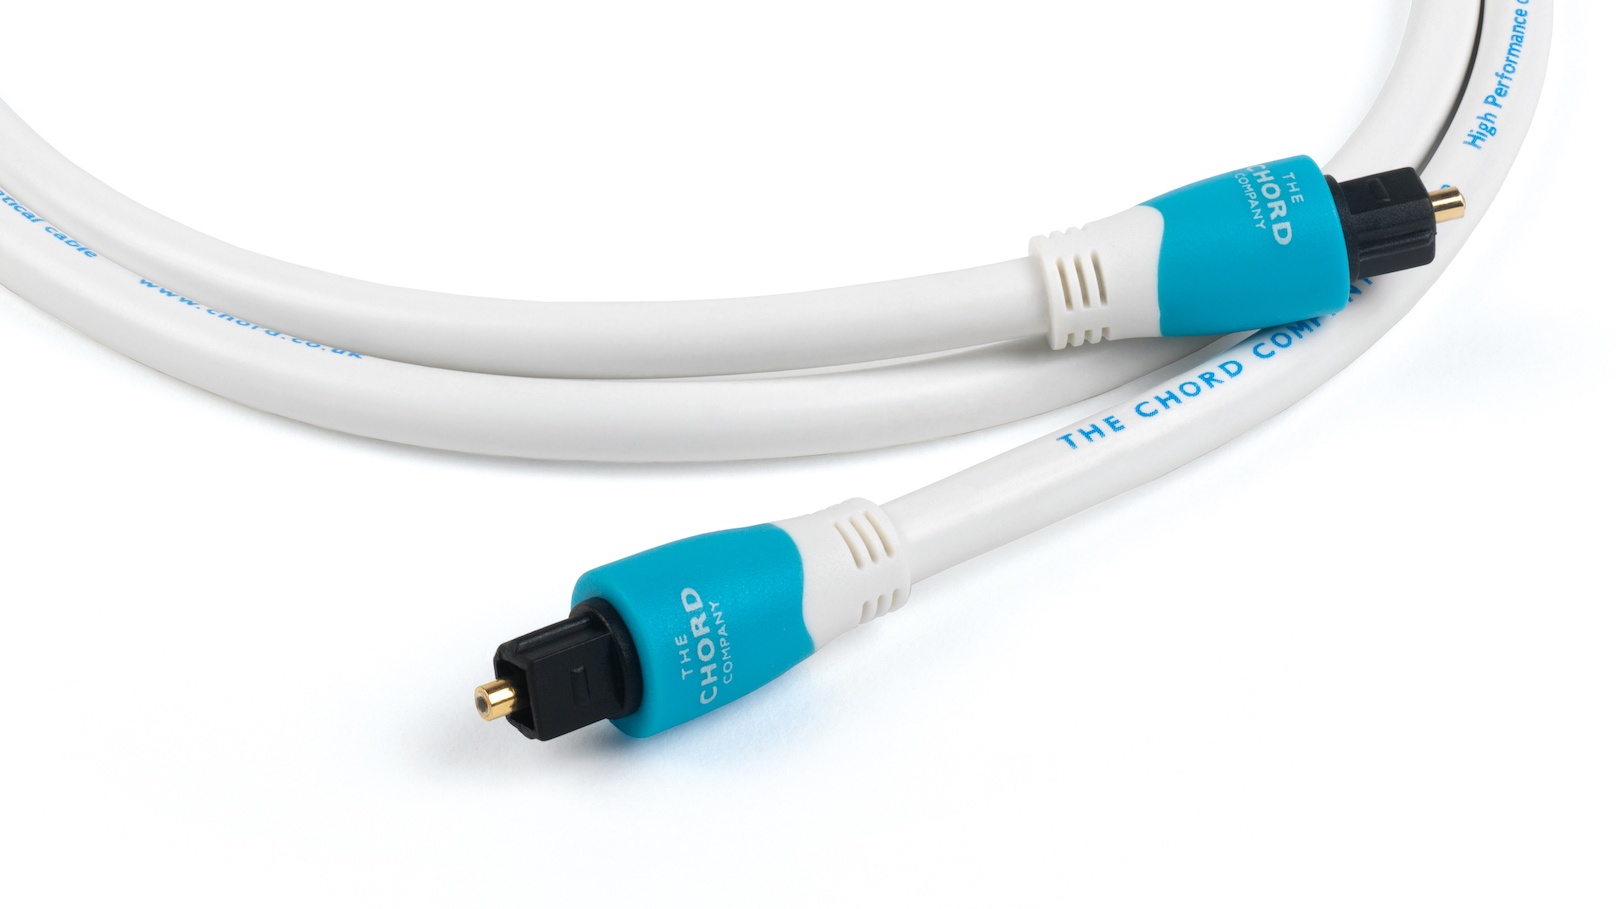
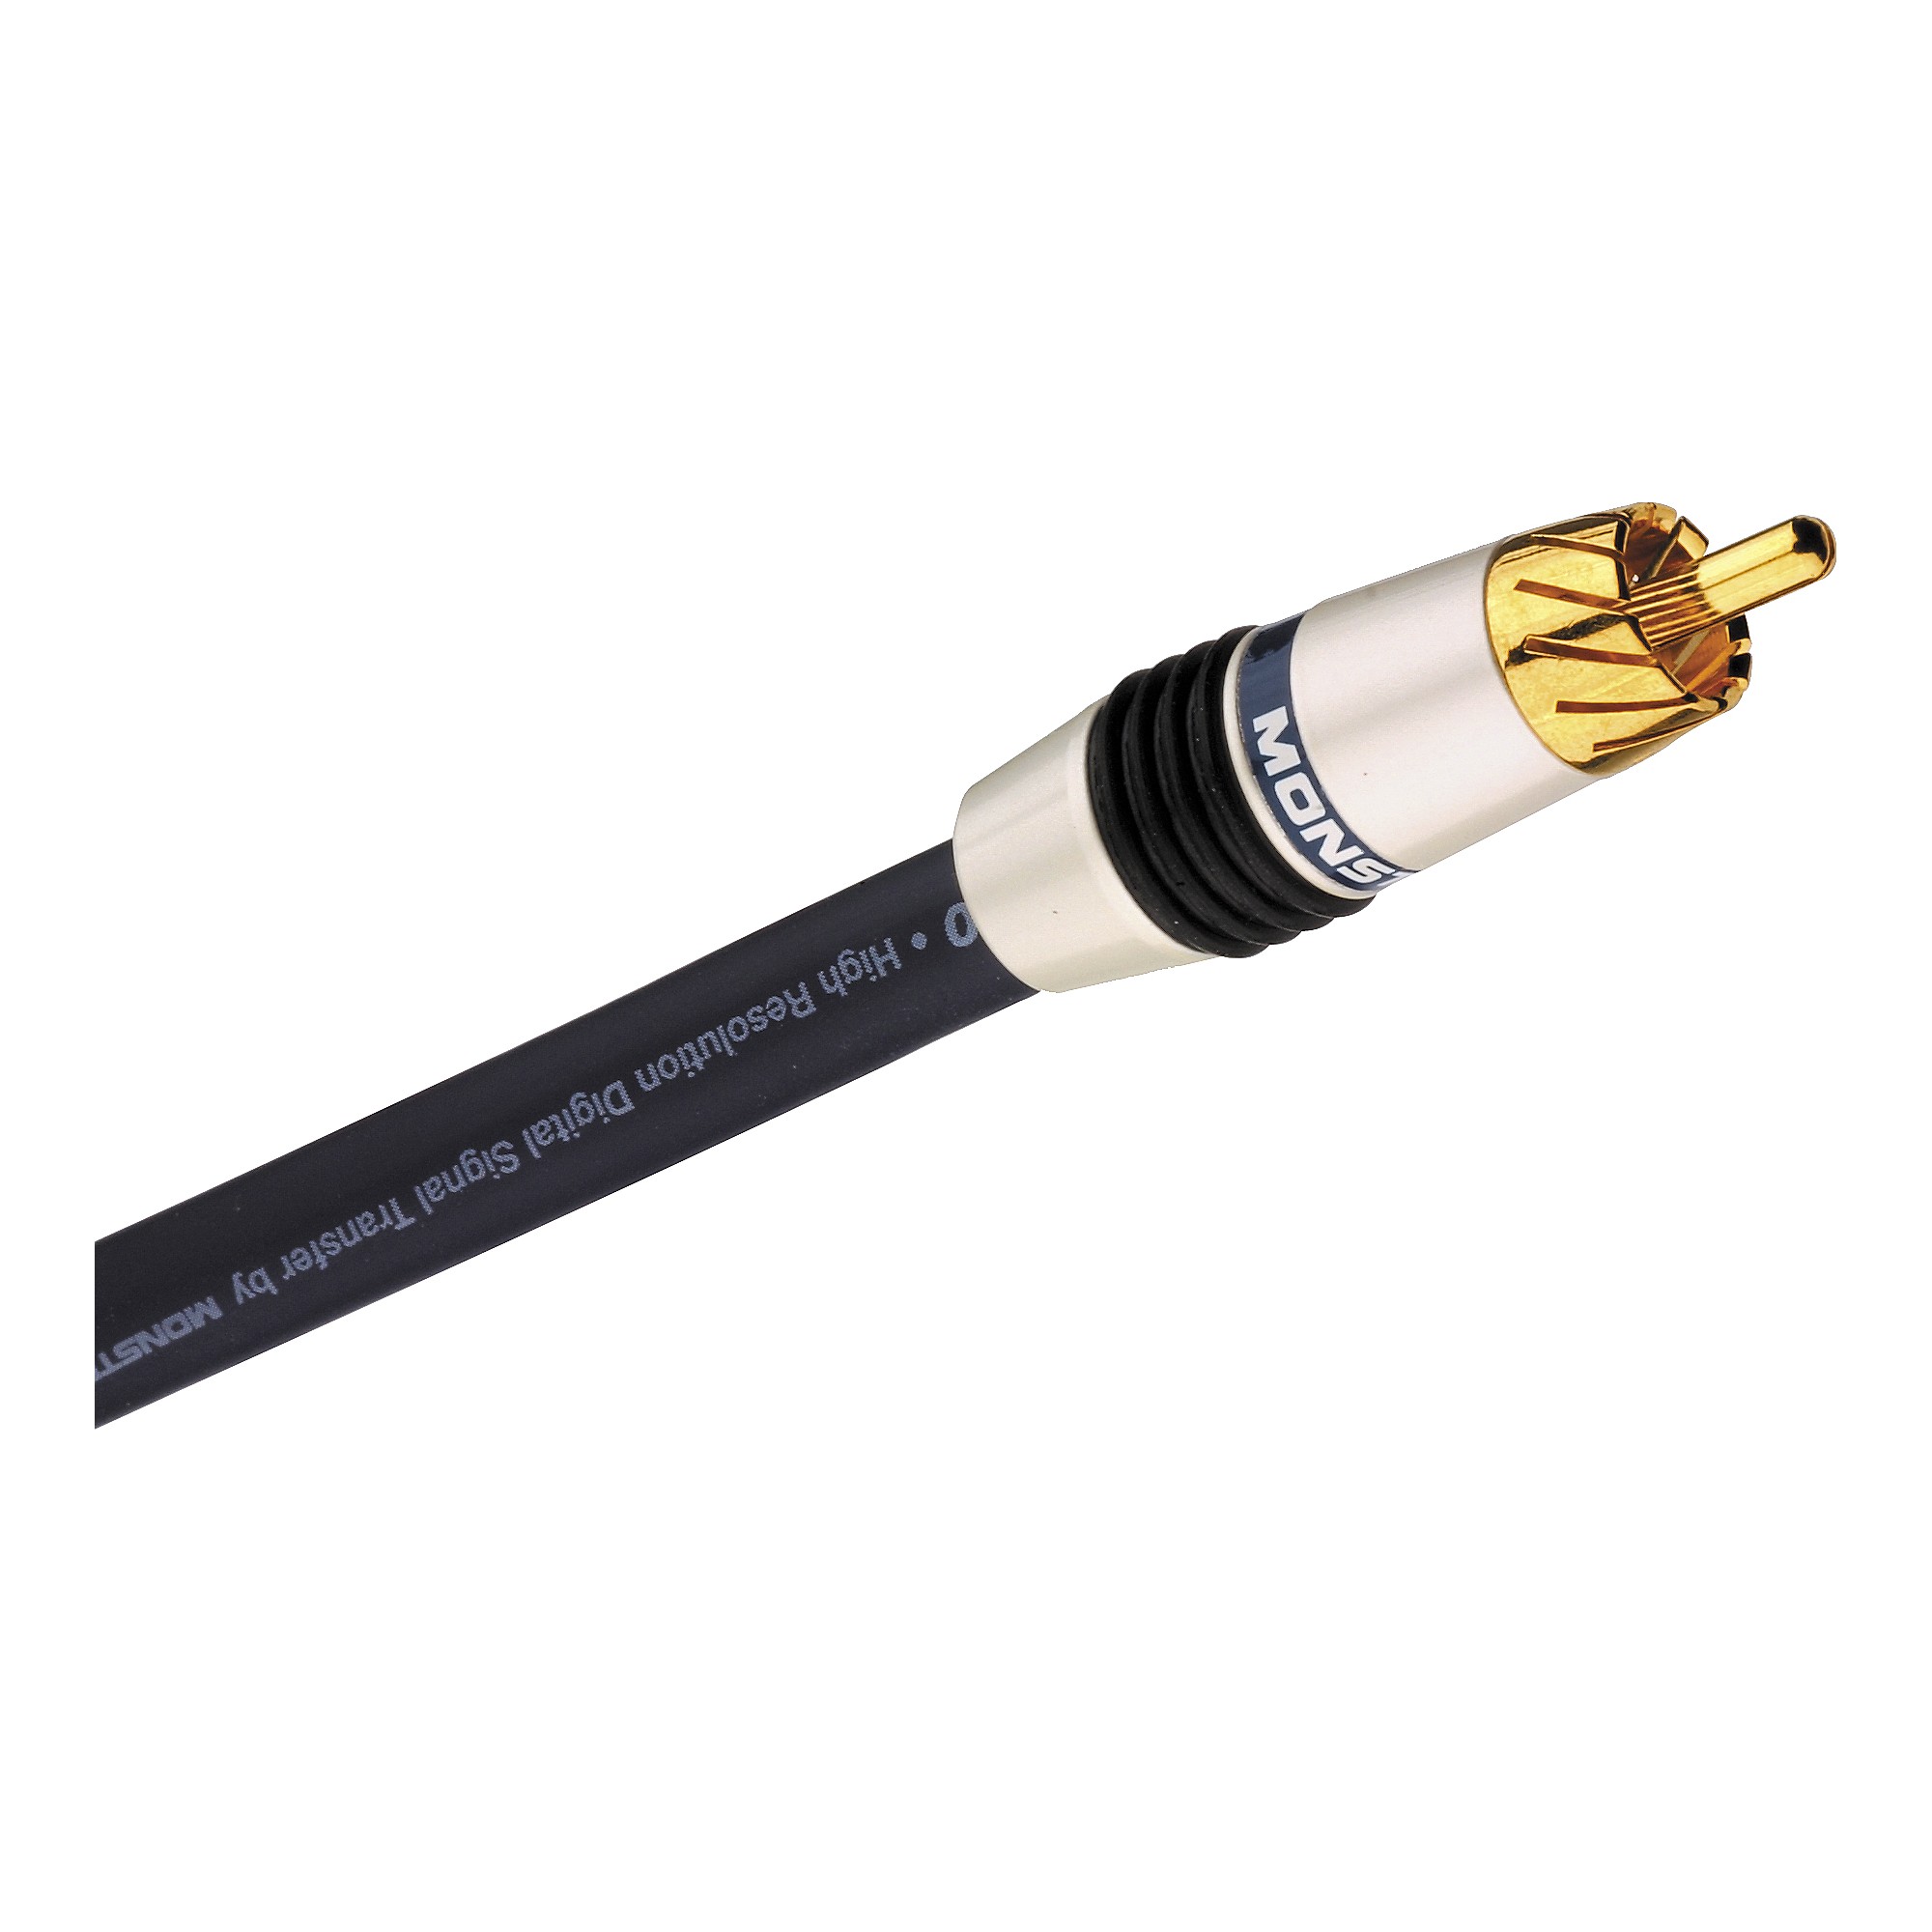
- Monster Optical Audio Cable: Make sure you have the cable you want to replace the ends of. Check the length and ensure it is in good condition, apart from the ends.
- Wire cutters: These will be used to cut the outer insulation and expose the internal optical fibers for the new ends.
- Strippers: Opt for a pair of wire strippers designed specifically for optical cables. These tools will help you remove the outer insulation layer without damaging the delicate fibers inside.
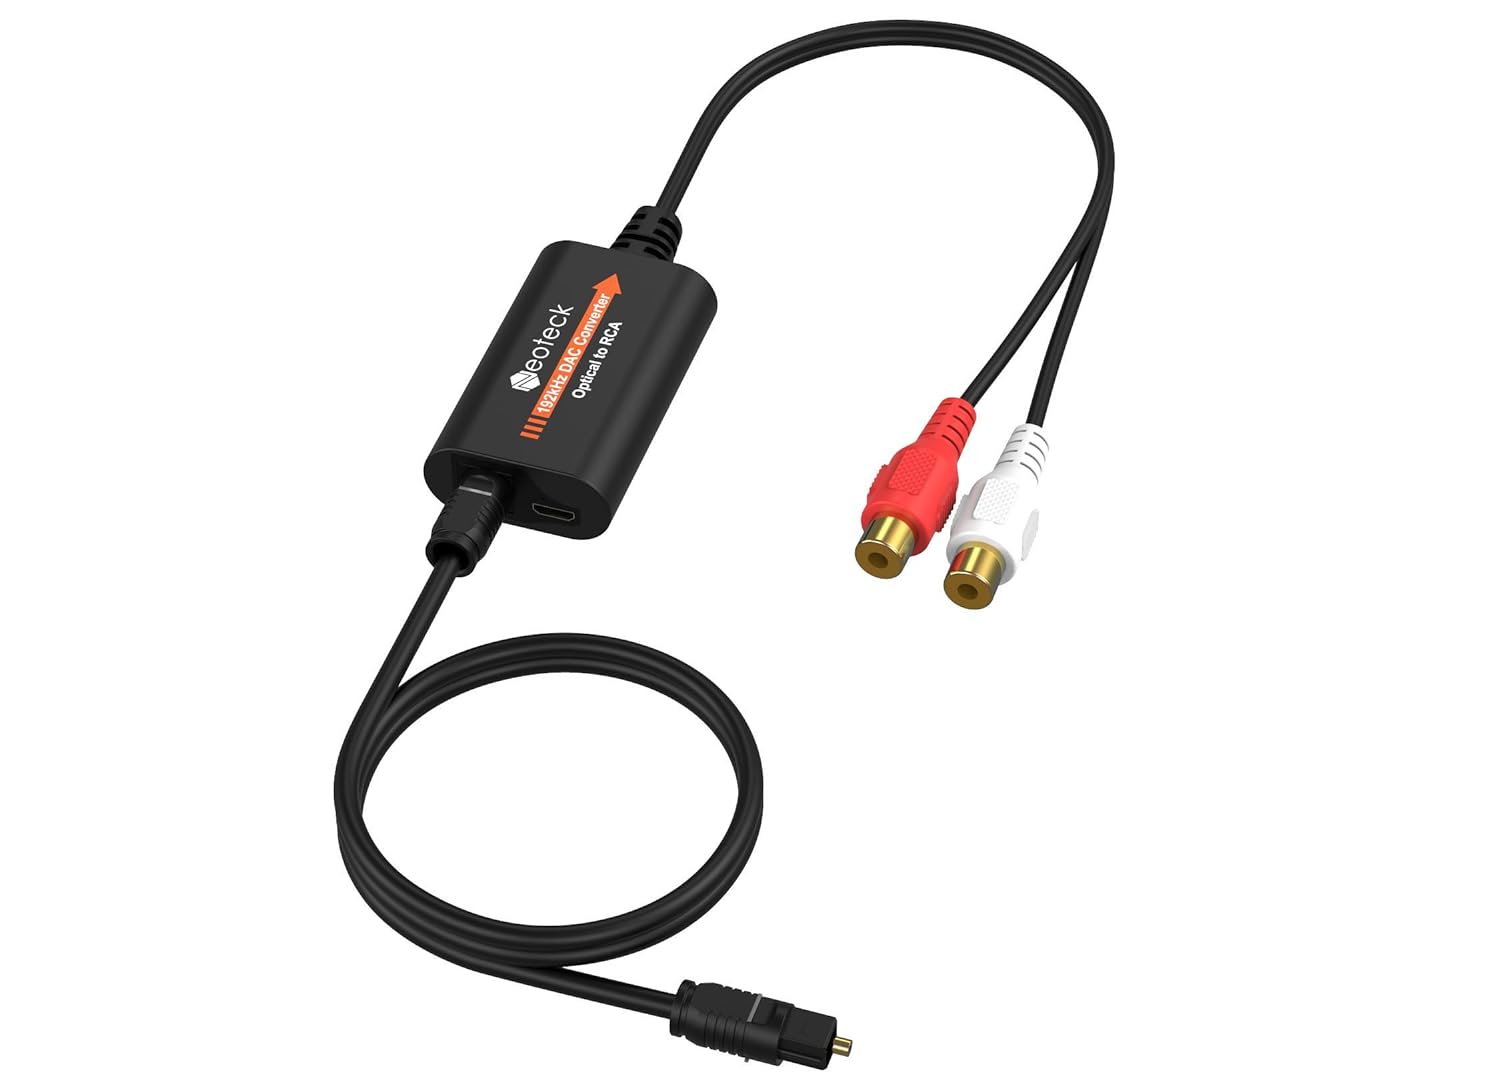
- New optical cable ends: Purchase new ends suitable for your Monster Optical Audio Cable. Ensure they are of high quality to maintain the audio signal integrity.
- Alcohol wipes: These wipes will come in handy for cleaning the optical connectors and ensuring a proper connection.
- Heat source: A heat source such as a heat gun or a lighter will be required to heat and shrink the protective sleeves of the new ends.
Once you have gathered all the necessary tools and materials, you can move on to the next step of preparing the cable for the end replacement. Ensuring you have everything at hand will make the process smooth and efficient, allowing you to complete the task without any interruptions.
Step 2: Prepare the cable for end replacement
Before you can replace the ends of your Monster Optical Audio Cable, it is essential to properly prepare the cable. This step ensures that you have a clean and accessible section of cable to work with. Follow these steps to prepare the cable:
- Inspect the cable: Examine the entire length of the cable and identify any damages or kinks. If you notice any significant damage, it would be wise to consider replacing the entire cable.
- Cut off the damaged section: If you encounter any minor damages, you can simply cut off the affected section using a pair of wire cutters. Ensure that the remaining cable is in good condition and free from any physical obstacles.
- Measure and mark: Determine the desired length for the cable ends and use a marker or tape to mark the appropriate locations on the cable. This will ensure that you have consistent lengths on both ends.
- Strip the cable: Using the wire strippers designed specifically for optical cables, carefully strip off the outer insulation layer from the marked areas. Take caution not to damage the internal optical fibers while performing this step.
- Clean the exposed fibers: Wipe the exposed optical fibers with alcohol wipes to remove any dirt, dust, or residue. This will help ensure a clean and secure connection when attaching the new ends.
By properly preparing the cable, you create an optimal foundation for the end replacement process. This step ensures that you have a clean and accessible section of cable to work with, promoting a seamless connection and optimal audio signal transmission. Once you have prepared the cable, you can move on to the next step of removing the old ends.
Step 3: Removing the old ends
With the cable prepared, you are now ready to remove the old ends from your Monster Optical Audio Cable. Follow these steps to effectively remove the old ends:
- Identify the old ends: Take a close look at both ends of the cable and determine which end needs to be removed. Optical cable ends are typically attached using a screw-on mechanism or held in place by a clip. Identify the type of connection used on your cable.
- Unscrew the ends: If your cable ends are attached with a screw-on mechanism, use your fingers to carefully unscrew them counter-clockwise. Take your time to ensure a smooth and controlled removal.
- Release the clip: If your cable ends are held in place by a clip, locate the release mechanism. This can be a small tab or lever that needs to be pressed or pulled to release the clip. Follow the manufacturer’s instructions if available.
- Remove the old ends: Once you have released the clip or unscrewed the ends, gently pull them away from the exposed fibers. Be careful not to apply excessive force or twist the cable, as this can damage the delicate fibers inside.
- Inspect the cable ends: After removing the old ends, carefully examine the cable ends and ensure that there are no loose fibers or debris. Use a small brush or compressed air to clean the ends if necessary.
By following these steps, you can successfully remove the old ends from your Monster Optical Audio Cable. Take your time and handle the cable with care to avoid any damage. Once the old ends are removed, you can proceed to the next step of attaching the new ends to the cable.
Step 4: Attaching the new ends
Now that you have successfully removed the old ends from your Monster Optical Audio Cable, it’s time to attach the new ends. This step requires precision and attention to detail to ensure a secure and reliable connection. Follow these steps to attach the new ends:
- Prepare the new ends: Take the new optical cable ends and inspect them for any damages or defects. Ensure that they are clean and free from any debris. If necessary, wipe them with alcohol wipes to remove any dirt or residue.
- Slide the protective sleeve: Slide the protective sleeve onto the cable, ensuring it is positioned far enough from the end to allow for the heat shrink process later on.
- Expose the optical fibers: Using the wire strippers designed for optical cables, carefully remove a small portion of the outer insulation from the cable end, exposing the internal optical fibers.
- Insert the fibers into the new end: Insert the exposed optical fibers into the corresponding slots or holes of the new cable end. Make sure each fiber is correctly aligned and fully inserted into its designated place.
- Tighten or secure the new end: Depending on the type of new ends you have, follow the manufacturer’s instructions to securely fasten or tighten them onto the cable. This may involve screwing them on clockwise or engaging a locking mechanism.
- Shrink the protective sleeve: Using a heat gun or a lighter, carefully apply heat to the protective sleeve, causing it to shrink and tightly adhere to the cable and new ends. Move the heat source evenly around the sleeve to ensure uniform shrinkage.
By following these steps, you can successfully attach the new ends to your Monster Optical Audio Cable. Take your time and be gentle when handling the delicate optical fibers. Always refer to the manufacturer’s instructions when in doubt. Once the new ends are securely attached, you’re ready to move on to the final step of testing the newly replaced ends.
Step 5: Testing the newly replaced ends
After attaching the new ends to your Monster Optical Audio Cable, it’s crucial to test the functionality and integrity of the newly replaced ends. This step ensures that the audio signal is transmitted properly without any issues. Follow these steps to test the newly replaced ends:
- Inspect the connections: Take a close look at the newly attached ends and ensure that they are securely fastened and aligned properly. Make sure there are no loose fibers or visible damage.
- Connect the cable: Connect one end of the cable to the audio source device, such as your sound system or audio interface. Connect the other end to the audio destination device, such as speakers or an amplifier.
- Power on the devices: Turn on the audio source device and the destination device, ensuring they are both powered on. Check any indicator lights or displays to verify that they are receiving an audio signal.
- Play audio: Play a test audio file or music through your audio source device. Listen carefully to ensure that the audio signal is clear and without any distortion or interruptions.
- Check for any issues: During playback, pay attention to any issues such as buzzing, crackling, or dropouts. If you notice any inconsistencies or problems with the audio signal, double-check the cable connections and ensure they are secure and properly aligned.
If the newly replaced ends pass the testing phase without any issues, congratulations! You have successfully replaced the ends of your Monster Optical Audio Cable. The cable should now be in optimal condition, providing a reliable and high-quality audio signal.
However, if you encounter any problems or issues during the testing phase, it may be necessary to revisit the previous steps and double-check the connections and the attachment of the new ends. Alternatively, you may need to seek professional assistance if the problem persists.
Remember, proper testing ensures that you can enjoy uninterrupted audio playback and get the most out of your newly replaced cable ends. Once you are satisfied with the performance, you can now confidently use your Monster Optical Audio Cable in your sound system setup.
Conclusion
Changing the ends of your Monster Optical Audio Cable can be a cost-effective solution to restore functionality and extend the lifespan of your cable. By following the step-by-step process outlined in this article, you can successfully replace the ends of your cable without the need to purchase a new one.
Throughout the process, it’s important to gather the necessary tools and materials, prepare the cable, remove the old ends, attach the new ends, and test the functionality of the newly replaced ends. Taking your time and being careful with the delicate optical fibers will ensure a seamless and successful outcome.
Replacing the ends of your cable not only saves you money but also allows you to maintain the high-quality audio transmission that Monster cables are known for. Whether you’re an audiophile, a professional musician, or simply enjoy immersive sound, having a reliable audio cable is essential.
Remember, if you encounter any issues during the process or if you feel unsure about any steps, it’s always a good idea to consult the manufacturer’s instructions or seek assistance from a professional. This will help ensure that the job is done correctly and avoid any potential damage to the cable or devices.
By following this guide, you can confidently change the ends of your Monster Optical Audio Cable and continue enjoying crisp, clear, and uninterrupted audio from your favorite sound system. With the right tools, proper preparation, and careful execution, you’ll be back to fully enjoying your audio setup in no time.