Home>Production & Technology>Stereo>How To Hook Up RCA Cables To Car Stereo
Stereo
How To Hook Up RCA Cables To Car Stereo
Modified: January 22, 2024
Learn how to connect RCA cables to your car stereo for enhanced sound quality and an immersive audio experience. Upgrade your stereo system with ease.
(Many of the links in this article redirect to a specific reviewed product. Your purchase of these products through affiliate links helps to generate commission for AudioLover.com, at no extra cost. Learn more)
Table of Contents
Introduction
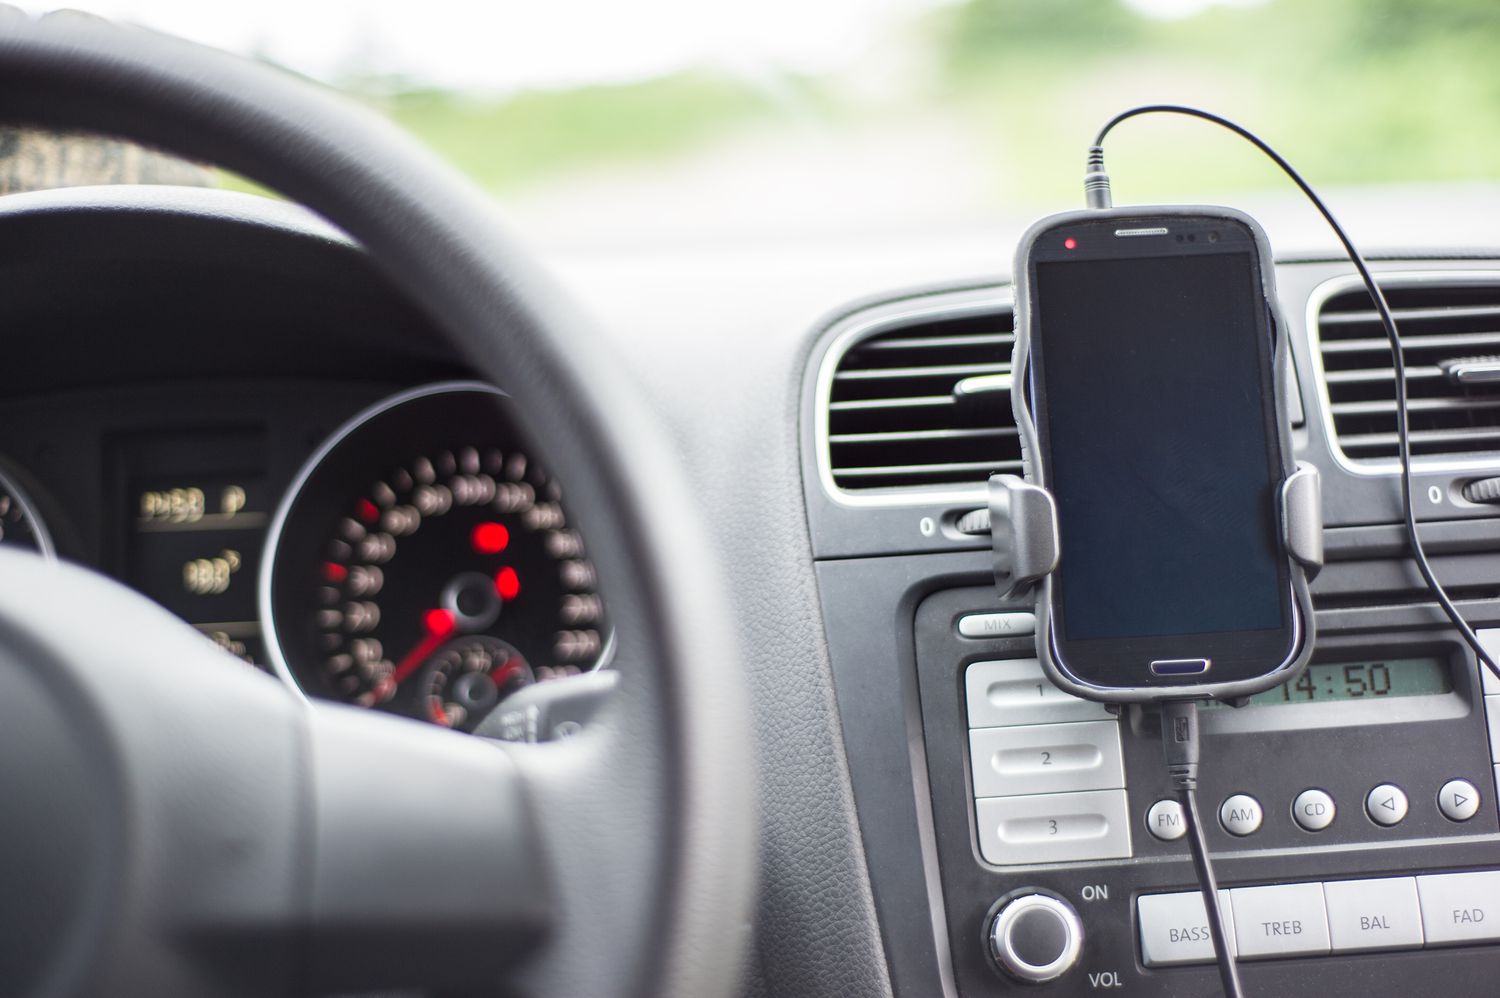
Welcome to our comprehensive guide on how to hook up RCA cables to a car stereo. Whether you’re a car audio enthusiast looking to upgrade your sound system or simply wanting to connect a portable audio device to your car’s stereo, this step-by-step tutorial will walk you through the process.
RCA cables, also known as audio cables, are commonly used to transmit audio signals in home audio systems and car stereos. They feature red and white connectors, typically found on the back of car stereos and amplifiers, providing a reliable and high-quality audio connection.
Why would you want to connect RCA cables to your car stereo? Well, there are several reasons. First and foremost, it allows you to take advantage of advanced car audio systems, such as amplifiers and audio processors, which can drastically enhance the sound quality in your vehicle. Additionally, it enables you to connect external devices like smartphones, MP3 players, or even DVD players directly to your car stereo for a more personalized listening experience.
Before we dive into the step-by-step instructions, it’s important to note that not all car stereos are equipped with RCA outputs. However, many aftermarket car stereos and higher-end factory-installed systems do have this feature, so if you’re in the market for a new car stereo, make sure to check for RCA outputs as a desirable feature.
Now that we have a better understanding of what RCA cables are and the benefits of connecting them to your car stereo, let’s move on to the first step: gathering the necessary materials.
Step 1: Gather the necessary materials
Before you begin the process of hooking up RCA cables to your car stereo, it’s important to ensure that you have all the required materials on hand. Here’s a list of items you’ll need:
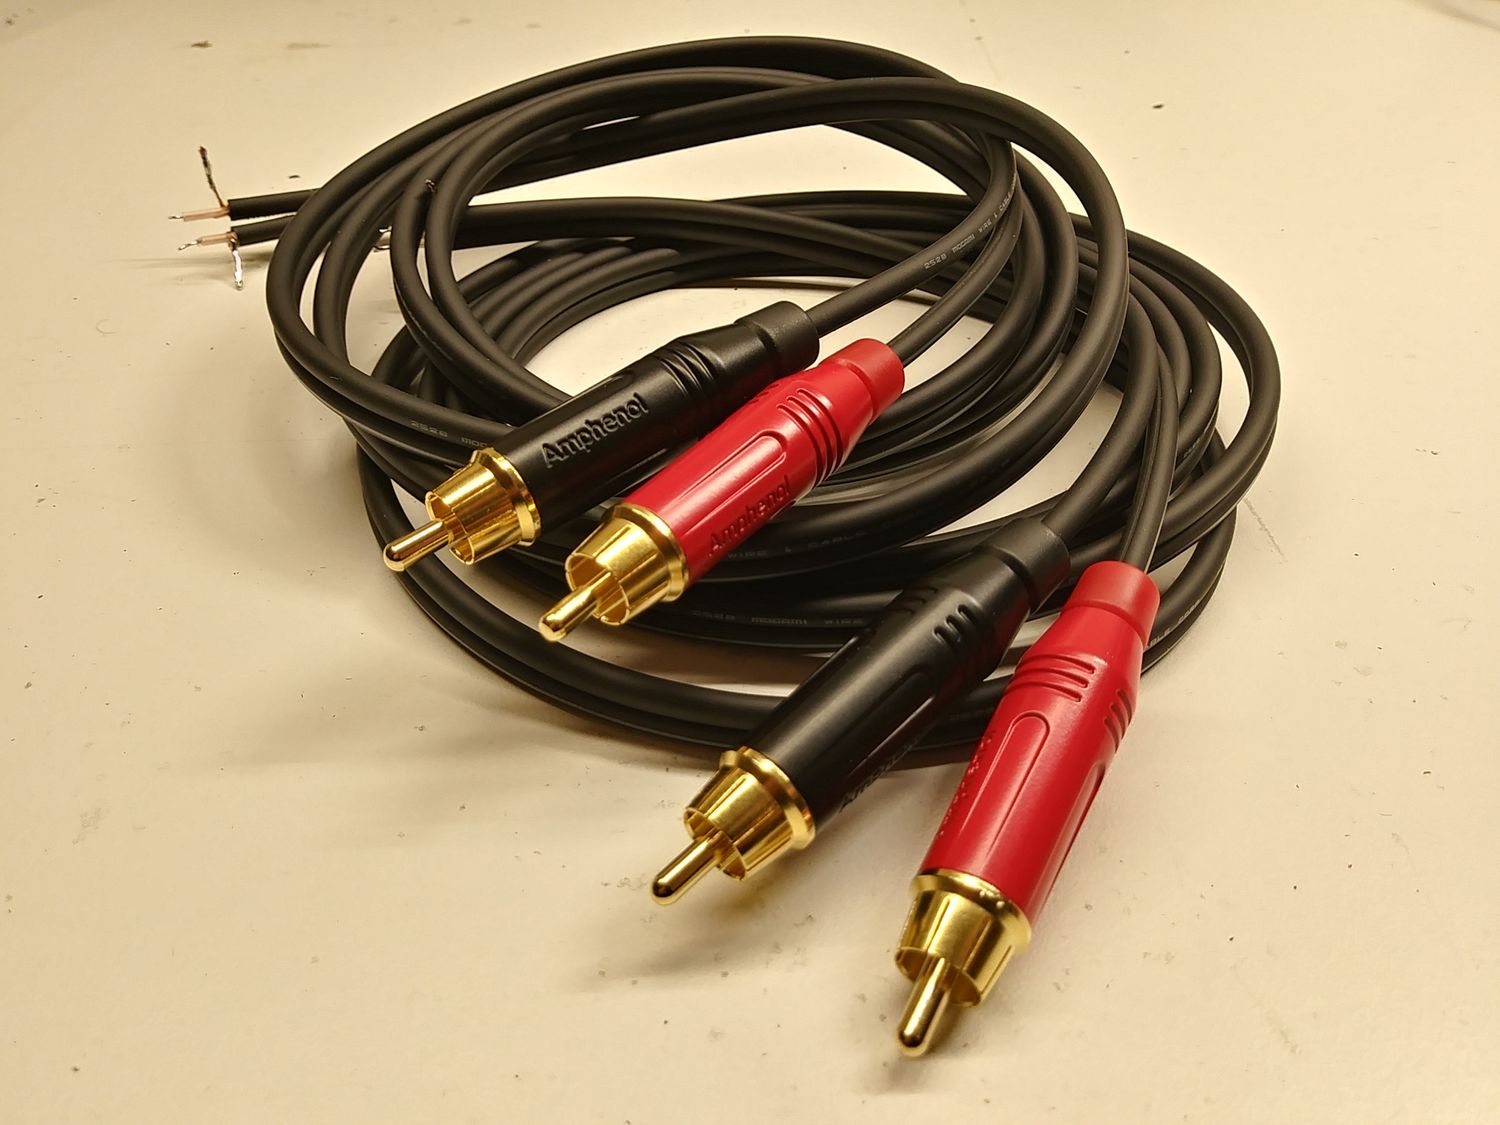
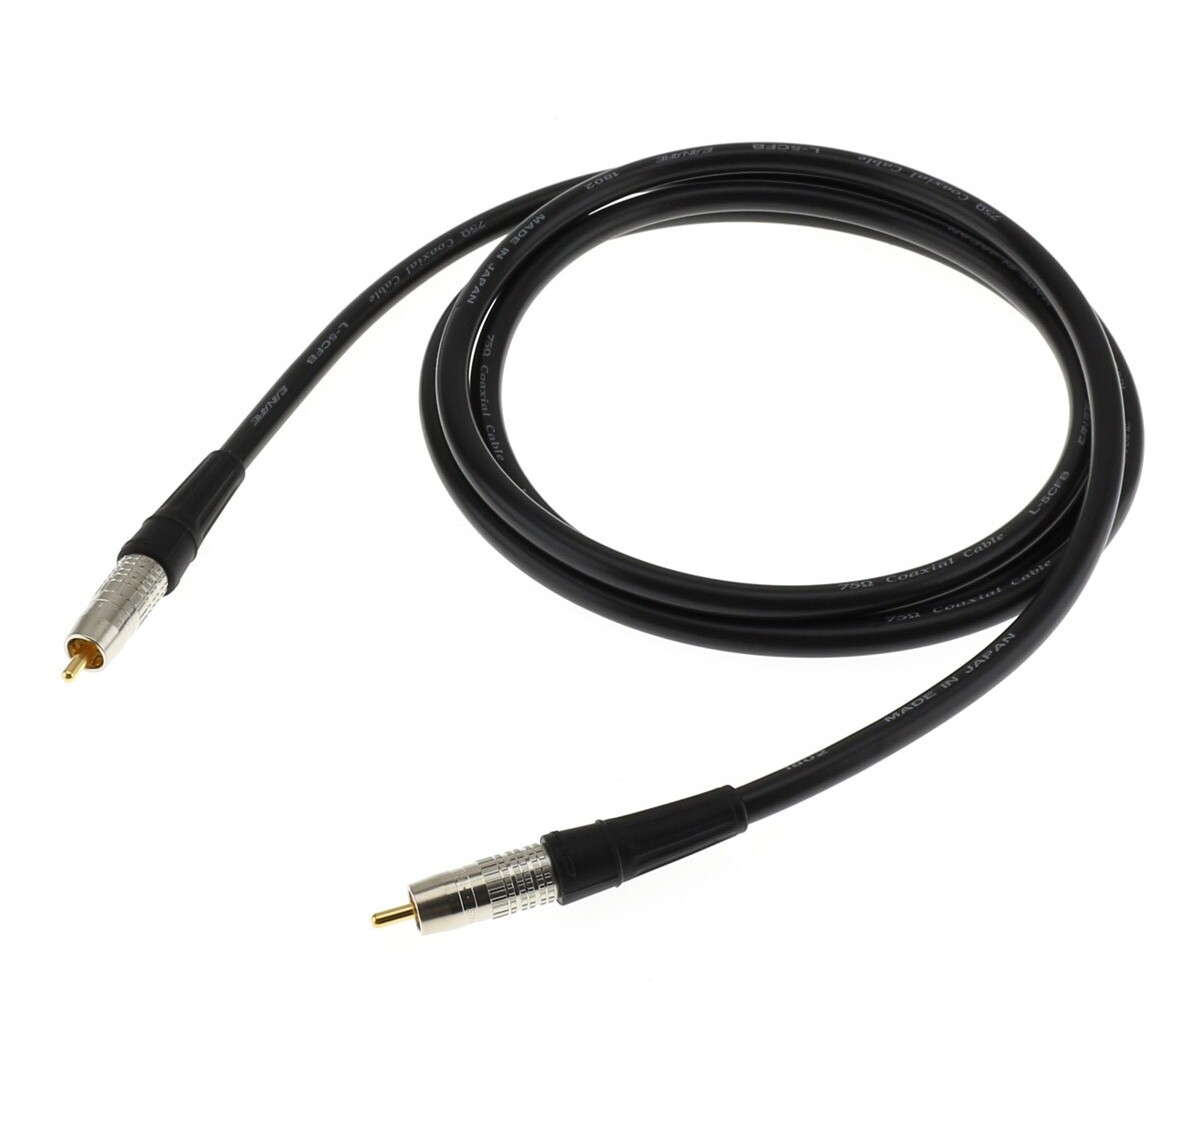
- RCA cables: These are the main component of the setup. Make sure you have a set of RCA cables with the appropriate length to reach from your car stereo to the amplifier or audio processor.
- Car stereo with RCA outputs (if applicable): Check if your car stereo has RCA outputs. If not, you may need to consider purchasing an aftermarket car stereo that supports RCA connections.
- Amplifier or audio processor: If you’re looking to enhance the sound in your car, you’ll need an amplifier or audio processor that has RCA inputs.
- Audio source: This can be any device that you want to connect to your car stereo, such as a smartphone, MP3 player, or DVD player.
- Tools: Depending on your specific setup, you may need tools like wire cutters, wire strippers, and a screwdriver to make the necessary connections.
Once you have gathered all the necessary materials, you’ll be ready to move on to the next step: finding the RCA outputs on your car stereo.
Step 2: Find the RCA outputs on your car stereo
Now that you have all the necessary materials, it’s time to locate the RCA outputs on your car stereo. The location of these outputs may vary depending on the make and model of your car stereo, so it’s important to consult the manual or do some research specific to your car stereo to find out where they are.
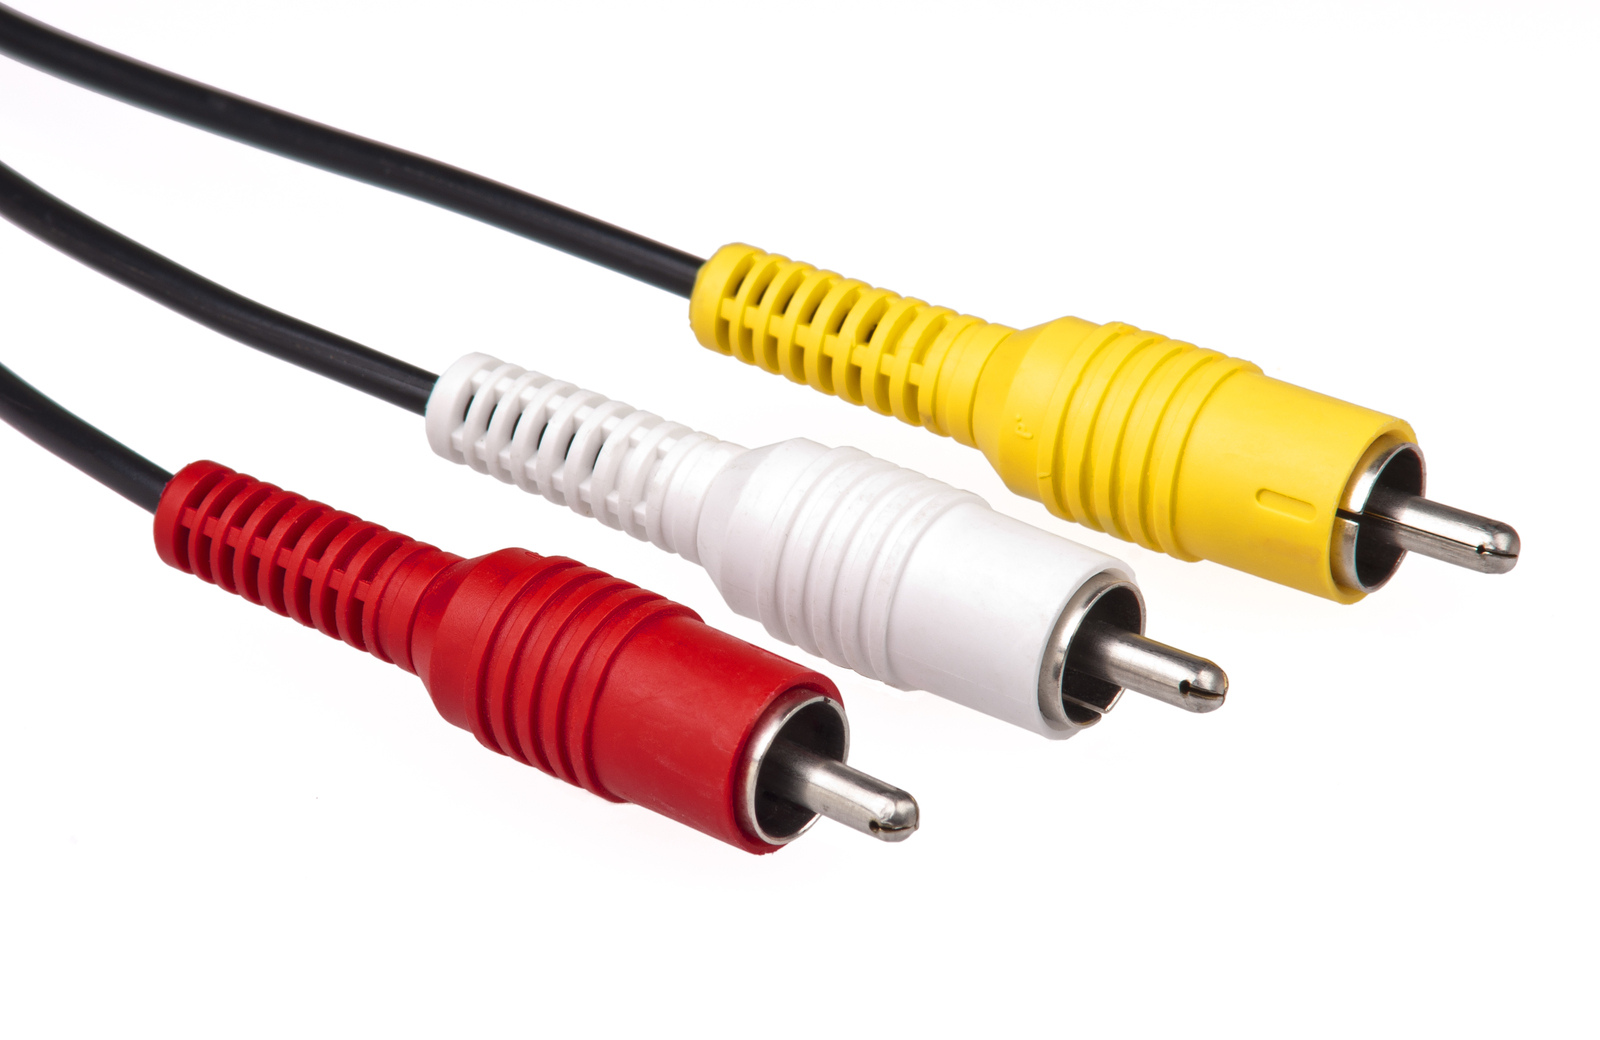
Typically, the RCA outputs are located on the back of the car stereo. They are usually labeled as “RCA out” or “Audio out” and are color-coded – red for the right channel and white for the left channel. Some car stereos may have multiple sets of RCA outputs, which can be useful if you plan on connecting multiple devices or audio components.
Once you have located the RCA outputs on your car stereo, take note of their position and ensure they are easily accessible. This will help with the installation process and allow for a clean and organized setup.
It’s important to mention that not all car stereos have RCA outputs. If you find that your car stereo does not have RCA outputs, you may need to consider purchasing an aftermarket car stereo that supports RCA connections, or explore alternative options such as using a line output converter or FM modulator.
With the location of the RCA outputs determined, you’re almost ready to make the necessary connections. Next, we’ll move on to step 3: identifying the RCA inputs on your amplifier or audio processor.
Step 3: Identify the RCA inputs on your amplifier or audio processor
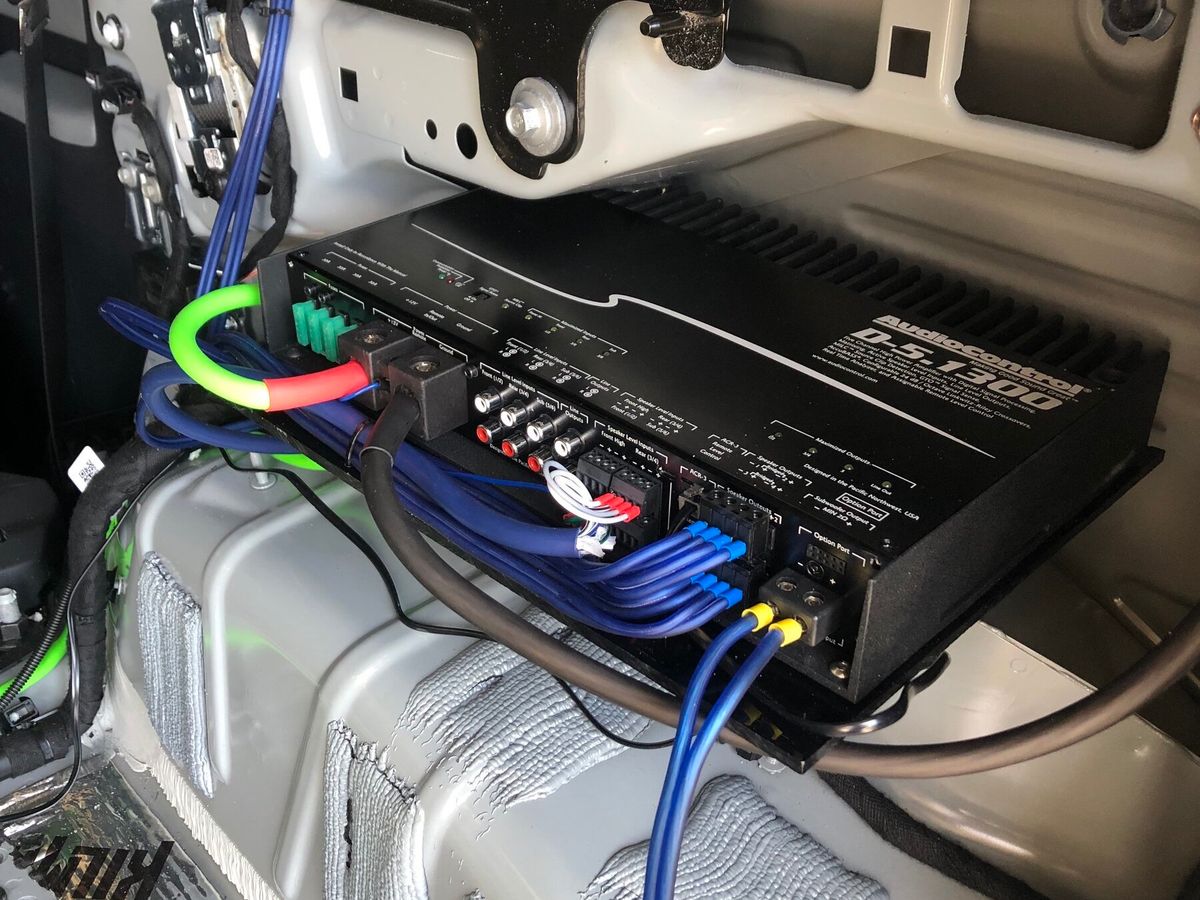
Now that you have found the RCA outputs on your car stereo, it’s time to identify the RCA inputs on your amplifier or audio processor. The RCA inputs are where you will connect the other end of the RCA cables.
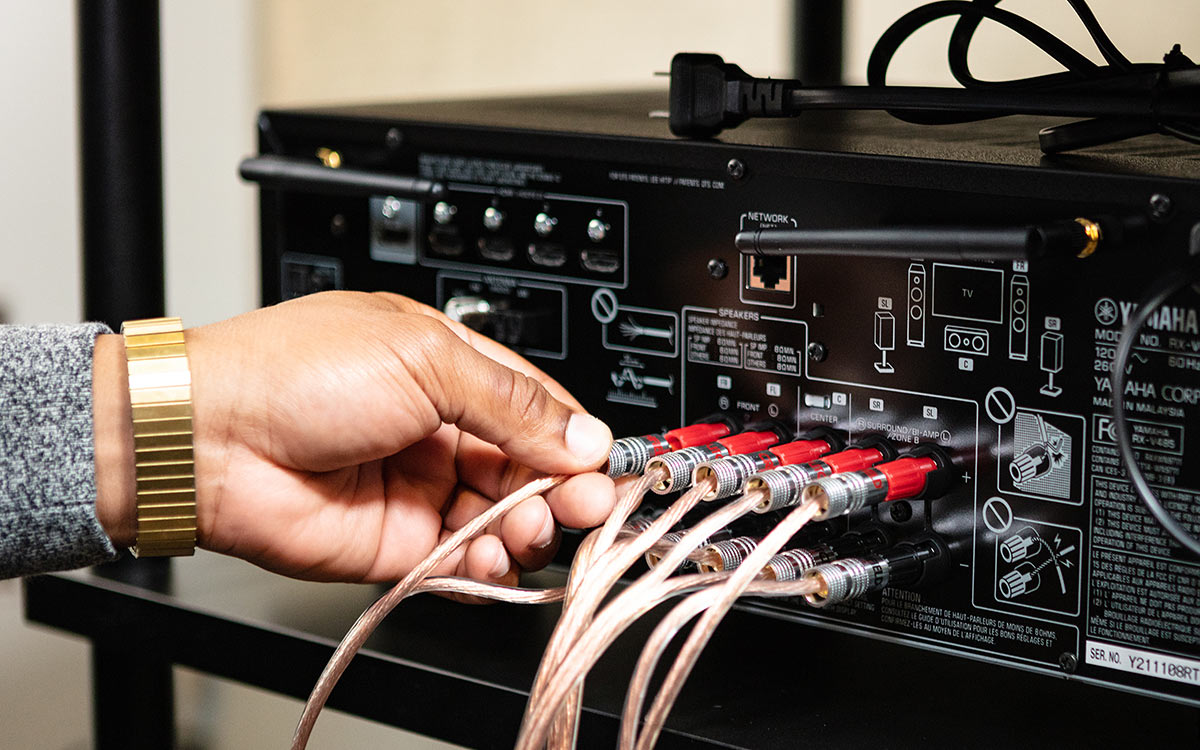
Similar to the RCA outputs on your car stereo, the RCA inputs on your amplifier or audio processor are usually located on the back of the device. They are also color-coded – red for the right channel and white for the left channel. These inputs may be labeled as “RCA in,” “Audio in,” or simply “Input.”
It’s important to verify that the RCA inputs on your amplifier or audio processor match the number of RCA outputs on your car stereo. If your car stereo has multiple sets of RCA outputs, make sure that your amplifier or audio processor has an equivalent number of RCA inputs to accommodate the connections.
In addition to the RCA inputs, there may be other input options on your amplifier or audio processor, such as auxiliary inputs or speaker level inputs. These can be used as alternative connection options depending on your setup and preference.
Once you have identified the RCA inputs on your amplifier or audio processor, take note of their positioning and any labeling for future reference. This will help with the installation process and ensure that you connect the RCA cables correctly.
With the RCA inputs on the amplifier or audio processor identified, you’re one step closer to completing the setup. In the next step, we will move on to connecting the RCA cables to the car stereo and amplifier.
Step 4: Connect the RCA cables to the car stereo and amplifier
With the RCA outputs on your car stereo and the RCA inputs on your amplifier or audio processor identified, it’s time to make the connections using the RCA cables. Follow these steps to connect the RCA cables:
- Take one end of the RCA cable and plug the red connector into the red RCA output on the back of your car stereo. Likewise, plug the white connector into the white RCA output.
- Next, take the other end of the RCA cable and connect the red connector to the corresponding red RCA input on your amplifier or audio processor. Similarly, connect the white connector to the white RCA input.
- Repeat this process for any additional sets of RCA outputs and inputs.
- Ensure that the connections are secure and tight to avoid any signal loss or interference.
It’s important to mention that the RCA cables should be routed away from any power cables or sources of interference. This will help maintain the audio quality and prevent any unwanted noise in the system.
Additionally, if you are using other types of inputs or outputs, such as auxiliary inputs or speaker level inputs, make sure to follow the specific instructions provided by the manufacturer.
Once you have connected the RCA cables between the car stereo and amplifier or audio processor, you’re almost done! In the next and final step, we will check the connections and test the audio.
Step 5: Check the connections and test the audio
After connecting the RCA cables between your car stereo and amplifier or audio processor, it’s important to check the connections and test the audio to ensure everything is working correctly. Here’s what you should do:
- Double-check all the RCA connections to make sure they are securely plugged in on both the car stereo and the amplifier or audio processor.
- Inspect the cables for any damage or fraying. If you notice any issues, replace the cables as necessary.
- Turn on your car stereo and amplifier or audio processor. Set the volume to a moderate level.
- Select the input corresponding to the RCA connections on your amplifier or audio processor.
- Play audio from your connected device (e.g., smartphone, MP3 player) or tune in to a radio station to test the audio signal.
- Gradually increase the volume to your desired level and listen for any distortion, noise, or imbalance in the sound.
- If there are any issues with the audio quality, check the RCA connections once again and ensure they are properly plugged in. You may also want to adjust the settings on your amplifier or audio processor, such as the EQ (equalizer) settings, to optimize the sound.
It’s also a good idea to test audio playback from different sources and genres to ensure that the connections are working well with various types of music or audio content.
If everything sounds clear and balanced, congrats! You have successfully hooked up RCA cables to your car stereo. Enjoy the enhanced audio experience in your car.
If you encounter any issues or have questions about the setup, refer to the user manuals of your car stereo, amplifier, or audio processor for troubleshooting guidance.
Remember, proper maintenance of the RCA cables and periodic checks on the connections can help ensure optimal audio performance and minimize any potential issues.
That concludes our step-by-step guide on how to hook up RCA cables to a car stereo. We hope this tutorial has been helpful in assisting you with your car audio setup. Safe travels and enjoy your music!
Conclusion
Congratulations on successfully hooking up RCA cables to your car stereo! By following the steps outlined in this guide, you have expanded your audio options and opened up a whole new world of possibilities for your car’s sound system.
RCA cables provide a reliable and high-quality audio connection, allowing you to connect external devices such as smartphones, MP3 players, or even DVD players directly to your car stereo. Additionally, they enable you to take advantage of advanced car audio systems like amplifiers and audio processors to enhance the sound quality in your vehicle.
Throughout this guide, we covered the necessary materials needed for the setup, identified the RCA outputs on your car stereo, located the RCA inputs on your amplifier or audio processor, made the proper connections using the RCA cables, and finally checked the connections and tested the audio. By following these steps, you have successfully integrated the RCA cables into your car stereo system.
Remember to periodically check the RCA connections and ensure they are secure to maintain optimal audio performance. Additionally, be mindful of routing the RCA cables away from any power cables or sources of interference to avoid any unwanted noise in the system.
We hope this comprehensive guide has provided you with the knowledge and confidence to successfully hook up RCA cables to your car stereo. Enjoy your newfound audio capabilities and immerse yourself in a more personalized and enhanced listening experience while on the road!