Home>Production & Technology>Sound Bar>How To Hook Up A Rca Sound Bar

Sound Bar
How To Hook Up A Rca Sound Bar
Modified: January 22, 2024
Learn how to easily hook up an RCA Sound Bar to your TV and enjoy enhanced audio quality. Our step-by-step guide will help you optimize your entertainment setup.
(Many of the links in this article redirect to a specific reviewed product. Your purchase of these products through affiliate links helps to generate commission for AudioLover.com, at no extra cost. Learn more)
Table of Contents
Introduction
Welcome to our comprehensive guide on how to hook up an RCA sound bar! Sound bars have become increasingly popular in home entertainment setups, providing immersive audio experiences for movies, music, and more. If you’ve recently purchased an RCA sound bar and are looking for step-by-step instructions on setting it up, you’ve come to the right place.
In this article, we will walk you through the process of unboxing the sound bar, identifying the audio inputs and outputs, connecting the sound bar to your TV, connecting additional devices, adjusting the settings, and troubleshooting common issues.
But first, let’s highlight some of the key benefits of using a sound bar. One of the main advantages of a sound bar is its ability to enhance the audio quality of your TV’s built-in speakers. Sound bars are designed to deliver richer, more dynamic sound, providing a clearer dialogue, deeper bass, and surround sound effects.
Another advantage of sound bars is their sleek and compact design. Unlike traditional surround sound systems, which typically require multiple speakers and cables, sound bars offer a space-saving solution. They can be easily mounted on the wall or placed on a stand, blending seamlessly with your TV setup.
Additionally, many sound bars come with built-in connectivity options, such as Bluetooth and HDMI ARC (Audio Return Channel), allowing you to wirelessly connect your devices or control the sound bar using your TV remote.
Now that we have covered the benefits of a sound bar, let’s dive into the step-by-step process of hooking up an RCA sound bar to your TV and other devices. Whether you’re a tech-savvy individual or a beginner, our guide will provide you with all the information you need to get your sound bar up and running in no time.
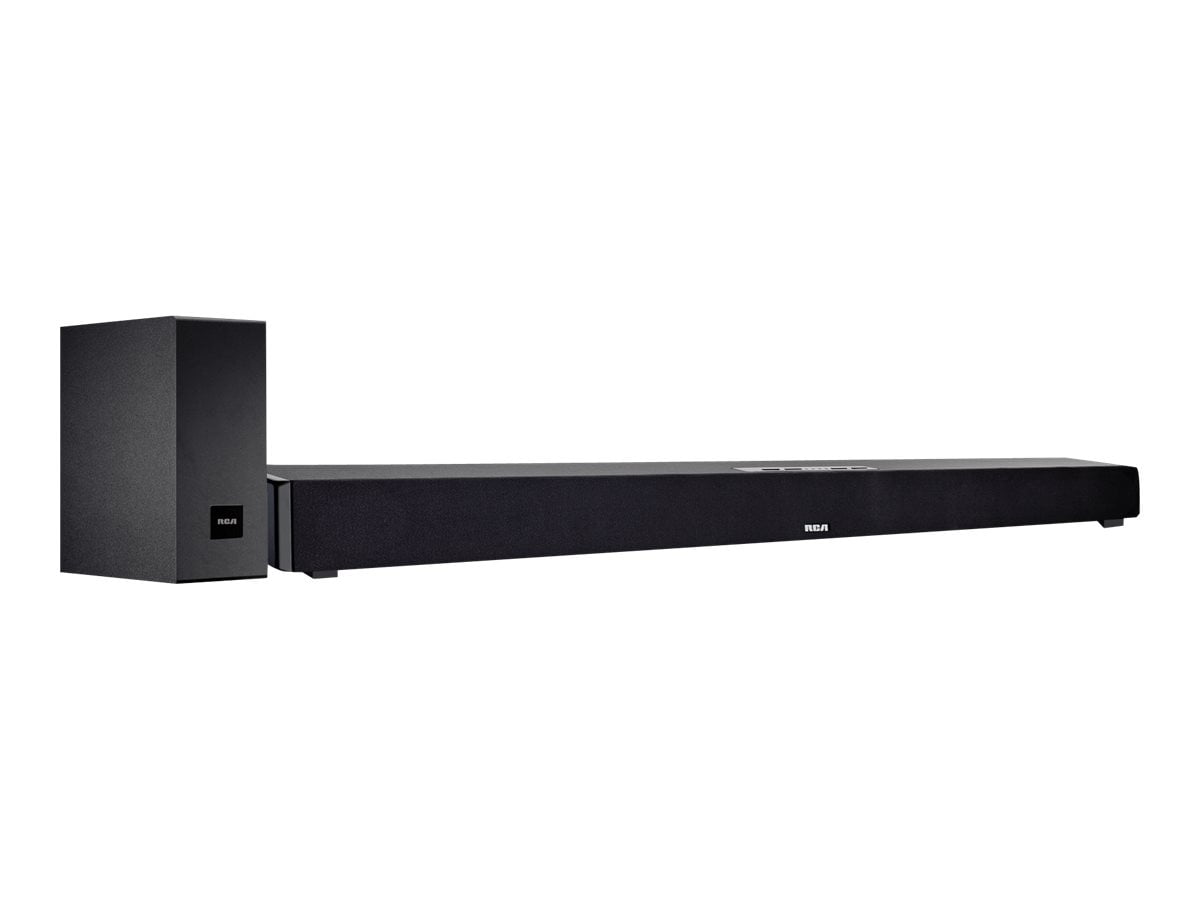
Step 1: Unboxing the RCA Sound Bar
The first step in setting up your RCA sound bar is to unbox it carefully. Start by finding a spacious area where you can lay out all the components without risk of damage or misplacement. Remove the sound bar from its packaging, along with any accompanying accessories such as power cables, remote control, and user manual.
Before proceeding, take a moment to familiarize yourself with the sound bar’s physical features. Pay attention to the input and output ports, buttons, and any indicators or display panels. This will help you navigate the connections and settings later on.
It’s essential to handle the sound bar with care during the unboxing process. Avoid excessive force or dropping the device, as this can cause internal damage. If possible, have a clean and soft surface nearby to place the sound bar on after unboxing.
Once you have unboxed the sound bar, it’s a good idea to inspect the components for any signs of damage or defects. Check for any visible cracks, loose parts, or frayed cables. If you notice any issues, contact the retailer or RCA customer support for assistance.
Now that you have unboxed and inspected your RCA sound bar, you’re ready to move on to the next step: identifying the audio inputs and outputs. This will help you understand how to connect the sound bar to your TV and other devices effectively.
Note: The specific steps for unboxing and the components included may vary depending on the model of your RCA sound bar. Consult the user manual provided with your device for detailed instructions specific to your model.
Step 2: Identifying the Audio Inputs and Outputs
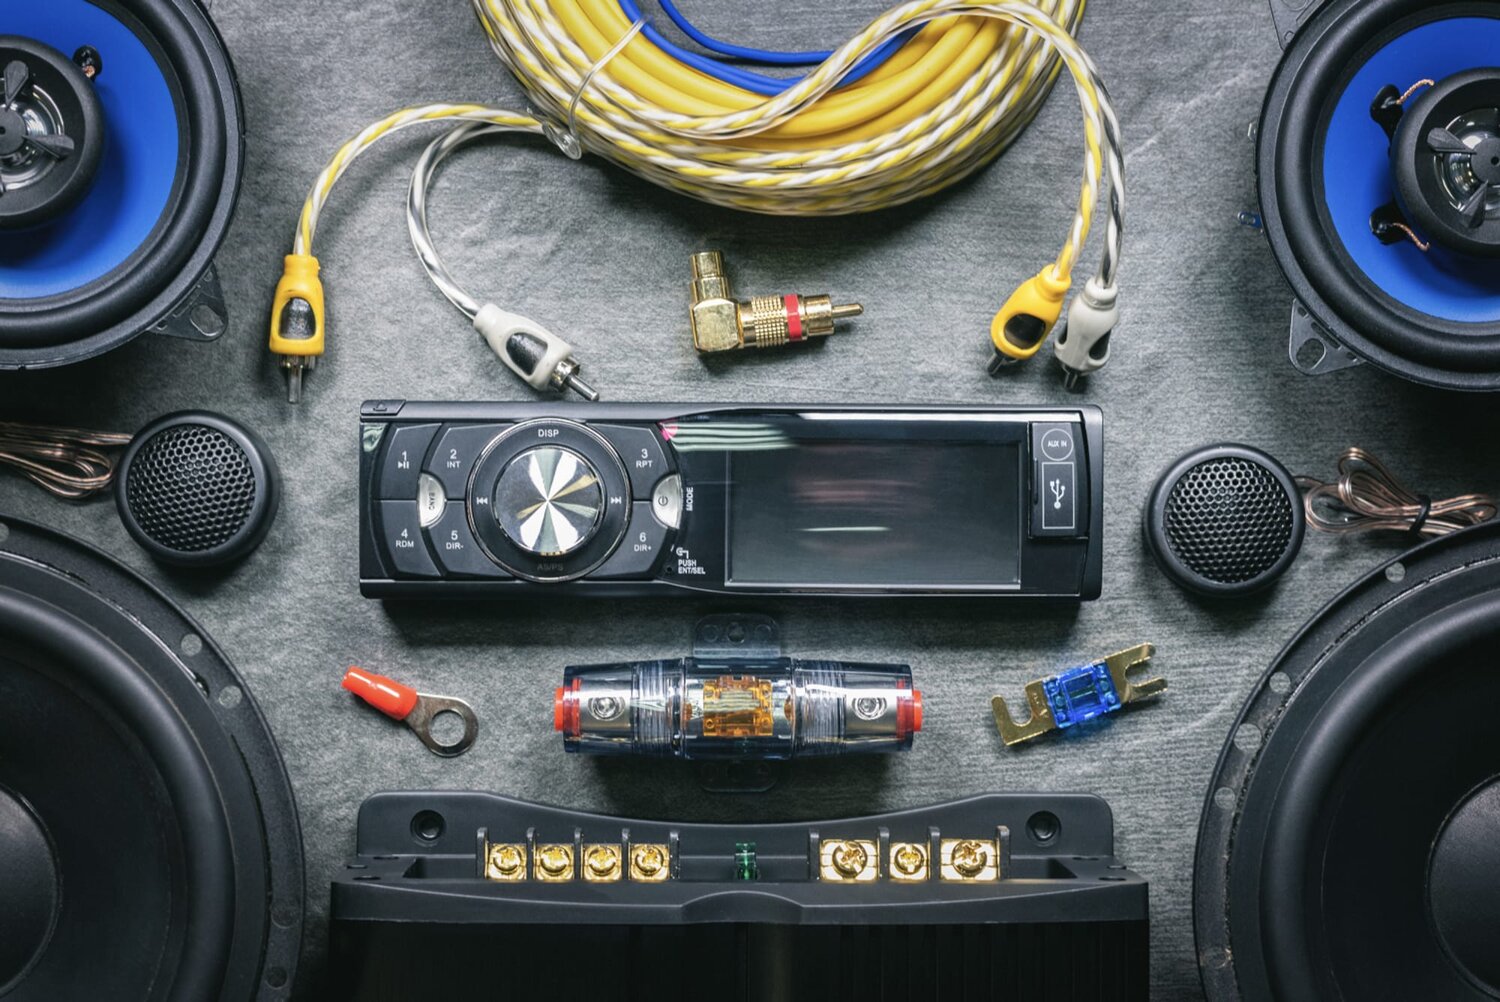
Before connecting your RCA sound bar to your TV and other devices, it’s important to identify the audio inputs and outputs on both the sound bar and your TV. This will ensure that you make the correct connections and achieve optimal audio performance.
Start by examining the back or side panel of your RCA sound bar. Look for various ports labeled as inputs or outputs. Common audio input options include HDMI, optical (TOSLINK), coaxial, and auxiliary (3.5mm) audio jacks. The specific ports available may depend on the model you have.
Next, locate the audio output options on your TV. These can usually be found on the back or side panel as well. Common audio output options on TVs include HDMI ARC, optical (TOSLINK), and RCA analog audio outputs. Consult your TV’s user manual to determine which audio output options are available on your specific model.
It’s worth noting that HDMI ARC (Audio Return Channel) is becoming increasingly popular and provides a convenient way to connect your RCA sound bar to your TV. This feature allows audio to be sent from the TV to the sound bar through the HDMI cable, eliminating the need for additional audio cables.
Once you have identified the audio input and output options, make a mental note of which ports you will be using to connect the sound bar to your TV. This will help you during the setup process, ensuring that you select the appropriate cables and make the necessary connections.
In some cases, you may need additional cables or adapters to connect your RCA sound bar to your TV. It’s a good idea to check the user manual of your sound bar or consult with an RCA representative for guidance on the specific cables required for your setup.
Now that you have identified the audio inputs and outputs, you are ready to move on to the next step: connecting the RCA sound bar to your TV.
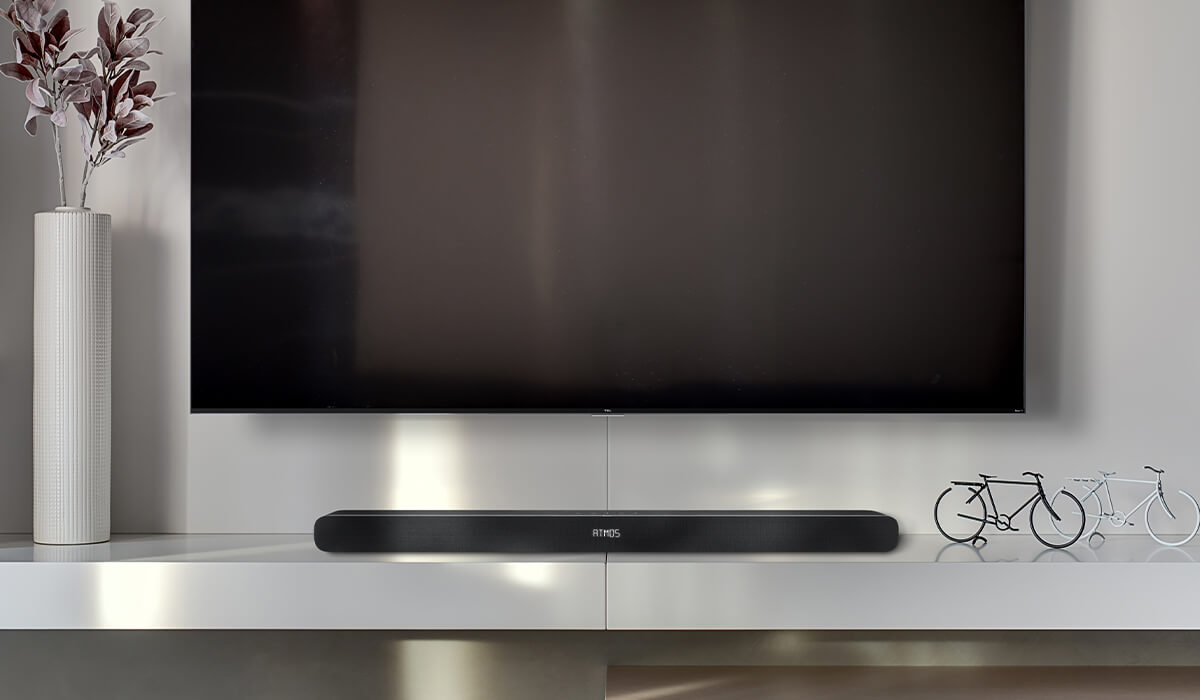
Step 3: Connecting the RCA Sound Bar to the TV
Now that you have identified the audio inputs and outputs on both your RCA sound bar and your TV, it’s time to connect the two devices. Follow these steps to properly connect your sound bar to the TV:
- First, locate the appropriate audio output on your TV. If your TV has an HDMI ARC (Audio Return Channel) port, this is the recommended option as it simplifies the setup process. Simply connect one end of the HDMI cable to the HDMI ARC port on your TV, and the other end to the HDMI ARC input on your sound bar.
- If your TV doesn’t have an HDMI ARC port, you can use an optical (TOSLINK) or coaxial cable to connect the TV’s audio output to the corresponding input on your sound bar. Insert one end of the optical or coaxial cable into the audio output port on your TV, and the other end into the corresponding input on the sound bar.
- If your TV has RCA analog audio outputs, you can use a set of RCA cables to connect the TV to the sound bar. Insert the red and white RCA connectors into the respective audio output ports on your TV, and the other end of the cables into the RCA input ports on the sound bar.
- Once you have made the connections between your TV and sound bar, ensure that both devices are powered on. Use the TV remote or the sound bar’s remote to change the audio output settings on your TV, if necessary. Select the appropriate audio output, whether it’s HDMI ARC, optical, or RCA, to ensure that the sound is routed to the sound bar.
- Test the audio output by playing a movie, music, or any other audio content on your TV. Adjust the volume and other sound settings on your sound bar to your preference. You should now be able to enjoy enhanced audio through your RCA sound bar.
Remember, the specific steps for connecting your RCA sound bar to your TV may vary depending on the model of your devices. Always refer to the user manuals provided with your equipment for detailed instructions.
With your sound bar successfully connected to your TV, you can now move on to the next step: connecting additional devices to your sound bar.
Step 4: Connecting Additional Devices to the Sound Bar
Connecting additional devices to your RCA sound bar can enhance your audio experience and provide more flexibility in your entertainment setup. Here’s how you can connect various devices to your sound bar:
- Blu-ray/DVD Player: If you have a Blu-ray or DVD player, connect it to the sound bar using an HDMI cable. Simply plug one end of the HDMI cable into the HDMI input port on the sound bar and the other end into the HDMI output port on your Blu-ray/DVD player. This will allow you to enjoy high-quality audio from your movie collection through the sound bar.
- Game Console: To connect your game console to the sound bar, use an HDMI cable. Connect one end of the HDMI cable to the HDMI input port on the sound bar, and the other end to the HDMI output port on your game console. This will ensure that you can enjoy immersive audio while gaming.
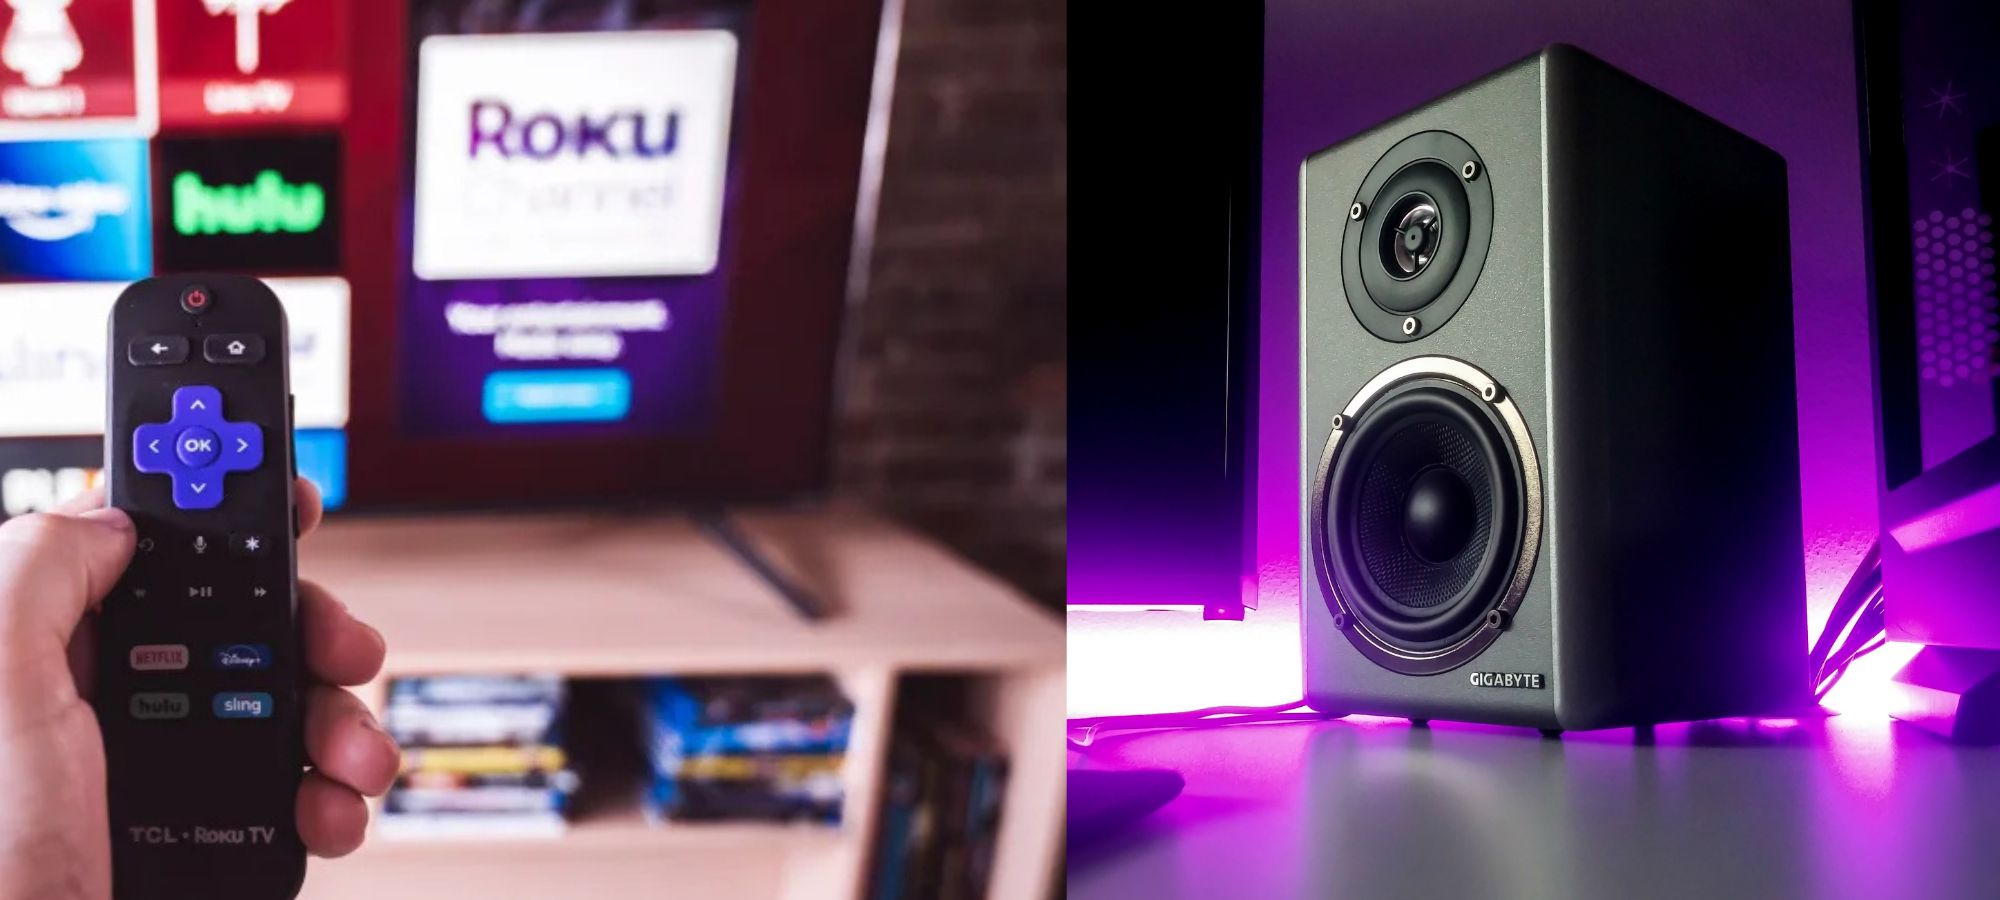
- Streaming Devices: Devices such as streaming sticks (e.g., Amazon Fire Stick, Roku Streaming Stick) or media players (e.g., Apple TV, Google Chromecast) can be connected to your sound bar for enhanced audio. Most streaming devices have an HDMI output, so you can connect them to your sound bar using an HDMI cable.
- Other Audio Devices: If you have other audio devices, such as a CD player or MP3 player, you can connect them to your sound bar using an auxiliary (3.5mm) cable. Simply plug one end of the auxiliary cable into the audio output port on your device and the other end into the auxiliary input port on the sound bar. This allows you to enjoy your favorite music with improved sound quality.
Remember to consult the user manuals of your devices for specific instructions on how to connect them to your sound bar. Additionally, ensure that the sound bar is set to the appropriate input source when using different devices. You may need to use the sound bar’s remote or control panel to select the desired input.
With all your devices connected to the RCA sound bar, you can easily switch between them and enjoy an immersive audio experience from various sources.
Now that you have connected additional devices, it’s time to move on to the next step: adjusting the sound bar’s settings to optimize your audio experience.
Step 5: Adjusting Sound Bar Settings
Once you have successfully connected your devices to the RCA sound bar, it’s essential to adjust the sound bar’s settings to optimize your audio experience. Here are some key settings you should consider:
- Audio Modes: Most RCA sound bars come with different audio modes designed to enhance specific types of content, such as movies, music, or dialogue. Explore the sound bar’s settings menu or refer to the user manual to find the available audio modes. Experiment with different modes to find the one that suits your preferences and the content you’re enjoying.
- Equalizer Settings: Some sound bars offer the flexibility to adjust the equalizer settings, allowing you to fine-tune the audio output based on personal preferences. Common equalizer settings include adjusting the bass, treble, and balance between different frequency ranges. Spend some time experimenting with these settings to achieve the desired sound quality.
- Virtual Surround Sound: If your RCA sound bar supports virtual surround sound, you can activate this feature to create a more immersive audio experience. Virtual surround sound technology uses audio algorithms to simulate a surround sound effect using only the sound bar’s speakers. Enable this feature to enhance your movie-watching or gaming experience.
- Volume Control: Adjusting the volume is a basic setting that can significantly impact your audio experience. Once connected, use the sound bar’s remote or control panel to adjust the volume to a comfortable level. Keep in mind that different sources may have varying audio levels, so you may need to adjust the volume accordingly when switching between devices.
- Bluetooth Pairing: If your RCA sound bar supports Bluetooth connectivity, you can pair it with compatible devices such as smartphones or tablets. Refer to the user manual for instructions on how to activate the Bluetooth pairing mode and connect your device. This allows you to stream audio wirelessly to the sound bar, expanding your entertainment options.
While adjusting the sound bar’s settings, it’s a good idea to test the audio output with different types of content, such as movies, music, and dialogue-heavy scenes. This will help you fine-tune the settings to your liking and ensure a well-balanced audio experience across various media.
Additionally, remember to periodically check for firmware updates for your RCA sound bar. Manufacturers often release updates that improve performance or add new features. Visit the RCA website or refer to the user manual for information on how to check for updates and install them, if available.
With the sound bar settings properly adjusted, you’re now ready to enjoy immersive audio that complements your favorite movies, music, and more.
In the next step, we will provide some troubleshooting tips to help you address any common issues or concerns that may arise with your RCA sound bar.
Step 6: Troubleshooting Tips
Even with proper setup and configuration, you may encounter some common issues with your RCA sound bar. Here are some troubleshooting tips to help you address potential problems:
- No Sound: If you’re not getting any sound from your sound bar, first check the connections between the sound bar and your TV or other devices. Ensure that the cables are securely plugged in and that the correct input source is selected. Additionally, check the volume levels on both the sound bar and the connected devices to make sure they are not muted or set too low.
- Poor Audio Quality: If you are experiencing distorted or low-quality audio, check the settings on your sound bar and connected devices. Make sure that any audio enhancement features, such as equalizers or audio modes, are adjusted appropriately. If using Bluetooth, ensure that your device is within the recommended range and that there are no obstructions causing interference.
- Remote Control Issues: If you’re having trouble with the sound bar’s remote control, check the batteries and replace them if necessary. Ensure that there are no obstacles between the remote and the sound bar, obstructing the signal. If the remote still doesn’t work, try replacing it or contacting RCA customer support for further assistance.
- Interference or Audio Dropouts: If you experience interference or audio dropouts, check for any potential sources of interference nearby, such as other wireless devices or appliances. Ensure that the sound bar is positioned away from sources of interference and try adjusting the placement for optimal signal reception.
- No HDMI ARC Audio: If you’re using the HDMI ARC connection and not getting audio, ensure that the HDMI ARC settings are enabled on both the sound bar and your TV. Check the TV’s audio output settings to confirm that the audio is set to be output through the HDMI ARC port. If this doesn’t resolve the issue, try using an alternate audio connection, such as optical or RCA.
If you’re experiencing persistent issues that cannot be resolved with these troubleshooting tips, consult the user manual of your RCA sound bar or contact RCA customer support for further assistance.
By following these troubleshooting tips, you can overcome common issues and ensure optimal performance from your RCA sound bar.
With these steps and tips, you should now have a better understanding of how to hook up and optimize your RCA sound bar. Remember to refer to the user manuals provided with your devices for model-specific instructions, and enjoy the enhanced audio experience provided by your RCA sound bar!
Conclusion
Congratulations! You have successfully learned how to hook up and optimize your RCA sound bar. By following the step-by-step instructions provided in this guide, you can enjoy an enhanced audio experience in your home entertainment setup.
From unboxing the sound bar to connecting it to your TV and other devices, we covered all the essential steps to get you up and running. We explored how to identify audio inputs and outputs, make the necessary connections, and adjust the sound bar’s settings to suit your preferences.
Remember to consult the user manuals provided with your devices for model-specific instructions and guidelines. These manuals will provide you with detailed information tailored to your RCA sound bar and TV models.
Furthermore, we discussed troubleshooting tips to help you address any common issues or concerns that may arise during the setup or usage of your sound bar. From troubleshooting sound issues to dealing with remote control problems, these tips will help you troubleshoot and resolve common problems effectively.
Now, take a moment to sit back, relax, and enjoy the immersive audio experience provided by your RCA sound bar. Whether you’re watching movies, playing games, or listening to music, the enhanced sound quality will enhance your overall entertainment experience.
If you have any further questions or concerns, don’t hesitate to reach out to RCA customer support or refer to their online resources for additional assistance.
Thank you for choosing RCA sound bar and for following this comprehensive guide. We hope you enjoy your new audio setup and have a great time exploring the world of immersive sound!