Home>Devices & Equipment>Turntable>How To Replace Cartridge Dual Turntable

Turntable
How To Replace Cartridge Dual Turntable
Modified: January 22, 2024
Learn how to easily replace the cartridge on your dual turntable with our step-by-step guide. Improve the sound quality of your vinyl records with this simple turntable maintenance task.
(Many of the links in this article redirect to a specific reviewed product. Your purchase of these products through affiliate links helps to generate commission for AudioLover.com, at no extra cost. Learn more)
Table of Contents
Introduction
Welcome to our comprehensive guide on how to replace the cartridge on a Dual turntable. The cartridge is a crucial component of the turntable that houses the stylus (needle) responsible for reading the grooves on your vinyl records. Over time, the cartridge can wear out or become damaged, resulting in poor sound quality or even skipping tracks. Fortunately, replacing the cartridge is a relatively straightforward process that can greatly improve your listening experience.
In this article, we will walk you through the step-by-step process of replacing the cartridge on your Dual turntable. We will cover everything from gathering the necessary tools and materials to balancing the tonearm and testing the new cartridge. Whether you are a seasoned vinyl enthusiast or a beginner looking to maintain your turntable, this guide is here to help.
Before we dive into the details, it is important to note that different turntable models may have slight variations in the cartridge replacement process. Therefore, we recommend consulting the user manual specific to your Dual turntable for any model-specific instructions or precautions. With that said, let’s get started on replacing your cartridge and getting your turntable back in tip-top shape!
Step 1: Gathering the necessary tools and materials
Before we begin the cartridge replacement process, it is important to gather all the necessary tools and materials. Having everything prepared beforehand will ensure a smooth and hassle-free experience. Here are the items you will need:
- A replacement cartridge: Make sure to purchase a cartridge that is compatible with your Dual turntable model. You can find this information in your turntable’s user manual or by doing a quick online search.
- A small screwdriver set: You will need various sizes of screwdrivers to remove and install screws during the cartridge replacement process.
- Anti-static gloves: These gloves are essential for handling the cartridge and preventing any damage caused by static electricity.
- Tweezers: Tweezers will help you handle small parts and make precise adjustments.
- Clean microfiber cloth: It is always a good idea to have a clean microfiber cloth on hand to wipe away any dust or debris that may accumulate during the cartridge replacement process.
Note: Depending on your turntable model, you may need additional tools or materials. It is recommended to consult your turntable’s user manual for any specific requirements.
Now that you have gathered all the necessary tools and materials, you are ready to move on to the next step – preparing your turntable for cartridge replacement.
Step 2: Preparing the turntable for cartridge replacement
Before diving into the cartridge replacement process, it’s important to properly prepare your Dual turntable to ensure a smooth and successful installation. Here’s what you need to do:
- Power off the turntable: Before working on any electronic device, it’s crucial to turn off the power to avoid any accidents or damage. Locate the power switch on your turntable and ensure it is in the “off” position.
- Remove the platter: The platter is the circular part of the turntable that spins the record. To access the cartridge, you need to remove the platter. Depending on your turntable model, you may need to lift it straight up or unscrew a retaining clip. Refer to the user manual for detailed instructions.
- Ground yourself: Static electricity can damage sensitive electronic components. Before handling the cartridge or any other parts, it’s important to ground yourself to discharge any static electricity. You can do this by touching a metal part of the turntable or using an anti-static wrist strap connected to a grounded object.
- Clean the turntable: While you have the platter removed, take the opportunity to clean the turntable’s surface using a clean microfiber cloth. This will ensure a clean and dust-free environment for the cartridge replacement process.
By following these preparatory steps, you have set the stage for a successful cartridge replacement. You are now ready to move on to the next step – removing the old cartridge.
Step 3: Removing the old cartridge
Now that your Dual turntable is properly prepared, it’s time to remove the old cartridge. Follow these steps to safely and effectively remove the old cartridge:
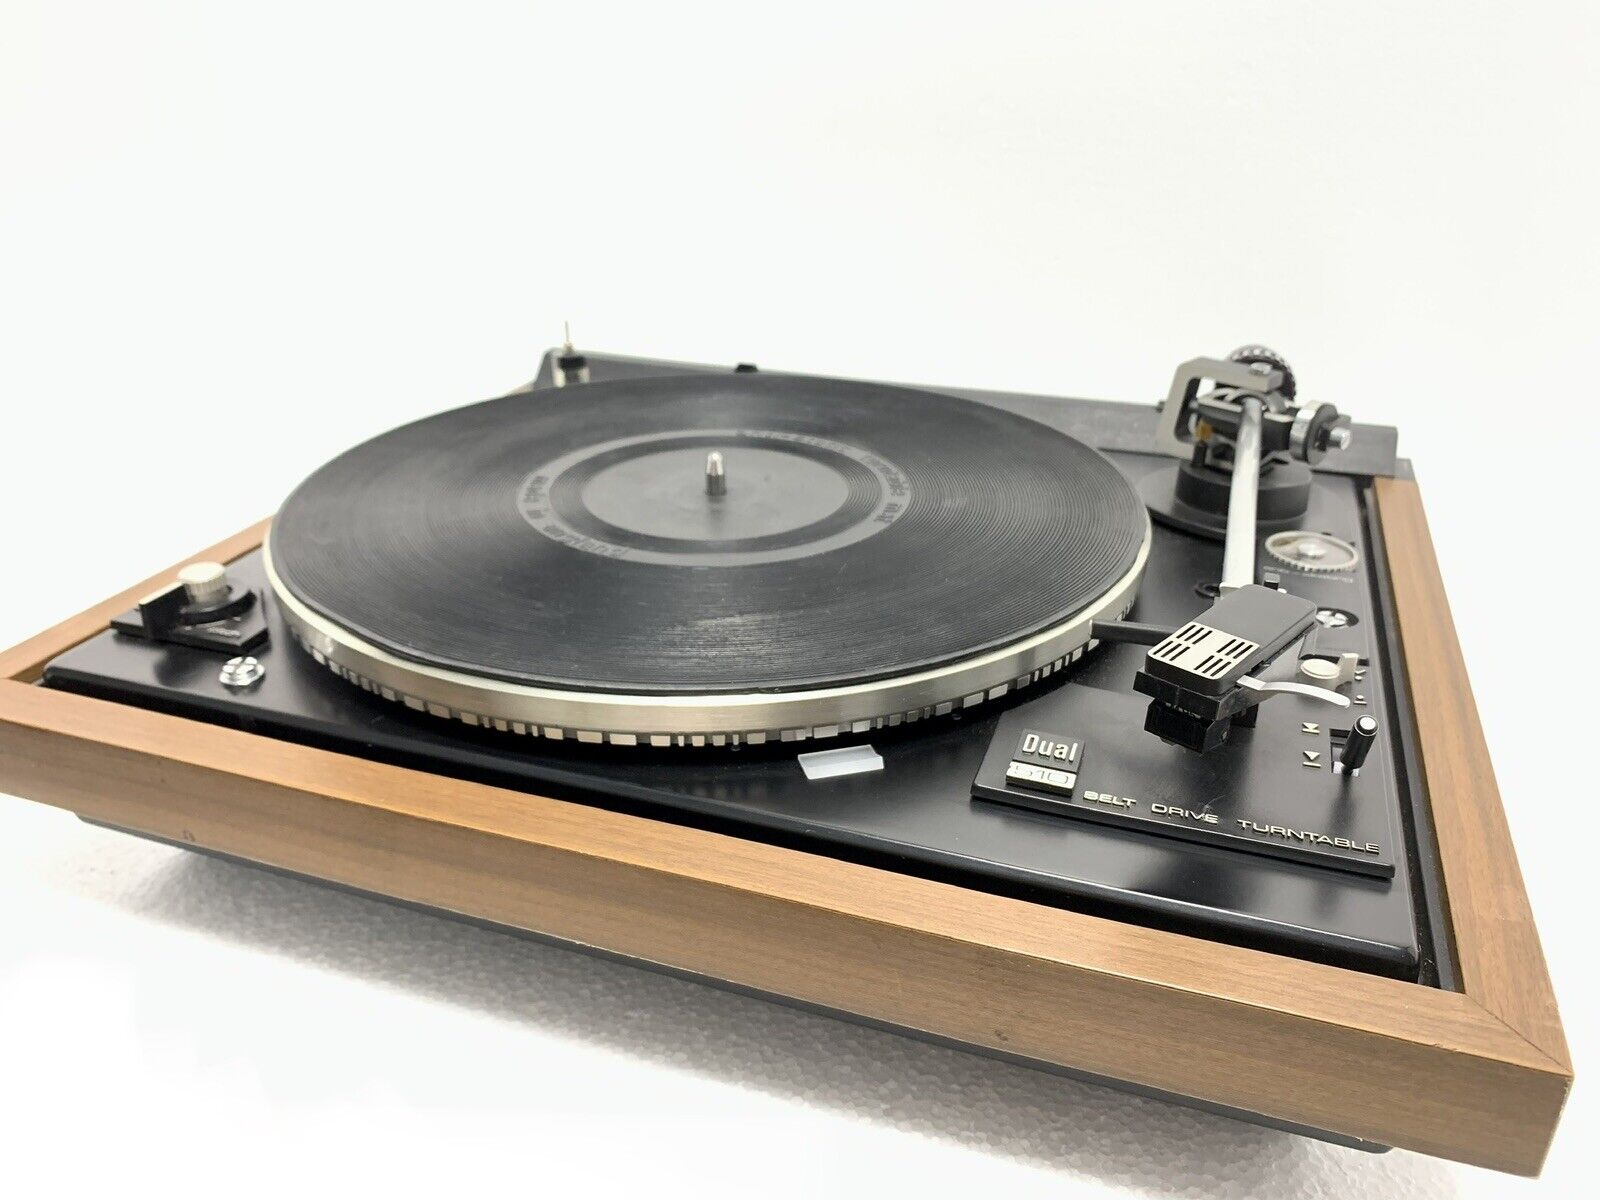
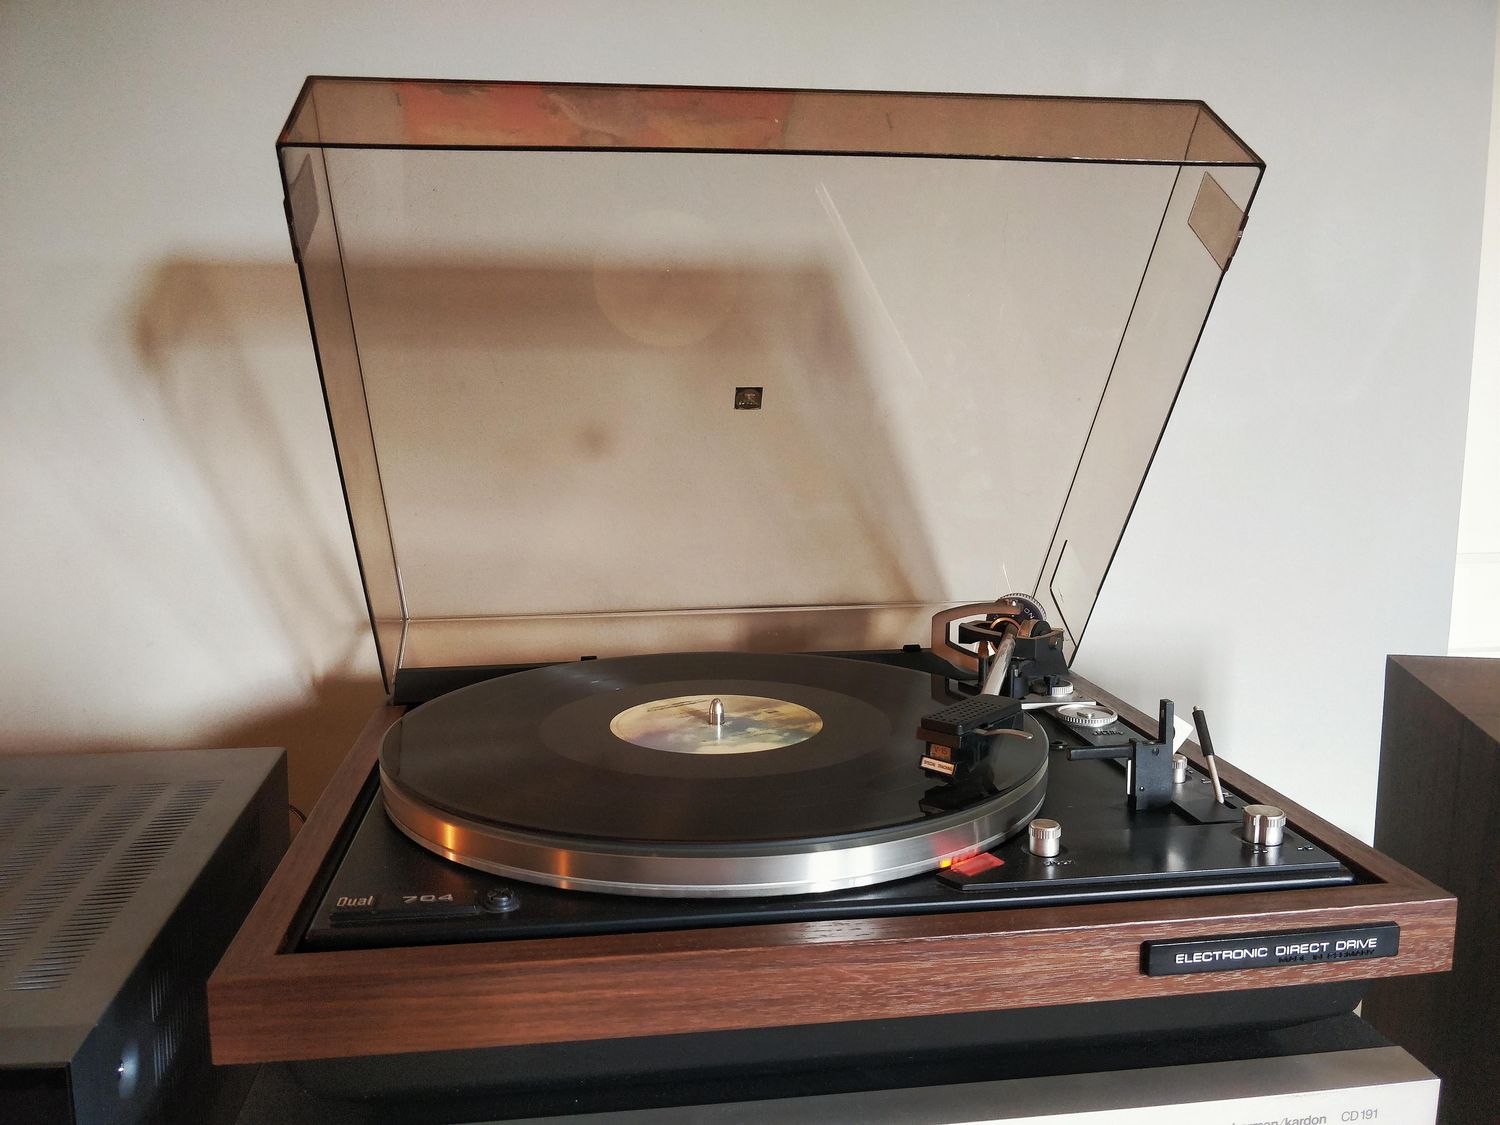
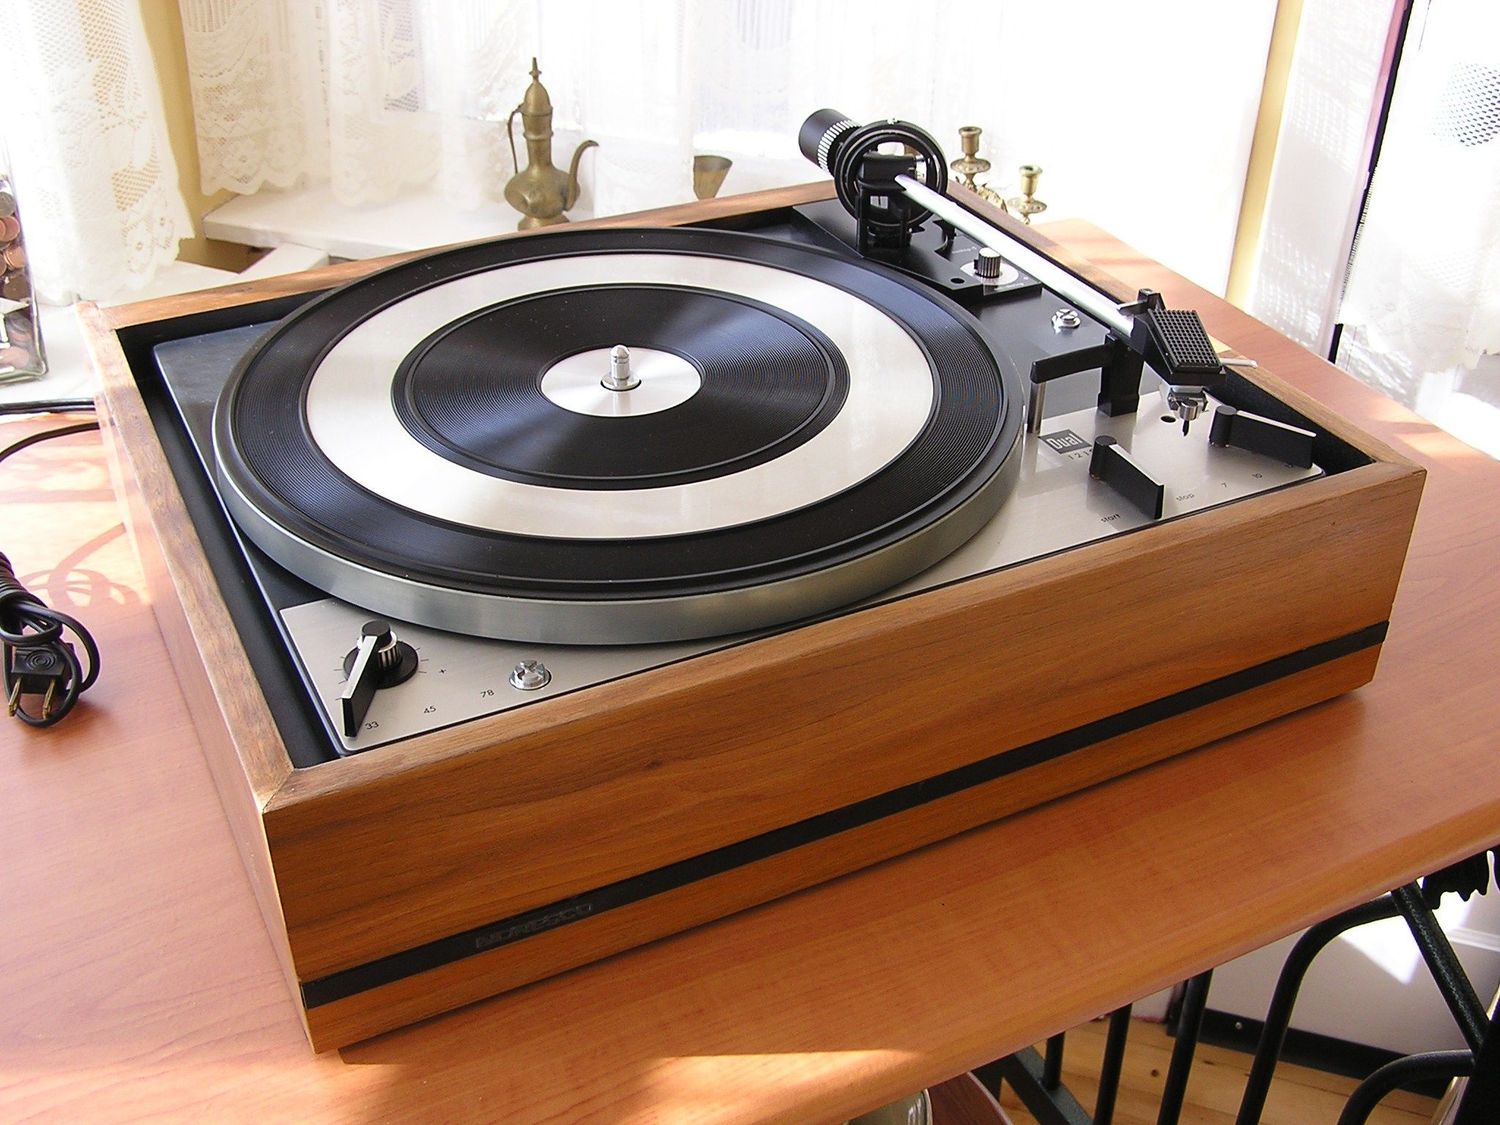
- Locate the cartridge: The cartridge is typically located at the end of the tonearm, which is the part that holds the stylus. It will be connected to the tonearm by a set of wires.
- Disconnect the wires: Carefully detach the wires connected to the cartridge. Some cartridges may have connectors that can be gently pulled apart, while others may have soldered connections that will require desoldering. Use caution when handling the wires to avoid damage.
- Remove the cartridge mounting screws: Most cartridges are mounted to a headshell or cartridge holder using screws. Use the appropriate screwdriver size to remove these screws. Make sure to keep the screws in a safe place as you will need them for installing the new cartridge.
- Detach the old cartridge: Once the screws are removed, gently lift the old cartridge from its mounting position. Be careful not to apply any excessive force or put pressure on the stylus to avoid causing damage.
- Inspect the tonearm wires: While the old cartridge is removed, take this opportunity to inspect the condition of the tonearm wires. Look for any signs of damage or wear. If necessary, replace or repair the wires before proceeding to the next step.
By following these steps, you have successfully removed the old cartridge from your Dual turntable. Now, let’s move on to the exciting part – installing the new cartridge!
Step 4: Installing the new cartridge
With the old cartridge removed, it’s time to install the new cartridge onto your Dual turntable. Follow these steps to ensure a proper and secure installation:
- Prepare the new cartridge: Remove the new cartridge from its packaging, taking care to avoid touching the stylus. Some cartridges may come with protective caps or guards on the stylus – remove these before installation.
- Align the cartridge: Aligning the cartridge properly is essential for optimal audio performance. Consult your turntable’s user manual or the cartridge manufacturer’s instructions for the recommended alignment method. This typically involves aligning the cartridge body parallel to the turntable’s center spindle and adjusting the overhang to match the manufacturer’s specifications.
- Mount the new cartridge: Carefully place the new cartridge onto the headshell or cartridge holder, aligning it with the mounting holes. Use the screws you retained from the old cartridge to secure the new cartridge in place. Ensure that the screws are tightened appropriately, but avoid over-tightening as it may damage the cartridge or the headshell.
- Connect the wires: Reconnect the wires to their respective terminals on the new cartridge. Make sure to match the left and right channel wires correctly, usually denoted by color coding. If necessary, refer to your turntable’s user manual for specific instructions on connecting the wires.
Note: Some cartridges may have different wiring configurations, such as using a separate ground wire. Again, consult the cartridge and turntable manuals for any specific instructions related to your setup.
Once you have completed these steps, the new cartridge is now properly installed on your Dual turntable. Great job! Now, let’s move on to the next step – balancing the tonearm.
Step 5: Balancing the tonearm
After installing the new cartridge, it’s important to properly balance the tonearm to ensure accurate tracking and minimize wear on your precious vinyl records. Follow these steps to balance the tonearm on your Dual turntable:
- Set the tracking force: The tracking force refers to the amount of pressure exerted by the stylus on the record grooves. Consult the cartridge manufacturer’s specifications or your turntable’s user manual to determine the recommended tracking force for your cartridge. Adjust the tracking force using the counterweight at the rear of the tonearm. Follow the manufacturer’s instructions to set the appropriate tracking force.
- Level the turntable: It’s crucial to have a level turntable to achieve proper tracking. Use a bubble level to ensure that your turntable’s platter is perfectly level. Make any necessary adjustments to the turntable’s position or use leveling feet (if available) to achieve a level surface.
- Float the tonearm: Gently raise the tonearm and position it so that it hovers parallel to the record surface. This is often referred to as “floating” the tonearm.
- Adjust the anti-skate: The anti-skate setting counteracts the inward force exerted on the tonearm by the record grooves. It helps to keep the stylus properly centered in the groove and prevents excessive wear. Consult your turntable’s user manual for instructions on how to adjust the anti-skate. Typically, it involves adjusting a dial or weight near the base of the tonearm to match the tracking force set earlier.
By carefully balancing the tonearm, you ensure that your cartridge tracks the record properly and preserves the life of your vinyl collection. Once you have completed these steps, you are ready for the final step – testing the new cartridge!
Step 6: Testing the new cartridge
Now that you have successfully installed and balanced your new cartridge, it’s time to put it to the test. Follow these steps to ensure that your Dual turntable is producing high-quality audio with the new cartridge:
- Choose a test record or a well-known album: Select a record that you are familiar with or a dedicated test record that includes various audio tracks designed to assess the performance of your turntable and cartridge.
- Clean the record: Clean the record surface using a record brush or a dedicated record cleaning solution. This will help to remove any dust or debris that could affect the playback quality.
- Place the record on the turntable: Carefully place the cleaned record onto the turntable’s platter. Ensure that the record is centered and properly seated on the spindle.
- Lower the tonearm: Gently lower the tonearm onto the record, allowing the stylus to make contact with the grooves. Ensure that the tonearm is level and parallel to the record surface.
- Listen and evaluate the audio quality: Start playing the record and listen closely to the audio coming from your speakers or headphones. Pay attention to the clarity, dynamics, and overall sound quality. Check for any distortion, skipping, or other issues that might indicate a problem with the cartridge installation.
- Making adjustments if needed: If you notice any issues with the audio quality, such as distortion or skipping, it may indicate that further adjustments are needed. Refer to the cartridge and turntable manuals or seek advice from audio professionals to troubleshoot and fine-tune the setup.
By thoroughly testing the new cartridge, you can ensure that it is functioning correctly and providing optimal audio performance. Take your time to adjust and fine-tune as needed until you are satisfied with the results.
Congratulations! You have successfully replaced the cartridge on your Dual turntable and tested it for optimal performance. Enjoy your vinyl collection with the improved sound quality delivered by your new cartridge!
Conclusion
Replacing the cartridge on your Dual turntable can greatly enhance your listening experience and breathe new life into your vinyl collection. We hope that this comprehensive guide has provided you with the knowledge and confidence needed to successfully replace the cartridge on your turntable.
Throughout the steps outlined in this guide, we have covered everything from gathering the necessary tools and materials to preparing your turntable, removing the old cartridge, installing the new cartridge, balancing the tonearm, and finally testing the new cartridge.
Remember, each turntable model may have slight variations in the cartridge replacement process, so it is always recommended to consult your turntable’s user manual for any model-specific instructions or precautions.
By following these steps carefully, you can ensure that your new cartridge is properly installed, balanced, and producing high-quality sound. Take your time during the process, pay attention to detail, and make any necessary adjustments to achieve optimal performance.
Now that you have a fresh cartridge and a properly functioning turntable, you can fully enjoy the warmth, depth, and richness of your vinyl records. So sit back, relax, and immerse yourself in the unique and nostalgic experience that only vinyl playback can provide.
Thank you for reading this guide, and we hope it helps you in your journey to maintain and get the most out of your Dual turntable!

