Home>Production & Technology>Audio Interface>How To Connect Computer Speakers To Audio Interface

Audio Interface
How To Connect Computer Speakers To Audio Interface
Modified: March 5, 2024
Learn how to connect computer speakers to an audio interface and improve your sound production. Discover the best techniques for a seamless audio experience with our step-by-step guide.
(Many of the links in this article redirect to a specific reviewed product. Your purchase of these products through affiliate links helps to generate commission for AudioLover.com, at no extra cost. Learn more)
Table of Contents
Introduction
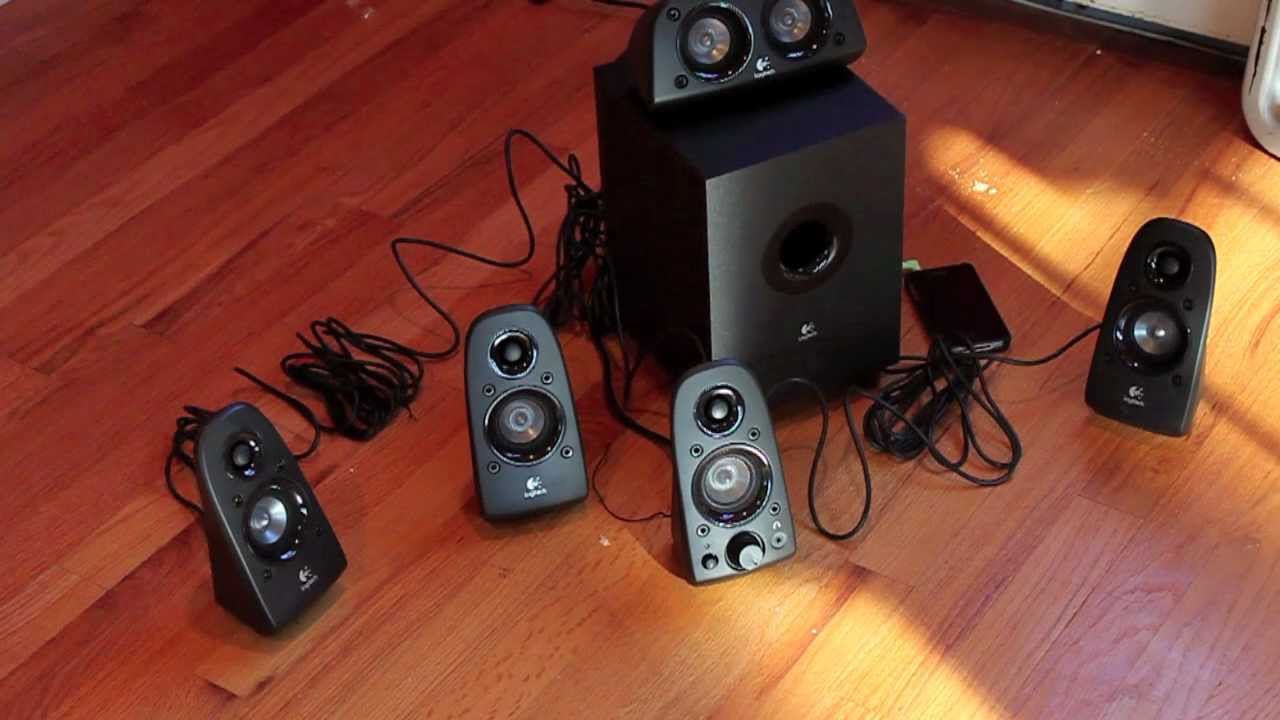
Connecting computer speakers to an audio interface is a great way to enhance your audio experience. Whether you’re a music producer, podcaster, or simply enjoy high-quality audio, using an audio interface can significantly improve the sound output from your computer. By connecting your speakers to an audio interface, you can bypass the built-in sound card of your computer and take advantage of the superior audio quality and advanced features offered by the interface.
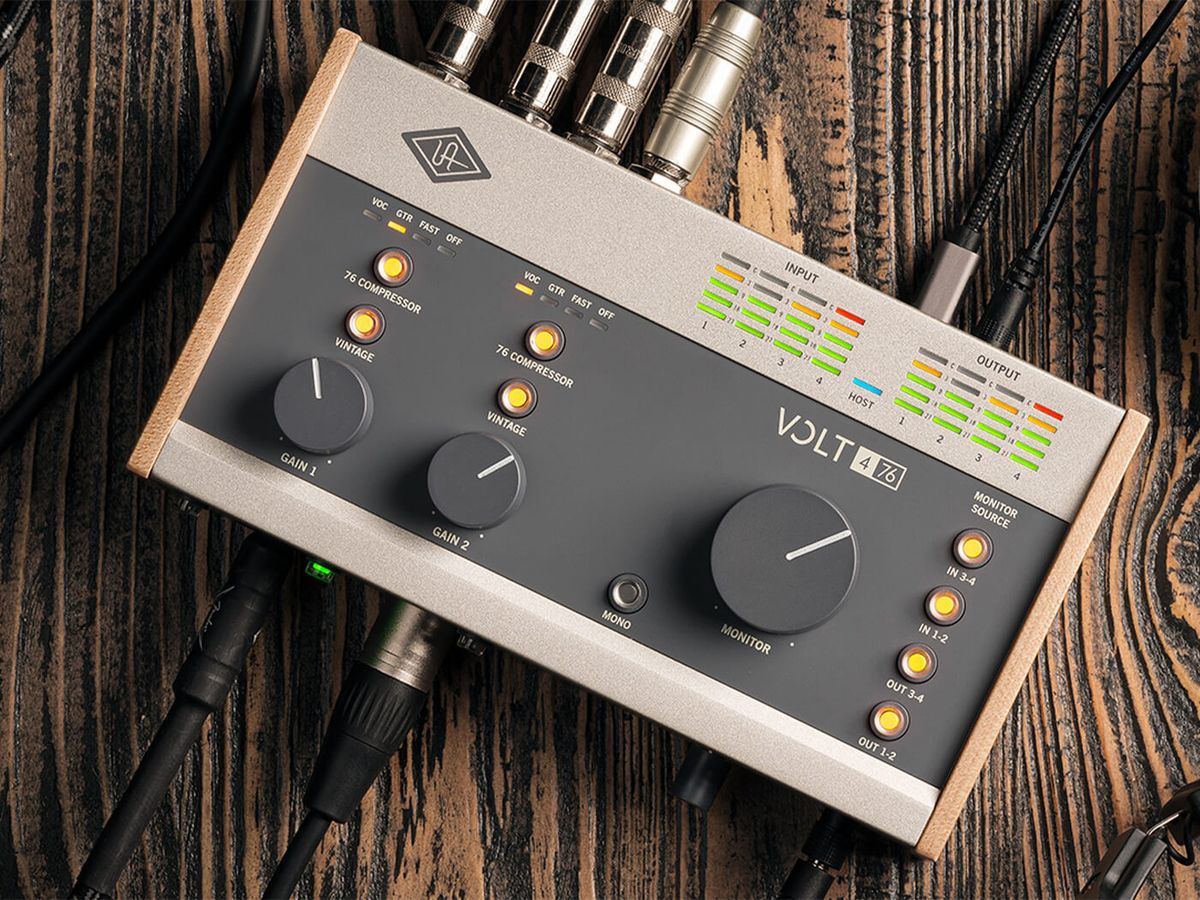
An audio interface serves as an intermediary between your computer and your speakers, allowing you to connect multiple audio sources, adjust input and output levels, and provide high-fidelity audio playback. This is particularly beneficial for professionals who require low latency, pristine audio recording and playback, and more control over their audio setup.
In this article, we’ll guide you through the process of connecting your computer speakers to an audio interface. We’ll provide step-by-step instructions, helpful tips, and explain the benefits of using an audio interface in your setup. So, whether you’re a beginner or a seasoned audio enthusiast, read on to discover how you can optimize your audio experience by connecting your computer speakers to an audio interface.
Step 1: Checking Compatibility
Before you begin connecting your computer speakers to an audio interface, it’s important to ensure that they are compatible with each other. Compatibility includes both the physical connection and the technical specifications.
To check the physical compatibility, examine the ports available on your audio interface and your computer speakers. Most audio interfaces have balanced outputs such as XLR or TRS, while computer speakers typically have unbalanced inputs like RCA or 3.5mm. Ensure that the ports on both devices match or have the necessary adapters to convert between them.
Next, consider the technical compatibility. This includes checking the impedance and power requirements of your computer speakers and matching them with the output capabilities of your audio interface. Ensure that the audio interface can deliver enough power to drive the speakers without distortion or damage.
Additionally, check the audio interface’s compatibility with your computer’s operating system. Most modern audio interfaces are compatible with both Mac and Windows, but it’s always a good idea to double-check the system requirements and driver support to avoid any compatibility issues.
By ensuring compatibility between your computer speakers and audio interface, you can be confident that they will work seamlessly together and provide the best audio quality.
Step 2: Gather All Necessary Cables and Adapters
Once you have confirmed the compatibility between your computer speakers and audio interface, the next step is to gather all the necessary cables and adapters needed for the connection. The specific cables and adapters you require will depend on the ports available on your equipment. Here are some common ones you may need:
- An audio cable with the appropriate connectors (e.g., XLR, TRS, RCA, 3.5mm) to connect the audio interface to your computer speakers.
- If your computer speakers have unbalanced inputs but your audio interface only has balanced outputs, you may need a TRS to RCA or TRS to 3.5mm adapter.
- A USB cable to connect the audio interface to your computer. Most audio interfaces use USB for data transfer and power.
- If your computer speakers require external power, make sure you have the necessary power cables and adapters.
It’s essential to use high-quality cables and adapters to ensure optimal audio transmission and prevent any signal loss or interference. Investing in shielded cables and reputable brands can help maintain the integrity of the audio signal.
Before proceeding to the next step, double-check that you have all the required cables and adapters on hand. This will save you time and frustration during the setup process.
Step 3: Connect the Audio Interface to the Computer
Now that you have gathered all the necessary cables and adapters, it’s time to connect the audio interface to your computer. Follow these steps:
- Locate the USB port on the audio interface. Usually, it is labeled with “USB” or has a distinctive USB symbol.
- Insert one end of the USB cable into the USB port of the audio interface.
- Ensure that your computer is powered on and unlocked.
- Insert the other end of the USB cable into an available USB port on your computer. The operating system will recognize the audio interface and install any necessary drivers automatically. If prompted, follow the on-screen instructions to complete the driver installation.
- Once the audio interface is successfully connected to your computer, it will be ready to use.
Note: If your audio interface requires external power, make sure it is plugged into a power source before connecting it to your computer.
Connecting the audio interface to your computer establishes the communication between the two devices, allowing you to route audio signals and control various settings through the interface. Once the connection is established, you can move on to the next step of connecting your computer speakers to the audio interface.
Step 4: Connect the Computer Speakers to the Audio Interface
After successfully connecting the audio interface to your computer, it’s time to connect your computer speakers to the audio interface. Follow these steps:
- Locate the output ports on your audio interface. These ports are often labeled as “Output,” “Main Out,” or something similar.
- Identify the appropriate output connectors on the audio interface, which could be XLR, TRS, or RCA, depending on your specific model.
- Take the other end of the audio cable you gathered earlier, and connect it to the corresponding output connectors on the audio interface.
- Next, locate the input ports on your computer speakers. These ports are typically labeled as “Input,” “Line-In,” or “Aux.”
- Take the other end of the audio cable, and connect it to the input ports on your computer speakers.
- Ensure that the cables are securely plugged in to avoid any loose connections.
Once you’ve connected your computer speakers to the audio interface, the audio signals from your computer will now be routed through the interface and outputted to your speakers. This setup allows for better audio quality and control over your sound output.
If you’re using powered speakers, make sure they are properly connected to a power source as well. Some computer speakers may require an external power supply, so check the specifications of your speakers and connect them accordingly.
With your computer speakers successfully connected to the audio interface, you’re one step closer to optimizing your audio experience. The final step involves adjusting the audio settings to ensure optimal performance.
Step 5: Adjusting Audio Settings
Once you have connected your computer speakers to the audio interface, it’s important to adjust the audio settings to optimize the performance and ensure the best audio experience. Follow these steps:
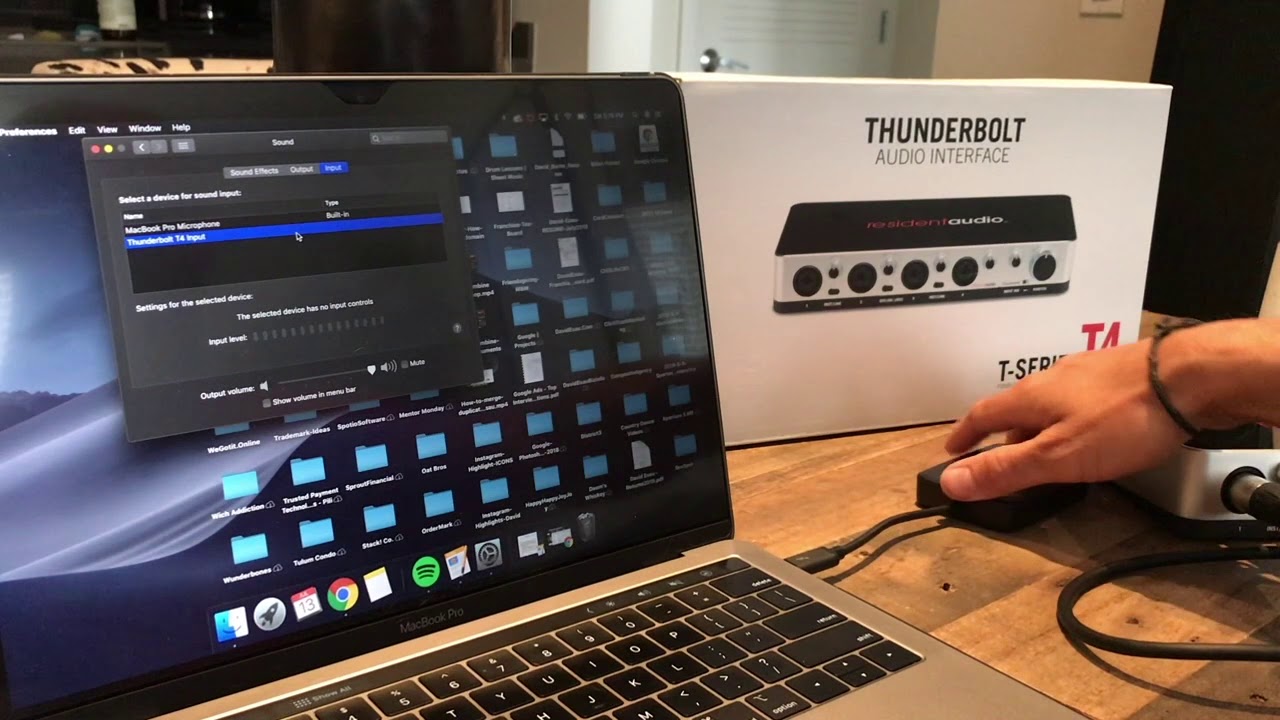
- Open your computer’s audio settings. On Windows, you can usually access this through the Control Panel or by right-clicking on the speaker icon in the taskbar and selecting “Playback Devices.” On Mac, go to “System Preferences” and click on “Sound.”
- Select the audio interface as the default playback device. In the audio settings, you should see a list of available playback devices. Choose the audio interface from the list and set it as the default device.
- Adjust the volume levels. Use the volume controls on the audio interface or the computer speakers to set the desired playback volume. It’s recommended to start with lower volumes and gradually increase as needed to avoid distortion or damage to the speakers.
- Configure any additional audio settings. Depending on your audio interface, you may have access to various settings, such as sample rate, buffer size, input gain, or EQ controls. Consult the user manual or software documentation for your audio interface to customize these settings according to your specific requirements.
- Test the audio playback. Play some audio, such as music or videos, to ensure that the sound is coming through the computer speakers connected to the audio interface. Adjust the volume as necessary to achieve the desired sound level.
By adjusting the audio settings, you can fine-tune the performance of your computer speakers and audio interface combination. This allows you to achieve an optimal audio output that suits your needs and preferences.
It’s worth noting that different audio interfaces may have specific software or control panels that provide additional options for adjusting audio settings. Take some time to explore and familiarize yourself with these features to maximize the capabilities of your audio interface.
With the audio settings properly adjusted, you can now enjoy high-quality sound output through your computer speakers, enhanced by the capabilities of the audio interface.
Conclusion
Connecting your computer speakers to an audio interface can greatly enhance your audio experience and provide you with more control over your sound output. By following the steps outlined in this guide, you can easily connect your speakers to an audio interface and benefit from improved sound quality and advanced features.
Remember to check the compatibility between your computer speakers and the audio interface before starting the setup process. Gather all the necessary cables and adapters to ensure a seamless connection. Verify that the audio interface is properly connected to your computer through a USB cable, and that the drivers are installed correctly.
Once you have established the connection between the audio interface and the computer, you can proceed to connect your computer speakers to the audio interface. Make sure to use the appropriate audio cables and securely plug them into the corresponding input and output ports.
Finally, adjust the audio settings on your computer to optimize the performance of your speakers connected to the audio interface. Set the audio interface as the default playback device, adjust the volume levels, and configure any additional settings available on your audio interface software or control panel.
By following these steps and taking the time to fine-tune your audio setup, you can enjoy an enhanced audio experience with improved sound quality, greater control, and flexibility. Whether you’re a music producer, podcaster, or audio enthusiast, connecting your computer speakers to an audio interface is a worthwhile investment that will elevate your audio production and enjoyment.
Now, armed with the knowledge and steps provided in this guide, you’re ready to connect your computer speakers to an audio interface and embark on a journey of immersive and high-fidelity sound.

