Home>Production & Technology>Audio Cable>How To Connect Optical Audio Cable PS4
Audio Cable
How To Connect Optical Audio Cable PS4
Published: December 19, 2023
Learn how to connect your PS4 with an optical audio cable and enhance your audio experience. Step-by-step guide on setting up and troubleshooting common issues.
(Many of the links in this article redirect to a specific reviewed product. Your purchase of these products through affiliate links helps to generate commission for AudioLover.com, at no extra cost. Learn more)
Table of Contents
Introduction
Welcome to this guide on how to connect an optical audio cable to your PS4 console. If you’re looking to enhance your gaming experience or enjoy high-quality audio while watching movies or streaming content on your PS4, using an optical audio cable is a great solution.
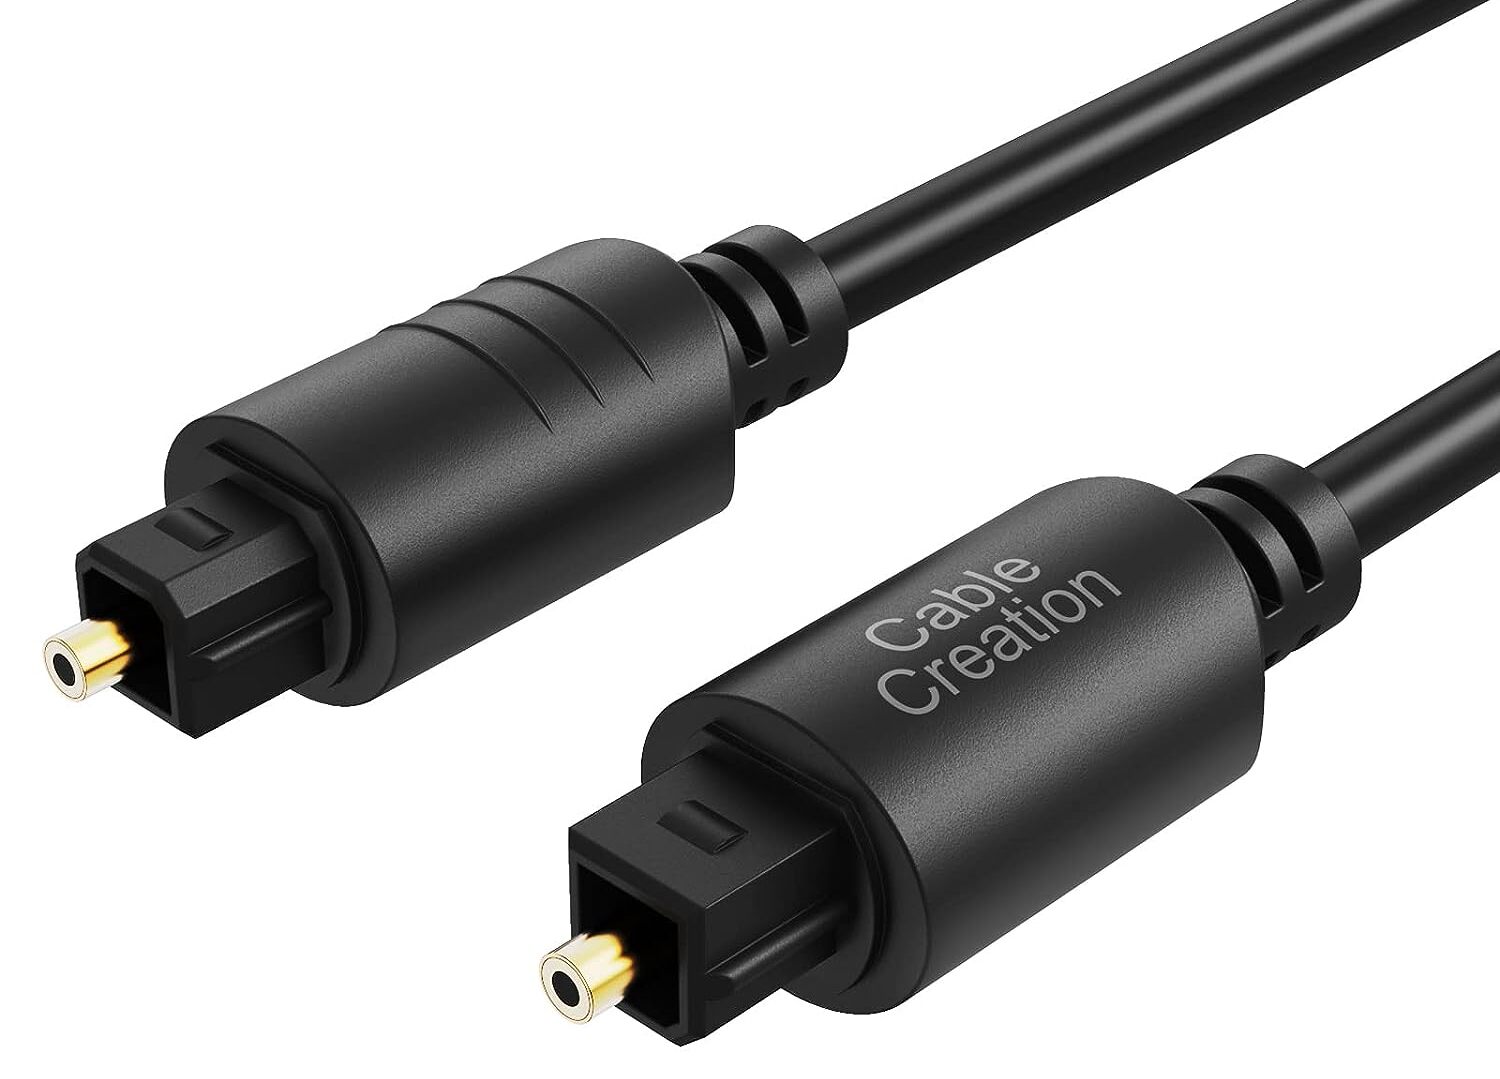
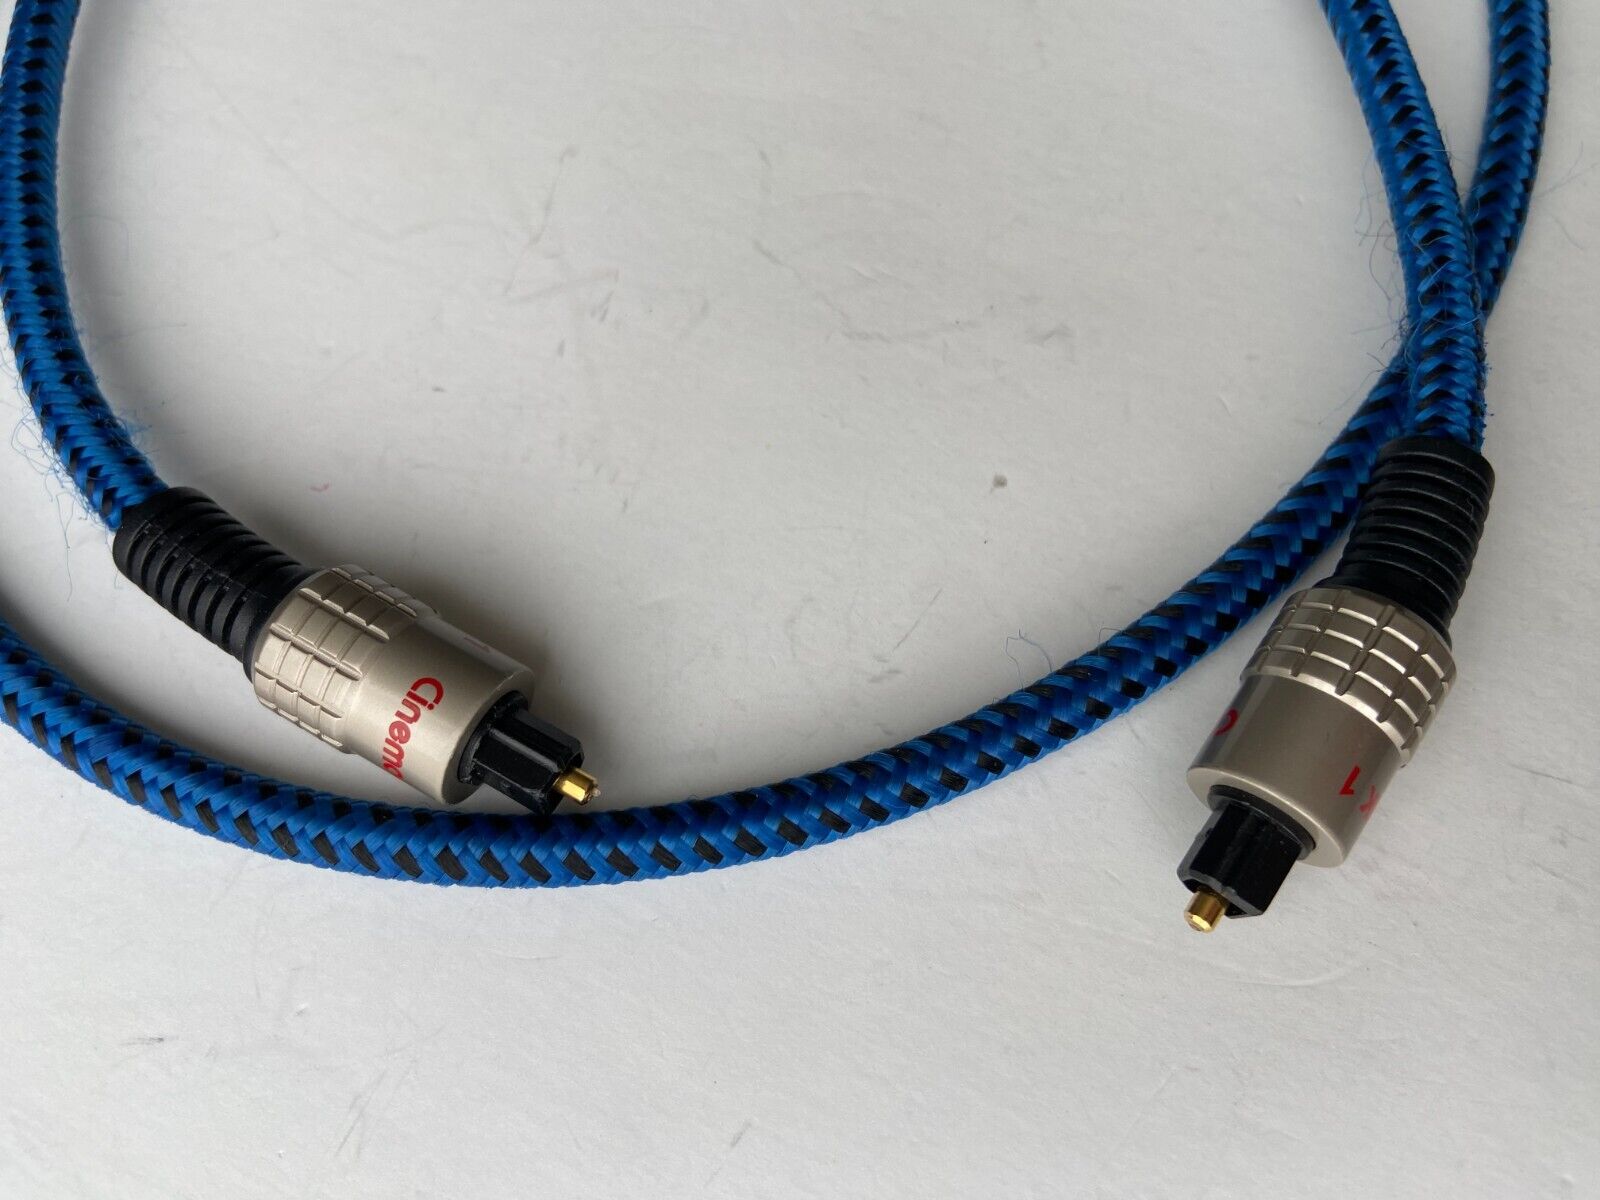
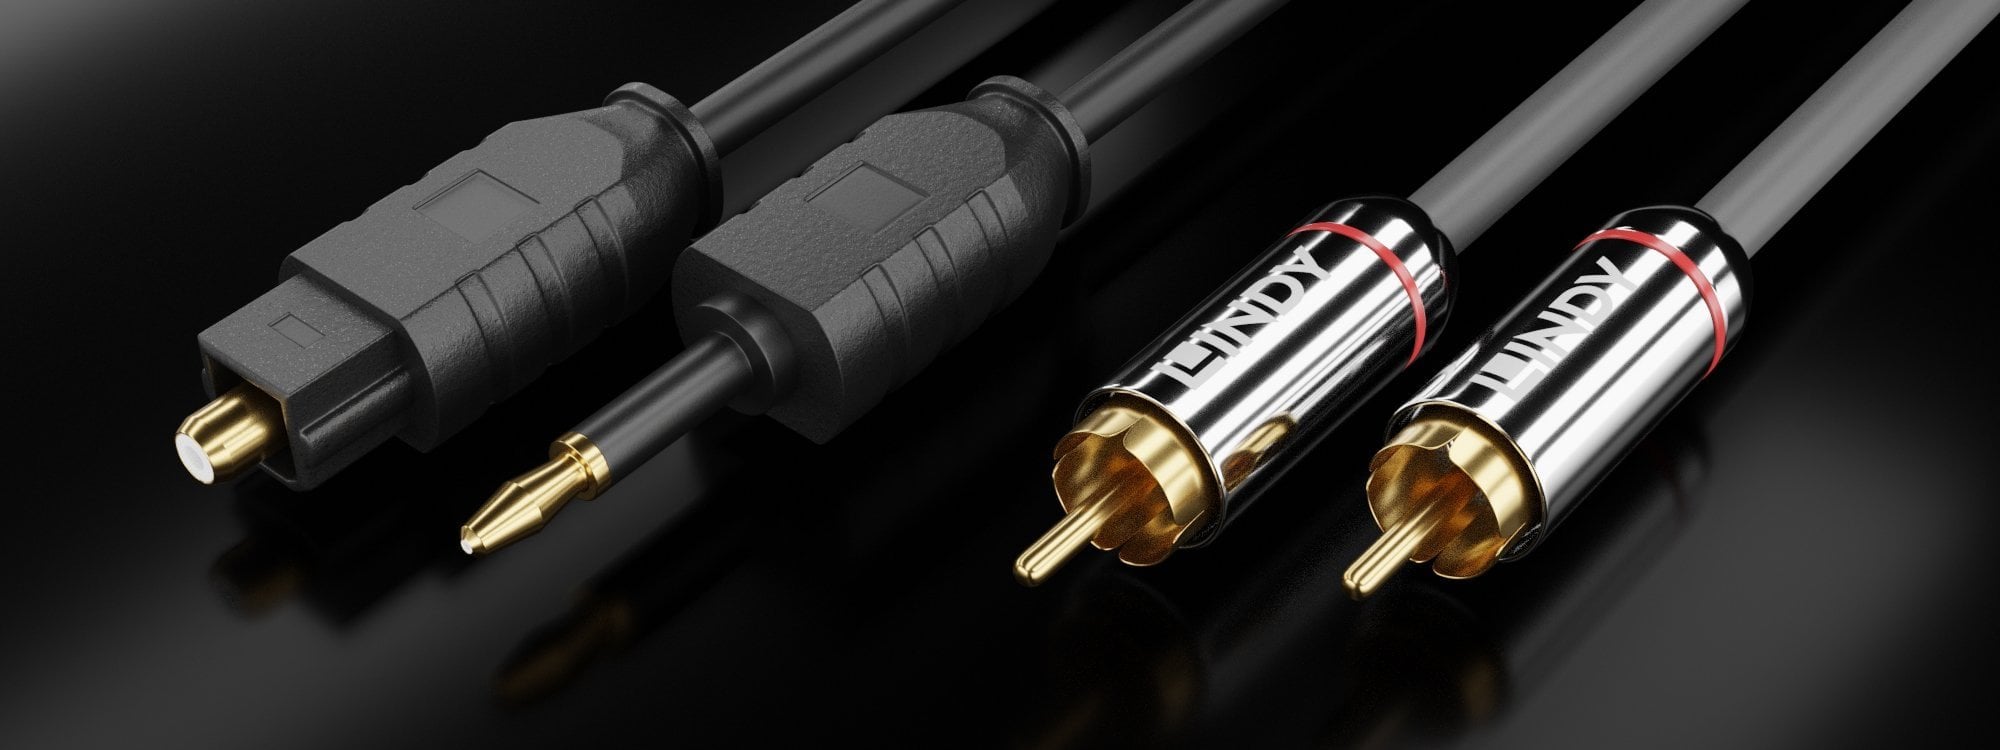
An optical audio cable, also known as a Toslink cable, is designed to transmit digital audio signals between devices. By connecting your PS4 to a soundbar, receiver, or home theater system using an optical audio cable, you can enjoy immersive surround sound and crisp audio quality.
In this article, we will provide you with a step-by-step guide on how to connect an optical audio cable to your PS4. We will walk you through the necessary equipment, the setup process, and adjusting the audio settings on your console for optimal performance.
Before we get started, it’s important to note that not all PS4 models have an optical audio output. So, before proceeding, make sure your PS4 has the necessary port. If your console doesn’t have an optical audio output, there are alternative methods to connect your PS4 to an audio system, such as using HDMI ARC or Bluetooth.
Now, let’s dive into the process of connecting an optical audio cable to your PS4 console and enhancing your audio experience.
Step 1: Gathering the Necessary Equipment
Before you can connect an optical audio cable to your PS4, you’ll need to gather a few essential items. Here’s a list of the equipment you’ll need:
- PS4 Console: Ensure that you have your PS4 console ready and powered on.
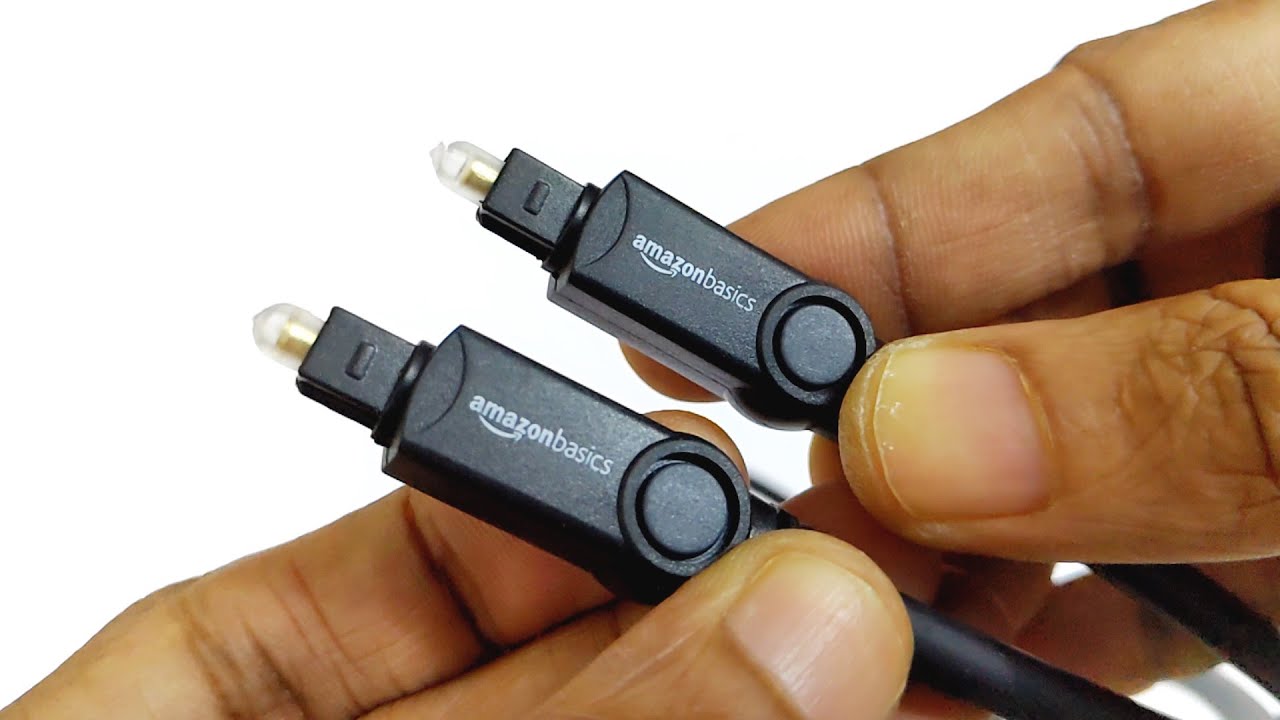
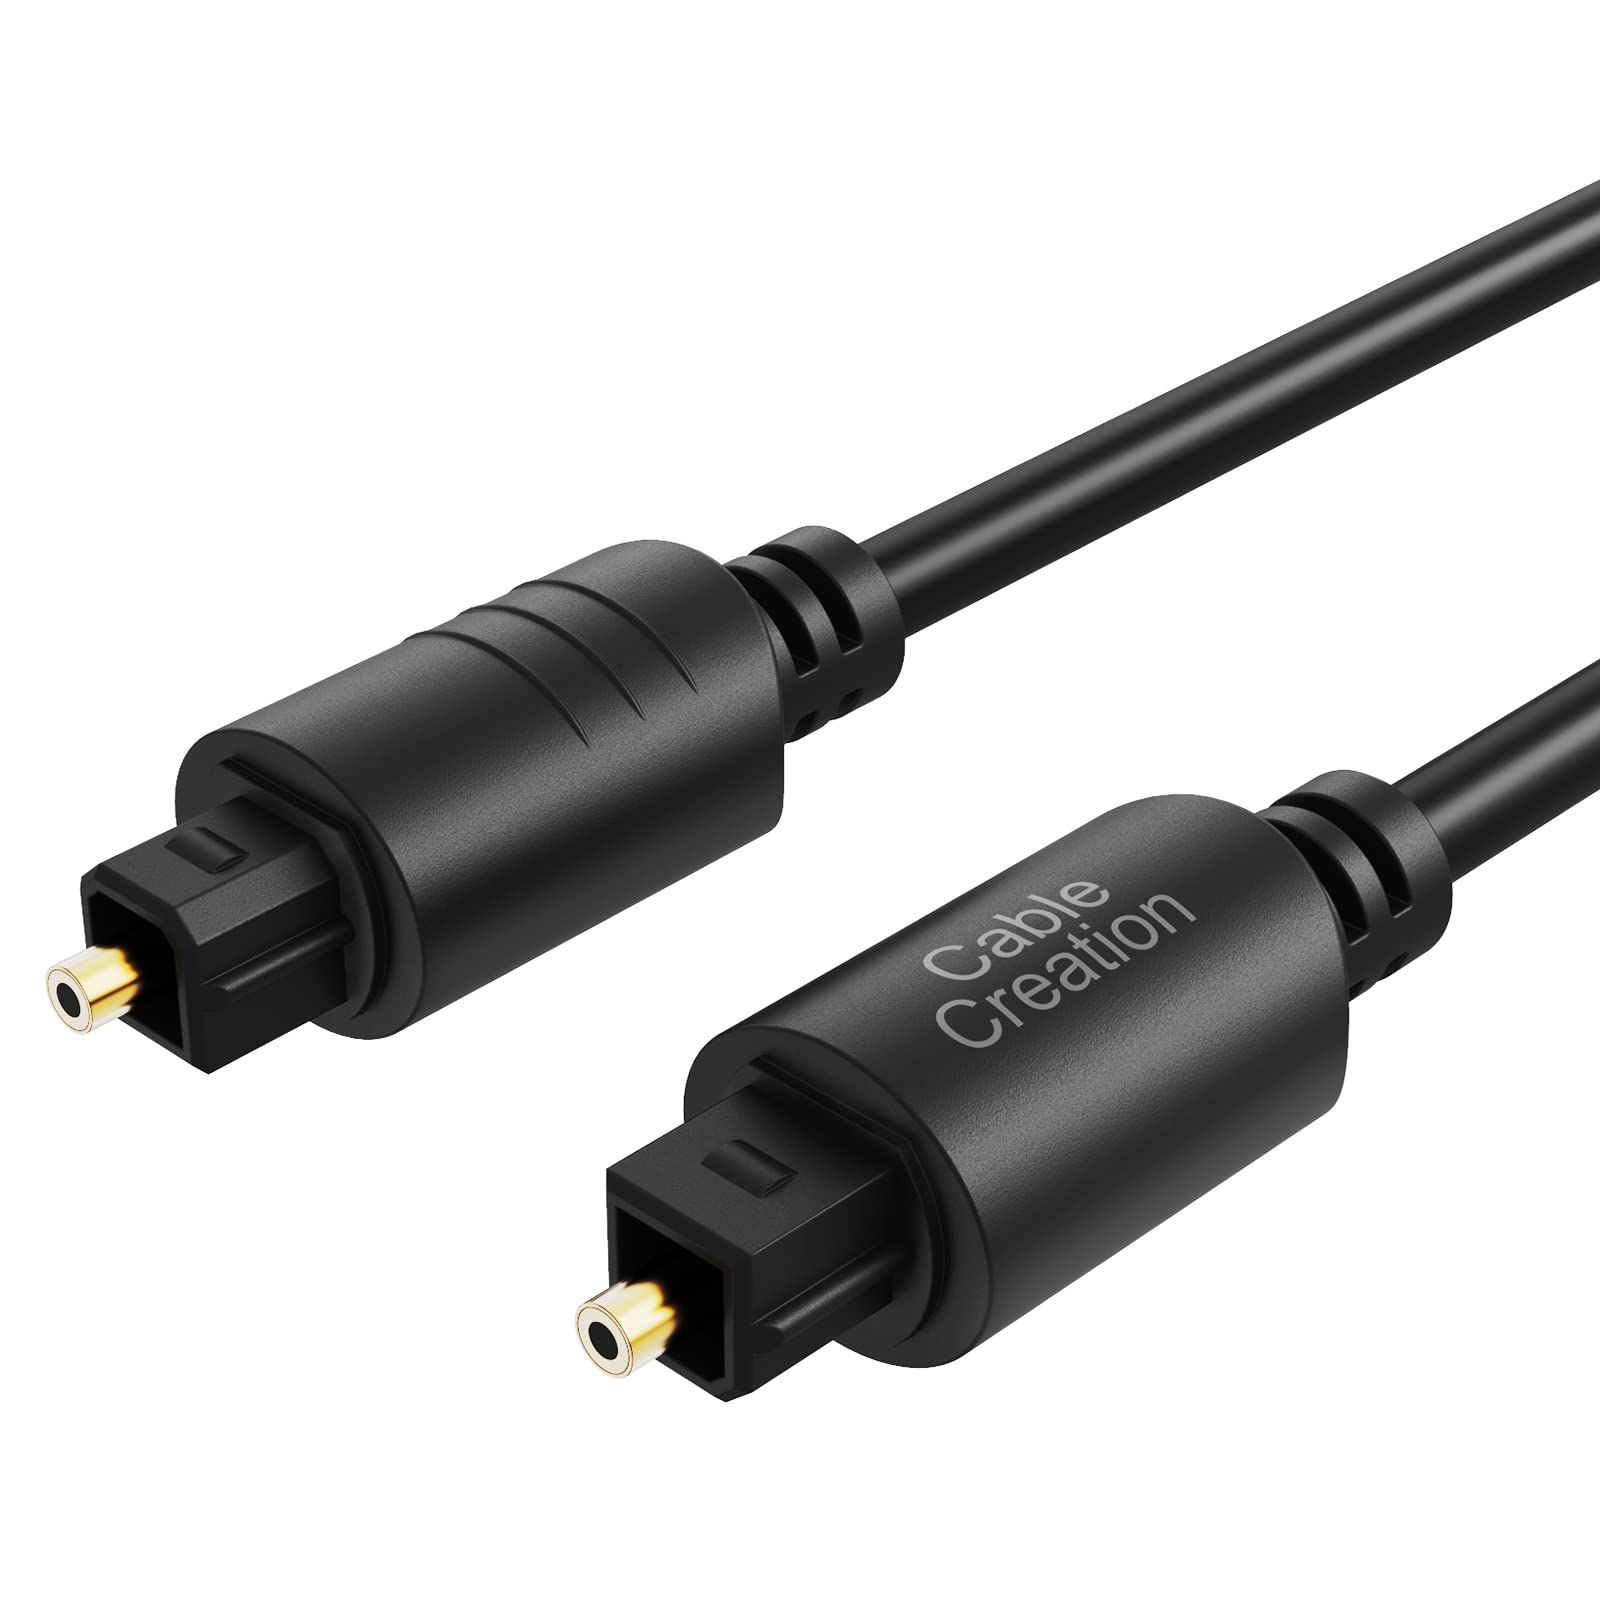
- Optical Audio Cable: Purchase a high-quality optical audio cable with the appropriate length to connect your PS4 to your audio system. Look for a cable that supports digital optical audio, sometimes referred to as Toslink.
- Audio System: You’ll need an audio system that has an optical audio input. This could be a soundbar, A/V receiver, or home theater system. Make sure it has an available optical audio input port.
- Remote Control (optional): If your audio system requires a remote control to operate, ensure that you have it readily available.
Once you have gathered all the necessary equipment, you’re ready to move on to the next step which involves setting up your PS4 console.
Step 2: Setting up Your PS4 Console
Now that you have all the necessary equipment, let’s proceed with setting up your PS4 console:
- Placement: Find a suitable location for your PS4 console near your audio system. Ensure that there is enough space for proper ventilation.
- Power Connection: Connect the power cable to your PS4 console and plug it into a power outlet.
- HDMI Connection: Connect one end of the HDMI cable to the HDMI output port on your PS4 console and the other end to an available HDMI input port on your TV. This will enable video output from your PS4 to your TV.
- Controller Connection: Connect your PS4 controller to the console using a USB cable. This will establish a wireless connection between the console and the controller.
- Powering on the Console: Press the power button on the front of your PS4 console to turn it on. Wait for the system to boot up and display the main menu on your TV screen.
With your PS4 console set up and powered on, you’re now ready to move on to the next step: preparing the optical audio cable.
Step 3: Preparing the Optical Audio Cable
Now that your PS4 console is set up, it’s time to prepare the optical audio cable for connecting it to your audio system. Follow these steps:
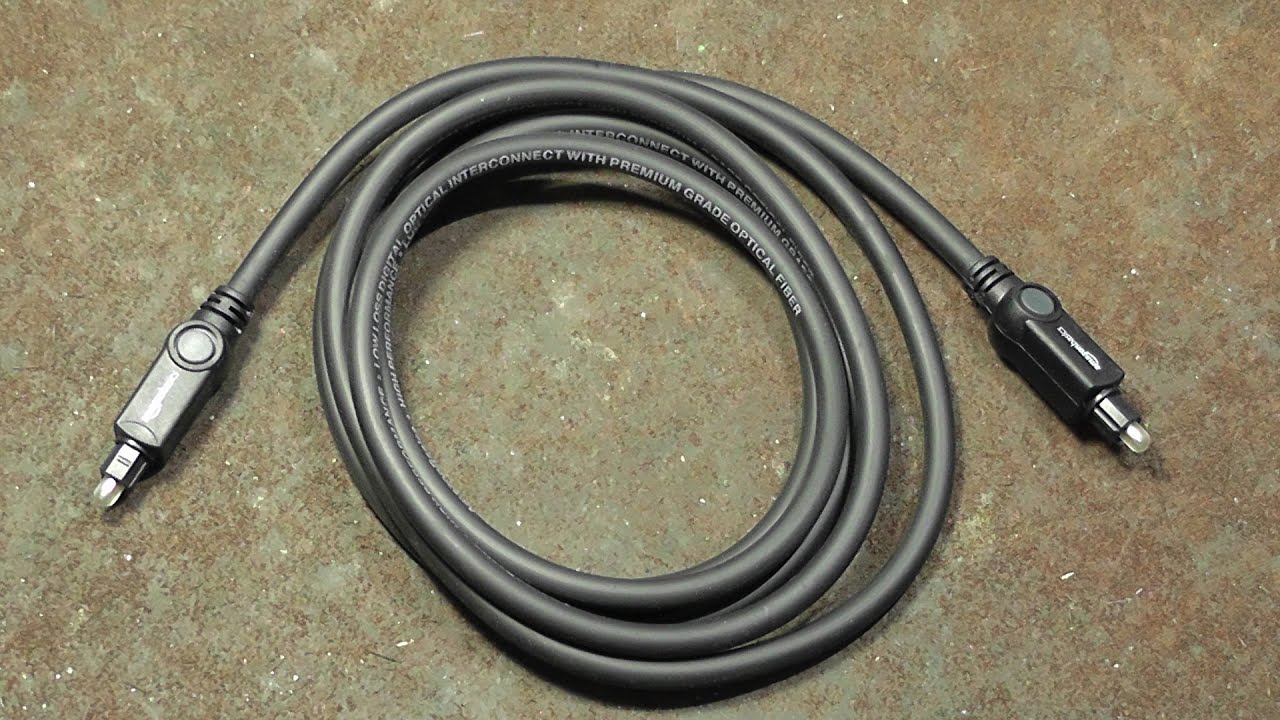
- Inspect the Cable: Examine the optical audio cable for any visible damages or frayed ends. If you notice any issues, consider using a different cable to ensure optimal audio transmission.
- Remove Dust Caps: Most optical audio cables come with protective dust caps at both ends. Remove the dust caps carefully to expose the connectors.
- Clean the Connectors: Use a soft cloth to gently wipe the connectors at both ends of the cable. This will remove any dust or debris that could affect the connection quality.
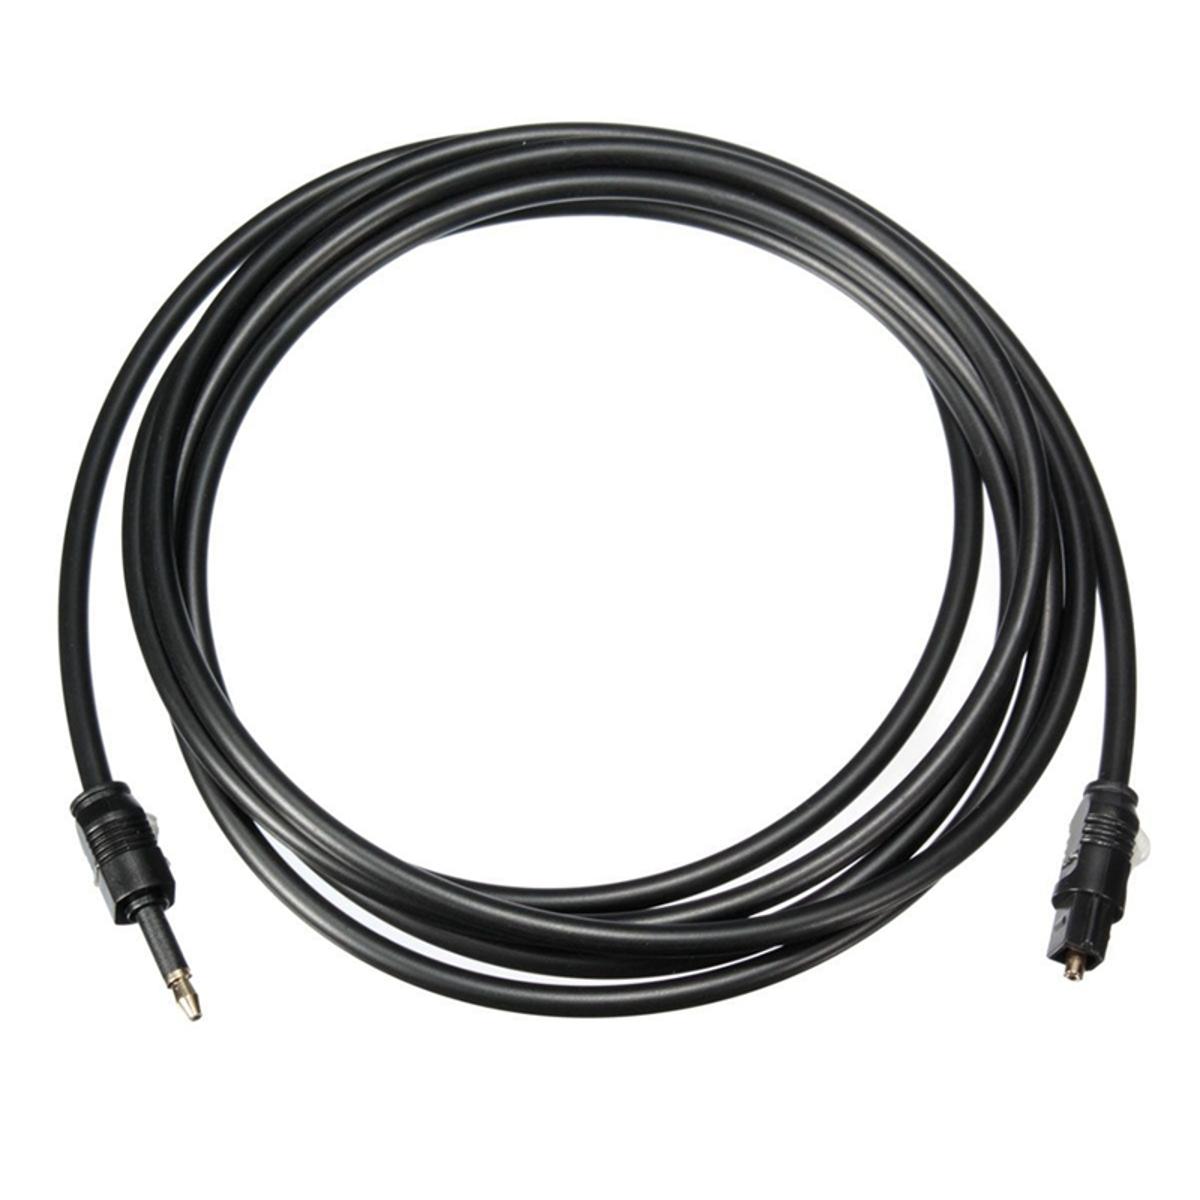
- Keep Cable Length in Mind: Make sure to consider the distance between your PS4 console and the audio system when selecting the length of the optical audio cable. Opt for a cable that is neither too short nor excessively long, as this can impact the audio signal quality.
- Avoid Tight Bends: When positioning the cable, avoid sharp bends or kinks, as they can damage the cable. Opt for a gentle curve or a loose loop to ensure a smooth connection.
By taking these steps to prepare the optical audio cable, you’ll ensure a clean and reliable connection between your PS4 console and audio system. Once you’ve prepared the cable, it’s time to move on to the next step: connecting the optical audio cable to your PS4.
Step 4: Connecting the Optical Audio Cable to Your PS4
With your optical audio cable prepared, it’s time to connect it to your PS4 console. Follow these steps:
- Locate the Optical Audio Output: On the back of your PS4 console, find the optical audio output port. It is typically labeled as “Optical Out” or “Toslink.”
- Insert the Cable: Align the connector of the optical audio cable with the optical audio output port on your PS4 console. Gently insert the cable until it is securely connected.
- Tighten the Connector: Once the cable is inserted, give it a slight twist to ensure a secure and snug fit with the port. This helps prevent accidental disconnections that could interrupt the audio signal.
- Route the Cable: Carefully route the optical audio cable away from other cables and components to prevent any interference and ensure optimal audio transmission.
Now that you have successfully connected the optical audio cable to your PS4 console, it’s time to move on to the next step: adjusting the audio settings on your PS4.
Step 5: Adjusting Audio Settings on Your PS4
After connecting the optical audio cable to your PS4, you need to adjust the audio settings on your console. Follow these steps:
- Access the Sound Settings: On your PS4 home screen, go to the Settings menu by navigating to the top row of icons and selecting the gear-shaped icon.
- Open the Sound and Screen Settings: Within the Settings menu, scroll down and select the “Sound and Screen” option. This will open the audio and display settings for your PS4.
- Select Audio Output Settings: Within the Sound and Screen settings, select the “Audio Output Settings” option. This will allow you to configure the audio settings for your PS4 console.
- Choose Optical: In the Audio Output Settings, select the “Primary Output Port” option. Choose “Digital Out (Optical)” as the primary output port for audio.
- Select Audio Format: Next, select the “Audio Format (Priority)” option. Here, you can choose the audio format that best suits your audio system. Select the preferred format, such as Dolby Digital or DTS.
- Test the Audio: Once you have made these adjustments, select the “Test Audio” option to ensure that the audio is playing correctly through your connected audio system.
By adjusting the audio settings on your PS4, you are optimizing the audio output for your specific audio system and ensuring the best audio experience while gaming or enjoying multimedia content.
Now that you have adjusted the audio settings on your PS4, let’s move on to the final step: testing and troubleshooting the audio connection.
Step 6: Testing and Troubleshooting
After setting up the optical audio cable and adjusting the audio settings on your PS4, it’s important to test the connection and troubleshoot any potential issues. Follow these steps:
- Play Audio: Start playing audio on your PS4, whether it’s from a game, movie, or streaming service.
- Check Audio Output: Confirm that the audio is coming from your connected audio system. Ensure that the sound is clear and balanced, without any distortion or unusual noise. If the audio is not playing through your audio system, double-check the connections and repeat the previous steps.
- Adjust Audio Volume: Use the volume controls on your audio system or its remote control to adjust the audio volume as desired. Make sure the volume is at a comfortable level and adjust it according to your preference.
- Troubleshoot Issues: If you experience any issues with the audio, such as no sound, intermittent audio, or poor audio quality, try the following troubleshooting steps:
- Check the optical audio cable for a secure connection at both ends.
- Ensure that your audio system is powered on and set to the correct input source.
- Restart your PS4 console and audio system to reset any temporary glitches.
- Try using a different optical audio cable to rule out any potential cable issues.
- Refer to the user manual or contact the manufacturer of your audio system for specific troubleshooting steps.
- Enjoy Your Audio Experience: Once you have tested and resolved any issues, sit back, relax, and enjoy the enhanced audio experience provided by the optical audio connection on your PS4.
By following these testing and troubleshooting steps, you can ensure that your optical audio cable is functioning correctly and that you are getting the best possible audio quality from your PS4 console.
Congratulations! You have successfully connected and configured an optical audio cable to your PS4, allowing you to enjoy immersive audio while gaming or watching content. Now you can fully appreciate the powerful sound and enhanced audio experience that your PS4 and audio system can provide.
Remember, if you encounter any persistent audio issues, don’t hesitate to consult the user manuals or seek assistance from the manufacturer’s support to ensure that your audio system and PS4 are functioning optimally.
Thank you for following this guide, and happy gaming!
Conclusion
In conclusion, connecting an optical audio cable to your PS4 console can greatly enhance your gaming and entertainment experience. By following the step-by-step guide outlined in this article, you can easily set up and configure your PS4 to take advantage of the high-quality audio output offered by an optical audio connection.
We started by gathering the necessary equipment, including your PS4 console, an optical audio cable, and an audio system with an optical audio input. Then, we walked through the process of setting up your PS4 console, preparing the optical audio cable, and connecting it to your console.
After the physical setup was complete, we explored how to adjust the audio settings on your PS4 to ensure optimal audio output. By selecting the appropriate audio port and audio format, you can personalize your audio settings to match your audio system’s capabilities.
Additionally, we discussed the importance of testing the audio connection and troubleshooting any potential issues. A proper audio test helps confirm that the connection is working correctly and enables you to identify and resolve any audio-related problems that may arise.
By following these steps, you can enjoy immersive sound effects, crystal-clear dialogue, and rich audio quality while gaming, watching movies, or streaming content on your PS4. The optical audio cable provides a reliable and high-fidelity connection between your console and audio system, ensuring an enjoyable and immersive audio experience.
Now that you have learned how to connect an optical audio cable to your PS4, it’s time to sit back, relax, and immerse yourself in the world of captivating soundscapes that your PS4 console and audio system can deliver.
We hope this guide has been informative and helpful in enhancing your audio experience. Happy gaming and enjoy your immersive audio journey!