Home>Production & Technology>Audio Cable>Rocksmith 2014 How To Play With A Different Cable Other Than The Rocksmith Audio Cable
Audio Cable
Rocksmith 2014 How To Play With A Different Cable Other Than The Rocksmith Audio Cable
Modified: January 22, 2024
Learn how to play Rocksmith 2014 with an alternative audio cable instead of the Rocksmith audio cable. Maximize your guitar playing experience.
(Many of the links in this article redirect to a specific reviewed product. Your purchase of these products through affiliate links helps to generate commission for AudioLover.com, at no extra cost. Learn more)
Table of Contents
Introduction
Welcome to the world of Rocksmith 2014, a revolutionary video game that allows you to learn and play the guitar using a real instrument. While the game comes with its own proprietary Rocksmith audio cable, you may wonder if it’s possible to use a different cable instead. In this article, we will explore the reasons why you might want to use a different cable and provide guidance on how to do so successfully.
Rocksmith is a popular choice for aspiring guitarists and musicians who want to improve their skills while having fun. The game offers a vast library of songs to play along with, interactive lessons, and a unique dynamic difficulty feature that adapts to your playing level. However, some users may find the Rocksmith audio cable limitations or may wish to use their existing audio cables for convenience or quality reasons.
Using a different cable can offer flexibility, improved sound quality, and the ability to connect to additional devices or sound systems. However, it’s essential to choose a compatible cable and configure the settings correctly to ensure optimal performance.
In the following sections, we will guide you through the process of using a different cable with Rocksmith 2014. We will address the steps necessary to find a compatible cable, adjust game settings, configure the audio input, test the connection, and troubleshoot common issues. With the right cable and setup, you can have a seamless Rocksmith experience with the audio quality you desire.
Why Use a Different Cable?
While the Rocksmith audio cable is specifically designed for use with the game, there are several reasons why you might want to consider using a different cable:
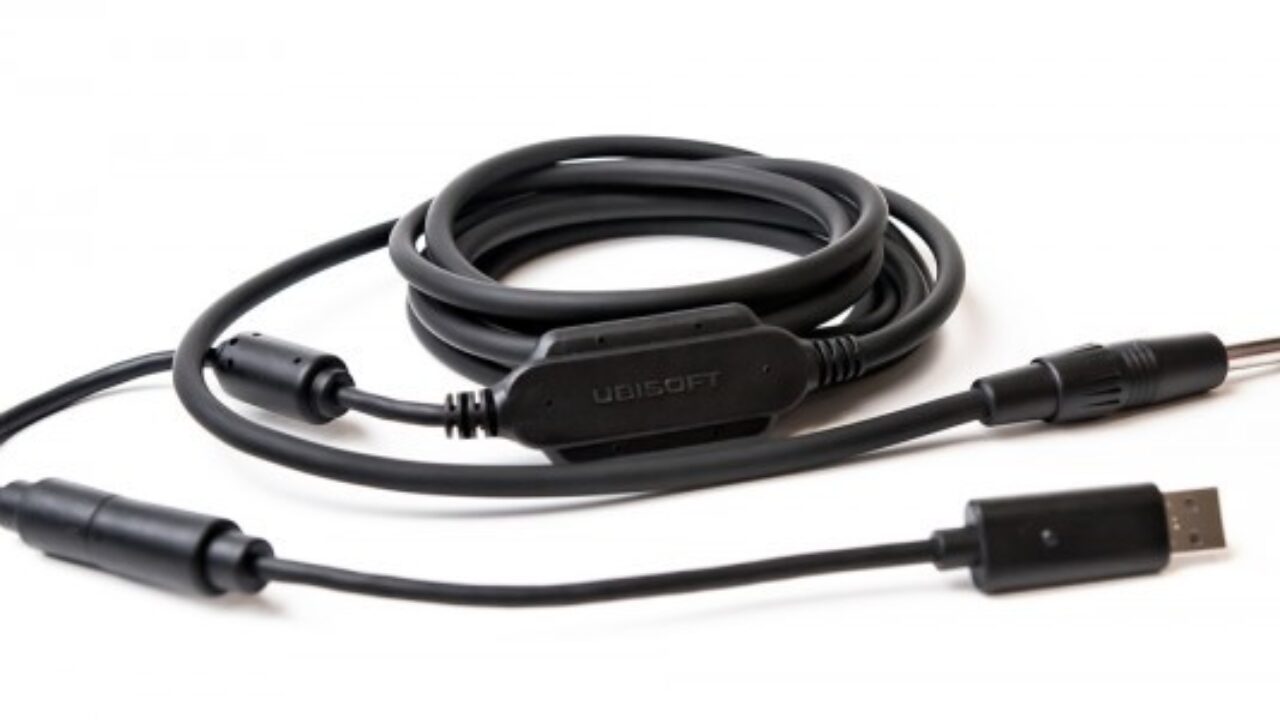
- Flexibility: The Rocksmith audio cable has a unique design with a 1/4″ instrument-to-USB input on one end and a USB connector on the other. While this allows for easy connection to consoles and PCs, it may limit your options if you want to connect your guitar to other devices or sound systems.
- Sound Quality: Some players may find that the sound quality of the Rocksmith audio cable is not up to their standards or that it introduces unwanted noise or latency. By using a different cable, you have the opportunity to choose one that offers better audio fidelity, clarity, and reduced latency.
- Convenience: If you already have existing audio cables or interfaces, using them with Rocksmith can save you the hassle of purchasing and setting up a separate cable. This can be particularly useful if you’re already using professional-grade audio equipment or have a preferred setup.
- Compatibility: In some cases, the Rocksmith audio cable may be unavailable or difficult to find. Using a different cable gives you the flexibility to choose from a wider range of options, ensuring that you can play Rocksmith regardless of the availability of the official cable.
Before proceeding with a different cable, it’s important to note that using one may void any warranty or support provided by the game manufacturer. Additionally, not all third-party cables will be compatible with Rocksmith, so it’s crucial to do proper research and choose a cable that meets the necessary specifications.
In the next section, we will delve into finding a compatible cable for use with Rocksmith 2014.
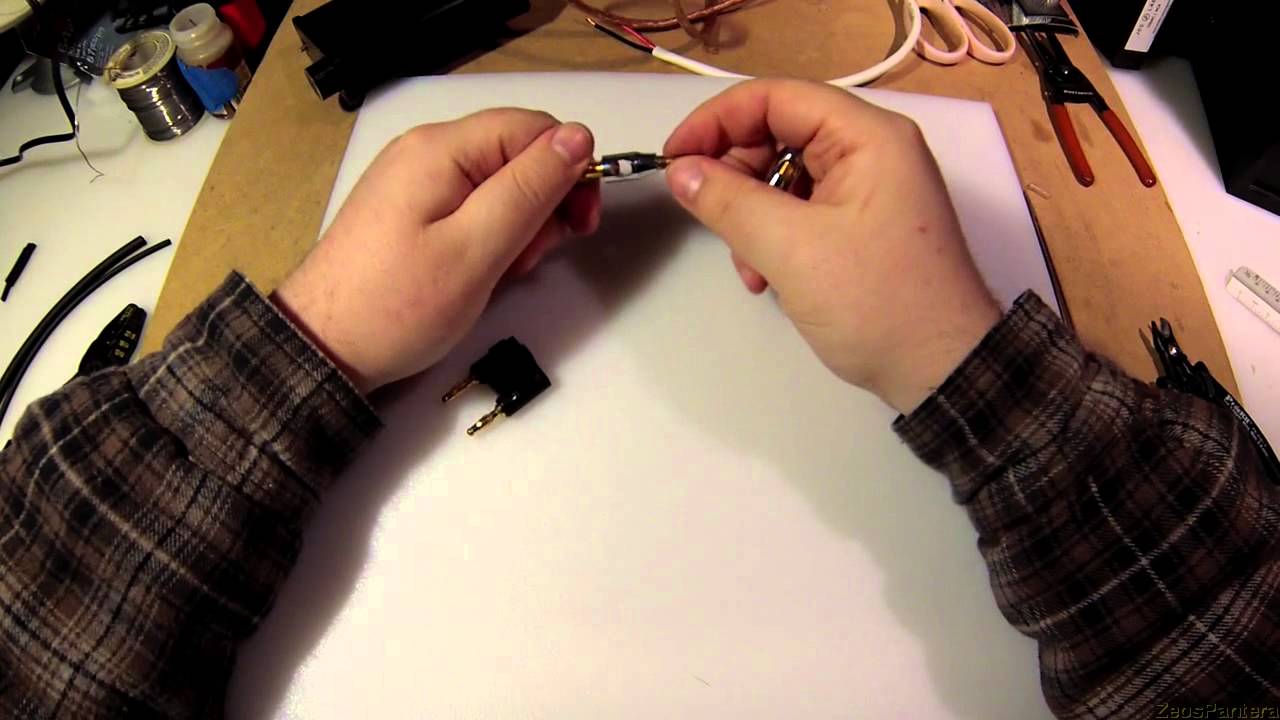
Finding a Compatible Cable
When it comes to using a different cable with Rocksmith 2014, it’s important to find one that is compatible with the game to ensure a seamless connection and optimal performance. Here are some steps to help you find a compatible cable:
- Research and Check Compatibility: Before purchasing a cable, make sure to research and check Rocksmith user forums and community discussions for recommendations and feedback on compatible cables. Look for cables that have been tested and confirmed to work with the game. Additionally, check the requirements and specifications provided by the game’s manufacturer to ensure compatibility.
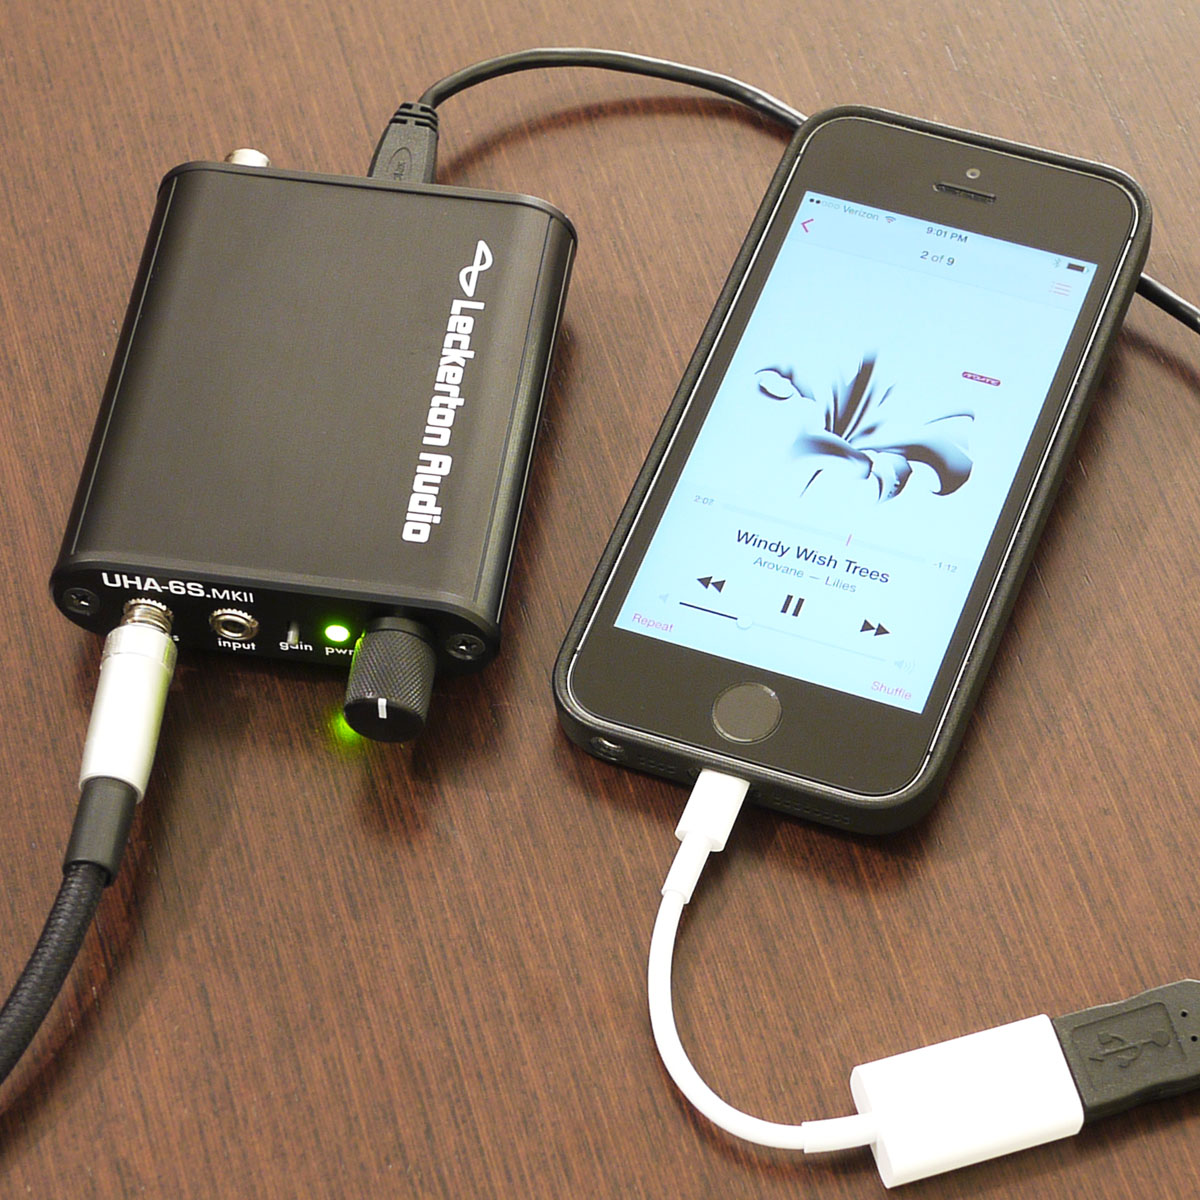
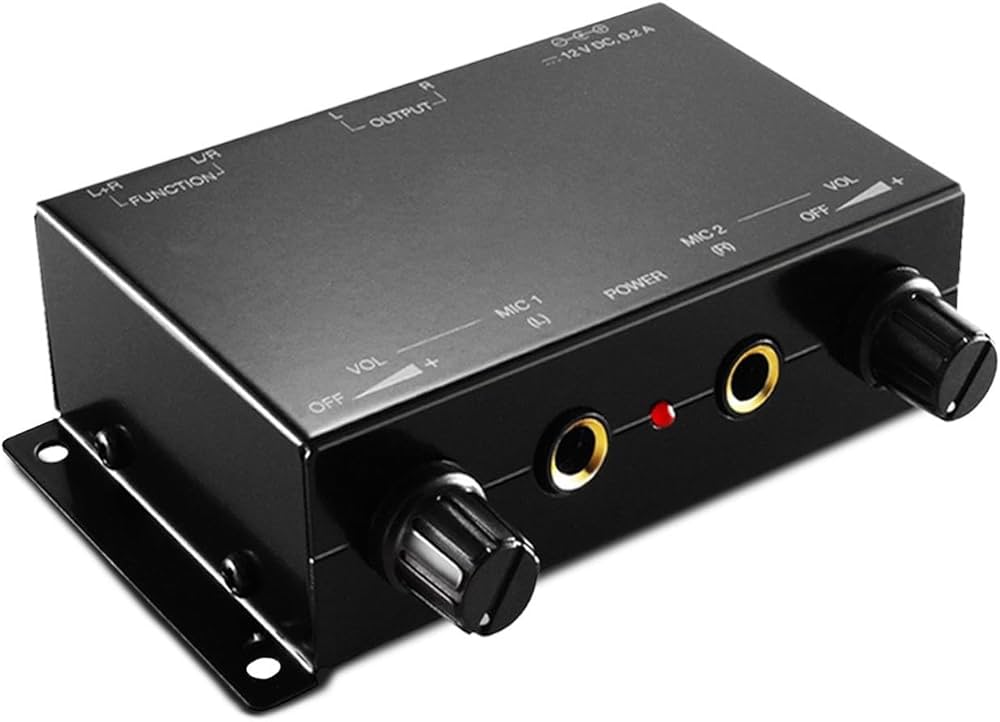
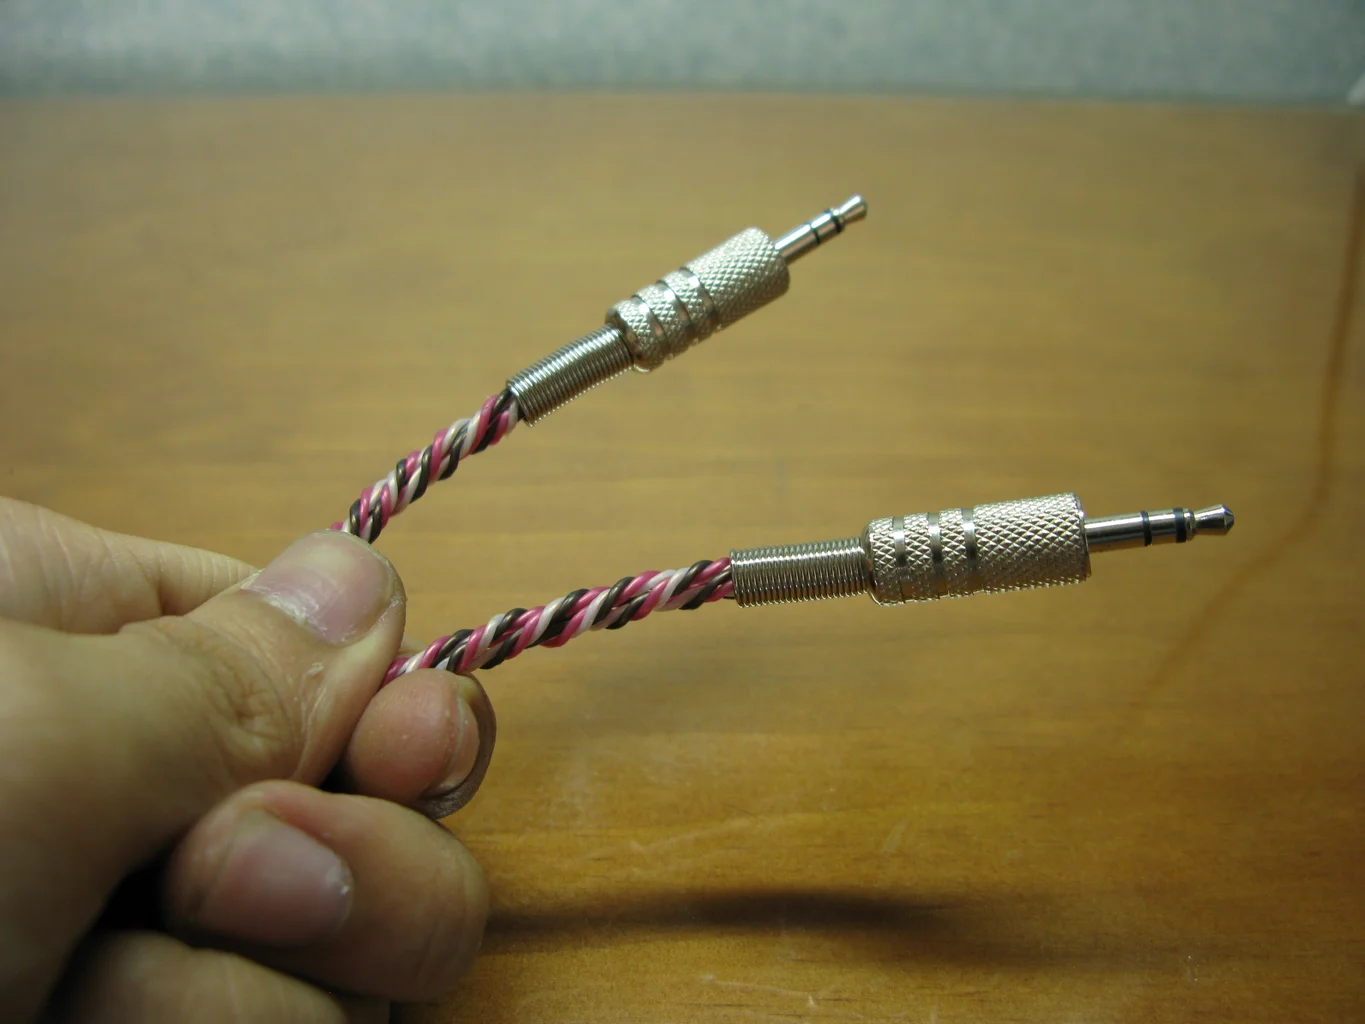
- USB Audio Interface: One of the most common alternatives to the Rocksmith audio cable is a USB audio interface. These interfaces are designed to connect instruments and microphones to computers and offer superior sound quality. Look for a USB audio interface that has a 1/4″ instrument input, as this is the standard input for guitars. Make sure to choose one that is compatible with your operating system.
- Audio Splitter: Another option is to use an audio splitter cable that can split the audio signal from your guitar to connect to both your amp or audio interface and the Rocksmith game. This way, you can have the flexibility to play Rocksmith while also enjoying the sound through your amp or audio system.
- Adapter Cables: In some cases, you may be able to find adapter cables that allow you to connect your guitar directly to your computer or gaming console without the need for the Rocksmith audio cable. These cables typically have a 1/4″ instrument plug on one end and a USB or audio jack on the other. However, keep in mind that not all adapter cables will work with Rocksmith, so it’s essential to check for compatibility.
- Quality and Durability: When choosing a compatible cable, consider the quality and durability of the cable. Look for cables that are well-made and have positive reviews regarding their longevity. A sturdy cable will ensure a reliable connection and minimize the risk of interruptions or signal loss.
Remember to use caution when purchasing cables from third-party sellers, as counterfeit or incompatible cables may be available. It’s always best to purchase from reputable sources or directly from manufacturers to ensure the cable’s authenticity and compatibility.
In the next section, we will explore how to adjust game settings to use a different cable with Rocksmith 2014.
Adjusting Game Settings
Once you have found a compatible cable to use with Rocksmith 2014, the next step is to adjust the game settings to recognize and utilize the new cable effectively. Here’s how you can do it:
- Launch Rocksmith 2014: Start by launching the Rocksmith 2014 game on your preferred gaming platform. Ensure that your guitar is properly connected to your computer or console using the compatible cable.
- Navigate to Options: In the game’s menu, navigate to the “Options” section. This is typically located in the main menu or settings menu, depending on your platform.
- Select Audio Settings: Within the Options menu, you should find an “Audio” or “Sound” sub-menu. Select this option to access the audio settings for Rocksmith.
- Choose the Input Device: Look for the section that allows you to choose the input device or audio input. Here, you should see a list of available audio devices. Select the one that corresponds to your newly connected cable or USB audio interface.
- Set Audio Output: Additionally, you may want to check the audio output settings. Ensure that the sound is routed to the appropriate device, whether it’s your computer speakers, headphones, or connected audio system. Make any necessary adjustments to ensure you can hear the game’s audio as desired.
- Configure Latency: Latency refers to the delay between playing a note on your guitar and hearing the sound through your speakers or headphones. In some cases, using a different cable or audio interface may introduce latency. To minimize this, Rocksmith provides a latency calibration tool. Use this tool and follow the on-screen instructions to configure the latency settings to your specific setup.
- Save and Test: Once you have adjusted the game settings, save your changes. It’s a good idea to test the game using the newly connected cable to ensure that both the audio input and output are functioning correctly. Play a song or practice session in Rocksmith to verify the connection and sound quality.
By adjusting the game settings to match your new cable or USB audio interface, you can ensure a smooth and seamless experience while playing Rocksmith 2014.
In the next section, we will discuss the process of connecting the different cable to your computer or gaming console for use with Rocksmith.
Connecting the Cable
Now that you have a compatible cable to use with Rocksmith 2014 and have adjusted the game settings, it’s time to connect the cable to your computer or gaming console. Follow these steps to ensure a proper connection:
- Power Off: Before connecting or disconnecting any cables, it’s essential to power off your computer or gaming console. This helps prevent any electrical shorts or potential damage to your equipment.
- Locate the Audio Input: Identify the audio input on your computer or gaming console. Depending on the device, this may be a USB port, an audio jack, or a specialized input designed for instruments.
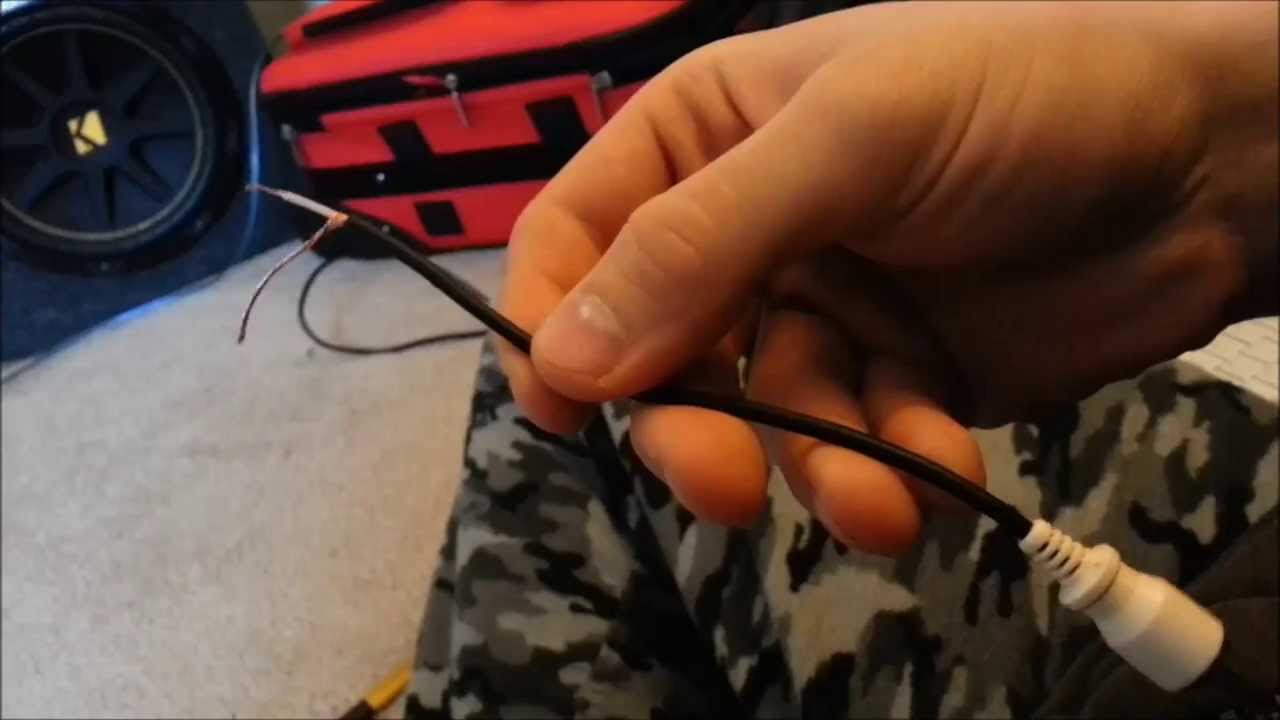
- Connect the Cable: Plug one end of the cable into your guitar or instrument. If you are using a USB audio interface, connect the other end of the cable to the interface’s instrument input. For adapters or splitter cables, ensure that the appropriate connectors are properly connected.
- Connect to Computer or Console: For USB audio interfaces or adapter cables that connect to a computer, plug the USB end of the cable into an available USB port on your computer. Make sure to use a USB port that is compatible with your cable or interface. If you are connecting to a gaming console, follow the manufacturer’s instructions for connecting audio cables to the console.
- Power On and Launch Rocksmith: Once the cable is connected, power on your computer or gaming console. Launch the Rocksmith 2014 game and navigate to the gameplay or practice mode to start playing.
Ensure that all connections are secure and properly inserted. Loose connections can result in weak signals or intermittent sound, affecting your gameplay experience. If you are using a USB audio interface, make sure it is connected directly to your computer rather than through a USB hub for optimal performance.
With your cable successfully connected, you are now ready to configure the audio input settings in Rocksmith 2014. This will allow the game to recognize and utilize your chosen cable during gameplay. Refer to the previous section for instructions on adjusting the game settings.
In the next section, we will cover the process of configuring the audio input in Rocksmith to ensure the game recognizes the connected cable.
Configuring the Audio Input
In order for Rocksmith 2014 to recognize and utilize your connected cable, you need to configure the audio input settings within the game. Follow these steps to properly configure the audio input:
- Launch Rocksmith 2014: Start by launching the Rocksmith 2014 game on your computer or gaming console.
- Access Options: Once the game is launched, navigate to the main menu and select the “Options” section. This is where you can adjust various settings for the game.
- Navigate to Audio Settings: Within the Options menu, locate and select the “Audio” or “Sound” sub-menu. This is where you can configure the audio settings for Rocksmith.
- Select the Correct Input Device: Within the Audio Settings, you should see a list of available input devices. Look for the one that corresponds to your connected cable or USB audio interface. Select it to ensure that Rocksmith recognizes the input from your guitar correctly.
- Calibrate the Input Level: Rocksmith provides a built-in input level calibration tool to optimize the input signal. Follow the on-screen instructions to calibrate the input level for your guitar. This is crucial for accurate note detection and gameplay.
- Test the Audio Input: Once you have selected the correct input device and calibrated the input level, it’s a good idea to test the audio input within Rocksmith. Play some notes or chords on your guitar and verify that the game is detecting the input accurately. Adjust the input volume or gain settings if needed to ensure optimal performance.
By configuring the audio input settings within Rocksmith 2014, you are ensuring that the game recognizes and utilizes the connected cable or USB audio interface effectively. This step is crucial for accurate note detection and a seamless gameplay experience.
In the next section, we will provide some tips for testing the connection and troubleshooting common issues that may arise when using a different cable with Rocksmith.
Testing the Connection
After configuring the audio input settings in Rocksmith 2014, it’s important to test the connection to ensure that everything is working correctly. Here are some steps to help you test the connection and verify that your guitar is properly recognized by the game:
- Select a Song or Practice Session: Choose a song or practice session within Rocksmith 2014 that you are familiar with or want to practice. This will allow you to test the connection in a musical context.
- Play Some Notes: Start playing your guitar and ensure that the game is detecting the notes accurately. Pay attention to the on-screen indicators and make sure they align with the notes you are playing.
- Check for Latency: Pay attention to any noticeable latency between playing a note and hearing the sound through your speakers or headphones. Adjust the latency settings if needed to minimize any delay.
- Test Different Techniques: Try out different techniques on your guitar, such as bends, slides, hammer-ons, and pull-offs. Make sure that the game is detecting and responding to these techniques accurately.
- Test Sustained Notes: Play some sustained notes or chords and observe if Rocksmith is tracking the sustained sound correctly. It’s important that the game sustains the note accurately until you release it.
- Test Dynamic Difficulty: Rocksmith’s dynamic difficulty feature adapts to your playing level and adjusts the difficulty of the song accordingly. Test this feature by intentionally playing some parts of the song poorly and observing if Rocksmith adjusts the difficulty accordingly.
During the testing process, listen carefully to the sound quality and make sure there are no issues such as distortion, unwanted noise, or signal loss. If you encounter any problems or notice any inconsistencies, it may indicate a compatibility issue between the cable and Rocksmith. In such cases, refer to the troubleshooting tips in the next section.
By thoroughly testing the connection, you can ensure that your guitar is properly recognized and that the game is accurately tracking your playing. This will provide a better learning experience and allow you to improve your guitar skills effectively.
In the next section, we will provide some troubleshooting tips for common issues that you may encounter when using a different cable with Rocksmith.
Troubleshooting Tips
While using a different cable with Rocksmith 2014 can enhance your experience, there may sometimes be challenges or issues that arise. Here are some troubleshooting tips to help you overcome common problems:
- Check Cable Connections: Ensure that all cable connections are secure and properly inserted. Loose connections can result in weak signals or intermittent sound. Double-check the connections between your guitar, cable, and audio interface or console.
- Verify Compatibility: Confirm that the cable you are using is indeed compatible with Rocksmith 2014. Check the manufacturer’s specifications or seek recommendations from the Rocksmith community to ensure compatibility.
- Adjust Latency Settings: If you notice a delay between playing a note and hearing the sound, adjust the latency settings in the game. Lowering the latency can help minimize the delay and improve the real-time responsiveness of the game.
- Update Drivers and Software: Ensure that you have the latest drivers and software updates for your audio interface or gaming console. Outdated drivers can cause compatibility issues and affect the performance of the cable.
- Try Different USB Ports: If you are using a USB audio interface, try connecting it to different USB ports on your computer. Some ports may provide better performance or compatibility with your cable or interface.
- Restart the Game and Device: Occasionally, restarting the game and your device can help resolve connection or recognition issues. Close the game, disconnect and reconnect the cable, and restart both the game and your device.
- Test with Different Cable or Interface: If you continue to experience problems, try using a different cable or USB audio interface. It’s possible that the cable or interface you are currently using may have compatibility issues with Rocksmith.
- Seek Support: If none of the above troubleshooting tips work, consider reaching out to the official support channels for Rocksmith or the manufacturer of your cable or audio interface. They may be able to provide further assistance or guidance specific to your setup.
By following these troubleshooting tips, you can overcome common issues that may arise when using a different cable with Rocksmith 2014. Remember that every setup is unique, and it may take some trial and error to find the optimal configuration for your specific equipment.
With proper troubleshooting, you can ensure a smooth and enjoyable experience while utilizing a different cable with Rocksmith.
Now that you have a comprehensive understanding of using a different cable with Rocksmith 2014, it’s time to embark on your musical journey. Enjoy playing and improving your guitar skills with the flexibility and sound quality that a different cable can provide!
Conclusion
Using a different cable with Rocksmith 2014 can provide you with increased flexibility, improved sound quality, and the convenience of using your preferred audio equipment. By following the steps outlined in this article, you can successfully connect and configure a compatible cable to enhance your Rocksmith experience.
Throughout the article, we discussed the reasons why you might want to use a different cable, how to find a compatible cable, and the importance of adjusting game settings to recognize the new cable. We also covered the process of connecting the cable, configuring the audio input, testing the connection, and troubleshooting common issues.
Remember, when using a different cable, it’s crucial to research and ensure compatibility to prevent any compatibility or performance issues. Take the time to adjust the game settings and calibrate the input level for accurate note detection. Regularly test the connection and troubleshoot any issues that arise to maintain optimal performance.
With a properly connected and configured cable, you can enjoy an improved audio experience, reduced latency, and the ability to connect to a wide range of audio devices and sound systems.
Now, it’s time to pick up your guitar, connect your cable, and immerse yourself in the world of Rocksmith 2014. Whether you’re a beginner or an experienced guitarist, Rocksmith will guide you, challenge you, and inspire you to become a better player. Have fun and rock on!