Home>Production & Technology>Audio Interface>How To Use Rocksmith With Audio Interface

Audio Interface
How To Use Rocksmith With Audio Interface
Modified: March 7, 2024
Learn how to enhance your guitar playing with Rocksmith using an audio interface. Discover the benefits of using an audio interface for improved sound quality and performance.
(Many of the links in this article redirect to a specific reviewed product. Your purchase of these products through affiliate links helps to generate commission for AudioLover.com, at no extra cost. Learn more)
Table of Contents
Introduction
Welcome to the world of Rocksmith, the innovative and immersive guitar learning software that has revolutionized the way aspiring guitarists master their instrument. Whether you are a beginner or an advanced player, Rocksmith offers a fun and interactive platform to enhance your skills and play along with your favorite songs. One of the key components in optimizing your Rocksmith experience is using an audio interface.
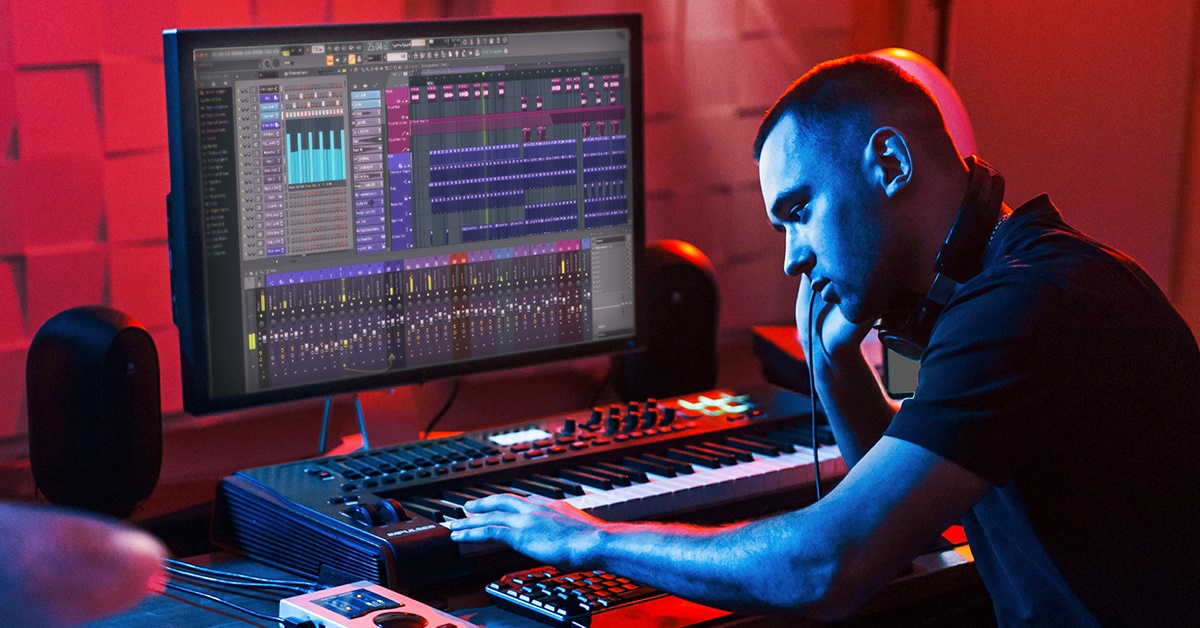
An audio interface, also known as a sound card, is a device that allows you to connect your guitar or other audio sources to your computer. It serves as the bridge between your instrument and your computer’s digital audio workstation (DAW), ensuring high-quality sound input and output. While Rocksmith can be played directly through your computer’s built-in sound card, using an external audio interface can significantly improve the audio fidelity, reduce latency, and provide additional features.
In this article, we will explore the benefits of using an audio interface with Rocksmith, the steps to set it up, and how to configure Rocksmith to optimize your playing experience. Whether you are a casual learner or a serious guitarist, incorporating an audio interface into your Rocksmith setup can take your playing to a whole new level.
What is Rocksmith?
Rocksmith is a groundbreaking guitar learning software developed by Ubisoft. Unlike traditional guitar instruction methods, Rocksmith takes a unique approach by turning your computer or gaming console into a virtual music studio, allowing you to learn and play guitar in a fun and interactive way.
At its core, Rocksmith acts as a guitar tablature (or “tab”) player, but with an added twist. Instead of just displaying the notes on the screen, it also serves as a real-time interactive game, guiding you through various songs and exercises while providing immediate feedback on your playing.
With a vast library of songs spanning different genres and difficulty levels, Rocksmith offers a diverse range of music to suit all tastes. Whether you want to rock out to iconic classics, learn how to play popular hits, or master challenging solos, Rocksmith has something for everyone.
One of the key features of Rocksmith is the dynamic difficulty system. As you progress through a song, the game adapts to your skill level, gradually adding more notes and techniques to challenge you. This personalized learning approach ensures that you are always challenged but never overwhelmed, making it suitable for beginners and experienced players alike.
In addition to the main career mode, where you progress through different songs and unlock new content, Rocksmith offers a variety of practice tools to help you improve specific skills. These include mini-games focused on techniques like scales, bends, and slides, as well as a robust riff repeater that allows you to isolate and practice specific sections of a song.
Overall, Rocksmith provides a fun and engaging platform that combines the excitement of playing a video game with the educational benefits of guitar instruction. Whether you’re a complete beginner or a seasoned guitarist looking to expand your skills, Rocksmith offers a unique and effective way to learn and enjoy playing the guitar.
What is an audio interface?
An audio interface, also known as a sound card, is a piece of hardware that connects your musical instruments, microphones, and other audio sources to your computer. It serves as the intermediary between your analog audio signals and the digital realm of your computer’s audio software.
While your computer or laptop may already have a built-in sound card, using an external audio interface can offer several advantages, especially when it comes to professional audio recording and playback. Audio interfaces typically come with multiple inputs and outputs, high-quality converters, and robust preamps, which enable you to achieve superior sound quality and greater versatility.
Most audio interfaces connect to your computer via USB, Thunderbolt, or FireWire, providing a direct and fast data transfer rate to minimize latency. They also offer various features like phantom power for condenser microphones, MIDI connectivity for electronic instruments, and headphone outputs for direct monitoring.
One of the primary reasons to use an audio interface with Rocksmith is the improved audio quality it provides. The built-in sound card of your computer may not deliver the same level of audio fidelity as a dedicated audio interface, resulting in lower sound resolution and potentially introducing latency issues. Additionally, an audio interface usually offers better noise isolation and signal-to-noise ratio, ensuring a cleaner and more professional audio recording or playback experience.
Furthermore, an audio interface allows you to connect multiple audio sources simultaneously. This means you can connect your guitar, microphone, and other instruments all at once, giving you the flexibility to record your music with ease. It also opens up possibilities for live performances, as you can route your guitar and other instruments directly into an audio interface for a seamless and professional sound.
Overall, an audio interface is a vital tool for any musician or sound engineer, providing enhanced audio quality, flexibility, and functionality. When used with Rocksmith, it can greatly enhance your playing experience and ensure that you have the best possible sound quality for learning and practicing the guitar.
Benefits of using an audio interface with Rocksmith
Using an audio interface with Rocksmith offers several advantages that can significantly enhance your playing experience and improve the overall sound quality. Here are the key benefits of incorporating an audio interface into your Rocksmith setup:
- Improved Audio Quality: One of the primary benefits of using an audio interface with Rocksmith is the superior audio quality it provides. Built-in sound cards in computers may not offer the same level of audio fidelity as dedicated audio interfaces. With an audio interface, you can experience cleaner, clearer, and more detailed sound while playing and practicing guitar.
- Reduced Latency: Latency, the delay between playing a note and hearing it through your speakers or headphones, can be a frustrating issue when using built-in sound cards. Audio interfaces typically have lower latency, ensuring a more immediate and responsive playing experience. This is crucial when playing along with songs or using the dynamic difficulty system in Rocksmith.
- Multiple Input Options: An audio interface allows you to connect multiple instruments and microphones simultaneously. This means you can connect your guitar, vocal microphone, or any other instruments directly to the audio interface and have them all routed into Rocksmith. It provides greater flexibility for recording, practicing, and performing with multiple audio sources.
- Direct Monitoring: Many audio interfaces offer direct monitoring capabilities, which allow you to hear your guitar in real-time without any latency or processing delay. This feature is especially useful when recording or practicing, as it allows you to monitor your playing without the distractions of latency or echo from your computer’s speakers.
- Expanded Connectivity: Audio interfaces often come with additional ports and connectivity options. This can include MIDI ports for connecting MIDI instruments, headphone outputs for private monitoring, and balanced line outputs for connecting studio monitors or external speakers. These expanded connectivity options give you more control and flexibility over your audio setup.
- Better Signal-to-Noise Ratio: Dedicated audio interfaces typically offer better signal-to-noise ratio than built-in sound cards. This means that the audio interface can capture and reproduce your guitar’s sound with less background noise and interference. It results in cleaner recordings and a more professional sound when practicing with Rocksmith.
Overall, using an audio interface with Rocksmith can greatly enhance your playing experience by providing improved audio quality, reduced latency, and expanded connectivity options. It allows you to immerse yourself in the music, hear yourself more accurately, and enjoy a more professional and immersive guitar learning experience.
Setting up your audio interface for Rocksmith
Setting up your audio interface for Rocksmith is a straightforward process that ensures optimal audio performance and compatibility. Follow these steps to get your audio interface properly configured:
- Check System Requirements: Before setting up your audio interface, make sure it meets the system requirements for Rocksmith. Verify that your computer or gaming console has the necessary connections and specifications to connect and utilize an audio interface.
- Install the Drivers: Most audio interfaces require specific drivers to be installed on your computer. These drivers allow your computer to recognize and communicate with the audio interface properly. Visit the manufacturer’s website and download the latest drivers for your specific audio interface model.
- Connect the Audio Interface: Depending on the type of audio interface you have, connect it to your computer using the appropriate cable, such as USB, Thunderbolt, or FireWire. Ensure that all connections are secure and properly plugged in to avoid any audio issues.
- Set the Default Audio Device: In your computer’s audio settings, set your audio interface as the default audio device. This ensures that Rocksmith will use the audio interface for input and output. On Windows, go to “Sound” settings, and on macOS, go to “Audio MIDI Setup.”
- Adjust the Buffer Size: The buffer size determines the amount of audio data processed by your computer at a time. It affects the latency, or the delay, in the audio signal. Adjust the buffer size in your audio interface settings or software to find a balance between low latency and stable performance.
- Test the Audio Setup: Launch Rocksmith and go to the audio settings within the game. Select your audio interface as the input and output device. Play your guitar to ensure that the audio is coming through your audio interface and that there is minimal latency or delay.
- Calibrate your Guitar: Use Rocksmith’s built-in calibration tool to ensure accurate note detection. Follow the on-screen prompts and strum your guitar strings as instructed. This ensures that the game accurately recognizes the pitch and tuning of your guitar.
- Adjust Rocksmith Audio Settings: Within Rocksmith, adjust the in-game audio settings to optimize the sound levels and preferences for your setup. This may include adjusting the volume, tone, and effects levels to your liking.
Once you have completed these steps, your audio interface should be properly set up and ready to be used with Rocksmith. Enjoy the enhanced sound quality and improved performance as you dive into the world of guitar learning and playing with Rocksmith and your audio interface.
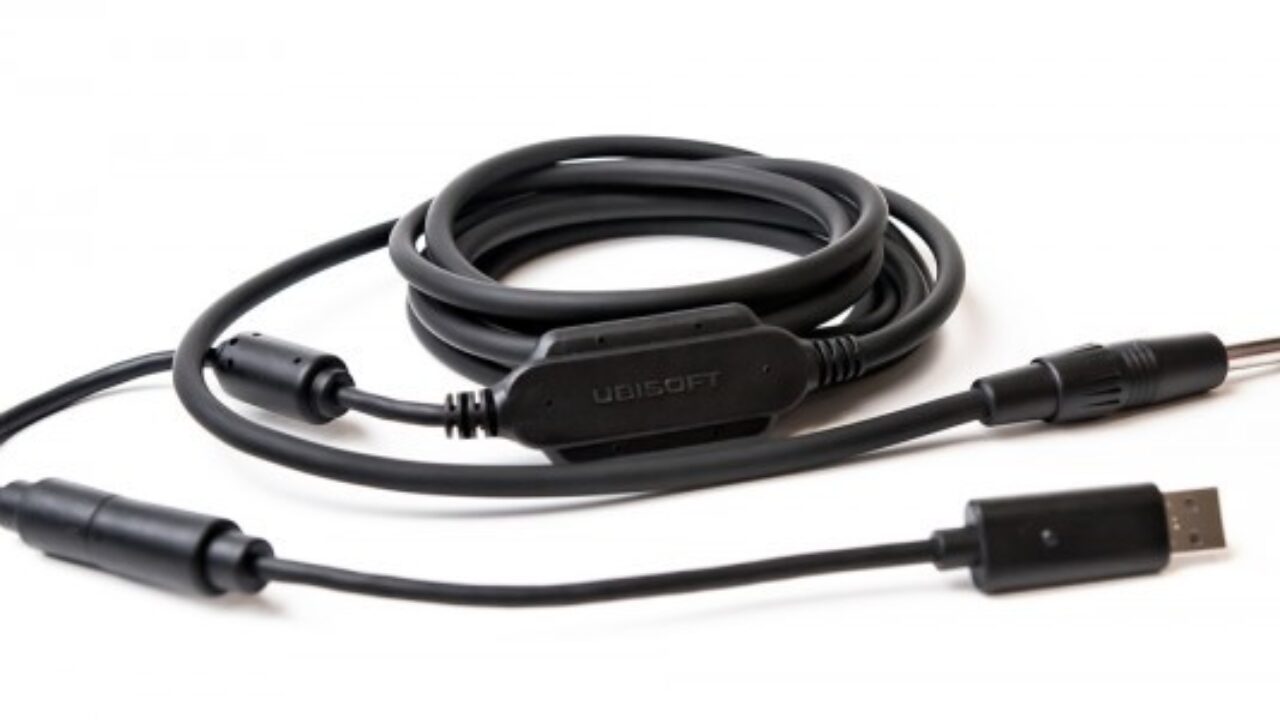
Connecting your guitar to the audio interface
Connecting your guitar to the audio interface is a fundamental step in setting up your Rocksmith experience. Follow these steps to ensure a proper connection:
- Select the Input: Identify the input on your audio interface designated for instrument-level signals. This is typically labeled as “Hi-Z,” “Instrument,” or “Guitar” input. Ensure that your guitar cable is plugged into this input.
- Use a 1/4″ Cable: Connect one end of a 1/4″ instrument cable to the output jack of your guitar. Plug the other end into the designated instrument input on the audio interface. Ensure it is firmly connected to avoid any connectivity issues.
- Engage the Line/Instrument Level Switch: Some audio interfaces have a switch or button to select between line-level and instrument-level inputs. Make sure the switch is set to the instrument-level position to match the signal strength of your guitar.
- Set the Input Gain: Adjust the input gain knob or control on your audio interface. Start with a low gain setting and gradually increase it until your guitar’s signal level is strong but not distorted. This ensures a clean and balanced signal for Rocksmith.
- Configure Rocksmith Input: Launch Rocksmith and navigate to the audio settings within the game. In the input section, select the appropriate input corresponding to your audio interface and guitar. This allows Rocksmith to recognize and receive the audio signal from your guitar through the audio interface.
- Strum to Test: With everything properly connected and configured, strum your guitar strings to test the signal. Ensure that Rocksmith detects the notes correctly and that the audio output is coming through your audio interface and speakers or headphones.
By following these steps, you can establish a reliable and high-quality connection between your guitar and audio interface. This setup ensures that Rocksmith accurately captures your guitar’s sound, allowing you to fully engage with the game and benefit from its interactive features.
Configuring Rocksmith with your audio interface
Configuring Rocksmith to work seamlessly with your audio interface is essential for maximizing your playing experience. Follow these steps to properly configure Rocksmith with your audio interface:
- Launch Rocksmith: Start Rocksmith on your computer or gaming console and navigate to the Options menu.
- Select Audio Settings: Within the Options menu, locate the Audio settings section. This is where you can adjust various audio-related parameters to optimize your setup.
- Choose the Input Device: In the Audio settings, select your audio interface from the available input devices. This ensures that Rocksmith captures the audio signal from your guitar through the audio interface rather than the built-in sound card.
- Select the Output Device: Choose your preferred output device, such as speakers or headphones, from the available options listed in the Audio settings. This determines where you will hear the audio output from Rocksmith.
- Adjust Latency Settings: Rocksmith offers a latency adjustment feature to help minimize delay between playing your guitar and hearing the sound through your speakers or headphones. Experiment with different latency settings to find the optimal balance between low latency and stable performance.
- Calibrate the Audio: Rocksmith provides a built-in audio calibration tool to ensure accurate note detection. Follow the on-screen instructions to strum your guitar strings and calibrate the audio input. This step ensures that Rocksmith registers your notes correctly.
- Test Audio Output: Play a few notes on your guitar and observe the audio output from Rocksmith. Make sure the sound is coming through your selected output device (speakers or headphones) and that there are no issues with volume, distortion, or other audio anomalies.
- Adjust In-Game Audio Preferences: Within Rocksmith, explore the in-game audio settings to customize your preferences. This may include adjusting the volume levels for music, guitar, and effects, as well as adjusting the tone settings to achieve your desired sound.
By properly configuring Rocksmith with your audio interface, you can ensure optimal audio performance, minimal latency, and accurate note detection. Take the time to explore and adjust the audio settings to suit your preferences and enhance your overall playing experience.
Troubleshooting common issues
While using an audio interface with Rocksmith can greatly enhance your playing experience, it’s not uncommon to encounter some technical issues along the way. Here are some common issues you may face and troubleshooting steps to resolve them:
- No Sound or Low Volume: If you’re not hearing any sound or experiencing low volume when using Rocksmith with your audio interface, first check your audio interface and Rocksmith audio settings. Ensure that the input and output devices are properly selected. Also, check your audio interface’s gain settings and ensure that the volume levels are adequate. Adjust the Windows/Mac system volume as well.
- Latency or Delay: Latency can be frustrating when playing through Rocksmith. To reduce latency, try adjusting the buffer size in your audio interface settings to a lower value. Disable any unnecessary audio effects or plugins that can contribute to processing delay. Additionally, updating to the latest drivers and firmware for your audio interface can help improve performance and reduce latency.
- Crackling or Distorted Sound: If you’re experiencing crackling or distorted sound, check the cable connections between your guitar and the audio interface. Ensure they are secure and not damaged. Also, check the input gain settings on your audio interface. If the distorted sound persists, try changing the USB port or cable you’re using to connect the audio interface to your computer.
- Inaccurate Note Detection: If Rocksmith is not accurately detecting the notes you are playing, first check the guitar calibration within the game. Go through the calibration process again to ensure it is properly synced with your audio interface. Additionally, make sure your guitar is properly tuned and adjust the pickup height if necessary. Check for any background noise or interference that may affect the note detection as well.
- Driver or Software Compatibility: Incompatibility between your audio interface’s drivers and Rocksmith software can cause issues. Make sure you have installed the latest drivers from the manufacturer’s website. Check for any software updates for Rocksmith and ensure that your operating system is up to date. If problems persist, consider contacting the audio interface manufacturer or Rocksmith support for assistance.
If you’re still experiencing issues after troubleshooting, it may be helpful to consult the user manual or seek support from the manufacturer of your audio interface. Remember to always keep your audio interface drivers and Rocksmith software updated to ensure compatibility and optimal performance.
Conclusion
Incorporating an audio interface into your Rocksmith setup can significantly enhance your guitar learning and playing experience. By using an audio interface, you can enjoy improved audio quality, reduced latency, and expanded connectivity options. It allows you to connect multiple instruments and microphones, ensuring a versatile setup for recording, practicing, and performing with Rocksmith.
Properly setting up and configuring your audio interface with Rocksmith is crucial for optimal performance. Ensure that you have installed the necessary drivers, selected the correct input and output devices, and adjusted the latency settings to minimize delay. Calibrate your guitar within Rocksmith to ensure accurate note detection, and adjust the in-game audio settings to suit your preferences.
While troubleshooting common issues such as low volume, latency, distorted sound, or inaccurate note detection may be necessary, following the troubleshooting steps mentioned earlier can help you overcome these challenges and enjoy a seamless Rocksmith experience with your audio interface.
Remember to regularly update your audio interface drivers and Rocksmith software to ensure compatibility and optimal performance. Keep exploring and practicing with Rocksmith, utilizing the wide range of songs, exercises, and features it offers to enhance your guitar skills and enjoyment.
With the combination of Rocksmith and an audio interface, you can elevate your guitar playing and embark on a journey of musical growth and creativity. Embrace the power of technology, enhance your sound, and unlock your full potential as a guitarist with Rocksmith and an audio interface.