Home>Production & Technology>Audio Interface>How To Set Up H6 Handy Recorder As Audio Interface

Audio Interface
How To Set Up H6 Handy Recorder As Audio Interface
Published: February 4, 2024
Learn how to set up the H6 Handy Recorder as an audio interface and enhance your recording experience. Connect and capture high-quality audio with ease.
(Many of the links in this article redirect to a specific reviewed product. Your purchase of these products through affiliate links helps to generate commission for AudioLover.com, at no extra cost. Learn more)
Table of Contents
- Introduction
- Step 1: Gathering the necessary equipment
- Step 2: Connecting the H6 Handy Recorder to your computer
- Step 3: Adjusting the audio settings on your computer
- Step 4: Installing the necessary drivers (if required)
- Step 5: Configuring the H6 Handy Recorder as an audio interface
- Step 6: Testing the setup and troubleshooting audio issues
- Conclusion
Introduction
Are you an audio enthusiast, podcaster, or musician looking to take your recording quality to the next level? If so, then setting up a professional audio interface is a must. And if you own the H6 Handy Recorder, you’re in luck! In this article, we’ll walk you through the process of setting up the H6 Handy Recorder as an audio interface.
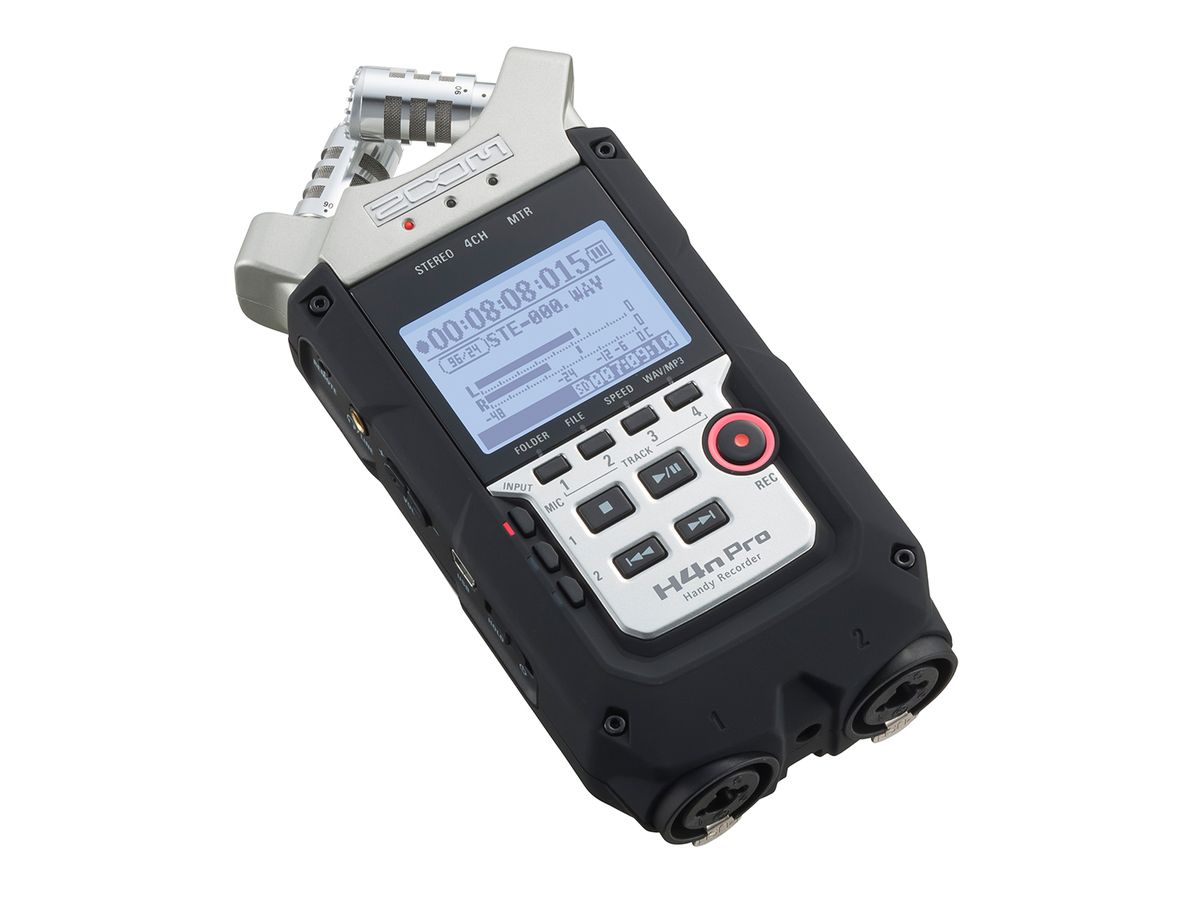
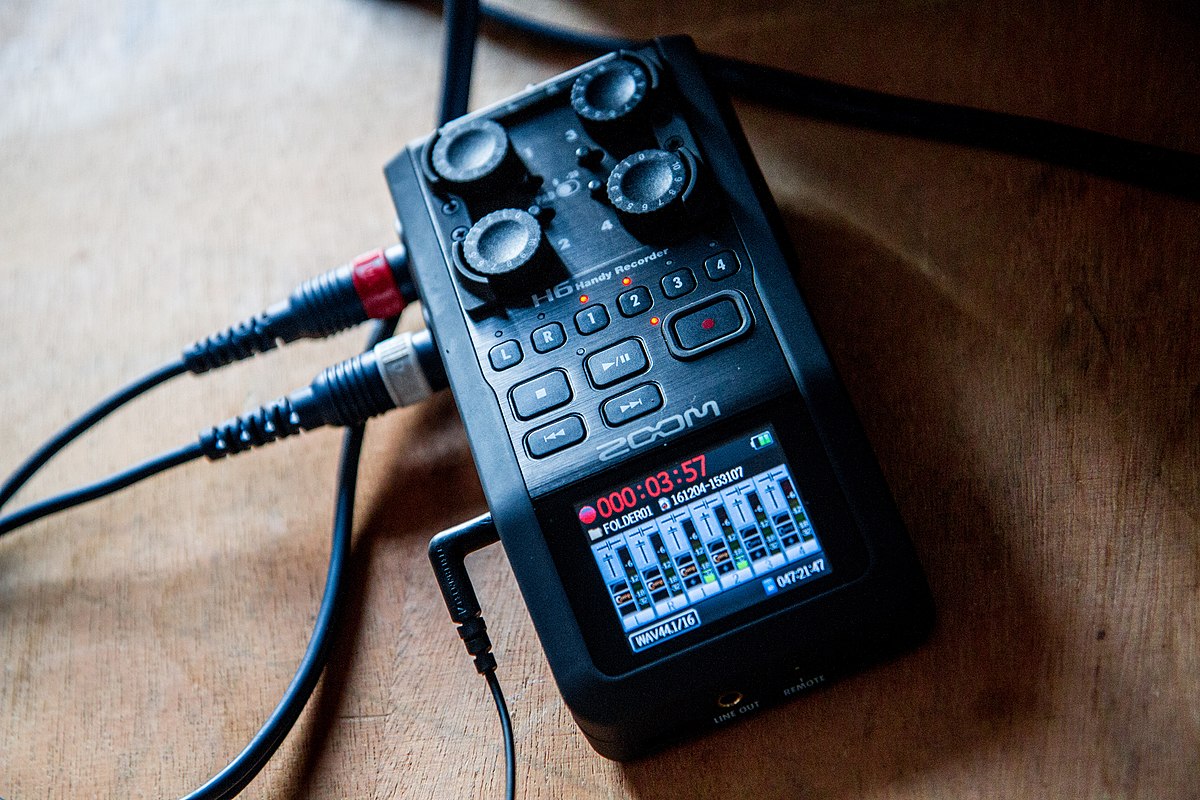
The H6 Handy Recorder, developed by Zoom, is a portable powerhouse that offers professional-grade audio recording capabilities. While its primary function is as a standalone recorder, it can also be used as an audio interface to connect your instruments, microphones, or other audio devices to your computer. This versatile device can serve as your go-to audio interface, providing high-quality sound and real-time monitoring.
Setting up the H6 Handy Recorder as an audio interface might seem daunting, but fear not! We’ll guide you through each step, ensuring that you have a seamless and efficient setup process. By the end of this article, you’ll be well-equipped to harness the full potential of your H6 Handy Recorder as an audio interface.
Before we dive into the setup process, let’s quickly cover the benefits of using the H6 Handy Recorder as an audio interface. Firstly, it allows you to record directly onto your computer, eliminating the need for additional equipment or software. Secondly, it offers superior sound quality, thanks to its high-quality preamps and converters. Additionally, the H6 Handy Recorder’s real-time monitoring capability allows you to hear your recordings as you make them, ensuring optimal performance and accuracy. With its portability and versatility, the H6 Handy Recorder is a reliable and convenient audio interface option for both professionals and beginners alike.
Now that we’ve covered the basics, let’s move on to the first step: gathering the necessary equipment.
Step 1: Gathering the necessary equipment
Before we begin setting up the H6 Handy Recorder as an audio interface, make sure you have all the necessary equipment at hand. Here’s what you’ll need:
- The H6 Handy Recorder device itself
- A USB cable (usually provided with the H6 Handy Recorder)
- Your computer (desktop or laptop)
- An available USB port on your computer
- Any necessary adapters (if your computer’s USB port is USB-C or Thunderbolt)
- Your preferred audio software (such as GarageBand, Audacity, or Pro Tools)
- Any additional audio devices, such as microphones or instruments, that you wish to connect to the H6 Handy Recorder
Once you have gathered all the required equipment, you are ready to move on to the next step: connecting the H6 Handy Recorder to your computer.
Step 2: Connecting the H6 Handy Recorder to your computer
Now that you have gathered all the necessary equipment, it’s time to connect the H6 Handy Recorder to your computer. Follow these steps:
- Locate the USB port on the H6 Handy Recorder. It is usually located on the side or bottom of the device.
- Take the USB cable provided with the H6 Handy Recorder and connect one end to the USB port on the device.
- Connect the other end of the USB cable to an available USB port on your computer.
- Ensure that the H6 Handy Recorder is powered on. If not, press the power button to turn it on.
- Your computer should recognize the H6 Handy Recorder as a connected device. It may take a moment for the computer to detect the device.
- If prompted, install any necessary drivers for the H6 Handy Recorder to ensure proper communication between the device and your computer. The driver installation process will vary depending on your operating system.
Once the H6 Handy Recorder is successfully connected to your computer, you can move on to adjusting the audio settings on your computer, which we will cover in the following step.
Step 3: Adjusting the audio settings on your computer
Now that the H6 Handy Recorder is connected to your computer, it’s time to adjust the audio settings to ensure optimal performance. Follow these steps to configure the audio settings on your computer:
- Depending on your operating system, navigate to the sound settings. On Windows, you can access this by right-clicking on the volume icon in the taskbar and selecting “Sounds” or “Sound Settings.” On macOS, go to the Apple menu, select “System Preferences,” and then click on “Sound.”
- Under the input settings, select the H6 Handy Recorder as your default audio device. This will allow your computer to receive audio input from the H6 Handy Recorder.
- Next, go to the output settings and select the H6 Handy Recorder as your default audio output device. This will allow you to hear the sound played through the H6 Handy Recorder.
- Adjust the volume levels to your desired settings. It is recommended to start with a moderate volume and make further adjustments as needed during the testing phase.
- Ensure that the sample rate and bit depth settings match the settings on the H6 Handy Recorder. The recommended default settings are 44100 Hz and 16 bits.
- Save the changes and close the audio settings menu.
With the audio settings properly adjusted on your computer, you are now ready to move on to the next step: installing any necessary drivers for the H6 Handy Recorder (if required).
Step 4: Installing the necessary drivers (if required)
While the H6 Handy Recorder can be recognized as a generic audio interface by most operating systems, there are instances where you may need to install specific drivers for optimal functionality. Follow these steps to install the necessary drivers (if required):
- Visit the official Zoom website or the product page for the H6 Handy Recorder to check if there are any driver updates available.
- If there are driver updates available, download the appropriate driver for your operating system.
- Once the driver file is downloaded, locate it on your computer and double-click to start the installation process.
- Follow the on-screen instructions to complete the driver installation. Make sure to carefully read and accept any terms and conditions if prompted.
- Restart your computer after the driver installation is complete.
After the computer restarts, the necessary drivers should be installed, enabling the H6 Handy Recorder to function seamlessly as an audio interface. If you did not find any driver updates available or if your computer already recognized the device without any issues, you can proceed to the next step: configuring the H6 Handy Recorder as an audio interface.
Step 5: Configuring the H6 Handy Recorder as an audio interface
With the necessary drivers installed and the audio settings adjusted on your computer, it’s time to configure the H6 Handy Recorder as an audio interface. Follow these steps to get started:
- Ensure that the H6 Handy Recorder is connected to your computer via the USB cable.
- Power on the H6 Handy Recorder if it’s not already on.
- Navigate to the “Audio Interface Mode” on the H6 Handy Recorder. This is usually found in the menu or settings of the device.
- Select the desired input sources. You can choose from the built-in microphones, external microphones connected to the XLR inputs, or any other audio devices connected to the line inputs. This selection will depend on your specific recording setup.
- Adjust the input gain levels for each input source. This allows you to set the appropriate recording volume for each device connected to the H6 Handy Recorder. It is recommended to start with lower gain levels and gradually increase if necessary.
- Configure the monitoring settings according to your preference. You can choose to monitor the recordings through headphones connected to the H6 Handy Recorder or through your computer’s audio output.
- Save the settings and exit the audio interface mode on the H6 Handy Recorder.
With the H6 Handy Recorder configured as an audio interface, you are now ready to test the setup and troubleshoot any potential audio issues.
Let’s move on to the final step: testing the setup and troubleshooting audio issues.
Step 6: Testing the setup and troubleshooting audio issues
After configuring the H6 Handy Recorder as an audio interface, it’s important to test the setup and ensure everything is working correctly. Follow these steps to test the setup and troubleshoot any potential audio issues:
- Open your preferred audio software on your computer (such as GarageBand, Audacity, or Pro Tools).
- Create a new audio project or open an existing one you’d like to work on.
- Select the H6 Handy Recorder as your input and output device in the audio software’s settings. This will route the audio signals to and from the H6 Handy Recorder.
- Connect your microphone, instrument, or any other audio device you wish to record to the appropriate input on the H6 Handy Recorder.
- Start a test recording in the software and monitor the input levels. Speak or play your instrument to ensure that the audio signal is being properly detected and recorded.
- Check the playback of the recorded audio to ensure that it sounds clear and without any distortion or noise.
- If you encounter any issues, such as no sound, distorted sound, or low volume, try the following troubleshooting steps:
- Check all cable connections to ensure they are securely plugged in.
- Verify that the input gain levels on the H6 Handy Recorder are set properly.
- Check the input and output settings in your audio software to confirm they are configured correctly.
- Ensure that the audio software is updated to the latest version.
- If the issue persists, refer to the user manual of the H6 Handy Recorder or contact the Zoom support team for further assistance.
- Once you’re satisfied with the test recording and have resolved any issues, you can start recording your audio projects with the H6 Handy Recorder as your audio interface.
Congratulations! You have successfully set up the H6 Handy Recorder as an audio interface and tested its functionality. With this powerful and versatile tool at your disposal, you can now enjoy professional-grade audio recording and production. Happy recording!
Now that you have completed the setup and testing process, you can explore the various features and functionalities of the H6 Handy Recorder to further enhance your audio recording and production experience.
As a final note, remember to always keep your drivers and software up to date to ensure compatibility and reliability in your audio interface setup.
Should you encounter any further issues or concerns, don’t hesitate to refer to the user manual or reach out to the manufacturer’s support team for assistance.
Happy recording and enjoy the exceptional sound quality provided by the H6 Handy Recorder as your reliable audio interface!
Conclusion
Setting up the H6 Handy Recorder as an audio interface opens up a world of possibilities for audio enthusiasts, podcasters, and musicians. With its portable design and professional-grade sound quality, the H6 Handy Recorder serves as a versatile solution for all your recording needs. By following the steps outlined in this guide, you can easily configure the H6 Handy Recorder as an audio interface and unlock its full potential.
Throughout this article, we covered the importance of gathering the necessary equipment, connecting the H6 Handy Recorder to your computer, adjusting the audio settings, installing drivers if required, configuring the H6 Handy Recorder as an audio interface, testing the setup, and troubleshooting any audio issues that may arise.
With diligent setup and testing, you can be confident in the performance and reliability of your audio interface setup. By leveraging the H6 Handy Recorder, you can achieve professional-quality recordings, whether you’re recording vocals, instruments, podcasts, or any other type of audio content.
Remember to consult the user manual or seek assistance from the manufacturer’s support team if you encounter any difficulties during the setup process or while troubleshooting audio issues. With their expertise, they can guide you through any challenges and ensure an optimal user experience.
Now that you’re equipped with the knowledge and understanding of how to set up the H6 Handy Recorder as an audio interface, it’s time to unleash your creativity and produce high-quality audio content. Enjoy the convenience, flexibility, and exceptional sound quality provided by the H6 Handy Recorder as you embark on your audio recording and production journey!

