Home>Production & Technology>MP3>How To Make An MP3 Louder


MP3
How To Make An MP3 Louder
Modified: January 22, 2024
Discover the best techniques to make an MP3 louder and improve its audio quality. Increase the volume and enhance your listening experience effortlessly.
(Many of the links in this article redirect to a specific reviewed product. Your purchase of these products through affiliate links helps to generate commission for AudioLover.com, at no extra cost. Learn more)
Table of Contents
Introduction
MP3 files have become a popular format for storing and sharing audio content due to their small file size and compatibility with various devices. However, sometimes you may encounter MP3 files that are too quiet or have low volume levels, making them difficult to hear or enjoy. In these cases, you may wonder how to make an MP3 louder.
Fortunately, there are several methods you can employ to increase the volume of your MP3 files. In this article, we will explore different techniques and tools that will allow you to amplify the audio and make your MP3 files louder without compromising the quality.
Before we delve into the specific methods, it’s important to note that when increasing the volume of an MP3 file, you should exercise caution to prevent distortion or clipping. It’s always a good idea to make a backup copy of the original file before applying any changes, so that you can revert to the original if needed.
Now, let’s explore the various techniques you can use to make your MP3 files louder and enhance your listening experience.
Assessing the Current Volume
Before you begin the process of making your MP3 files louder, it’s important to assess the current volume levels of your files. This will help you determine the extent to which you need to increase the volume and guide you in selecting the appropriate tools and techniques.
One of the simplest ways to assess the volume of an MP3 file is by listening to it using a media player or audio editing software. Pay attention to the overall loudness of the file and whether it’s too soft or just slightly below your desired level.
Alternatively, you can use audio analysis tools, such as the Loudness Penalty website or software like Audacity, to get a more accurate measurement of the volume levels. These tools provide detailed information about the loudness of your MP3 file, including the Integrated Loudness (LUFS) value.
When assessing the volume, it’s important to consider the intended purpose of the audio. If you’re working on a podcast or audiobook, you might want a consistent volume throughout the file. On the other hand, if you’re enhancing a song or a sound effect, you may want to emphasize certain parts while maintaining a balanced overall volume.
Once you have evaluated the current volume of your MP3 file, you can move on to the next steps: using audio editing software and applying techniques to increase the volume.
-Smithsonian Folklife
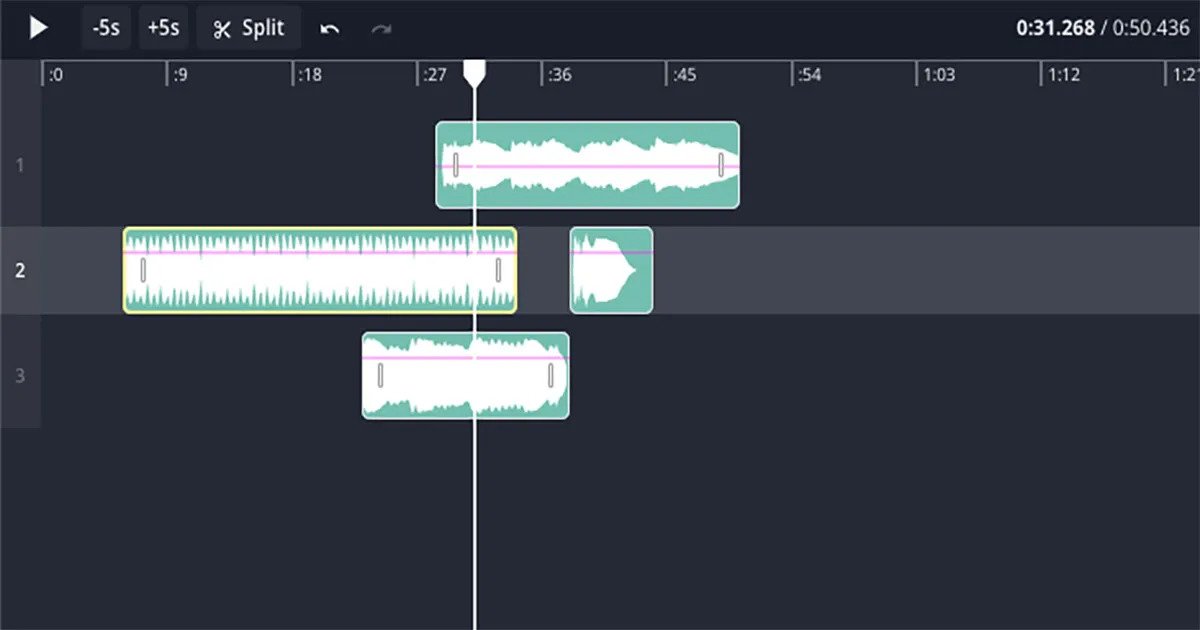
Using Audio Editing Software
One of the most effective ways to make an MP3 file louder is by using audio editing software. These programs provide a wide range of tools and features that allow you to manipulate the audio and increase its volume.
One popular and versatile audio editing software is Audacity, which is free and available for both Windows and Mac. Audacity offers various tools that can help you amplify your MP3 files and improve their overall volume.
Once you have downloaded and installed Audacity, open the software and import the MP3 file you want to make louder. You can do this by navigating to “File” and selecting “Open,” then locating and selecting your MP3 file.
Once the MP3 file is loaded, you can use Audacity’s amplification feature to increase the volume. Select the portion of the file you want to amplify or if you want to apply the changes to the entire file, select the entire waveform.
Next, navigate to the “Effect” menu and choose “Amplify.” A dialog box will appear, allowing you to adjust the amplification settings. You can either manually enter the desired amplification value or use the “Preview” button to listen to the changes before applying them.
It’s important to note that increasing the volume too much can result in distortion or clipping, so it’s recommended to proceed gradually and listen to the changes as you make them.
After adjusting the amplification settings to your satisfaction, you can click “OK” to apply the changes. You can then listen to the modified MP3 file and determine if further adjustments are necessary.
In addition to Audacity, there are other audio editing software options available, such as Adobe Audition, GarageBand, or Ocenaudio, each with its own set of features and tools for increasing the volume of MP3 files.
By utilizing audio editing software, you have the flexibility to precisely adjust the volume of your MP3 files and achieve the desired loudness, ensuring a better listening experience for yourself and your audience.
Increasing the Volume with Equalization
Equalization, also known as EQ, is a powerful tool that can be used to increase the volume of specific frequency ranges in an MP3 file. This technique allows you to selectively boost certain frequencies, which can result in a perceived increase in overall volume.
To increase the volume with equalization, you will need audio editing software that provides an EQ feature, such as Audacity or Adobe Audition.
First, import your MP3 file into the audio editing software of your choice. Once the file is loaded, locate the EQ feature within the software. In Audacity, for example, you can find it under the “Effect” menu by selecting “Equalization.”
Next, examine the audio waveform and identify any frequency ranges that appear to be lacking volume or are not as prominent as desired. This could include the low frequencies (bass), mid-range frequencies, or high frequencies (treble).
Adjust the EQ settings by applying a gentle boost to the selected frequency ranges. It’s important to exercise caution and avoid excessive boosting, as it can lead to unnatural or distorted sound. Gradually increase the volume for the selected frequency range and listen to the changes in real-time. It may take some experimentation to find the right balance.
When adjusting the EQ, it’s important to consider the overall audio balance. Increasing the volume of specific frequency ranges may affect the overall mix and may require further adjustments to maintain a well-balanced sound.
After applying the EQ changes, listen to the modified MP3 file and make any necessary refinements. Remember to trust your ears and make adjustments based on what sounds best to you and fits the desired sound for your MP3 file.
Using equalization to increase the volume of specific frequency ranges can be an effective way to enhance the perceived loudness of an MP3 file. By selectively boosting frequencies, you can improve the overall clarity and impact of the audio, resulting in a more enjoyable listening experience.
Using a Dynamic Range Compressor
A dynamic range compressor is a valuable tool for increasing the volume of an MP3 file while minimizing the risk of distortion or clipping. This technique is particularly useful when dealing with audio that has uneven or excessive dynamic range.
Dynamic range refers to the difference between the softest and loudest parts of an audio signal. When an MP3 file has a wide dynamic range, it means that some parts of the audio may be too quiet while others are too loud. A dynamic range compressor helps to smooth out this disparity by reducing the dynamic range, resulting in a more consistent and boosted volume.
To use a dynamic range compressor, you will need audio editing software that provides this feature, such as Audacity or Adobe Audition.
Open your desired MP3 file in the audio editing software and locate the dynamic range compressor tool. In Audacity, for example, you can find it under the “Effect” menu by selecting “Compressor.”
Adjust the settings of the dynamic range compressor based on your preferences and the characteristics of the audio file. The key parameters to consider include the threshold, ratio, attack time, release time, and makeup gain.
The threshold determines the audio level at which the compression kicks in. Setting a lower threshold allows more of the audio to be affected by the compressor, resulting in a more noticeable volume boost.
The ratio determines the amount of compression applied to the audio once the threshold is reached. A higher ratio, such as 4:1 or 6:1, will provide more compression, effectively reducing the dynamic range and increasing the perceived volume.
The attack time defines how quickly the compressor responds to changes in volume. A shorter attack time will make the compression more immediate, while a longer attack time can preserve louder transients and natural dynamics in the audio.
The release time determines how quickly the compression is released after the audio drops below the threshold. A shorter release time can provide a more sustained increase in volume, but be cautious of artifacts or pumping effects.
Finally, the makeup gain allows you to compensate for any decrease in volume caused by the compression. Adjust the makeup gain to ensure that the overall volume of the MP3 file matches your desired level.
After applying the dynamic range compression, listen to the modified MP3 file to evaluate the changes. Make any necessary adjustments to the settings to achieve the desired volume and dynamic balance.
Using a dynamic range compressor is an effective technique for increasing the volume of an MP3 file while maintaining a consistent audio level. By reducing the dynamic range and boosting quieter parts, you can enhance the overall audibility and impact of the audio content.
Boosting the Volume with Amplification
If you want a straightforward and direct method to make an MP3 file louder, amplification is a simple yet effective technique. Amplification involves increasing the overall volume of the audio signal, making it louder and more audible.
To boost the volume of your MP3 file through amplification, you can use audio editing software like Audacity, Adobe Audition, or other similar programs.
Start by importing the MP3 file into the audio editing software of your choice. Once you have loaded the file, select the portion you want to amplify. If you want to apply the changes to the entire file, select the entire waveform.
In Audacity, the amplification tool can be found under the “Effect” menu by selecting “Amplify.” Other software may have a similar option under different menus or functions.
After accessing the amplification tool, a dialog box will appear, allowing you to adjust the amplification settings. You can manually enter the desired amplification value or use the preview option to listen to the changes before applying them.
When amplifying the volume, it’s important to be cautious and avoid extreme increases to prevent distortion or clipping. Gradually increase the amplification and monitor the audio in real-time to ensure the quality remains intact.
Once you are satisfied with the amplification settings, click “OK” to apply the changes to the MP3 file. You can then listen to the amplified version and evaluate if further adjustments are needed.
It’s worth noting that amplifying the volume can also amplify any background noise or other unwanted artifacts present in the original file. If you encounter these issues, you may need to apply additional noise reduction or audio cleanup techniques to improve the overall quality.
Remember, when amplifying the volume of an MP3 file, it’s always a good practice to make a backup copy of the original file before applying any modifications. This way, you can revert to the original if needed.
By using the amplification technique, you can easily increase the volume of your MP3 files and make them louder for a more enjoyable listening experience. Just ensure that you carefully monitor the changes and maintain the audio quality throughout the process.
Exporting the Louder MP3
Once you have successfully increased the volume of your MP3 file using the various techniques mentioned earlier, it’s time to export the modified file so that you can start enjoying it at the louder volume level.
To export the louder MP3, you will need to follow a few simple steps within your chosen audio editing software.
First, ensure that you are satisfied with the modifications you have made. Take the time to listen to the file and make any final adjustments if necessary. This step is crucial to ensure that you have achieved the desired volume while maintaining audio quality.
Next, navigate to the “File” or “Export” menu in your audio editing software. Select the option to export the file, and a dialog box will appear, allowing you to specify the export settings.
When setting the export options, make sure to choose the appropriate format for your needs. Usually, the MP3 format is preferred for its compatibility with various devices and platforms. However, you might also find other formats like WAV or AAC, depending on your software and requirements.
Additionally, consider adjusting the bitrate settings for the exported MP3 file. Higher bitrates usually result in better audio quality but also larger file sizes. Strike a balance between size and quality based on your preferences and intended use of the file.
Choose a destination folder on your computer to save the exported MP3 file. Give it a meaningful name that reflects the content or purpose of the file.
Once you have reviewed and set all the export options, click “OK” or “Export” to start the export process. The software will then process the audio file and save it to the specified location on your computer.
Once the export is complete, you now have a louder version of your MP3 file ready to be enjoyed on various devices, shared with others, or used for other purposes.
Remember to keep the original file and the modified version in separate folders to ensure you can easily revert to the original if needed or create variations with different levels of volume amplification.
By following these simple steps, you can export the louder MP3 file and take full advantage of the increased volume to enjoy your audio content with improved audibility and a more immersive experience.
Conclusion
Increasing the volume of an MP3 file is a task that can significantly enhance the listening experience and make the audio content more enjoyable. Whether you want to amplify a podcast, boost a song, or make a sound effect louder, there are several effective techniques available.
By using audio editing software like Audacity, Adobe Audition, or other similar programs, you can employ equalization to selectively boost specific frequencies or use a dynamic range compressor to even out the volume levels. Amplification is another straightforward method that allows you to increase the overall volume of the MP3 file.
When working with any of these techniques, it is vital to exercise caution and listen to the changes as you make them. Gradually increase the volume or adjust the settings to strike the right balance between loudness and audio quality.
Once you have successfully made the MP3 file louder, it’s important to export the modified file to a suitable format, such as MP3, WAV, or AAC. Choose the appropriate bitrate settings to achieve the desired quality while considering file size.
Remember to keep a backup of the original file before making any modifications and ensure you maintain a well-organized file structure to easily manage the different versions of your MP3 files.
By following these steps and techniques, you can amplify the volume of your MP3 files and enjoy a richer, clearer, and more immersive audio experience. Whether it’s for personal enjoyment or professional purposes, the ability to make MP3 files louder is a valuable skill that can greatly improve the quality of your audio content.
Experiment with different techniques, discover your preferred approach, and have fun enhancing the volume of your MP3 files to unlock their full potential.


