Home>Production & Technology>MP3>How To Make MP3 File


MP3
How To Make MP3 File
Modified: January 22, 2024
Learn how to make an MP3 file easily and efficiently. Convert your audio files to the popular MP3 format with our step-by-step guide.
(Many of the links in this article redirect to a specific reviewed product. Your purchase of these products through affiliate links helps to generate commission for AudioLover.com, at no extra cost. Learn more)
Table of Contents
Introduction
Welcome to the world of MP3 files! As technology continues to evolve, the need for efficient and high-quality audio formats has become increasingly important. MP3, short for MPEG-1 Audio Layer 3, has quickly become one of the most popular audio file formats due to its small file size and excellent sound quality. Whether you’re a music lover wanting to create a personalized playlist or a content creator looking to distribute your work, knowing how to make an MP3 file is a valuable skill.
In this article, we will guide you through the process of creating an MP3 file from start to finish. From choosing the right software to converting your audio files and adjusting the settings, we will cover everything you need to know to successfully create an MP3 file that meets your requirements.
Before we dive into the process, it’s important to note that while MP3 is a widely supported format, there are alternative audio formats available, such as WAV or FLAC, which offer different advantages. However, MP3 remains a popular choice due to its compatibility with various devices and platforms.
Now, let’s get started and explore the step-by-step process of making an MP3 file. By the end of this article, you will have the necessary knowledge and tools to create your own MP3 files with ease.
Step 1: Choosing the Right Software
When it comes to creating MP3 files, your first task is to choose the right software for the job. There are several options available, ranging from simple and user-friendly applications to more advanced software with additional features.
If you’re looking for a straightforward and beginner-friendly option, you can opt for free online conversion tools. These tools allow you to convert audio files to MP3 format without the need for installation or technical know-how. Simply upload your audio file, choose the MP3 format, and let the tool do its magic. Some popular online conversion tools include Zamzar, Online Audio Converter, and CloudConvert.
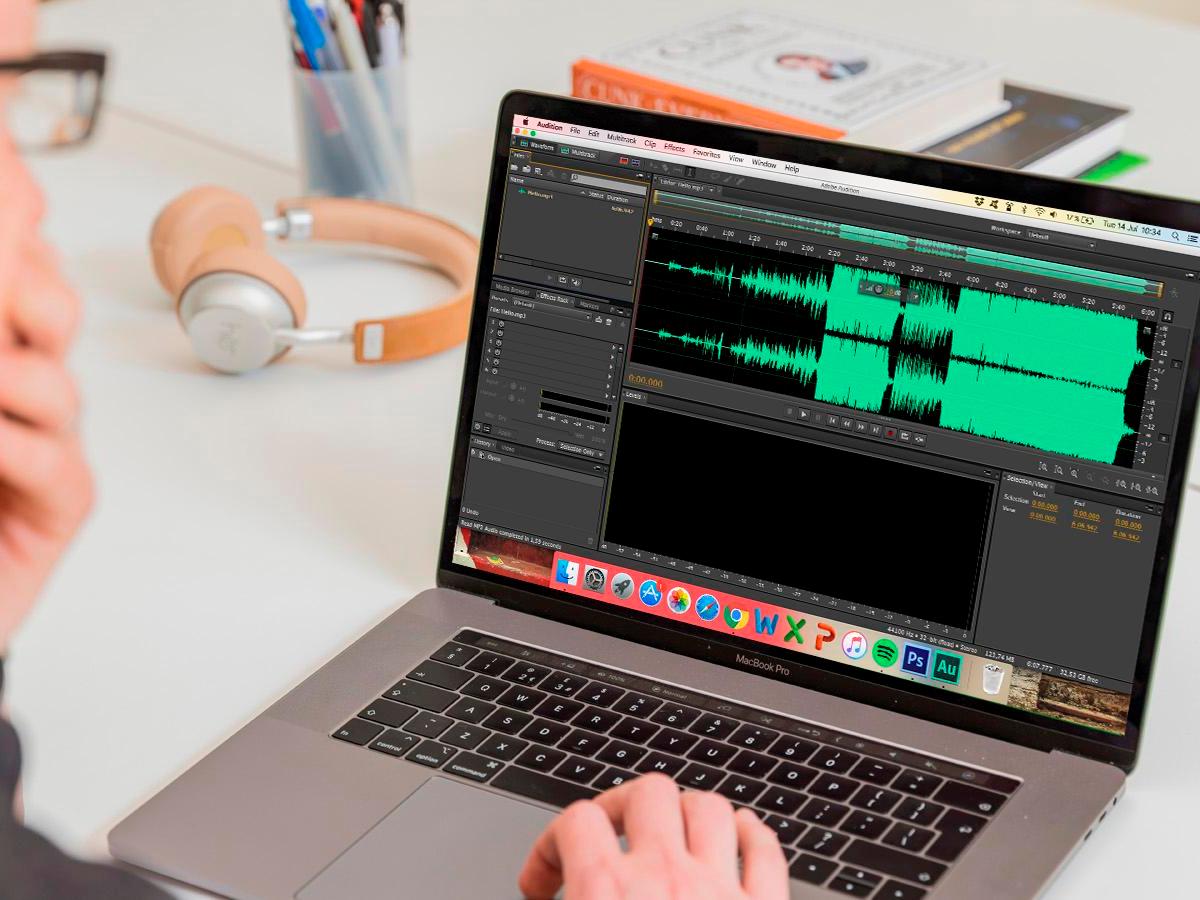
If you prefer a more versatile and feature-rich software, consider using dedicated audio editing software. Programs like Audacity, Adobe Audition, and FL Studio provide advanced functionalities for editing and converting audio files. These software options offer more control over the conversion process, giving you the ability to adjust settings such as bit rate, sample rate, and audio channel configuration.
Before choosing your software, it’s important to consider your specific needs. If you’re a beginner and require a quick and hassle-free solution, online conversion tools may be the best option. On the other hand, if you require more control and advanced editing capabilities, dedicated audio editing software is the way to go.
Once you’ve chosen the software that suits your needs and preferences, proceed to the next step to gather your audio files.
Step 2: Gathering Your Audio Files
Now that you have the software in place, it’s time to gather the audio files that you want to convert to MP3 format. Whether it’s a collection of your favorite songs, recorded podcasts, or audio interviews, ensuring you have all the necessary files in one place will make the conversion process smoother.
Start by organizing your audio files into a specific folder on your computer. This will help you easily locate and select the files when you’re ready to convert them. You can create a new folder specifically for your MP3 files or use an existing folder structure that suits your needs.
If you have audio files scattered across different locations on your computer, consider using a file management tool to consolidate them. This will save you time and effort in the long run, making it easier to navigate through your files and ensure you don’t miss any important ones.
Additionally, make sure that the audio files you gather are in a compatible audio format with the software you’ve chosen. Most software accepts common audio formats such as WAV, AIFF, or MP4. If you have files in other formats, you may need to convert them to a compatible format before proceeding to the next step.
Once you have all your audio files organized and ready, you’re primed for the next step: converting them to MP3 format. Continue reading to learn how to convert your audio files to MP3.
Step 3: Converting Audio Files to MP3 Format
Now that you have your audio files gathered and organized, it’s time to convert them to the popular MP3 format. This step will vary depending on the software you’re using, but the general process remains similar.
Open your chosen software and locate the option for file conversion or importing audio files. This may be found under a menu labelled “File” or “Import”. Click on this option to browse and select the audio files you want to convert.
Once you’ve selected the files, specify the output format as MP3. Some software programs may have a dropdown menu where you can choose the format, while others may have dedicated buttons or options to select MP3 as the output format.
Next, you may have the option to customize the conversion settings. These settings typically include parameters such as bit rate, sample rate, and audio channel configuration. If you’re unsure about these settings, it’s generally safe to stick with the default settings or use the recommended values for MP3 conversion. The higher the bit rate, the better the sound quality, but it will also result in larger file sizes.
Once you’ve adjusted the settings (if necessary), initiate the conversion process. This may involve clicking a “Convert” or “Start” button. The software will then begin converting your audio files to MP3 format based on the designated settings.
The duration of the conversion process will depend on the size and number of the audio files being converted. Larger files or multiple files may take longer to convert. Be patient and let the software complete the conversion before moving to the next step.
Once the conversion is complete, you will have your audio files in the MP3 format. However, before saving them, it’s a good idea to make some final adjustments to ensure the desired quality. In the next step, we will explore how to adjust the settings and quality of your MP3 files.
Step 4: Adjusting Settings and Quality
After converting your audio files to MP3 format, it’s time to make some adjustments to the settings and quality of your files. This step will help you customize the output based on your preferences and ensure optimal sound quality.
Most software programs offer options to adjust settings such as bit rate, sample rate, and audio channel configuration. Let’s take a closer look at each of these settings:
- Bit rate: This refers to the amount of data used to represent the audio per unit of time. Higher bit rates result in better audio quality but also larger file sizes. If you prioritize quality, opt for a higher bit rate. However, if file size is a concern, a lower bit rate may be suitable.
- Sample rate: The sample rate determines the number of samples taken per second to represent the audio. Higher sample rates can capture more detailed sound, but may also result in larger file sizes. Common sample rates for MP3 files are 44.1 kHz or 48 kHz, which are suitable for most music and audio recordings.
- Audio channel configuration: This setting determines whether the audio is in mono or stereo format. Mono audio consists of a single channel, while stereo audio provides a more immersive experience with separate left and right channels. Choose the appropriate configuration based on the original audio and your desired output.
When adjusting these settings, it’s important to strike a balance between file size and audio quality. Consider the purpose of your MP3 files and the devices or platforms they will be used on. For example, if you’re creating a playlist for personal use, you may prioritize a higher bit rate for better sound quality. However, if you’re creating files for streaming on mobile devices, you may want to optimize the file size by using a lower bit rate.
Once you’ve adjusted the settings to your satisfaction, save the changes and proceed to the next step to save and name your MP3 files.
Step 5: Saving and Naming Your MP3 File
Now that you have adjusted the settings and quality of your MP3 files, it’s time to save and name them for easy organization and identification. Properly naming your files will help you quickly locate and access them whenever needed.
When saving your MP3 file, most software programs will prompt you to choose a save location. Select a folder or directory where you want to store your MP3 files. It’s a good practice to create a dedicated folder specifically for your MP3 files to keep them organized.
Next, give your MP3 file a descriptive and meaningful name. This will make it easier to identify the content of the file at a glance. Consider including relevant information such as the artist name, song title, or any other pertinent details.
For example, if you’re converting a song by an artist named John Smith, you could name the file “John_Smith_Song_Title.mp3”. By following a consistent naming convention, you can quickly search and locate specific MP3 files in the future.
It’s also worth mentioning that some software programs may provide the option to embed metadata into the MP3 file. Metadata includes information such as the artist, album, track number, and genre. Adding metadata can be helpful for organizing your MP3 files in media players or music libraries.
Once you have chosen a save location and given your MP3 file a name, click on the “Save” or “Export” button to finalize the process. The software will proceed to save your audio file in the MP3 format, using the specified settings and file name.
Congratulations! You have successfully saved and named your MP3 file. In the next step, we will discuss how to test your MP3 file to ensure it is working as expected.
Step 6: Testing Your MP3 File
After saving and naming your MP3 file, it’s important to test it to ensure everything is working as expected. By testing your MP3 file, you can identify any potential issues and make any necessary adjustments before sharing or using the file.
Start by locating the saved MP3 file on your computer or in the designated folder. Double-click on the file to play it using your default media player or any other preferred media player.
Listen carefully to the audio and ensure that it sounds clear and without any distortions or abnormalities. Pay attention to the volume, balance between channels (if applicable), and overall sound quality. If you notice any issues, such as audio artifacts or unbalanced sound, you may need to revisit the conversion settings and make appropriate adjustments.
You can also try playing the MP3 file on different devices and media players to ensure compatibility. Test it on your smartphone, tablet, or other audio devices to confirm that the file can be played without any issues. This step is particularly important if you plan on sharing or distributing your MP3 files to others.
Additionally, check the file size of your MP3 file to ensure it falls within your desired range. If the file size exceeds your expectations, you may need to revisit the conversion settings and adjust the bit rate or other settings to reduce the file size. On the other hand, if the file size is significantly smaller than expected and compromises the audio quality, you may need to increase the bit rate or adjust other settings accordingly.
By thoroughly testing your MP3 file, you can ensure that it meets your requirements in terms of sound quality, compatibility, and file size. Make any necessary adjustments as needed until you are satisfied with the results.
Now that you have successfully tested your MP3 file, you can confidently share, distribute, or enjoy your newly created MP3 files according to your desired purpose.
Congratulations! You have completed all the steps necessary to create, adjust, and test your MP3 files. Now, you have the skills and knowledge to create MP3 files from your audio content with ease.
Before we conclude, let’s recap the steps:
- Choose the right software for MP3 conversion.
- Gather your audio files in one place.
- Convert the audio files to MP3 format.
- Adjust the settings and quality of the MP3 files.
- Save and name your MP3 files for easy organization.
- Test your MP3 files to ensure they are working correctly.
Now, you are ready to enjoy your MP3 files or share them with others. Happy listening!
Conclusion
Creating MP3 files allows you to enjoy your favorite music, podcasts, and other audio content in a compact and widely compatible format. Throughout this article, we’ve explored the step-by-step process of making MP3 files, from choosing the right software to testing the final output.
By carefully selecting the appropriate software, gathering your audio files, converting them to MP3 format, adjusting the settings and quality, and finally saving and naming your files, you have successfully learned how to create high-quality MP3 files.
Remember to consider your specific needs and priorities when choosing software and adjusting settings. Factors such as file size, audio quality, and compatibility should guide your decisions to ensure the best output for your intended purposes, whether it’s building a personal music library or distributing your content to a wider audience.
Additionally, testing your MP3 files is crucial to ensure that they are functioning as intended and meet your expectations in terms of sound quality and compatibility. By thoroughly testing your files, you can make any necessary adjustments and have peace of mind knowing that your MP3 files are ready to be enjoyed.
Now that you have acquired the knowledge and skills to create MP3 files, you can embark on a journey of audio exploration and customization. Whether you’re an avid music lover, a content creator, or someone who simply enjoys the convenience of digital audio, the ability to create MP3 files puts you in control of your audio experience.
So go ahead, dive into your audio collection, convert your favorite tracks, and create personalized playlists. Share your content with others, upload podcasts, or simply enjoy the portability and versatility of MP3 files on various devices.
With this newfound understanding, you can confidently navigate the world of MP3 files and make the most of your audio content. Embrace the power of MP3 and let your creativity and passion for sound thrive.


