Home>Production & Technology>Sound Bar>How To Connect Sound Bar To Apple TV
Sound Bar
How To Connect Sound Bar To Apple TV
Published: December 25, 2023
Learn how to easily connect your sound bar to your Apple TV for an immersive audio experience. Upgrade your home entertainment setup with this simple guide.
(Many of the links in this article redirect to a specific reviewed product. Your purchase of these products through affiliate links helps to generate commission for AudioLover.com, at no extra cost. Learn more)
Table of Contents
Introduction
Welcome to the world of immersive audio experience with a sound bar. Sound bars have become increasingly popular in recent years as a space-saving, cost-effective solution for enhancing the audio quality of televisions. If you own an Apple TV and want to take your sound experience to the next level, connecting a sound bar is a great option.
In this article, we will guide you through the process of connecting a sound bar to your Apple TV. Whether you’re a tech-savvy individual or a beginner, our step-by-step instructions will help you make the most out of your sound bar and Apple TV combination.
Before we dive into the detailed steps, let’s quickly discuss why you might want to connect a sound bar to your Apple TV. While the Apple TV does provide decent audio, a sound bar can significantly enhance your viewing experience by delivering more powerful, clearer, and immersive sound. From watching movies and TV shows to playing video games, the added audio quality from a sound bar can truly elevate your entertainment.
Additionally, a sound bar can also eliminate the need for external speakers or complex wiring setups. With just a single connection to your Apple TV, you can enjoy high-quality audio without cluttering your living room with multiple devices and cables.
Now that we understand the benefits of connecting a sound bar to your Apple TV, let’s move on to the step-by-step process to make it happen. Gather your equipment, grab your Apple TV remote, and get ready to elevate your audio experience!
Step 1: Gather the Required Equipment
Before you begin connecting your sound bar to your Apple TV, make sure you have the necessary equipment on hand. Here’s what you’ll need:
- Sound Bar: Choose a sound bar that best fits your audio needs and budget. There are various options available, ranging from basic models to high-end sound bars with advanced features like surround sound.
- HDMI Cable: Ensure that you have an HDMI cable that is compatible with both your sound bar and Apple TV. HDMI cables transmit high-quality audio and video signals, making them ideal for connecting your devices.
- Apple TV: Of course, you’ll need an Apple TV device. Make sure it is powered on and connected to your TV.
- TV: Ensure that your TV is turned on and properly connected to your Apple TV.
- Power Cable: Make sure you have the power cable for your sound bar handy, as you’ll need it to supply power to the device.
- Remote Control: Keep your Apple TV remote control nearby for easy access during the setup process.
Once you have gathered all the necessary equipment, it’s time to move on to the next step. You’re now one step closer to immersing yourself in exceptional audio quality!
Step 2: Connect the Sound Bar to the Apple TV
With all the required equipment at hand, it’s time to connect your sound bar to your Apple TV. Follow these steps:
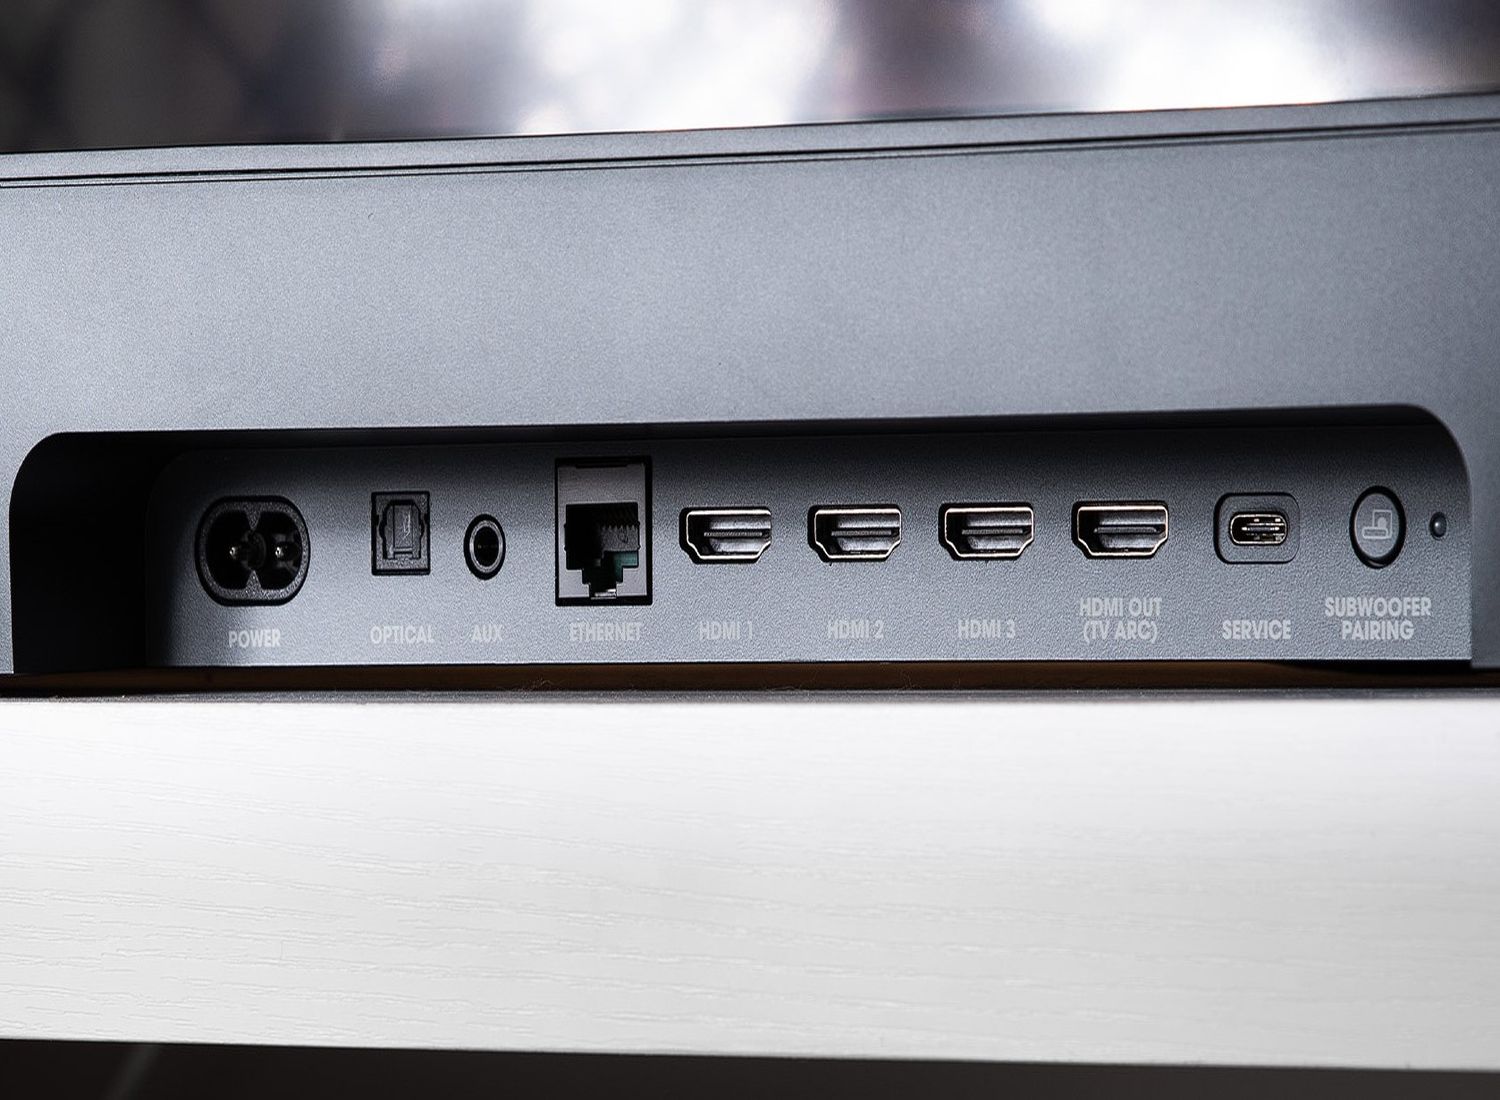
- Locate the HDMI port on your sound bar. It is usually labeled as “HDMI In” or “ARC” (Audio Return Channel). Make sure your sound bar is powered off before making any connections.
- Take one end of the HDMI cable and insert it into the HDMI port on your sound bar.
- Next, connect the other end of the HDMI cable into the HDMI port on your Apple TV.
- Ensure that both ends of the HDMI cable are securely connected.
- Power on your sound bar and switch it to the appropriate HDMI input. This may vary depending on the model of your sound bar. Refer to the user manual for instructions on selecting the HDMI input.
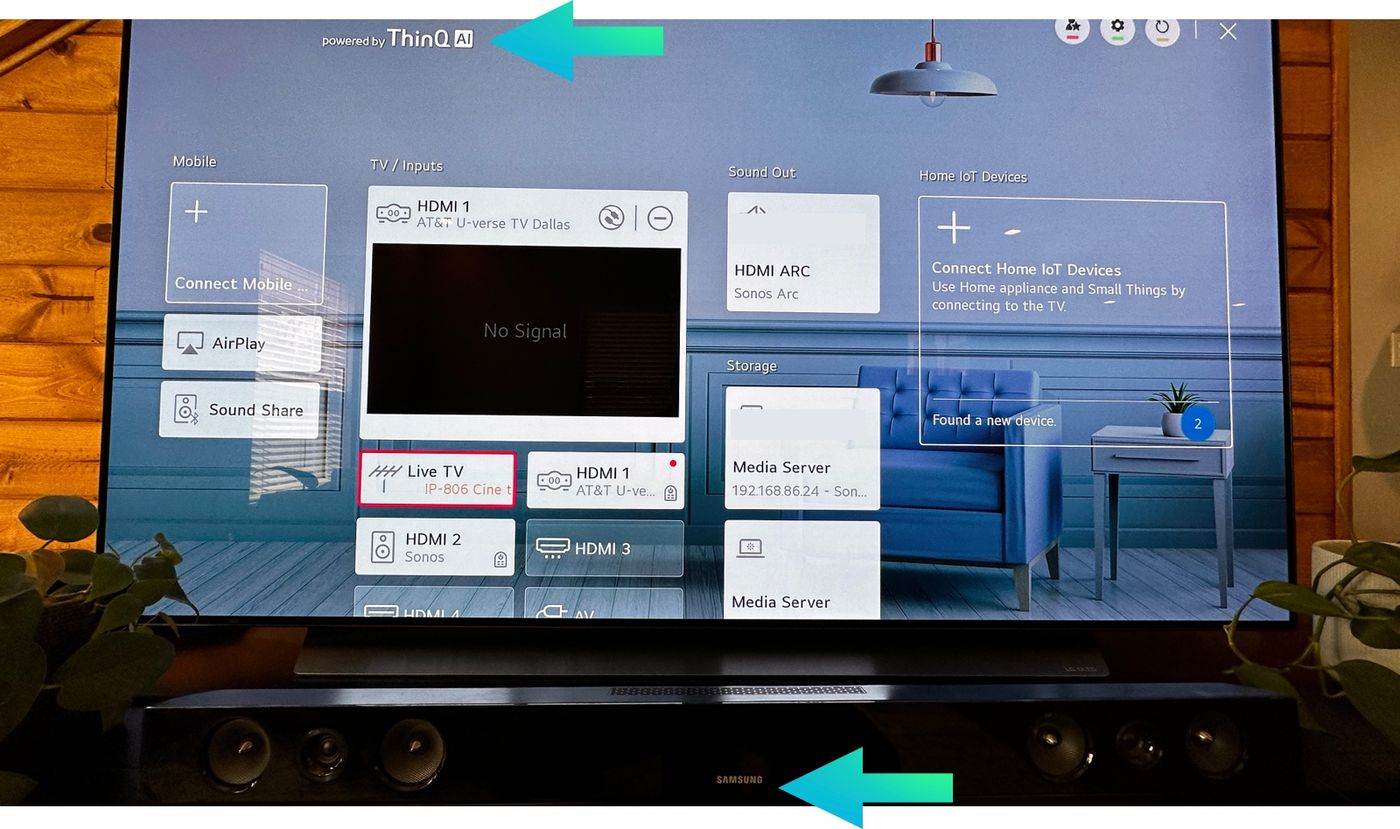
- Turn on your Apple TV and navigate to the Settings menu.
- Select “Video and Audio” from the options.
- Under the Audio section, choose “Audio Output” and select the HDMI option corresponding to your sound bar.
Once you have completed the above steps, your Apple TV should be successfully connected to your sound bar. The audio output from your Apple TV will now be transmitted to the sound bar, allowing you to enjoy enhanced sound quality.
It’s important to note that if your sound bar supports ARC (Audio Return Channel), you may be able to control the volume of your sound bar using your TV’s remote control. This eliminates the need for an additional remote and simplifies the overall user experience.
With the sound bar now connected to your Apple TV, it’s time to move on to the next step – adjusting the sound bar settings.
Step 3: Adjust Sound Bar Settings
Now that you have successfully connected your sound bar to your Apple TV, it’s time to ensure that the sound bar settings are optimized for your audio preferences. Follow these steps to adjust the sound bar settings:
- Using the sound bar remote or the control buttons on the device, access the sound bar’s settings menu.
- Explore the available audio settings options. These may vary depending on the model and brand of your sound bar.
- Adjust the sound bar’s EQ (equalizer) settings to modify the audio output according to your preferences. This allows you to fine-tune the bass, treble, and overall sound quality.
- Explore any additional audio enhancement features provided by your sound bar, such as virtual surround sound or sound modes. These features can enhance the audio experience by creating a more immersive environment.
- Take the time to test different settings and listen to various types of content, such as music, movies, and TV shows. This will help you find the optimal sound settings that suit your personal preferences.
- Make sure to save any changes you make to the sound bar settings.
By adjusting the sound bar settings, you can tailor the audio output to your liking and enhance your overall viewing experience. Remember that every sound bar model is unique, so refer to the user manual for specific instructions on accessing and adjusting the settings.
Now that you have fine-tuned the sound bar settings, it’s time to move on to the final step – testing the connection to ensure everything is working as expected.
Step 4: Test the Connection
After connecting your sound bar and adjusting the settings, it’s crucial to test the connection to ensure that everything is functioning properly. Follow these steps to test the connection between your Apple TV and sound bar:
- Select any audio or video content on your Apple TV, such as a movie, TV show, or music.
- Play the selected content on your Apple TV, and ensure that the sound is being produced through the connected sound bar.
- Verify that the audio quality is enhanced and that you can hear clear, crisp sound coming from the sound bar.
- Adjust the volume using either the sound bar remote or the Apple TV remote, and verify that the sound bar responds accordingly.
- Test different types of content to assess how well the sound bar handles various audio sources.
If you encounter any issues or if the sound bar does not produce any audio, double-check the connections between your Apple TV and sound bar. Ensure that the HDMI cable is securely connected at both ends and that the sound bar is set to the correct HDMI input.
If you’re still experiencing troubles, consult the user manual for your sound bar or reach out to the manufacturer’s customer support for further assistance.
Once you have tested the connection and verified that the sound bar is functioning properly, congratulations! You have successfully connected and set up your sound bar with your Apple TV, providing an immersive audio experience for all your entertainment needs.
Now you can sit back, relax, and enjoy your favorite movies, TV shows, and games with enhanced sound quality and clarity. Happy viewing!
Conclusion
Congratulations on successfully connecting your sound bar to your Apple TV! By following the step-by-step instructions in this guide, you have unlocked a whole new level of audio experience for your home entertainment setup.
With your sound bar connected, you can now enjoy enhanced sound quality, immersive audio, and a more captivating viewing experience. Whether you’re watching movies, TV shows, or playing video games, the sound bar will elevate the audio, making you feel like you’re right in the middle of the action.
Remember to take advantage of the sound bar’s settings to customize the audio output according to your preferences. Adjust the equalizer settings, explore sound modes, and fine-tune the audio enhancements to create the perfect audio environment for your viewing pleasure.
Testing the connection ensures that everything is working as expected, and if any issues arise, check the connections and consult the user manual or manufacturer’s support for assistance. Once everything is set up and functioning correctly, sit back, relax, and immerse yourself in the rich, high-quality sound delivered by your sound bar.
Thank you for choosing this guide to connect your sound bar to your Apple TV. We hope this article has been helpful in providing clear instructions and insights to enhance your audio experience. Now, grab some popcorn, gather your loved ones, and enjoy the ultimate home theater experience with your newly connected sound bar and Apple TV!