Home>Production & Technology>Sound Bar>How Do You Connect Sound Bar To TV
Sound Bar
How Do You Connect Sound Bar To TV
Modified: January 22, 2024
Learn how to connect a sound bar to your TV and enhance your audio experience. Simple step-by-step instructions for setting up your sound bar.
(Many of the links in this article redirect to a specific reviewed product. Your purchase of these products through affiliate links helps to generate commission for AudioLover.com, at no extra cost. Learn more)
Table of Contents
Introduction
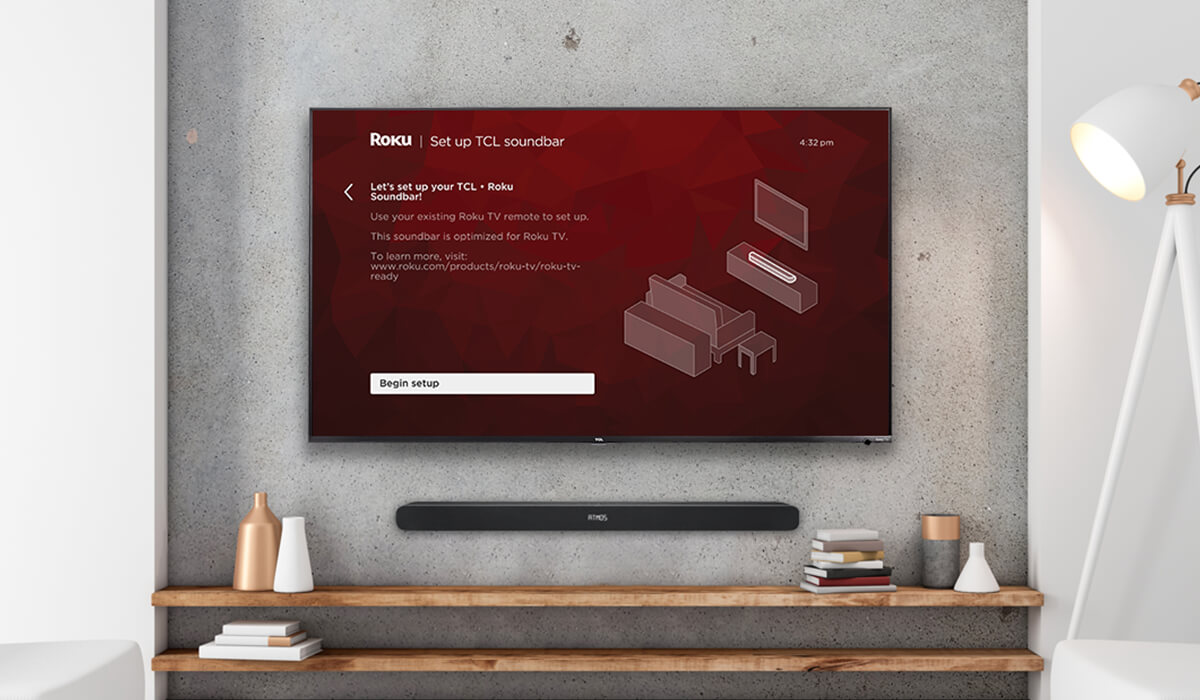
Welcome to the world of sound bars, where you can transform your TV’s audio experience to a whole new level. A sound bar is an audio device designed to enhance the sound of your television, providing a more immersive and dynamic audio experience. Whether you’re watching your favorite movies, playing video games, or simply enjoying your favorite TV shows, a sound bar can deliver rich and clear sound that helps bring your entertainment to life.
But how do you connect a sound bar to your TV? With advancements in technology, there are various ways to establish the connection, depending on the available ports on your television and the sound bar itself. In this article, we’ll explore the different methods of connecting a sound bar to your TV, step by step.
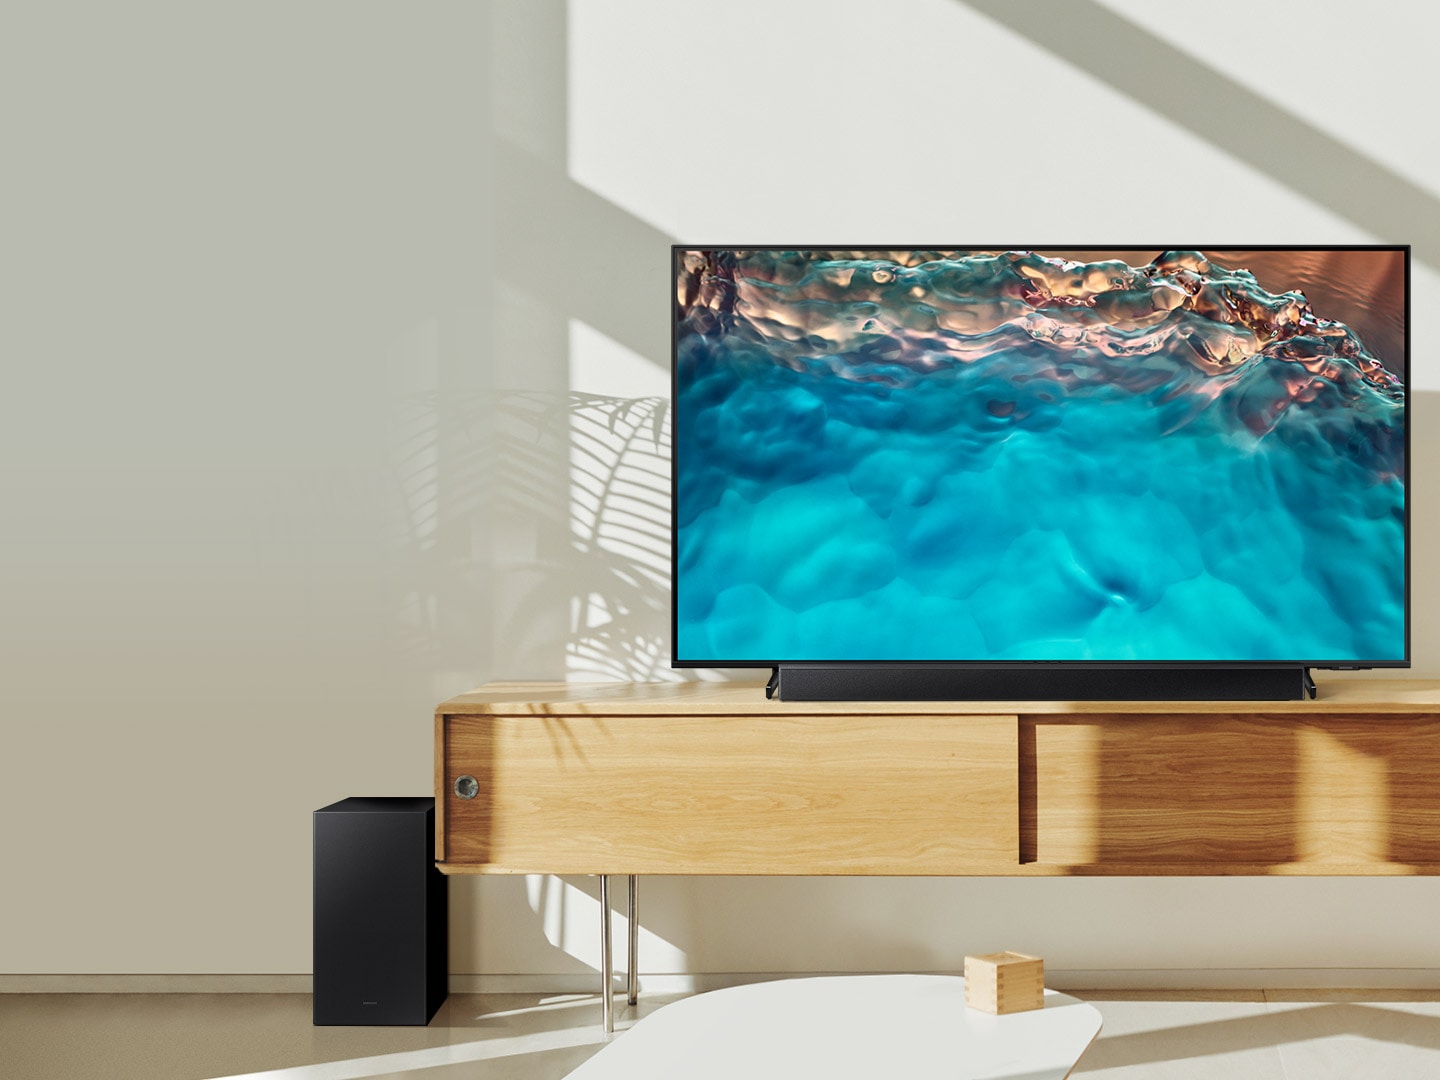
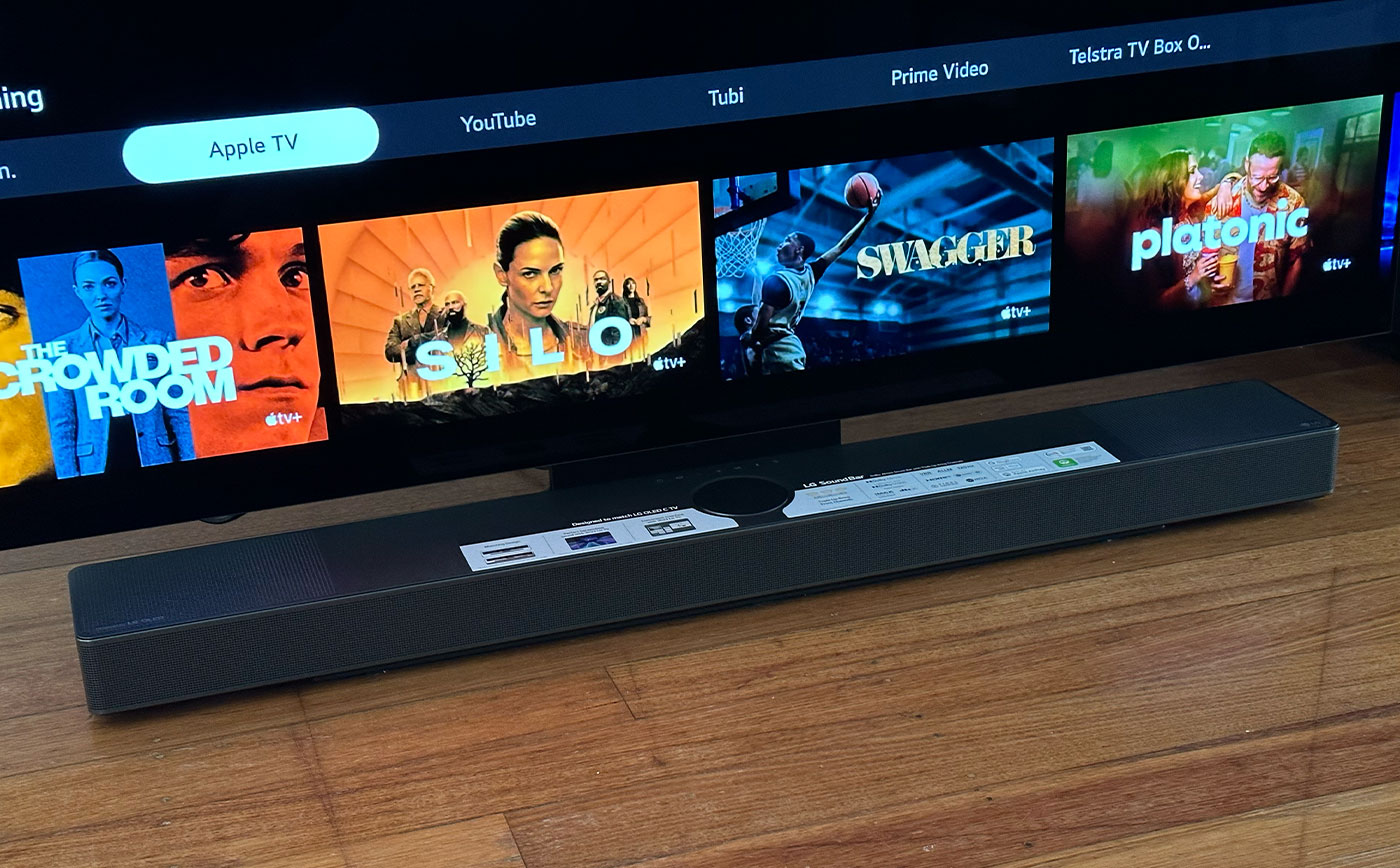
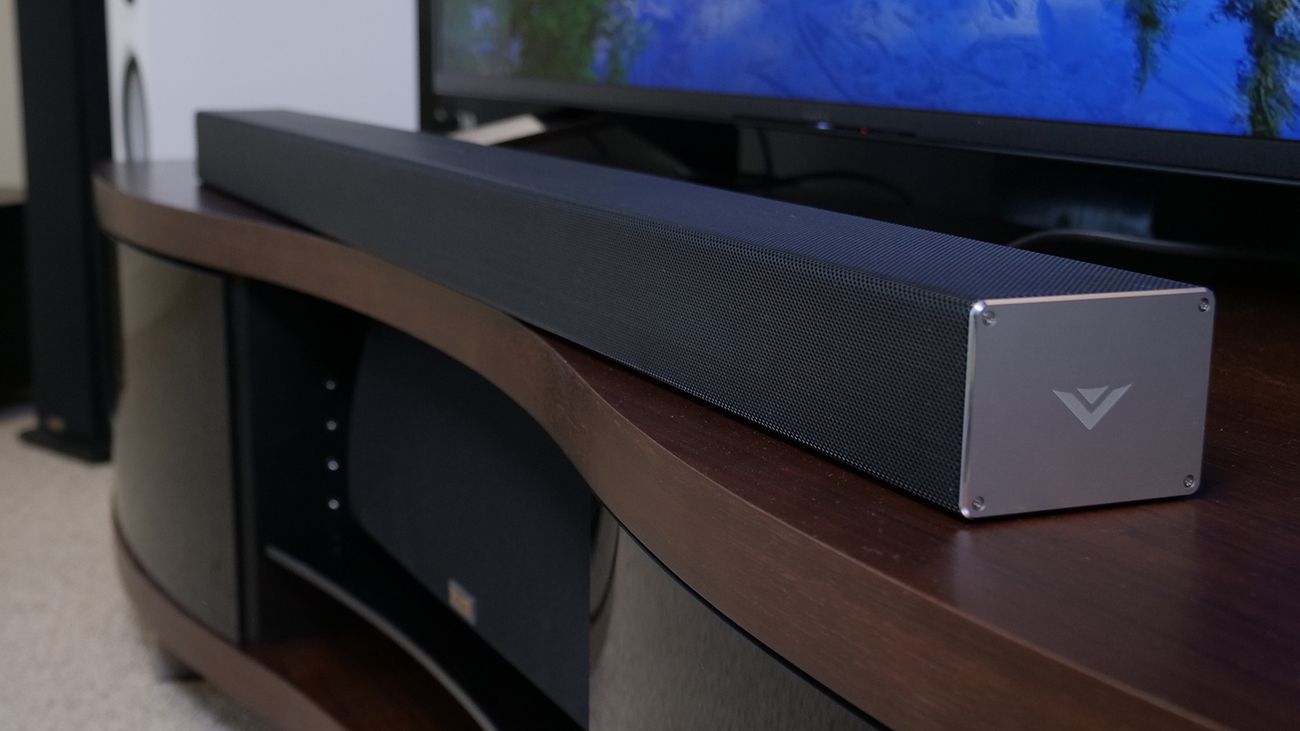
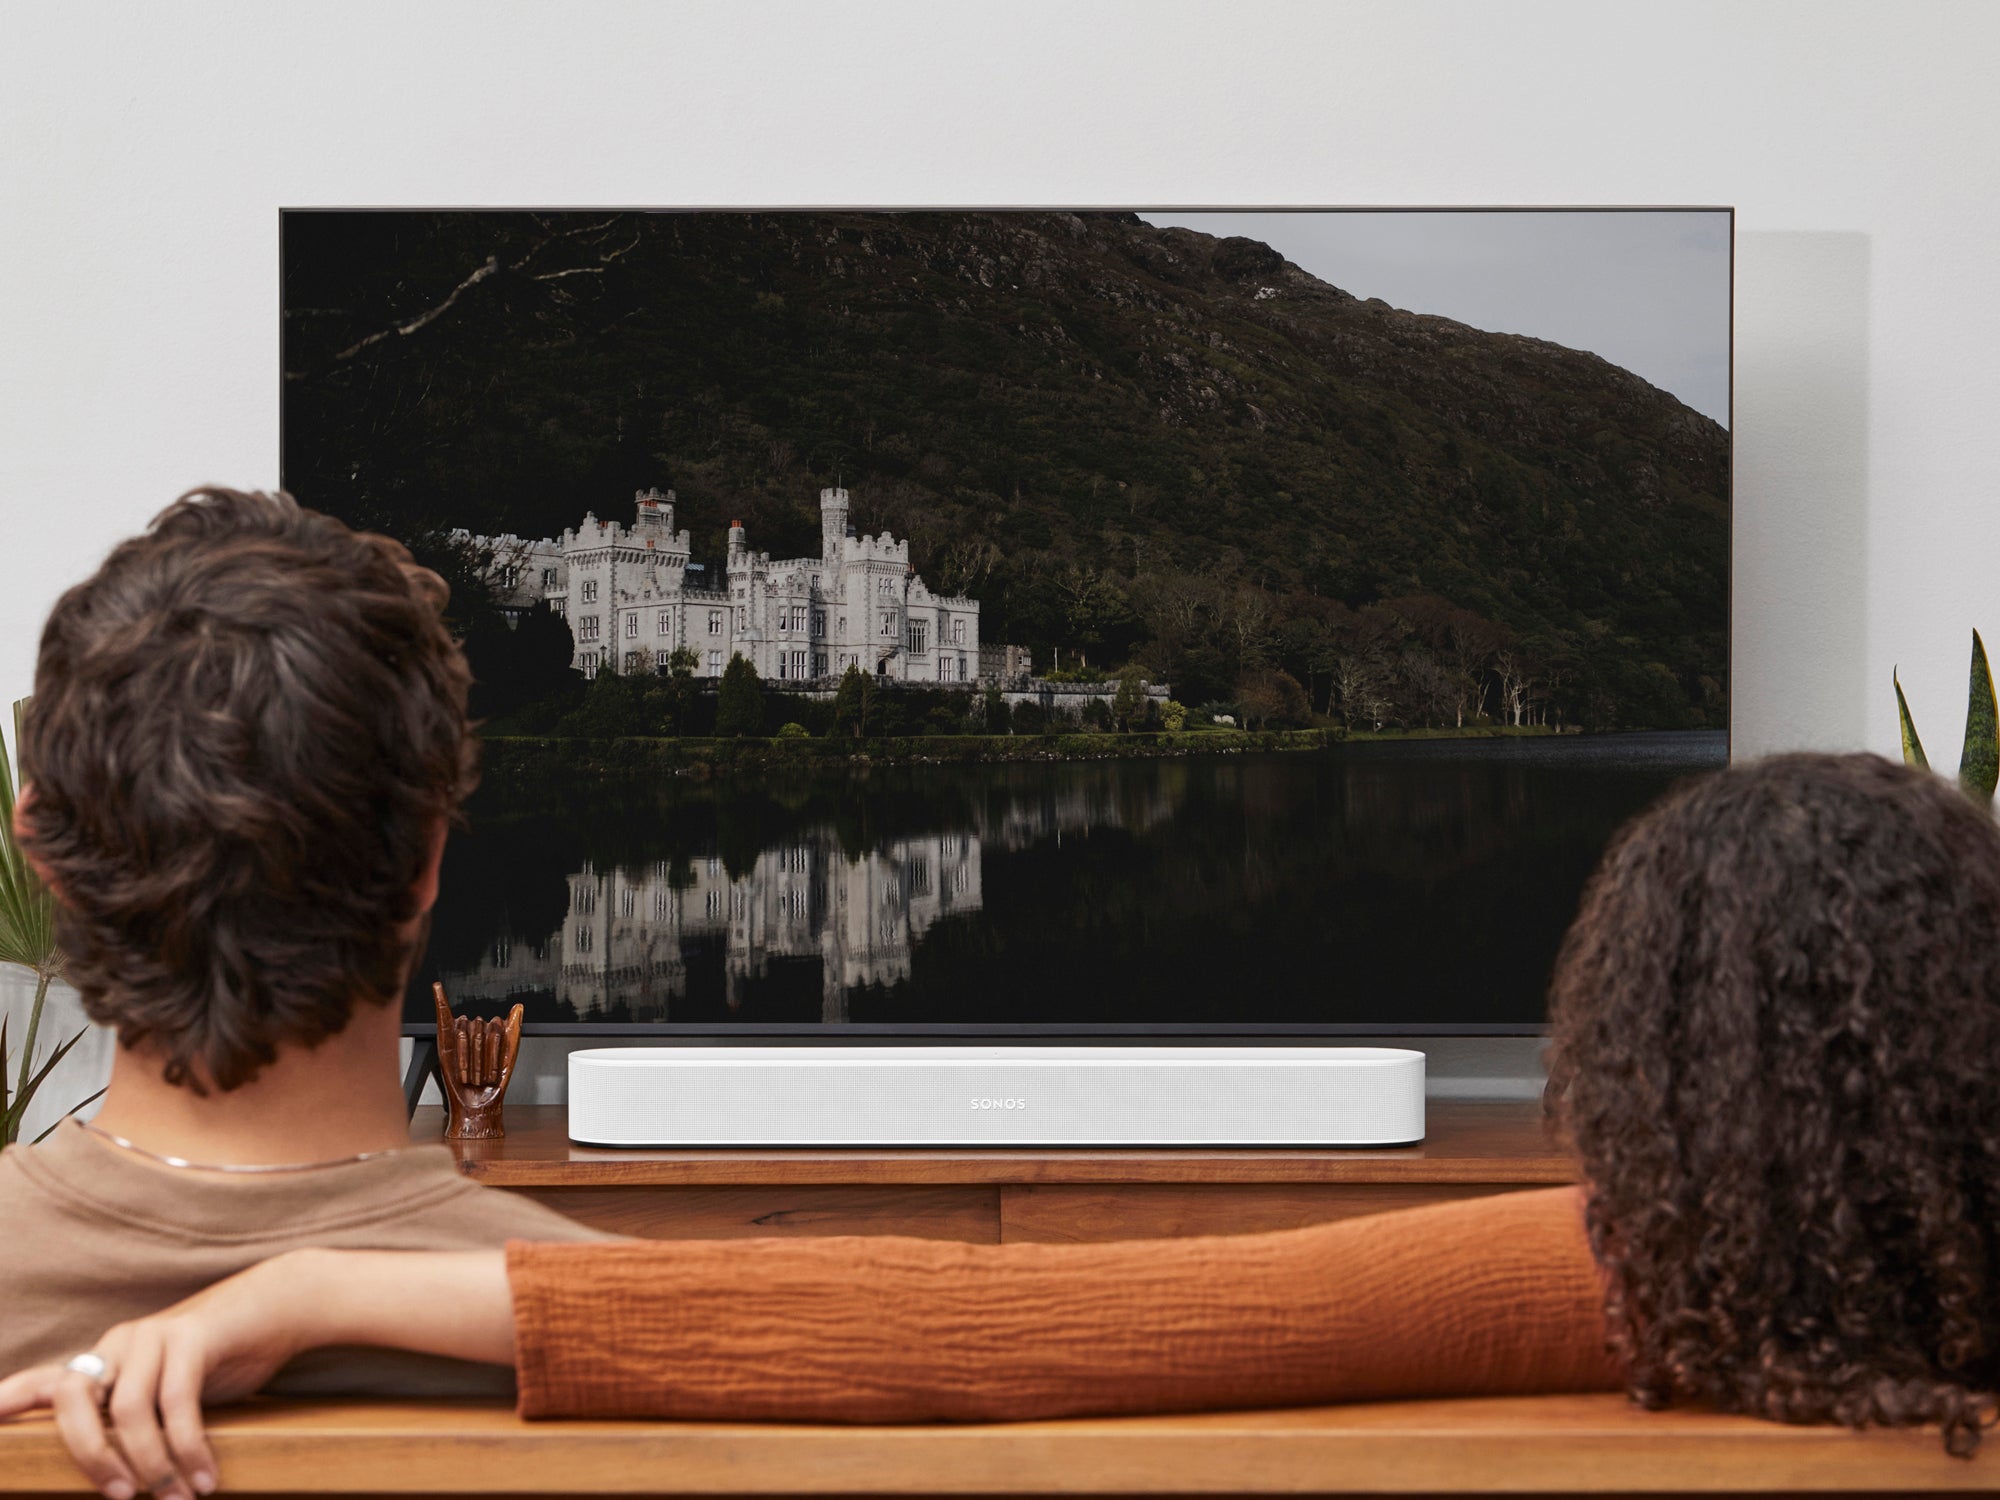
Before diving into the connection process, it’s important to understand the basics of a sound bar. A sound bar is essentially a long, slim speaker that contains multiple speakers in one unit. It is designed to be placed either in front or below your TV, providing a more focused and enhanced audio experience compared to your TV’s built-in speakers. Some sound bars also come with additional features like built-in subwoofers or surround sound capabilities.
Now, let’s move on to identifying the available connections on your sound bar and TV, and how to establish the connection using various cables and wireless options.
Understanding the Sound Bar
Before you begin connecting your sound bar to your TV, it’s important to have a basic understanding of its components and how it functions. A sound bar typically consists of several speakers housed in a single enclosure. These speakers are strategically placed to deliver a wider and more immersive sound field compared to your TV’s built-in speakers.
The number of speakers in a sound bar can vary, typically ranging from two to seven speakers. The configuration of these speakers can differ as well, such as 2.0 (two speakers without a separate subwoofer), 3.1 (three speakers with a separate subwoofer for low-frequency sounds), or even 5.1 or 7.1 configurations for a more surround sound experience.
Sound bars can come with different audio technologies, including Dolby Atmos, DTS:X, or virtual surround sound. These technologies aim to provide a more immersive audio experience by creating the illusion of sound coming from different directions.
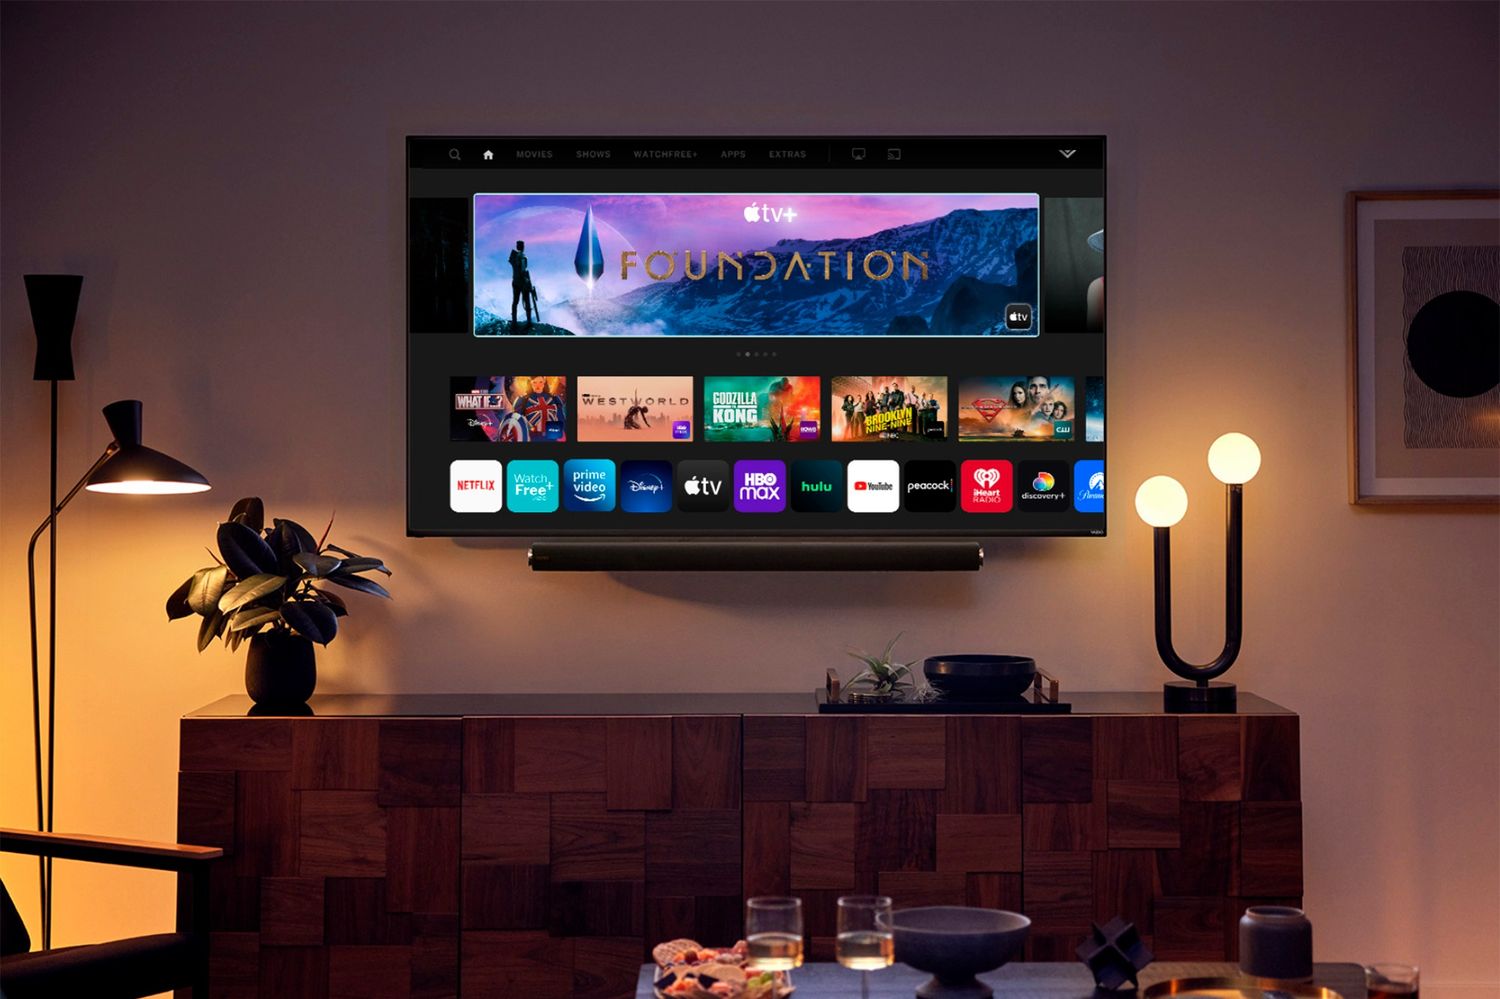
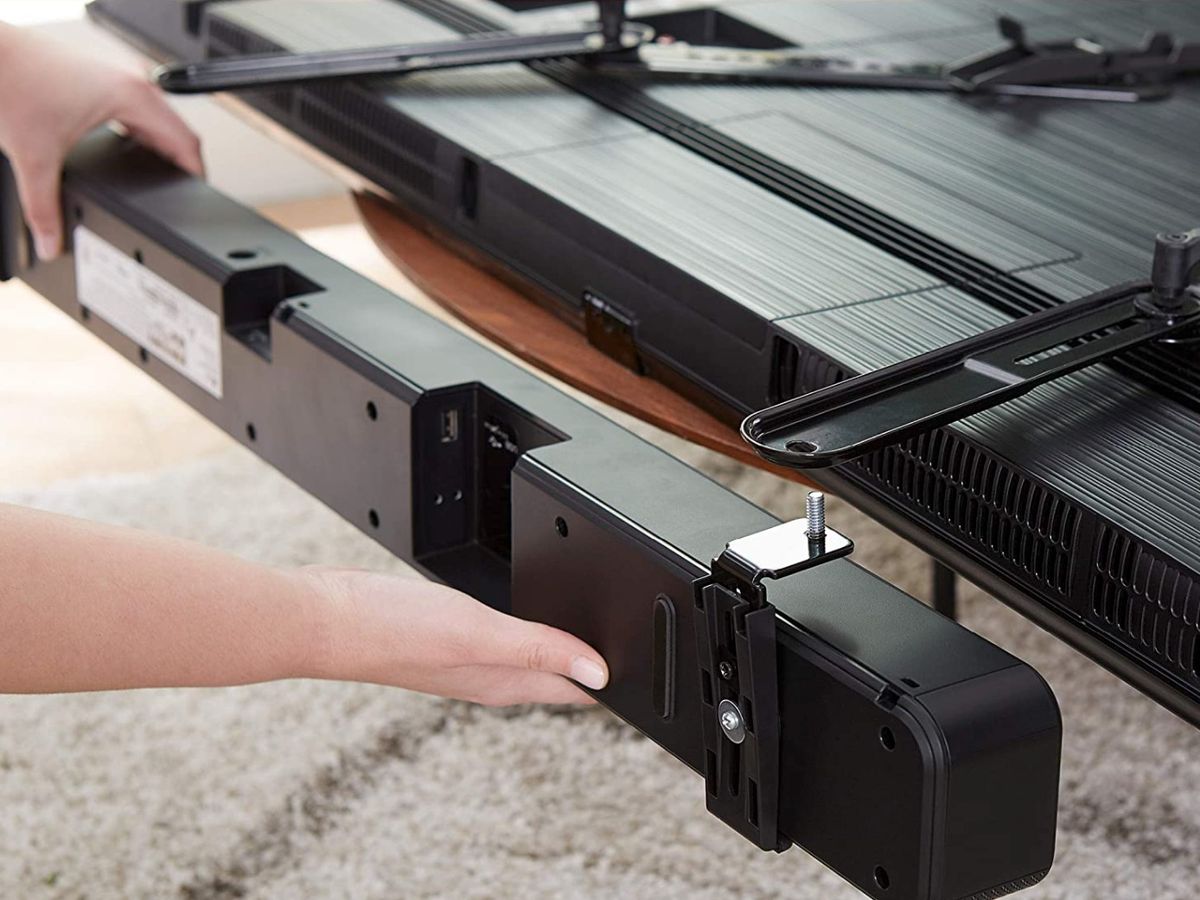
Another important aspect of a sound bar is its connectivity options. Sound bars typically offer various input and output ports to connect to your TV or other devices. Common ports include HDMI, optical, and auxiliary ports. Some sound bars also offer wireless connectivity options like Bluetooth or Wi-Fi.
Additionally, sound bars often come with built-in audio enhancements and sound modes. These features allow you to tailor the audio output to suit your preferences or the content you’re watching. For example, you might have a “movie” mode that enhances dialogue and provides a more immersive cinematic experience, or a “music” mode that emphasizes the clarity and richness of audio for music playback.
Understanding the components and features of your sound bar will help you make the most of its capabilities and enhance your overall audio experience. Now that you have a basic understanding of a sound bar, let’s move on to identifying the available connections on both your TV and sound bar.
Identifying the Available Connections
Before you start connecting your sound bar to your TV, it’s crucial to identify the available ports on both your sound bar and TV. This step will ensure that you have the necessary cables and adapters to establish the connection successfully.
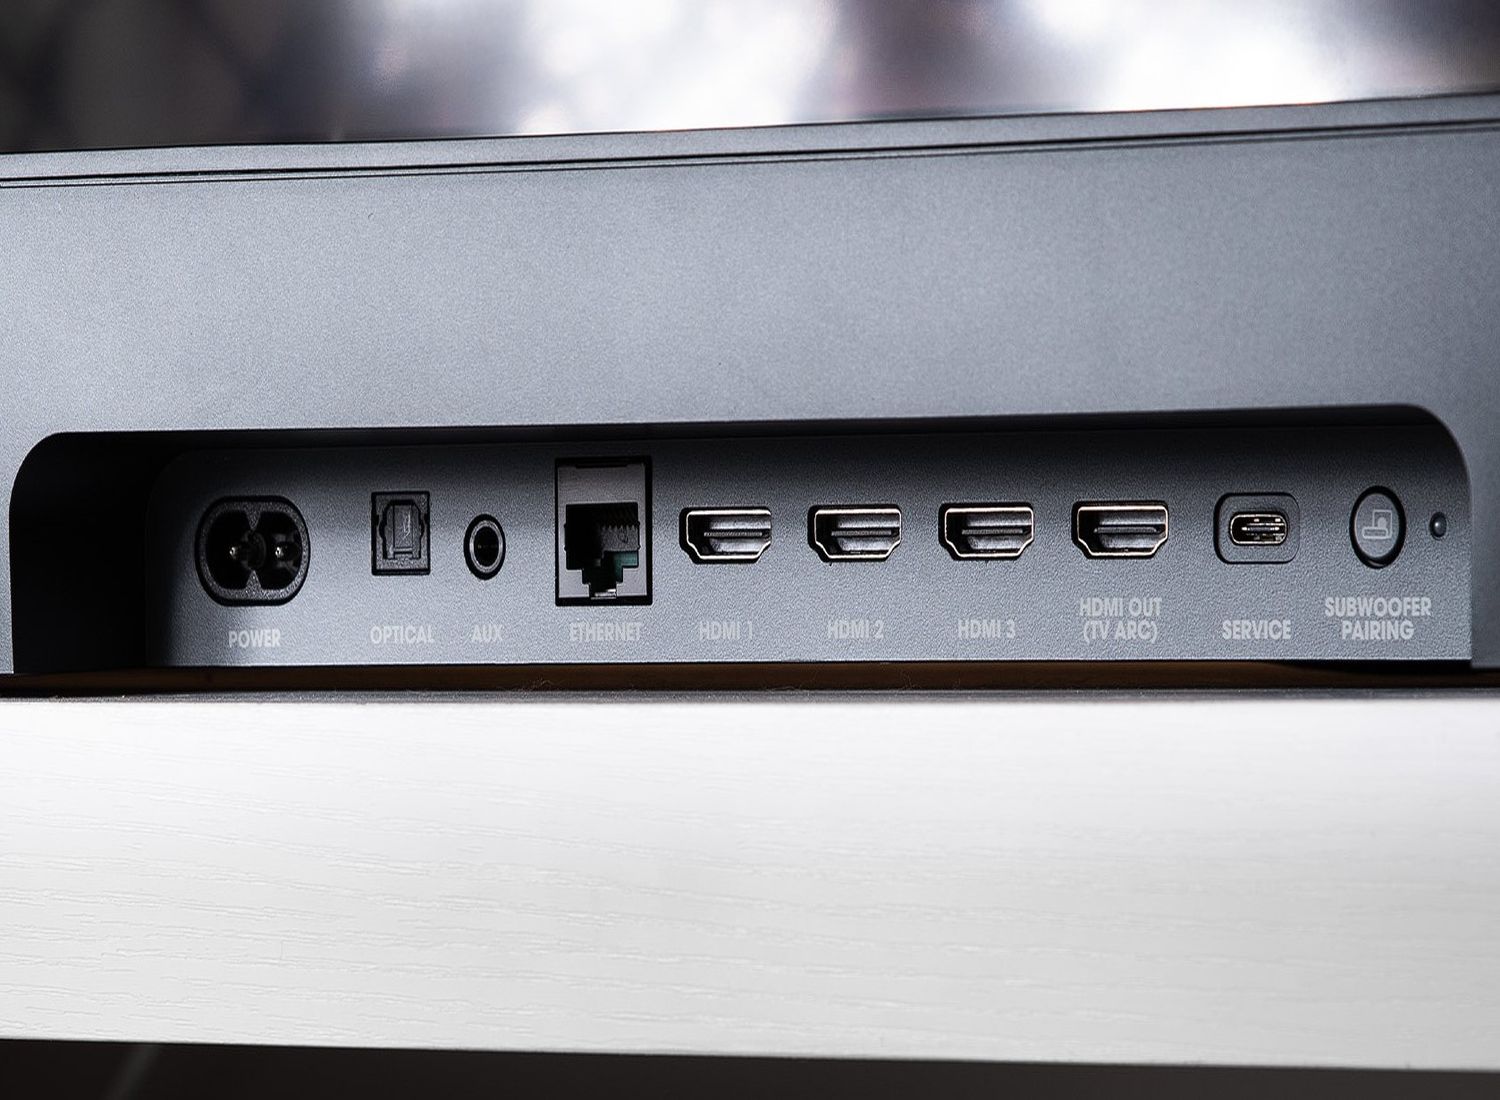
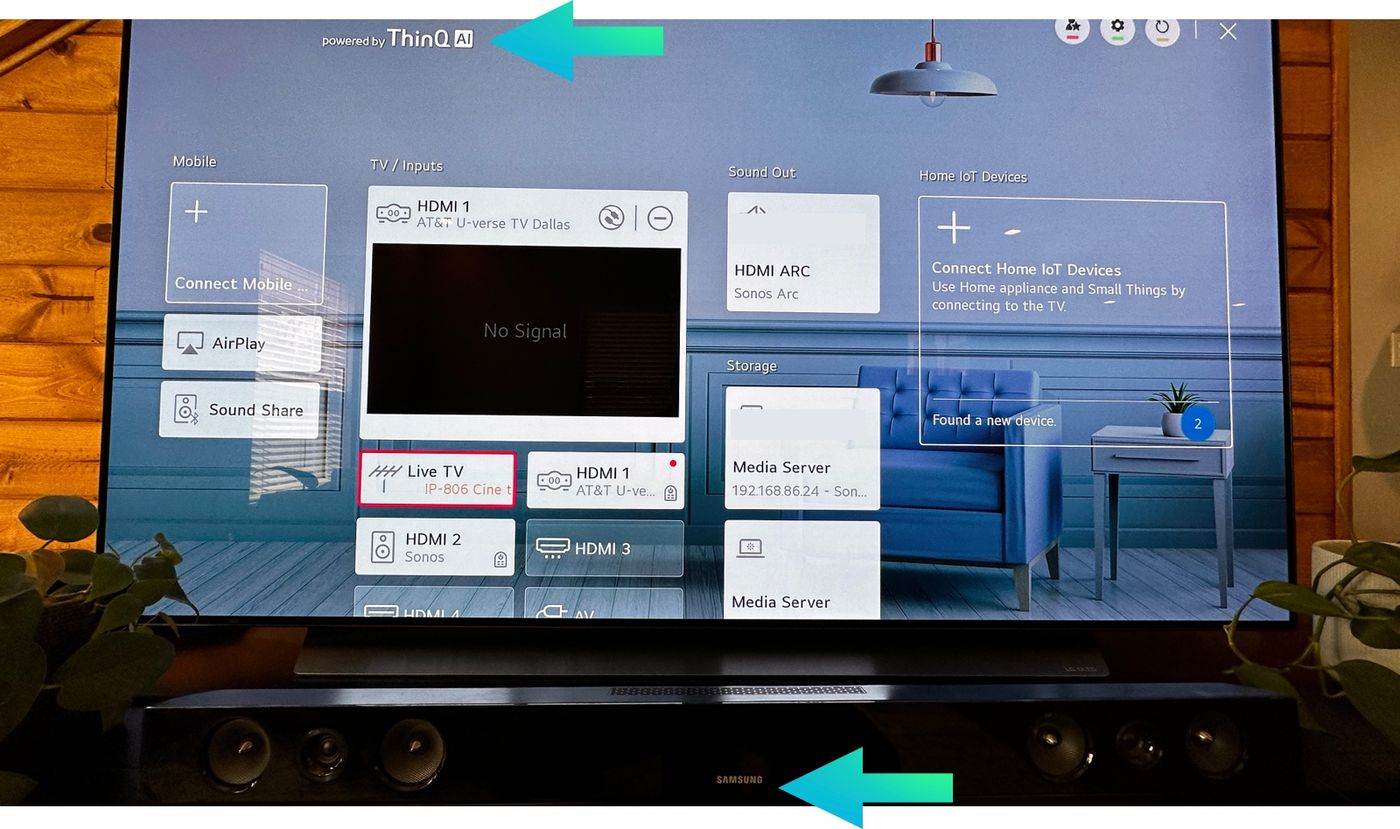
Start by examining the back or side panel of your TV. Look for audio output ports, such as HDMI, optical (also known as TOSLINK), or auxiliary (commonly referred to as RCA or 3.5mm jack). Most modern TVs will have at least one HDMI ARC (Audio Return Channel) port, which is the preferred connection for optimal audio quality and convenience. If your TV doesn’t have an HDMI ARC port, don’t worry. Optical and auxiliary connections are still viable options.
Next, inspect your sound bar’s input ports. Look for HDMI input and output ports, optical input, and auxiliary input. The HDMI output port on your sound bar is where you’ll connect the HDMI ARC port on your TV, if available. If your sound bar doesn’t have HDMI ARC, you can use the optical or auxiliary input ports instead.
It’s worth mentioning that some sound bars feature additional connectivity options like USB ports or wireless capabilities. These can be used for connecting external devices, such as USB flash drives or smartphones, or for establishing a wireless connection via Bluetooth or Wi-Fi.
Once you’ve identified the available ports on your TV and sound bar, you’ll have a better understanding of which connection method to utilize. In the next sections, we’ll guide you through the process of connecting your sound bar to your TV using HDMI, optical, auxiliary, and wireless Bluetooth connections.
Remember to refer to the user manuals for both your TV and sound bar for specific instructions and compatibility details. With your ports identified, you’re now ready to establish the connection between your sound bar and TV.
Connecting via HDMI
Connecting your sound bar to your TV via HDMI is one of the most common and convenient methods. HDMI (High-Definition Multimedia Interface) offers both high-quality audio and video transmission through a single cable. Additionally, HDMI ARC (Audio Return Channel) allows for two-way communication between your TV and sound bar.
To connect your sound bar using HDMI, follow these steps:
- Identify the HDMI ARC port on your TV and the HDMI output port on your sound bar. These ports are usually labeled.
- Using an HDMI cable, connect one end to the HDMI ARC port on your TV and the other end to the HDMI output port on your sound bar.
- Ensure that your TV is set to output audio via the HDMI ARC port in its settings menu. Refer to your TV’s user manual for instructions.
- Power on your TV and sound bar. The sound should now be transmitted from your TV to the sound bar.
If your TV doesn’t have an HDMI ARC port, you can use an HDMI cable to connect the HDMI output port on your sound bar to an HDMI input port on your TV. However, in this case, you’ll need to use a separate optical cable or an auxiliary cable to transmit the audio from your TV to the sound bar.
It’s important to note that some older sound bars might not have HDMI ARC compatibility. In such cases, you’ll need to check for other available connection options like optical or auxiliary ports.
Connecting your sound bar to your TV via HDMI provides a streamlined and high-quality audio experience. Make sure to select the appropriate HDMI input on your TV to enjoy the enhanced sound output from your sound bar.
Connecting via Optical Cable
If your TV or sound bar doesn’t have an HDMI ARC port, connecting them using an optical cable is another popular option. An optical cable, also known as a TOSLINK cable, transmits high-quality digital audio signals from your TV to your sound bar.
To connect your sound bar using an optical cable, follow these steps:
- Locate the optical output port on your TV. It is usually labeled as “Optical,” “Digital Audio Out,” or “TOSLINK.”
- Identify the optical input port on your sound bar. It is typically labeled as “Optical In” or “Digital Audio In.”
- Insert one end of the optical cable into the optical output port on your TV.
- Insert the other end of the optical cable into the optical input port on your sound bar.
- Power on your TV and sound bar. The audio should now be transmitted from your TV to the sound bar through the optical cable.
Make sure to check the audio settings on your TV and select the appropriate audio output option for the optical connection. This step ensures that the audio signal is properly routed through the optical cable.
Connecting your sound bar to your TV via an optical cable may require an additional power source for the sound bar, as optical cables only transmit audio signals and not power. Refer to your sound bar’s user manual for power-related instructions.
Although HDMI connections generally offer better audio quality and two-way communication, connecting via an optical cable can still provide excellent sound performance and is a reliable alternative when HDMI ARC is not available.
Connecting via Aux Cable
If your TV or sound bar lacks HDMI ARC and optical ports, you can still establish a connection using an auxiliary (aux) cable. An aux cable, also known as an RCA cable or 3.5mm audio cable, is a simple yet effective solution for transmitting audio signals.
To connect your sound bar using an aux cable, follow these steps:
- Locate the headphone or audio output port on your TV. It is commonly a 3.5mm jack or a pair of red and white RCA connectors.
- Identify the aux input port on your sound bar. It can be a 3.5mm jack or a pair of red and white RCA connectors.
- Insert one end of the aux cable into the headphone or audio output port on your TV.
- Insert the other end of the aux cable into the aux input port on your sound bar.
- Power on your TV and sound bar. The sound should now be transmitted from your TV to the sound bar through the aux cable.
Some TVs may require you to adjust the audio output settings to ensure the audio is properly routed through the aux connection. Consult your TV’s user manual for instructions on selecting the appropriate audio output option.
It’s important to note that aux connections may not support surround sound formats like Dolby Atmos or DTS:X. However, they can still provide satisfactory sound quality for everyday TV viewing.
If your TV only has RCA output connectors, you can use an RCA-to-3.5mm adapter to connect the aux cable to the RCA output ports.
Connecting your sound bar to your TV via an aux cable is a straightforward option when HDMI ARC and optical connections are not available. While it may not offer the same level of audio fidelity as HDMI or optical connections, it can still enhance your TV’s sound experience significantly.
Connecting via Bluetooth
If you prefer a wireless connection between your TV and sound bar, Bluetooth is an excellent option. Bluetooth allows you to seamlessly stream audio from your TV to the sound bar without the need for any cables.
To connect your sound bar to your TV via Bluetooth, follow these steps:
- Ensure that both your TV and sound bar have Bluetooth capabilities. Check the user manuals or product specifications to confirm.
- Enable Bluetooth on your TV. This option is usually found in the settings menu of your TV.
- Put your sound bar in pairing mode. Refer to your sound bar’s user manual for instructions on how to activate the pairing mode.
- On your TV, search for available Bluetooth devices. Select your sound bar from the list of detected devices.
- Once connected, the audio from your TV should now be wirelessly transmitted to the sound bar via Bluetooth.
It’s important to note that the range of Bluetooth connections can vary, typically up to 30 feet (9 meters). Make sure your TV and sound bar are within the Bluetooth range for a stable connection.
While Bluetooth connections are convenient, they may not offer the same audio quality as wired connections like HDMI or optical. There could be a slight audio delay or potential signal interference in some cases. However, for casual TV viewing, Bluetooth connectivity can still provide a satisfactory audio experience.
It’s worth mentioning that some sound bars may also support multi-room audio or wireless surround sound capabilities via Bluetooth. This allows you to connect multiple speakers or create a more immersive audio setup without the need for additional cables.
Connecting your sound bar to your TV via Bluetooth provides a cable-free experience and flexibility in speaker placement. Enjoy the convenience and freedom of wireless audio transmission between your TV and sound bar.
Adjusting the Sound Bar Settings
Once you’ve successfully connected your sound bar to your TV, it’s time to fine-tune the audio settings to optimize your listening experience. Most sound bars come with various audio settings and equalizer options that allow you to customize the sound output according to your preferences.
Here are some key settings you may need to adjust:
- Audio Modes: Many sound bars offer preset audio modes like “Movie,” “Music,” or “Sports.” These modes are tailored to enhance specific types of content. Experiment with different audio modes to find the one that suits your preferences best.
- Equalizer Settings: The equalizer allows you to adjust the sound frequencies to your liking. You may have options like bass, treble, and mid-range adjustments. Tweaking these settings can help you achieve a more balanced audio output.
- Surround Sound: If your sound bar supports virtual surround sound or has additional speakers for a surround sound experience, ensure that the surround sound feature is enabled. This option will help create a more immersive audio environment.
- Volume Control: Adjust the volume of your sound bar to a comfortable level. Some sound bars may have separate volume controls for different audio inputs, so make sure to adjust the appropriate input volume.
- Subwoofer Control: If your sound bar includes a separate subwoofer, you may have the option to adjust its volume level. Finding the right balance between the main sound bar and subwoofer can greatly enhance the overall audio experience.
Keep in mind that every sound bar model may have slightly different settings and options. Refer to the user manual of your specific sound bar to understand the available settings and how to navigate through the menu.
It’s also essential to consider the acoustics of your room and the placement of your sound bar. Experiment with different positions and orientations to optimize sound projection and clarity.
By adjusting the sound bar settings to your liking and considering the room’s acoustic characteristics, you can truly elevate your audio experience and enjoy your favorite movies, shows, and music with enhanced clarity and immersion.
Troubleshooting Common Issues
While setting up and connecting your sound bar to your TV may be a straightforward process, you may encounter some common issues along the way. Here are a few troubleshooting tips to help you resolve them:
- No Sound: If you’re not getting any sound from your sound bar, ensure that all cables are securely connected. Check the volume levels on both your TV and sound bar, and make sure the sound bar is powered on. If you’re using HDMI ARC, verify that your TV’s audio output is set to the correct HDMI ARC input.
- Audio Delay: If you’re experiencing audio delay or lip-sync issues, try adjusting the audio delay settings on your sound bar. This setting may be referred to as “audio sync” or “lip-sync” and can help synchronize the audio with the video on your TV.
- Low Sound Quality: If the sound quality from your sound bar is poor, check the audio settings on both your TV and sound bar. Make sure any virtual surround sound or sound enhancement features are enabled. Additionally, check the audio source to ensure it is not a low-quality audio file or a low-bitrate streaming service.
- Remote Control Issues: If your sound bar comes with a remote control that’s not working correctly, check the batteries and ensure the remote is within range of the sound bar. You may need to replace the batteries or try repositioning the sound bar for better signal reception.
- Interference: If you’re experiencing audio interference or dropouts, keep your sound bar away from other electronic devices that may cause interference, such as Wi-Fi routers or cordless phones. Additionally, ensure that your sound bar and TV are not placed too far apart, as this can weaken the wireless signal if using Bluetooth connectivity.
If you’ve attempted troubleshooting but are still encountering issues, consult the user manual for your specific sound bar and TV. You can also reach out to the manufacturer’s support team for further assistance.
Remember that every sound bar model and TV may have different troubleshooting methods, so it’s important to refer to the documentation specific to your devices.
By addressing common issues and resolving them promptly, you can ensure a smooth and uninterrupted audio experience with your sound bar.
Conclusion
Connecting a sound bar to your TV allows you to enhance your audio experience and enjoy rich, immersive sound while watching movies, playing games, or listening to music. Whether you choose to connect via HDMI, optical cable, aux cable, or even wirelessly through Bluetooth, the process is relatively straightforward and can greatly improve the audio quality of your entertainment setup.
Throughout this article, we have explored the various methods of connecting a sound bar to your TV, step by step. We discussed understanding the sound bar itself, identifying the available connections on your TV and sound bar, and how to establish the connections using HDMI, optical, aux, and Bluetooth options. Adjusting the sound bar settings to fine-tune the audio output and troubleshooting common issues were also covered.
Remember, each sound bar and TV model may have specific instructions and compatibility requirements, so always refer to the user manuals and documentation provided. Additionally, be sure to consider the acoustics of your room and experiment with different placement options to optimize sound projection and clarity.
By successfully connecting your sound bar to your TV, you can transform your home entertainment experience, immersing yourself in high-quality audio that enhances every viewing and listening session. Say goodbye to the limitations of built-in TV speakers and embrace the power of a sound bar to elevate your audio enjoyment.
So, grab your remote control, follow the connection steps, adjust the settings to your liking, and get ready to immerse yourself in a whole new world of sound with your newly connected sound bar.