Home>Production & Technology>Sound Bar>How To Connet Sound Bar To Ruko TV
Sound Bar
How To Connet Sound Bar To Ruko TV
Modified: January 22, 2024
Learn how to connect a sound bar to your Roku TV and enhance your audio experience. Follow our step-by-step guide for easy setup and enjoy superior sound quality.
(Many of the links in this article redirect to a specific reviewed product. Your purchase of these products through affiliate links helps to generate commission for AudioLover.com, at no extra cost. Learn more)
Table of Contents
- Introduction
- Step 1: Check the soundbar compatibility
- Step 2: Connect the soundbar to the TV through HDMI ARC
- Step 3: Connect the soundbar to the TV through optical cable
- Step 4: Connect the soundbar to the TV through HDMI-CEC
- Step 5: Adjust the TV settings for soundbar output
- Step 6: Test the soundbar connection
- Conclusion
Introduction
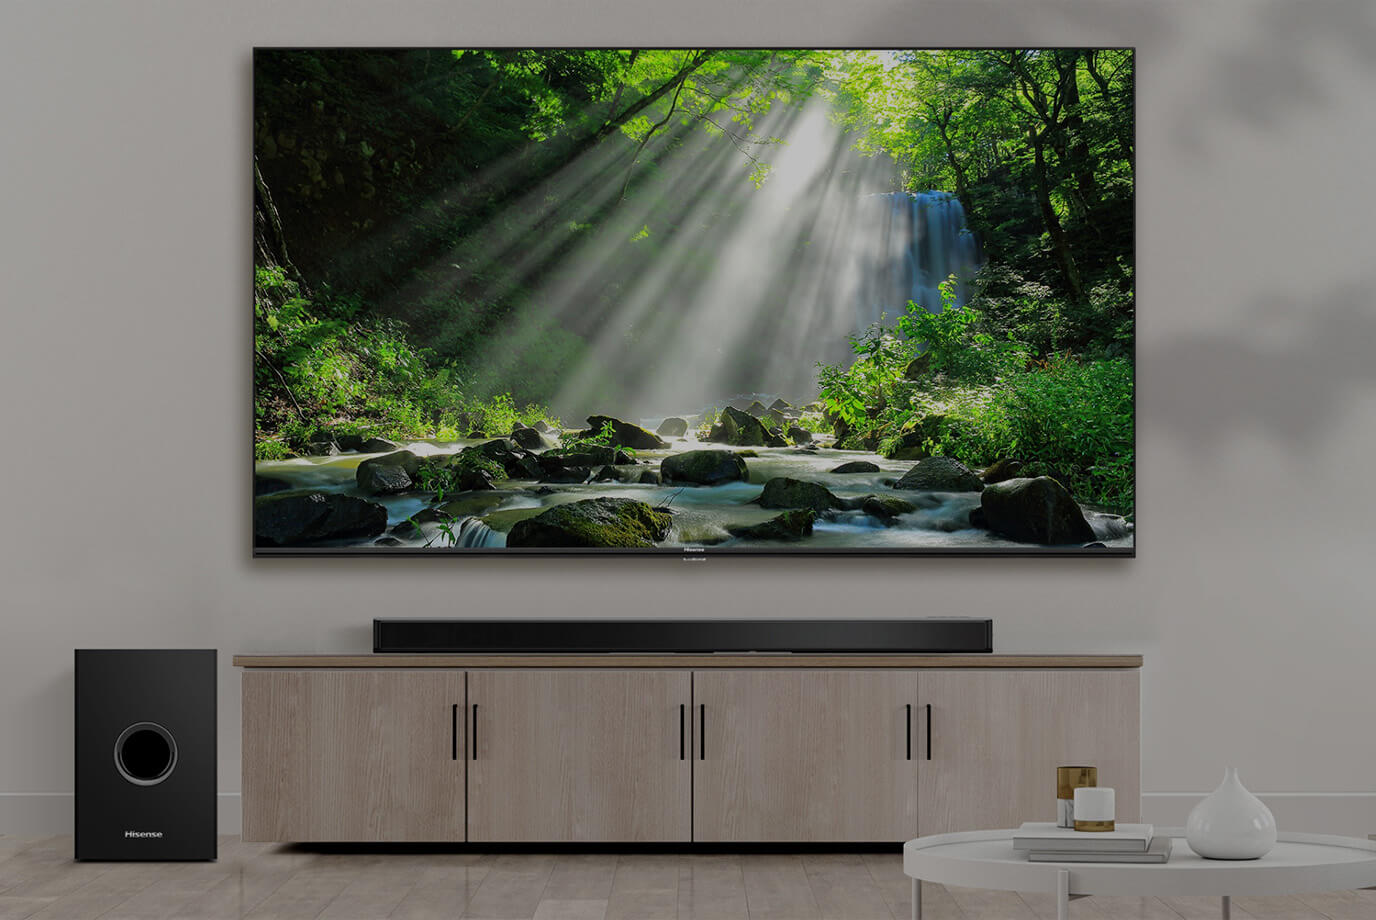
Welcome to the world of immersive audio! Soundbars have revolutionized the way we experience sound while watching movies, TV shows, or even playing video games. These sleek and compact devices offer a significant upgrade to built-in TV speakers, delivering richer, clearer, and more dynamic audio.
If you’ve recently purchased a soundbar and want to connect it to your Roku TV, you’ve come to the right place. In this guide, we will walk you through the step-by-step process of connecting your soundbar to your Roku TV, ensuring that you get the best audio experience possible.
Before we begin, it’s important to note that the connection method may vary depending on the specific model of your soundbar and Roku TV. However, we will cover the most common and widely supported connection methods.
So, without further ado, let’s dive into the world of soundbars and learn how to connect them to your Roku TV.
Step 1: Check the soundbar compatibility
Before you start connecting your soundbar to your Roku TV, it’s essential to ensure that the soundbar is compatible with your TV. Compatibility issues can arise if the soundbar doesn’t support the audio formats or connectivity options of your Roku TV.
First, check the audio formats supported by your soundbar. Most soundbars support standard audio formats like Dolby Digital and PCM. However, for an enhanced audio experience, look for soundbars that also support advanced audio technologies like Dolby Atmos or DTS:X if your Roku TV is capable of outputting these formats.
Next, check the available connectivity options on both your soundbar and Roku TV. The most common connection methods include HDMI ARC (Audio Return Channel), optical cable, and HDMI-CEC (Consumer Electronics Control).
If your soundbar and Roku TV both have HDMI ARC ports, it is recommended to use this method as it offers a simplified setup and allows you to control the soundbar with your TV remote. However, if your soundbar does not have HDMI ARC, you can still use other connection options like optical cable or HDMI-CEC.
Additionally, it’s worthwhile to check if your soundbar supports wireless connectivity options like Bluetooth or Wi-Fi. These features can be convenient if you prefer to stream audio from your mobile devices or if you want to connect your soundbar to a multi-room audio setup.
By ensuring compatibility between your soundbar and Roku TV, you can avoid any potential connectivity issues and enjoy a seamless audio experience.
Step 2: Connect the soundbar to the TV through HDMI ARC
If both your soundbar and Roku TV have HDMI ARC ports, connecting them using HDMI ARC is the most straightforward and recommended method. HDMI ARC allows for both audio and control signals to be transmitted through a single HDMI cable, simplifying the setup process.
Here’s how you can connect your soundbar to your Roku TV using HDMI ARC:
- Locate the HDMI ARC port on both your soundbar and Roku TV. It is usually labeled as “HDMI ARC” or “ARC”.
- Connect one end of the HDMI cable to the HDMI ARC port on your soundbar.
- Connect the other end of the HDMI cable to the HDMI ARC port on your Roku TV.
- Once the HDMI ARC connection is established, you may need to go into your Roku TV settings to enable HDMI ARC. Navigate to the “Settings” menu on your Roku TV, select “Audio”, and enable the HDMI ARC option.
- Power on both your soundbar and Roku TV.
- Switch your Roku TV’s audio output settings to the connected soundbar. This can usually be done by pressing the “Settings” button on your Roku TV remote, selecting “Audio”, and choosing the soundbar as the audio output device.
If your soundbar and Roku TV are properly connected via HDMI ARC, the audio from your Roku TV should now be routed through the soundbar, providing you with enhanced sound quality. You can control the soundbar volume using your Roku TV remote, as the HDMI ARC connection allows for two-way communication between the devices.
It is important to note that some soundbars may require additional setup steps, such as selecting the HDMI ARC input on the soundbar or enabling CEC (Consumer Electronics Control) on both devices to ensure proper communication. Refer to the user manual of your specific soundbar for detailed instructions.
Step 3: Connect the soundbar to the TV through optical cable
If your soundbar does not have an HDMI ARC port or if you prefer an alternative connection method, you can use an optical cable to connect your soundbar to your Roku TV. While optical cables do not support the same level of audio quality as HDMI ARC, they still provide a reliable and easy-to-set-up connection.
Here’s how you can connect your soundbar to your Roku TV using an optical cable:
- Locate the optical audio output port on your Roku TV. It is usually labeled as “Optical”, “Digital Audio Out”, or “Toslink”.
- Connect one end of the optical cable to the optical audio output port on your Roku TV.
- Connect the other end of the optical cable to the optical audio input port on your soundbar.
- Power on both your soundbar and Roku TV.
- Switch your Roku TV’s audio output settings to the connected soundbar. This can usually be done by pressing the “Settings” button on your Roku TV remote, selecting “Audio”, and choosing the soundbar as the audio output device.
Once the optical cable connection is established, the sound from your Roku TV should now be played through the connected soundbar. Remember to adjust the volume on your soundbar separately as it may not sync with your Roku TV’s volume control.
It’s worth mentioning that optical cables do not support advanced audio formats like Dolby Atmos or DTS:X. If you’re looking for these immersive audio experiences, HDMI ARC or other connection methods that support these formats are recommended.
Lastly, some Roku TVs may require you to go into the audio settings and manually enable the optical audio output. Refer to your Roku TV’s user manual for specific instructions on how to do this.
Step 4: Connect the soundbar to the TV through HDMI-CEC
If your soundbar and Roku TV support HDMI-CEC (Consumer Electronics Control), you can use this feature to establish a direct connection between the two devices and control them with a single remote.
Here’s how you can connect your soundbar to your Roku TV using HDMI-CEC:
- Ensure that both your soundbar and Roku TV have HDMI-CEC functionality. This feature may be referred to differently by manufacturers, such as “Anynet+”, “Bravia Sync”, “Cec Control”, or simply “HDMI Control”.
- Locate the HDMI-CEC compatible HDMI port on your Roku TV. It is usually labeled as “HDMI-CEC” or “CEC”.
- Connect one end of an HDMI cable to the HDMI-CEC port on your soundbar.
- Connect the other end of the HDMI cable to the HDMI-CEC port on your Roku TV.
- Power on both your soundbar and Roku TV.
- Ensure that HDMI-CEC is enabled on both devices. You may need to access the settings menu on your soundbar and Roku TV and enable HDMI-CEC or similar options.
- Switch your Roku TV’s audio output settings to the connected soundbar. This can usually be done by pressing the “Settings” button on your Roku TV remote, selecting “Audio”, and choosing the soundbar as the audio output device.
If the HDMI-CEC connection is successfully established, you should now be able to control the soundbar’s volume and power using your Roku TV’s remote. This eliminates the need for separate remotes and provides a more streamlined audio experience.
It’s important to note that HDMI-CEC capabilities and labels may vary across different TV and soundbar brands. Some devices may offer additional features, such as automatic power on/off when the TV is turned on or off. Consult the user manuals of your soundbar and Roku TV for specific instructions on using HDMI-CEC.
Step 5: Adjust the TV settings for soundbar output
After connecting your soundbar to your Roku TV, it’s essential to ensure that the audio output is properly configured to optimize the sound quality and experience. Adjusting the TV settings will help you get the most out of your soundbar.
Here are some key settings to consider:
- Audio output settings: Access the TV’s settings menu and navigate to the audio or sound section. Select the appropriate audio output option, such as “External speakers”, “Audio system”, or “Soundbar”. This will ensure that the TV sends audio signals to the connected soundbar.
- Sound mode: Most TVs offer various sound modes, such as standard, movie, music, or game. Experiment with these modes and choose the one that suits your preferences. Some soundbars may also have their own sound modes, so consider adjusting those settings as well.
- Equalizer settings: Access the TV’s equalizer settings, if available, and fine-tune the bass, treble, and other audio frequencies to match your desired sound profile.
- Audio delay/sync: If you notice any audio delay or syncing issues between the video and sound, adjust the audio delay or sync settings in the TV’s settings menu. This will ensure that the audio is in sync with the video playback.
- Volume control: Depending on your soundbar’s capabilities, you may be able to control the volume directly from your Roku TV remote. However, if you prefer to use the soundbar’s remote or a universal remote, disable the TV’s volume control option to prevent any conflicts.
These settings may vary depending on your Roku TV model and soundbar features. Take some time to explore the TV’s settings menu and consult the user manuals for both your TV and soundbar to make the necessary adjustments. This will ensure that the audio output is optimized and aligned with your preferences.
Step 6: Test the soundbar connection
Once you have completed the connection and configuration steps, it’s time to test the soundbar connection to ensure everything is functioning as expected. This step will help you verify that the audio is successfully being routed through the soundbar and that you’re experiencing an enhanced audio experience.
Here’s what you can do to test the soundbar connection:
- Play a video or audio content on your Roku TV.
- Listen for the audio output. If the sound is coming from the soundbar and not the TV speakers, it indicates that the soundbar connection is working properly.
- Adjust the volume using your Roku TV remote or the soundbar’s remote to ensure that the sound level is suitable for your preference.
- Try playing different types of content, such as movies, TV shows, or music, to experience the soundbar’s capabilities across various audio formats and genres.
During the testing phase, pay attention to the audio quality, clarity, surround sound effects (if applicable), and overall immersive experience. If you encounter any issues, such as no sound, distorted audio, or syncing problems, double-check the cable connections, properly configure the TV settings, and consult the user manuals for troubleshooting steps.
It’s also worth noting that certain soundbars may come with their own dedicated apps or settings that allow you to further customize the audio experience. Explore these options to fine-tune the soundbar’s performance to your preferences.
By thoroughly testing the soundbar connection and ensuring consistent and high-quality audio playback, you can enjoy an immersive and cinematic sound experience while watching your favorite movies, TV shows, and more.
Conclusion
Connecting your soundbar to your Roku TV is a simple and rewarding process that can significantly enhance your audio experience while watching your favorite content. By following the steps outlined in this guide, you can enjoy richer, clearer, and more immersive sound that complements the stunning visuals provided by your Roku TV.
We began by emphasizing the importance of checking the compatibility between your soundbar and Roku TV in terms of audio formats and connectivity options. This ensures that you have the necessary features and connections to establish a seamless connection.
We then covered three common methods to connect your soundbar to your Roku TV: HDMI ARC, optical cable, and HDMI-CEC. Each method has its own advantages and considerations, so choose the one that suits your preferences and available connections.
Furthermore, we discussed the significance of adjusting TV settings for soundbar output, including audio output options, sound modes, equalizer settings, and audio delay/sync settings. These adjustments allow you to fine-tune the audio to your liking and resolve any synchronization issues.
Finally, we emphasized the importance of testing the soundbar connection to ensure that everything is functioning correctly. By playing various types of content and evaluating the audio quality, you can guarantee a satisfying audio experience that truly complements your viewing pleasure.
So, go ahead and connect that soundbar to your Roku TV, sit back, and immerse yourself in a world of superior audio quality. Elevate your entertainment experience and enjoy every minute of your favorite shows and movies with enhanced sound that brings them to life.