Home>Production & Technology>Stereo>How To Ground A Car Stereo

Stereo
How To Ground A Car Stereo
Modified: January 22, 2024
Learn how to ground your car stereo properly to ensure optimal sound quality and prevent electrical issues. Follow this step-by-step guide to avoid any potential problems.
(Many of the links in this article redirect to a specific reviewed product. Your purchase of these products through affiliate links helps to generate commission for AudioLover.com, at no extra cost. Learn more)
Table of Contents
- Introduction
- Why You Need to Ground Your Car Stereo
- What is Grounding?
- Tools and Materials Needed
- Step 1: Choosing the Grounding Location
- Step 2: Preparing the Grounding Point
- Step 3: Connecting the Ground Wire
- Step 4: Securing the Ground Connection
- Step 5: Testing the Ground
- Common Mistakes to Avoid
- Conclusion
Introduction
Welcome to our comprehensive guide on how to ground a car stereo. Whether you’re a car enthusiast or simply someone looking to upgrade their car audio system, understanding the importance of proper grounding is crucial for optimal performance and safety. Grounding ensures that your car stereo receives a stable and clean power supply, eliminates the risk of electrical interference, and protects the delicate components of your audio system.
Why is grounding essential? Well, when you install a car stereo, it requires a reliable electrical connection to function effectively. The process of grounding establishes a path for electrical current to flow from the circuit back to the car’s chassis, providing a stable reference point for the system. Without proper grounding, your car stereo may experience various issues like engine noise, alternator whine, poor audio quality, and even electrical damage.
In this guide, we will walk you through the step-by-step process of grounding your car stereo. Whether you’re a DIY enthusiast or a beginner, you’ll learn the necessary tools and materials needed, along with essential tips to avoid common mistakes. By the end of this guide, you’ll have a clear understanding of how to properly ground your car stereo for optimal performance and a superior audio experience.
Keep in mind that grounding may vary depending on the make and model of your car, as well as the type of car stereo you have. However, the fundamental principles of grounding remain the same. So, let’s dive in and get started with the grounding process!
Why You Need to Ground Your Car Stereo
Grounding your car stereo is not just a precautionary step; it is an essential aspect of the installation process. Without proper grounding, you may encounter a range of issues that can negatively affect your audio experience and even pose risks to your car’s electrical system.
One of the primary reasons to ground your car stereo is to ensure a stable power supply. When your car stereo is properly grounded, it establishes a reliable electrical connection, allowing it to draw power efficiently from the car’s battery. This results in consistent and uninterrupted performance, preventing issues like audio dropouts or system shutdowns during operation.
Another crucial reason to ground your car stereo is to eliminate electrical interference. Grounding provides a pathway for any stray or unwanted electrical signals to flow safely back to the car’s chassis. This helps reduce or eliminate engine noise, alternator whine, or other types of interference that can degrade the audio quality of your car stereo.
Proper grounding also helps protect your car’s electrical system. Without adequate grounding, electrical components in your car, such as the amplifier or head unit, may experience voltage spikes or fluctuations. These electrical irregularities can lead to premature wear and tear, shorten the lifespan of your audio equipment, and potentially cause damage to other electrical components in your car.
Additionally, grounding your car stereo ensures safety. By providing a designated path for electrical current, grounding helps prevent the risk of electrical shock. In the event of a fault or malfunction, the grounding system directs the electrical current away from sensitive components and channels it safely to the car’s chassis, reducing the potential for accidents or damage.
Overall, proper grounding is crucial for a well-functioning and reliable car audio system. It ensures stable power supply, reduces electrical interference, protects your car’s electrical system, and enhances safety. Now that we understand the importance of grounding, let’s proceed to the next section to learn how to ground your car stereo effectively.
What is Grounding?
To understand how to ground your car stereo, it’s essential to grasp the concept of grounding itself. In simple terms, grounding refers to establishing an electrical connection between a device and the ground, which serves as a reference point for electrical potential. In the context of a car stereo, grounding involves creating a direct electrical pathway from the stereo system to the car’s chassis.
The car’s chassis acts as a conductive medium and is connected to the negative terminal of the vehicle’s battery. By connecting the car stereo to the chassis through a grounding wire, you establish a common ground reference for the electrical components of the stereo system. This allows for proper power distribution, reduced electrical noise, and creates a safe path for electrical current to flow.
Grounding serves multiple purposes in a car stereo system. Firstly, it ensures stability in the power supply by providing a low resistance pathway for the flow of electrical current. This helps to avoid voltage drops or fluctuations that can interfere with the performance of the stereo system.
Secondly, grounding helps to eliminate unwanted electrical noise and interference. As the ground wire provides a direct route for electrical current flow, any stray electrical signals or interference are channeled away from the audio components, preventing audio distortion or engine noise that may come through the speakers.
Furthermore, grounding plays a crucial role in safety. By creating a solid connection to the car’s chassis, any electrical faults or short circuits in the stereo system are directed away from critical components and towards the chassis, reducing the risk of electrical shock or potential damage to the system.
Overall, grounding is a vital step in the installation process of a car stereo. It establishes a stable power supply, reduces electrical interference, and ensures safety. Understanding the concept of grounding is key to correctly grounding your car stereo and maximizing its performance. In the following sections, we will guide you through the process of how to ground your car stereo effectively.
Tools and Materials Needed
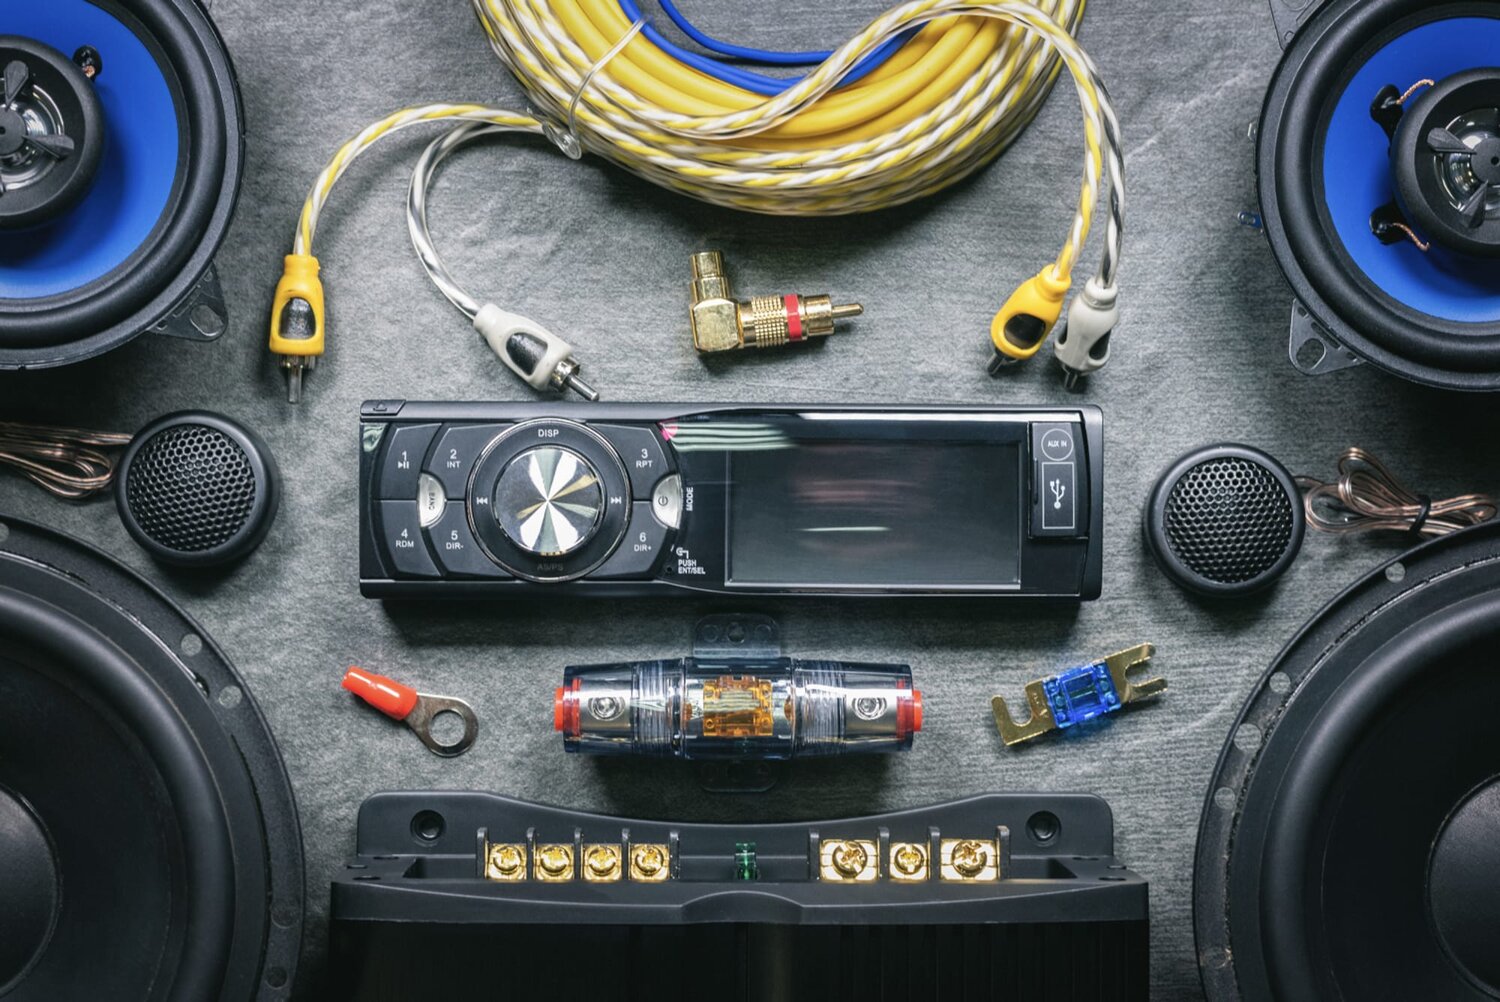
Before you begin grounding your car stereo, it’s important to gather the necessary tools and materials. Having everything ready beforehand will make the process smoother and more efficient. Here is a list of the essential items you will need:
- Ground Wire: A suitable gauge wire for grounding your car stereo. The gauge will depend on the power requirements of your stereo system, but a standard 16-18 AWG wire should suffice for most installations.
- Wire Strippers: To remove the insulation from the ground wire.
- Crimping Tool: A tool used to secure the wires together with crimp connectors.
- Crimp Connectors: These connectors provide a secure and reliable electrical connection between the ground wire and the car’s chassis.
- Velcro or Zip Ties: To secure the ground wire in place and prevent it from dangling or moving around.
- Wire Cutters: To cut the ground wire to the desired length.
- Socket Set or Wrench: To remove any necessary panels or components to access the grounding point.
- Electrical Tape: To insulate and protect any exposed metal or wire connections.
- Multi-meter: Optional but recommended for testing the continuity and functionality of the ground connection.
Having these tools and materials readily available will ensure that you have everything you need to properly ground your car stereo. It’s a good idea to gather them all in one place before you begin the installation process to avoid any delays or interruptions.
Now that we have our tools and materials ready, let’s move on to the next section, where we will discuss how to choose the proper grounding location for your car stereo.
Step 1: Choosing the Grounding Location
Choosing the right grounding location for your car stereo is crucial for a successful installation. The grounding point should provide a solid electrical connection to the car’s chassis and ensure proper grounding for the stereo system. Here’s how you can choose the optimal grounding location:
- Locate the Chassis: Identify a suitable location on the car’s chassis where you can establish a secure grounding connection. The chassis is typically a metal frame that forms the structure of the car.
- Avoid Painted Surfaces: Ensure that the chosen grounding location does not have any paint, rust, or other forms of coating that can interfere with the electrical conductivity. It’s best to find a bare metal surface or a factory-designated grounding point.
- Avoid Moving Parts: Select a grounding location that is away from moving parts, such as hinges or doors, to prevent any potential damage or disruption to the ground connection.
- Accessibility: Consider how easily you can access the chosen grounding location. It should be a spot where you can work comfortably and securely connect the ground wire.
Common grounding points in a car include bolts or screws that secure various components to the chassis, such as seat belt bolts, seat mounting bolts, or dashboard screws. These points typically have a bare metal surface that provides a solid connection for grounding.
It is important to consult your car’s manual or wiring diagram to identify any factory-designated grounding points specific to your car’s make and model. These designated grounding points often ensure a reliable connection and are recommended for grounding your car stereo.
Remember, the grounding location you choose will significantly impact the performance and effectiveness of the grounding. By selecting a suitable and accessible grounding point, you set a strong foundation for the rest of the installation process. Once you have identified the optimal grounding location, you’re ready to move on to the next step: preparing the grounding point.
Step 2: Preparing the Grounding Point
Now that you have chosen the grounding location for your car stereo, it’s time to prepare the grounding point to ensure a solid and secure connection. Follow these steps to properly prepare the grounding point:
- Clean the Grounding Surface: Use a wire brush or sandpaper to remove any dirt, grime, or rust from the grounding surface. This step is crucial to establish good electrical conductivity and ensure a reliable connection.
- Remove the Paint: If the chosen grounding location has paint or any other coating, gently scrape it off with a scraper or sandpaper. You want to expose bare metal to establish a direct electrical connection to the car’s chassis.
- Verify Continuity: Using a multimeter, set it to the continuity or resistance setting and touch one probe to the exposed metal grounding surface and the other to a known good ground, such as a metal component connected to the car’s chassis. If the multimeter registers continuity or low resistance, it indicates a solid grounding surface.
It’s important to ensure that the grounding surface is clean, free from any debris, and provides a solid connection. This will help prevent any potential issues with electrical conductivity and guarantee a stable ground for your car stereo.
Once you have prepared the grounding point and verified its continuity, you can proceed to the next step: connecting the ground wire.
Step 3: Connecting the Ground Wire
Now that you have prepared the grounding point, it’s time to connect the ground wire from your car stereo to the chosen grounding location. Follow these steps to properly connect the ground wire:
- Measure and Cut the Ground Wire: Measure the required length of the ground wire from the car stereo to the grounding location. Leave some extra length for flexibility and ease of installation. Use wire cutters to trim the wire to the desired length.
- Strip the Ends of the Ground Wire: Use wire strippers to remove about 1/2 inch of insulation from both ends of the ground wire. This will expose the bare metal wire for a secure connection.
- Crimp the Ground Wire: Take one end of the ground wire and place it securely into the crimp connector. Use a crimping tool to crimp the connector tightly around the wire. This ensures a strong and reliable connection between the wire and the connector.
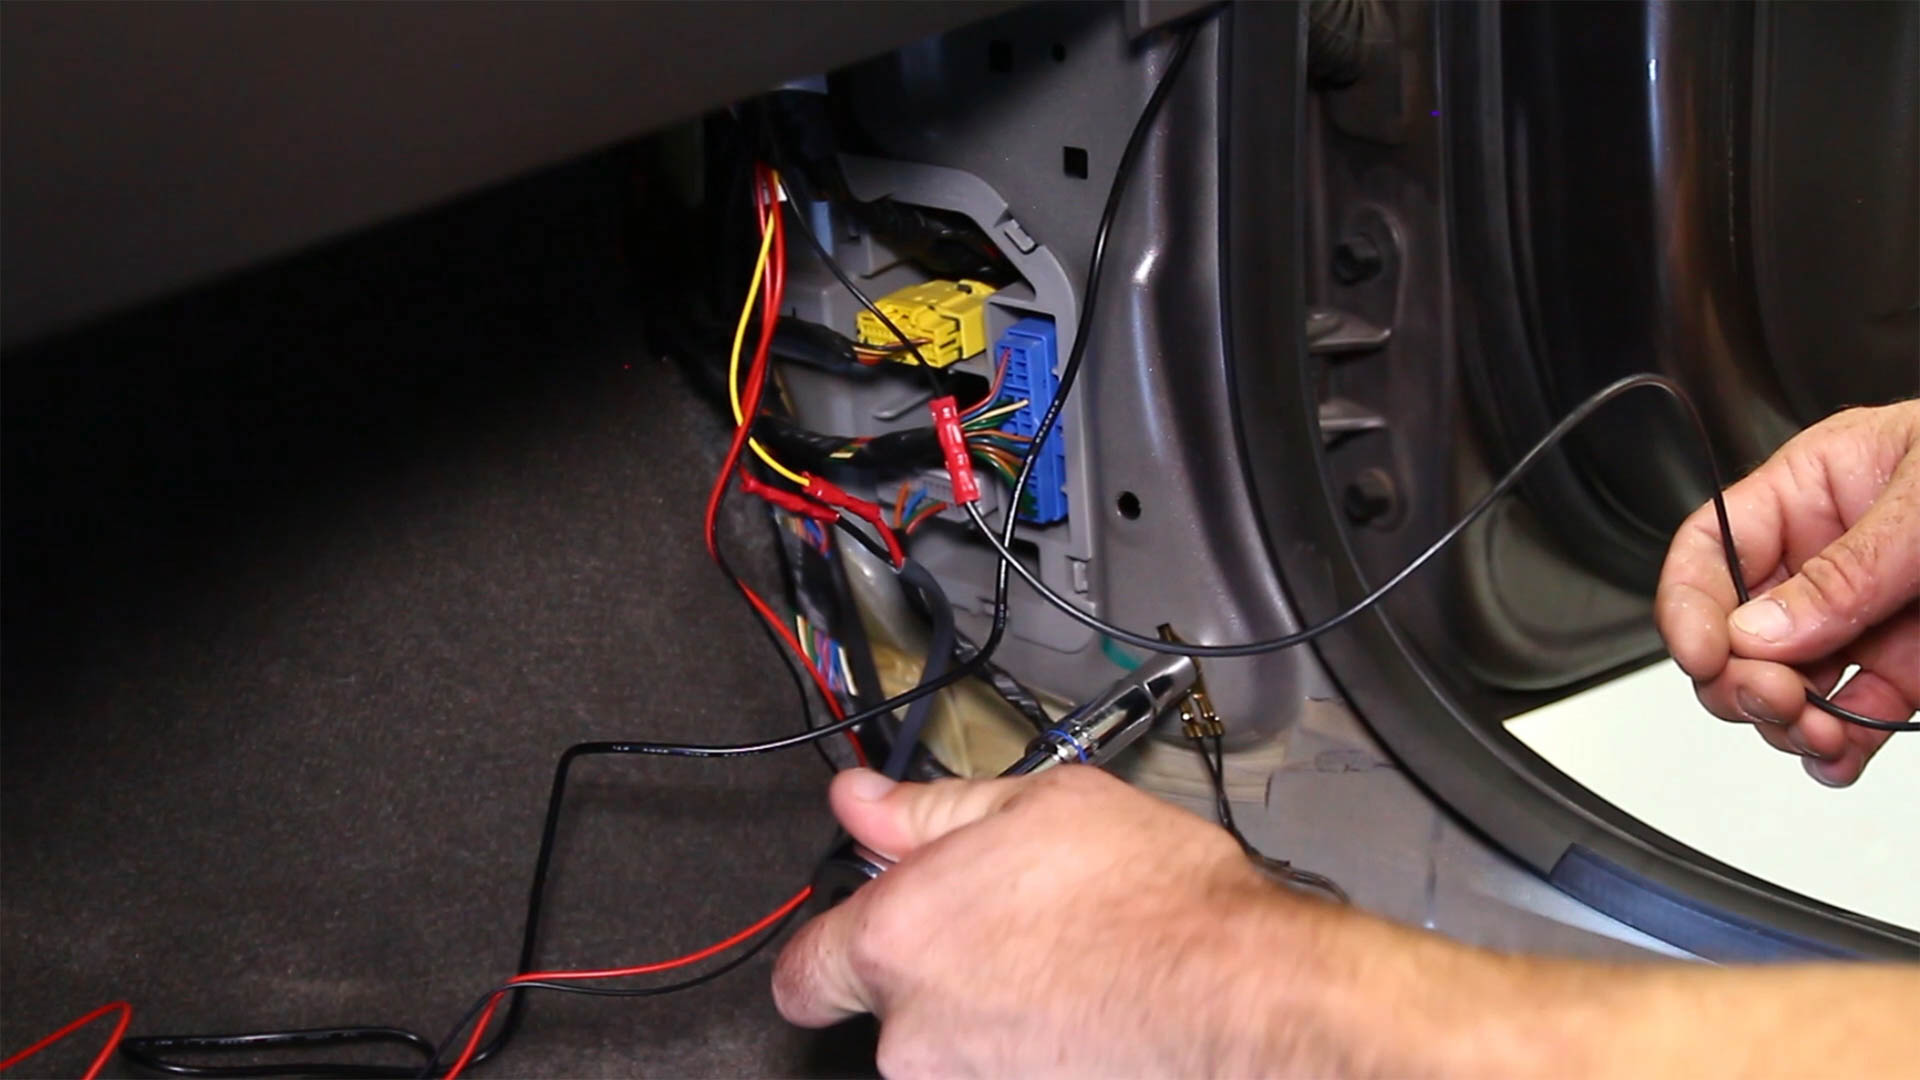
- Attach the Ground Wire: Attach the other end of the ground wire to the chosen grounding location. If there is a pre-existing grounding point, loosen the bolt or screw slightly and place the wire under it. If no grounding point is available, use a self-tapping screw and securely fasten the ground wire to the bare metal surface.
Make sure that the ground wire is tightly and securely connected to the grounding point. It should not be loose or easily pulled out. A solid connection is crucial for proper grounding and optimal performance of your car stereo.
After completing this step, you can move on to the next step: securing the ground connection.
Step 4: Securing the Ground Connection
After connecting the ground wire to the chosen grounding location, it’s important to secure the ground connection to ensure it remains stable and reliable. Follow these steps to properly secure the ground connection:
- Ensure Proper Alignment: Check that the ground wire is aligned properly with the grounding point. It should be situated securely without any kinks or unnecessary bends.
- Use Velcro or Zip Ties: Use velcro straps or zip ties to secure the ground wire and prevent it from dangling or moving around. This helps to keep the wire in place and protects it from potential damage due to vibrations or movement.
- Inspect for Clearance: Verify that the ground wire does not interfere with any moving parts, components, or obstruct any necessary access points within the car. Ensure that it is neatly routed and tucked away to avoid any potential hazards.
- Inspect for Insulation: Check that the exposed metal parts of the ground wire are adequately insulated and protected. Use electrical tape to wrap any exposed areas, preventing the risk of accidental contact with other electrical components or surfaces.
Securing the ground connection is essential to maintain a stable and reliable electrical connection between the car stereo and the car’s chassis. It helps prevent any potential disruptions or accidental disconnections, ensuring optimal performance and safety of your car stereo system.
With the ground connection securely in place, you are ready to move on to the next step: testing the ground.
Step 5: Testing the Ground
Now that you have completed the grounding process for your car stereo, it’s important to verify and test the ground connection to ensure its effectiveness. Follow these steps to properly test the ground:
- Turn on the Car Stereo: Power on your car stereo system and ensure that it functions properly without any audio disturbances or other issues.
- Listen for Noise: Pay attention to the audio output from your car stereo. If you hear any buzzing, humming, or engine noise, it could be an indication of poor grounding. However, keep in mind that some factors, such as poor audio source quality or problematic wiring, can also contribute to audio noise.
- Check for Voltage: Use a multimeter to measure the voltage between the ground wire and a known good ground point in the car. It should ideally read close to zero volts or within a very small range. A significantly higher voltage reading may indicate a poor or faulty ground connection.
- Inspect for Heat: Touch the grounding point and the ground wire (if safe to do so) to check for any excessive heat. Excessive heat can be a sign of a high-resistance connection, which may affect the performance and safety of your car stereo system.
If you encounter any issues during the testing process, it is recommended to revisit the grounding steps and ensure that all connections are secure and properly established. You may need to double-check the cleanliness of the grounding surface, the tightness of the connections, and the insulation of the ground wire.
Remember, a successful ground connection will ensure a stable power supply, reduce electrical interference, and protect your car stereo system. If you are unsure about the grounding process or encounter persistent issues, it’s advisable to consult a professional car audio installer for assistance.
With the ground tested and confirmed, you can now enjoy your car stereo system with confidence, knowing that it is properly grounded for optimal performance.
Common Mistakes to Avoid
While grounding your car stereo is a relatively straightforward process, there are some common mistakes that you should be aware of and avoid to ensure a successful installation. Here are some common mistakes to watch out for:
- Choosing an Inadequate Grounding Location: Selecting a poor grounding location can lead to unreliable connections and potential issues with electrical conductivity. Avoid choosing painted surfaces, areas with rust or corrosion, or locations near moving parts.
- Insufficient Wire Gauge: Using an inadequate wire gauge for the ground wire can result in power supply issues and potential damage to your car stereo system. Ensure that you choose an appropriate gauge wire based on the power requirements of your stereo.
- Poor Preparation of the Grounding Point: Neglecting to properly clean and prepare the grounding point can hinder the establishment of a solid electrical connection. Take the time to remove any dirt, rust, or paint to ensure a clean and conductive surface.
- Insecure Ground Wire Connection: Failing to securely fasten the ground wire to the chosen grounding location can lead to intermittent connections or disconnections. Ensure that the wire is tightly and properly secured to maintain a reliable ground connection.
- Skipping the Ground Testing: Neglecting to test the ground connection can result in unresolved issues with audio quality or potential electrical hazards. Take the time to listen for noise, check for voltage, and inspect for heat to verify the effectiveness of the ground connection.
By being aware of these common mistakes, you can ensure a smoother and more successful grounding process for your car stereo. Taking the necessary precautions and avoiding these pitfalls will help you achieve optimal performance, reduce electrical interference, and enhance the overall audio experience in your car.
If you encounter any difficulties or are unsure about any aspect of the grounding process, it is always recommended to seek assistance from a professional car audio installer or consult the manufacturer’s guidelines specific to your car stereo model.
With these common mistakes in mind, you are now equipped with the knowledge to avoid them and proceed confidently with grounding your car stereo.
Conclusion
Properly grounding your car stereo is vital for optimal performance, audio quality, and electrical safety. By following the step-by-step process outlined in this guide, you can ensure a successful grounding installation. Remember the key points we discussed:
Firstly, grounding your car stereo establishes a stable power supply, reduces electrical interference, and protects the electrical components of your audio system. It helps maintain consistent performance and prevents issues like engine noise or audio dropouts.
Secondly, choose a suitable grounding location on the car’s chassis, avoiding painted surfaces and moving parts. Identifying factory-designated grounding points or using bolts/screws that secure various components can provide a reliable grounding connection.
After choosing the grounding location, prepare the area by cleaning the surface and removing any paint or coating to ensure a solid electrical connection. Use a multimeter to verify continuity for a reliable grounding surface.
Next, connect the ground wire from the car stereo to the grounding location using proper crimp connectors. Ensure a secure and tight connection to maintain good conductivity. Then, secure the ground wire using velcro or zip ties, avoiding interference with moving parts and other components.
Finally, test the ground connection by powering on your car stereo, listening for any audio disturbances, checking for voltage, and inspecting for heat. If issues arise, revisit the grounding steps and ensure all connections are secure.
By being aware of common mistakes such as choosing inadequate grounding locations, using incorrect wire gauge, neglecting proper preparation, having insecure connections, and skipping ground testing, you can avoid potential problems and achieve an effective grounding setup for your car stereo.
Remember, if in doubt or facing persistent issues, don’t hesitate to seek assistance from a professional car audio installer or refer to the specific guidelines provided by your car stereo manufacturer.
With a properly grounded car stereo, you can enjoy a superior audio experience, minimize electrical interference, and ensure the longevity of your car audio system. So go ahead, follow these steps, and enjoy the enhanced sound quality and performance of your car stereo!


