Home>Production & Technology>Surround Sound>How To Connect Sony Surround Sound To Samsung Smart TV
Surround Sound
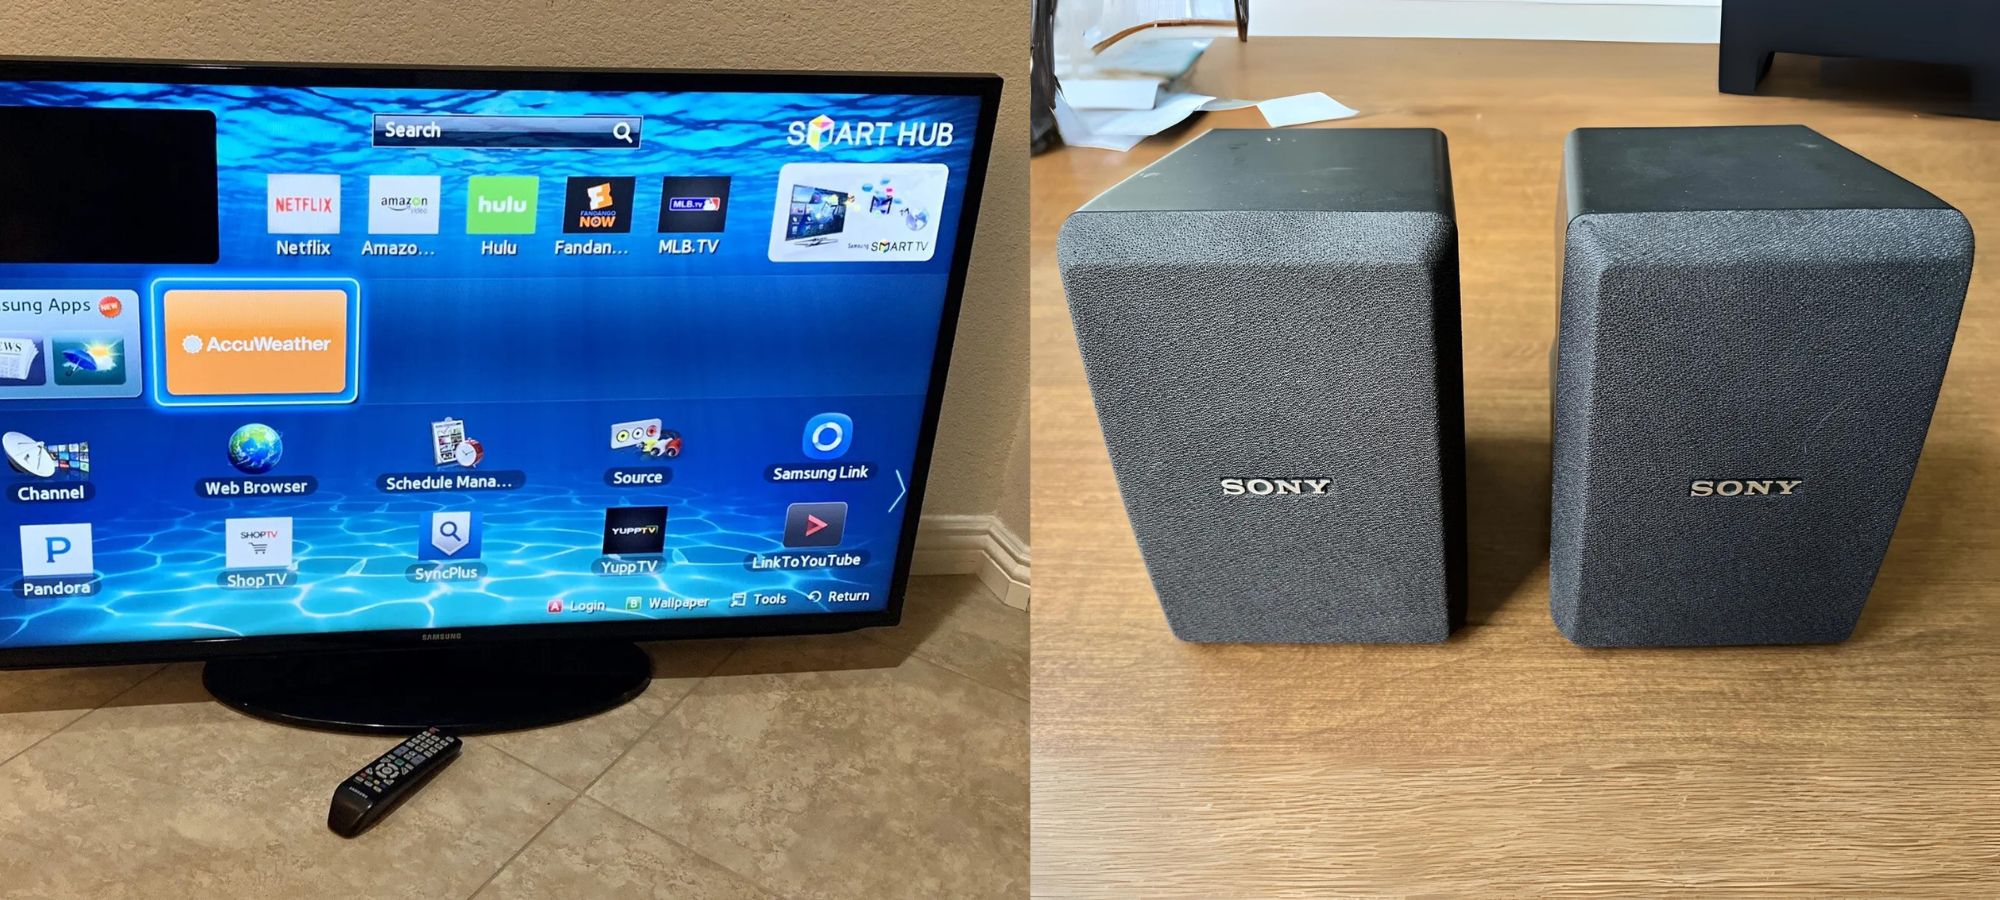
How To Connect Sony Surround Sound To Samsung Smart TV
Modified: January 22, 2024
Learn how to connect Sony surround sound to Samsung smart TV for an immersive audio experience. Follow our step-by-step guide to set up your surround sound system effortlessly.
(Many of the links in this article redirect to a specific reviewed product. Your purchase of these products through affiliate links helps to generate commission for AudioLover.com, at no extra cost. Learn more)
Table of Contents
Introduction
Welcome to the world of immersive entertainment! Surround sound systems have revolutionized the way we experience audio, taking us beyond the limits of traditional stereo sound. With a Surround Sound setup, you can enjoy a cinematic audio experience right in the comfort of your own home.
In this article, we will guide you through the process of connecting your Sony Surround Sound system to a Samsung Smart TV. Whether you want to amplify your movie-watching experience or elevate your gaming sessions, getting your audio system hooked up to your TV is essential.
Before we dive into the step-by-step instructions, let’s take a moment to understand the benefits of connecting surround sound to your smart TV. With a surround sound system, you can enjoy a more immersive and realistic audio experience. You’ll feel like you’re right in the middle of the action, with sounds coming from all directions.
Whether it’s the thumping bass of explosions in an action movie or the subtle nuances of dialogue in a drama, surround sound elevates your TV viewing experience to a whole new level. It brings depth, clarity, and a sense of realism to the audio, creating a more engaging and enjoyable entertainment experience.
Now that you understand the advantages of connecting your surround sound system to your Samsung Smart TV, let’s move on to the step-by-step process. We’ll guide you through the necessary connections and settings to ensure you get the best possible audio experience.
Step 1: Check the compatibility of your devices
Before you start connecting your Sony Surround Sound system to your Samsung Smart TV, it’s important to check the compatibility of your devices. This step will ensure that you have all the necessary ports and cables to establish a seamless connection.
First, check the audio output options on your Samsung Smart TV. Most modern TVs have multiple audio output options, including HDMI, optical audio, and RCA (red and white) audio ports. Make sure your TV has the appropriate audio output port that matches the input options on your surround sound system.
Next, check the audio input options on your Sony Surround Sound system. Common input options include HDMI, optical audio, and RCA ports. Ensure that your sound system has the corresponding audio input port that matches the output options on your Samsung Smart TV.
If your TV and sound system have different audio ports, you may need additional adapters or converters to establish the connection. It’s essential to have the right cables and connectors to ensure compatibility between your devices.
Additionally, make sure your Sony Surround Sound system is compatible with the audio formats supported by your Samsung Smart TV. Most TVs support popular audio formats like Dolby Digital and DTS. Check the specifications of your sound system to ensure it can decode these formats for optimal sound quality.
Lastly, check if your Samsung Smart TV and Sony Surround Sound system have any specific compatibility requirements or recommendations outlined in their user manuals. It’s essential to follow manufacturer guidelines to ensure a successful and problem-free connection.
By checking the compatibility of your devices beforehand, you can avoid any frustration or surprises during the setup process. Once you’ve confirmed that your devices are compatible, you’re ready to move on to the next step: connecting your sound system to your TV.
Step 2: Connect the sound system to the TV using HDMI
Now that you’ve ensured compatibility between your Sony Surround Sound system and your Samsung Smart TV, it’s time to establish the physical connection. Connecting the two devices using an HDMI cable is the most common and convenient method.
Here’s how to connect your sound system to your TV using HDMI:
- Locate the HDMI output port on your Sony Surround Sound system. It is usually labeled as “HDMI OUT” or “ARC” (Audio Return Channel).
- Connect one end of the HDMI cable to the HDMI output port on your sound system.
- Locate the HDMI input port on your Samsung Smart TV. It is usually labeled as “HDMI IN” or “ARC”.
- Connect the other end of the HDMI cable to the HDMI input port on your TV.
- Once the HDMI cable is securely connected, power on your TV and sound system.
Your TV should automatically recognize the connected sound system and configure the audio settings accordingly. If not, you may need to adjust the audio settings manually. Don’t worry, we’ll cover that in the next step.
HDMI provides both audio and video transmission, so this single cable connection should be sufficient to carry high-quality audio from your TV to the surround sound system.
It’s important to note that some older sound systems may not have an HDMI output port. In that case, you can use an optical audio cable or RCA cables to establish the audio connection between your TV and sound system. Refer to the user manuals of your devices for specific instructions on using alternative audio connections.
With your sound system now physically connected to your TV, it’s time to move on to configuring the audio settings to ensure optimal performance.
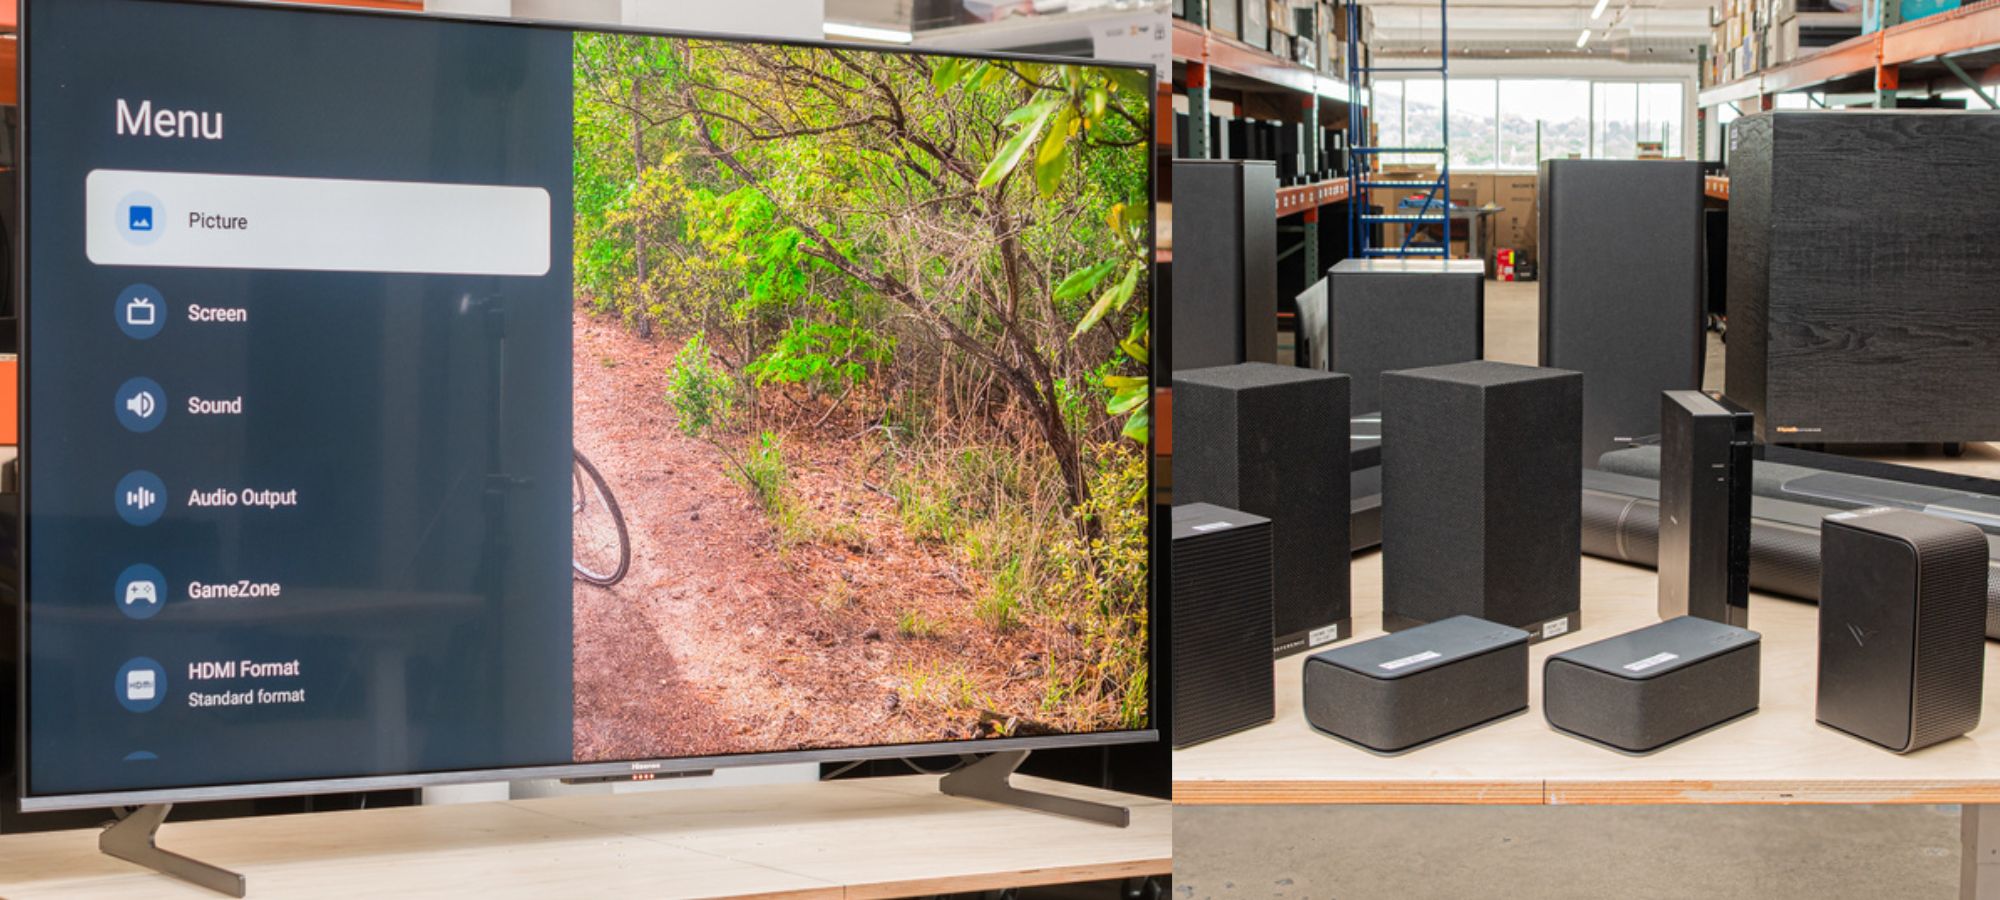
Step 3: Configure the audio settings on your TV
Once you’ve connected your Sony Surround Sound system to your Samsung Smart TV, it’s essential to configure the audio settings on your TV to ensure that the audio is properly outputted to your sound system. Here’s how:
- Using your TV remote, navigate to the settings menu. The location of the settings menu may vary depending on your TV model, but it is typically represented by a gear icon or the word “Settings.”
- Within the settings menu, look for the “Sound” or “Audio” option and select it.
- Find the audio output settings. This may be labeled as “Audio Output,” “Speaker Output,” or something similar.
- Select the audio output option that corresponds to the HDMI connection you used to connect your sound system. It may be labeled as “HDMI ARC” or “HDMI Output.”
- Verify that the audio format settings match the capabilities of your Surround Sound system. Most modern sound systems support common formats like Dolby Digital and DTS. Select the appropriate format to ensure optimal audio performance.
Some TVs also offer additional audio settings that allow you to customize the sound to your preferences. These settings may include options for equalizers, surround sound modes, or virtual surround sound effects. Explore these settings to enhance your audio experience further.
Once you’ve configured the audio settings, save the changes and exit the settings menu.
It’s worth mentioning that if you’re using an optical audio cable or RCA cables to connect your sound system, you may need to adjust the audio settings accordingly. Refer to the user manuals of your devices to determine the specific settings required for alternative audio connections.
With the audio settings properly configured on your Samsung Smart TV, you’re now ready to test your sound system and enjoy immersive audio!
Step 4: Test the sound system
After connecting and configuring your Sony Surround Sound system to your Samsung Smart TV, it’s crucial to test the sound system to ensure everything is working correctly. Follow these steps to perform a quick sound system test:
- Play a source with audio on your TV, such as a movie, TV show, or music. Make sure the volume on your TV and sound system is set to an audible level.
- Listen carefully to the audio output. You should hear the sound coming from the speakers of your Surround Sound system rather than the TV’s built-in speakers.
- Check if the sound is coming from all the speakers in your Surround Sound setup. You should be able to distinguish sound coming from the front, rear, and center speakers, creating a truly immersive experience.
- Pay attention to whether the sound is clear and balanced. You should not notice any distortion, echo, or imbalance in the audio. Adjust the volume levels on your sound system if necessary.
- Finally, test some surround sound specific content, such as a movie with 5.1 or 7.1 channel audio. This will allow you to experience the full capabilities of your Surround Sound system.
If you encounter any issues during the test, double-check the connections and audio settings on your TV and sound system. Ensure that all cables are securely plugged in and that the correct audio output option is selected on your TV.
If you’re still experiencing problems, consult the user manuals of your devices or reach out to their respective customer support for troubleshooting assistance.
Once you’ve confirmed that the sound system is functioning correctly and delivering immersive audio, you’re ready to sit back, relax, and enjoy the enhanced audio experience on your Samsung Smart TV.
Step 5: Adjust audio settings for optimal performance
While you may have completed the initial setup and testing of your Sony Surround Sound system with your Samsung Smart TV, there are still additional audio settings you can adjust to fine-tune the performance for an even better audio experience. Here are a few adjustments to consider:
- Equalizer settings: Many TVs and surround sound systems offer equalizer settings that allow you to adjust the audio frequencies to your liking. Experiment with the bass, mids, and treble levels to find the balance that suits your preferences and the audio content you’re consuming.
- Surround sound modes: Explore the different surround sound modes available on your sound system. These modes can enhance specific audio elements, such as dialogue clarity or spatial effects. Select a mode that complements the type of content you are watching or listening to.
- Room acoustics: Consider the acoustics of your viewing room. If you have a dedicated home theater room or a room with sound-absorbing materials, you may need different audio settings than a regular living room. Adjust settings like speaker distance and levels to ensure an optimal sound experience based on the room’s acoustics.
- Audio enhancements: Some TVs and sound systems offer additional audio enhancement features, such as virtual surround sound or dialogue enhancement. Experiment with these features to see if they enhance your audio experience.
- Volume leveling: If you find that the volume levels vary widely between different shows or movies, you can enable volume leveling or dynamic range compression. This feature helps to even out the volume levels, preventing sudden changes in audio intensity.
Remember to make small adjustments and test the audio after each adjustment to gauge the impact. It’s all about finding the balance that delivers the best sound experience for your personal preferences and viewing environment.
Lastly, keep in mind that different types of content may require different audio settings. Movies, music, and video games often have distinct audio characteristics, so don’t be afraid to tweak the settings based on what you’re enjoying at the moment.
By taking the time to adjust the audio settings of your Sony Surround Sound system and Samsung Smart TV, you can optimize the audio performance and immerse yourself in a truly captivating audio experience.
Conclusion
Connecting your Sony Surround Sound system to your Samsung Smart TV allows you to elevate your entertainment experience to new heights. By following the steps outlined in this guide, you can enjoy immersive, high-quality audio that brings your favorite movies, TV shows, and games to life.
We started by checking the compatibility of your devices to ensure a seamless connection. Then, we walked you through the process of connecting your sound system to your TV using HDMI, the most common method for audio transmission. Next, we guided you in configuring the audio settings on your TV for optimal performance.
After ensuring the physical and audio connections were established correctly, we emphasized the importance of testing your sound system to verify its functionality. Finally, we highlighted the significance of adjusting the audio settings for fine-tuning and personalization.
Remember, every step in this guide is intended to enhance your audio experience and bring you closer to the immersive world of surround sound. By paying attention to compatibility, properly connecting the devices, and adjusting audio settings, you have taken significant strides in creating an immersive home entertainment environment.
Now, sit back, relax, and enjoy the rich and immersive audio that your Sony Surround Sound system delivers. Whether you’re watching a blockbuster movie, playing your favorite video game, or enjoying your favorite music, the combination of your Samsung Smart TV and surround sound system will envelop you in a world of sound unlike anything you’ve experienced before.
As you continue to explore and enjoy your audio setup, don’t hesitate to revisit this guide if you ever need a refresher or encounter any challenges along the way. With patience and a bit of tweaking, you can optimize your audio experience and uncover the true potential of your Sony Surround Sound system and Samsung Smart TV.