Home>Production & Technology>Surround Sound>How To Hook Up Old Surround Sound To Smart TV
Surround Sound
How To Hook Up Old Surround Sound To Smart TV
Modified: January 22, 2024
Learn how to hook up your old surround sound system to your smart TV for an immersive audio experience. Get step-by-step instructions and make use of your existing equipment.
(Many of the links in this article redirect to a specific reviewed product. Your purchase of these products through affiliate links helps to generate commission for AudioLover.com, at no extra cost. Learn more)
Table of Contents
Introduction
Welcome to the exciting world of surround sound! If you’re a fan of immersive audio experiences, you’re in for a treat. Surround sound technology has come a long way, delivering a cinematic audio experience right in the comfort of your own home. However, if you have an old surround sound system and a new smart TV, you might be wondering how to connect the two.
While it may seem daunting at first, fear not! In this article, we’ll guide you through the process of hooking up your old surround sound system to your shiny new smart TV. We’ll discuss assessing compatibility, gathering the necessary cables and adapters, connecting the components, configuring audio settings, and even troubleshooting common issues.
Before we dive in, it’s important to note that the specific steps may vary depending on the make and model of your surround sound system and smart TV. However, the general principles and concepts should apply to most setups. So, let’s get started!
Assessing the Compatibility of Old Surround Sound System with Smart TV
Before you begin connecting your old surround sound system to your smart TV, it’s important to assess the compatibility of the two devices. This will ensure that they can work together seamlessly to deliver the immersive audio experience you desire. Here are a few factors to consider:
- Audio Output Options: Check the audio output options available on your smart TV. Most modern smart TVs come equipped with various audio output ports, such as HDMI ARC (Audio Return Channel), optical audio, or RCA. Ensure that your surround sound system has corresponding input options to connect with the TV.
- Audio Format Support: Look into the audio formats supported by your surround sound system and check if they are compatible with the audio outputs of your smart TV. Common audio formats include Dolby Digital, DTS, and PCM. Make sure your surround sound system can decode these formats.
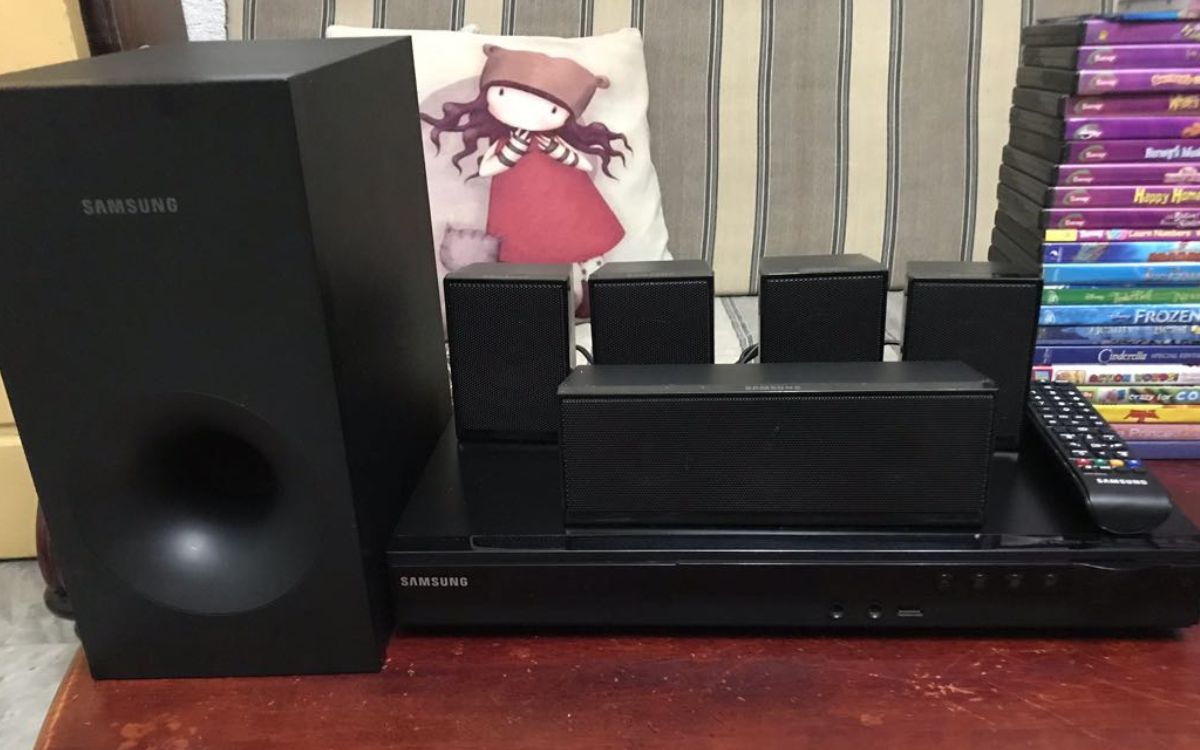
- Number of Channels: Check the number of audio channels supported by your surround sound system. This will determine the level of immersion you can achieve. Most systems support 5.1 channel setups, with speakers for front, center, surround, and subwoofer. Some advanced systems can support up to 7.1 or even more channels.
- Power Requirements: Take note of the power requirements of your surround sound system. Ensure that you have an adequate power source to connect and power all the speakers and the receiver.
Once you have assessed the compatibility of your old surround sound system with your smart TV, you can move on to gathering the necessary cables and adapters to make the connection. Let’s explore that next!
Gathering the Necessary Cables and Adapters
Now that you have assessed the compatibility of your old surround sound system with your smart TV, it’s time to gather the necessary cables and adapters to make the connection. Here are some of the essential items you may need:
- HDMI Cable: If your smart TV and surround sound system support HDMI ARC, you’ll need an HDMI cable to connect them. This single cable can transmit both audio and video signals, simplifying the setup process.
- Optical Cable: If your smart TV and surround sound system have optical audio ports, an optical cable is the way to go. This cable is capable of transmitting high-quality digital audio signals.
- RCA Cables: If your surround sound system only supports RCA inputs, you’ll need RCA cables. These are color-coded cables with red and white connectors for left and right audio channels.
- Adapter Cables: Depending on the connections available on your smart TV and surround sound system, you may need adapter cables. For example, if your TV has a headphone jack but your surround sound system doesn’t have a corresponding input, you can use a 3.5mm to RCA adapter cable.
- Power Cables: Ensure that you have the necessary power cables to connect your surround sound system and any additional speakers to a power source.
It’s also a good idea to check if any additional accessories or equipment are required. For example, some surround sound systems may require speaker wires, speaker mounts, or a separate subwoofer cable.
Once you have gathered all the necessary cables and adapters, you’re ready to start connecting your surround sound system to your smart TV. In the next section, we’ll guide you through the step-by-step process. Let’s get hooked up!
Connecting the Surround Sound Receiver to the Smart TV
Now that you have gathered all the necessary cables and adapters, it’s time to connect your surround sound receiver to your smart TV. Follow these steps to ensure a proper connection:
- Identify the Audio Output Port on Your Smart TV: Look for the audio output port on the back or side of your smart TV. It could be HDMI ARC, optical audio, or RCA. Make sure to take note of which port you’ll be using.
- Connect the Audio Output Port to the Surround Sound Receiver: Depending on the audio output port on your smart TV, connect the corresponding cable to the appropriate input port on your surround sound receiver. If you are using HDMI ARC, connect one end of the HDMI cable to the HDMI ARC port on your TV and the other end to the HDMI ARC input on your receiver. If you are using optical audio or RCA, connect the cable from the TV’s audio output to the corresponding input on the receiver.
- Power On Your Surround Sound System: Ensure that your surround sound receiver and any additional speakers are powered on and properly connected to a power source.
- Select the Correct Input Source on Your Surround Sound System: Use the remote control or front panel of your surround sound receiver to select the input source corresponding to the TV connection. For example, if you connected the TV to the HDMI ARC input, select the HDMI ARC input on your receiver.
- Configure the Audio Settings on Your Smart TV: Access the audio settings menu on your smart TV and make sure the audio output is set to the connected surround sound system. You may need to select HDMI ARC, optical audio, or external speakers, depending on the options available on your TV.
Once you have completed these steps, your surround sound system should be successfully connected to your smart TV. Now, it’s time to configure the audio settings on your TV to ensure optimal sound performance. We’ll cover that in the next section.
Configuring the Audio Settings on the Smart TV
With the surround sound receiver successfully connected to your smart TV, it’s time to configure the audio settings to ensure the best sound performance. Follow these steps to optimize the audio settings on your smart TV:
- Access the Audio Settings Menu: Using your TV remote, navigate to the settings menu. Look for the audio or sound options.
- Select the Audio Output: From the audio settings menu, choose the audio output option that corresponds to your connected surround sound system. If you connected via HDMI ARC, select the HDMI ARC option. If you are using optical audio, choose the optical output. If you are using RCA, select the external speaker option.
- Adjust the Digital Audio Format: Some smart TVs allow you to adjust the digital audio format settings. If available, choose the format that your surround sound system supports, such as Dolby Digital or DTS. This ensures that your system can process and deliver the audio in the best possible quality.
- Configure the Speaker Setup: If your smart TV offers speaker setup options, you can fine-tune the audio output settings. You may have the option to select the number of speakers in your setup (e.g., 5.1, 7.1) or adjust the speaker distance and volume levels. Follow the instructions provided by your TV manufacturer to complete the speaker setup.
- Test the Audio: After configuring the audio settings, play some audio content on your smart TV to test the surround sound system. Make sure the audio is coming through all the speakers and that the sound quality is satisfactory. You can use a test video or play a movie or music to check the sound distribution.
Remember, the specific steps and options in the audio settings may vary depending on your smart TV’s manufacturer and model. Consult your TV’s user manual or online documentation for detailed instructions tailored to your specific TV.
Once you have configured the audio settings, you can sit back, relax, and enjoy the immersive audio experience provided by your newly connected surround sound system.
Testing and Troubleshooting the Surround Sound System
After connecting and configuring your surround sound system with your smart TV, it’s important to test the setup and address any potential issues that may arise. Here are some steps you can take to test and troubleshoot your surround sound system:
- Check Speaker Connections: Ensure that all the speakers in your surround sound system are properly connected to the receiver. Make sure the positive and negative terminals match and that the wires are securely in place.
- Test Each Speaker: Use a test tone or audio test file to verify that each speaker is working correctly. The test tone should play through each speaker in your setup, allowing you to identify any issues with individual speakers.
- Adjust Speaker Levels: Use the audio settings on your surround sound receiver to balance the volume levels of each speaker. Adjust the levels if certain speakers are too loud or too soft compared to others. This will help create a more immersive and balanced audio experience.
- Run Speaker Calibration: Many surround sound systems offer automatic speaker calibration features. Use the built-in calibration system to optimize the audio performance of your system based on your room’s acoustics. Follow the instructions provided by your system’s manufacturer to run the calibration process.
- Check Audio Sources: Test your surround sound system with various audio sources, such as movies, TV shows, music, or video games. This will ensure that the system is working as expected across different media types. Check if the audio is properly mixed and coming through all the speakers.
- Troubleshoot Audio Issues: If you experience any audio issues, such as no sound, distorted sound, or inconsistent audio, there are a few troubleshooting steps you can take. Ensure that all cables and connections are secure, check the audio settings on your TV and receiver, update the firmware of your devices if applicable, and consult the troubleshooting guide provided by your surround sound system’s manufacturer.
If you encounter persistent issues and are unable to resolve them on your own, consider contacting the customer support of your surround sound system or seeking assistance from a professional audio technician.
By testing and troubleshooting your surround sound system, you can ensure optimal performance and enjoy a truly immersive audio experience with your smart TV.
Conclusion
Congratulations! You have successfully hooked up your old surround sound system to your modern smart TV. By assessing compatibility, gathering the necessary cables and adapters, connecting the components, configuring audio settings, and testing the setup, you have unlocked the full potential of your surround sound system for an immersive audio experience.
Remember, every setup may have its unique challenges and requirements, so it’s essential to consult the manuals and documentation provided by your specific devices. Following the steps outlined in this article will serve as a general guideline to help you get started.
With your surround sound system connected, you can now enjoy movies, music, games, and other multimedia content with rich, enveloping sound. Feel the excitement of explosions, the immersion of dialogue, and the depth of bass as if you were in a movie theater.
If you encounter any issues along the way, don’t get discouraged. Take the time to troubleshoot, check the connections, and adjust the audio settings. With a little patience and persistence, you’ll be able to overcome any obstacles and enjoy the full capabilities of your surround sound system.
Remember, technology is constantly evolving, and your old surround sound system can still provide incredible audio quality when paired with a modern smart TV. So, don’t let it gather dust – bring it back to life and elevate your home entertainment experience!
We hope this guide has been helpful in assisting you with connecting your old surround sound system to your smart TV. Now, sit back, relax, and immerse yourself in the captivating sound that surrounds you.