Home>Production & Technology>Surround Sound>How To Setup Surround Sound To TV With Cable Box
Surround Sound
How To Setup Surround Sound To TV With Cable Box
Modified: January 22, 2024
Learn how to set up surround sound to your TV with a cable box. Enhance your entertainment experience with immersive audio.
(Many of the links in this article redirect to a specific reviewed product. Your purchase of these products through affiliate links helps to generate commission for AudioLover.com, at no extra cost. Learn more)
Table of Contents
Introduction
Surround sound systems are a fantastic way to take your home entertainment experience to the next level. By immersing yourself in a surround sound setup, you can feel like you’re right in the middle of the action, whether you’re watching your favorite movies, playing video games, or listening to music.
Setting up a surround sound system may seem daunting, especially if you’re not familiar with audio equipment and cables. However, with a little guidance and patience, you can easily connect your surround sound system to your TV and enjoy a truly immersive audio experience.
In this article, we will walk you through the step-by-step process of setting up surround sound to your TV with a cable box. From gathering the necessary equipment to adjusting the audio settings, we will cover everything you need to know to get your surround sound system up and running.
So, grab your popcorn and get ready to transform your living room into a cinematic wonderland with the mesmerizing sound of surround audio. Let’s dive in!
Step 1: Gather the necessary equipment
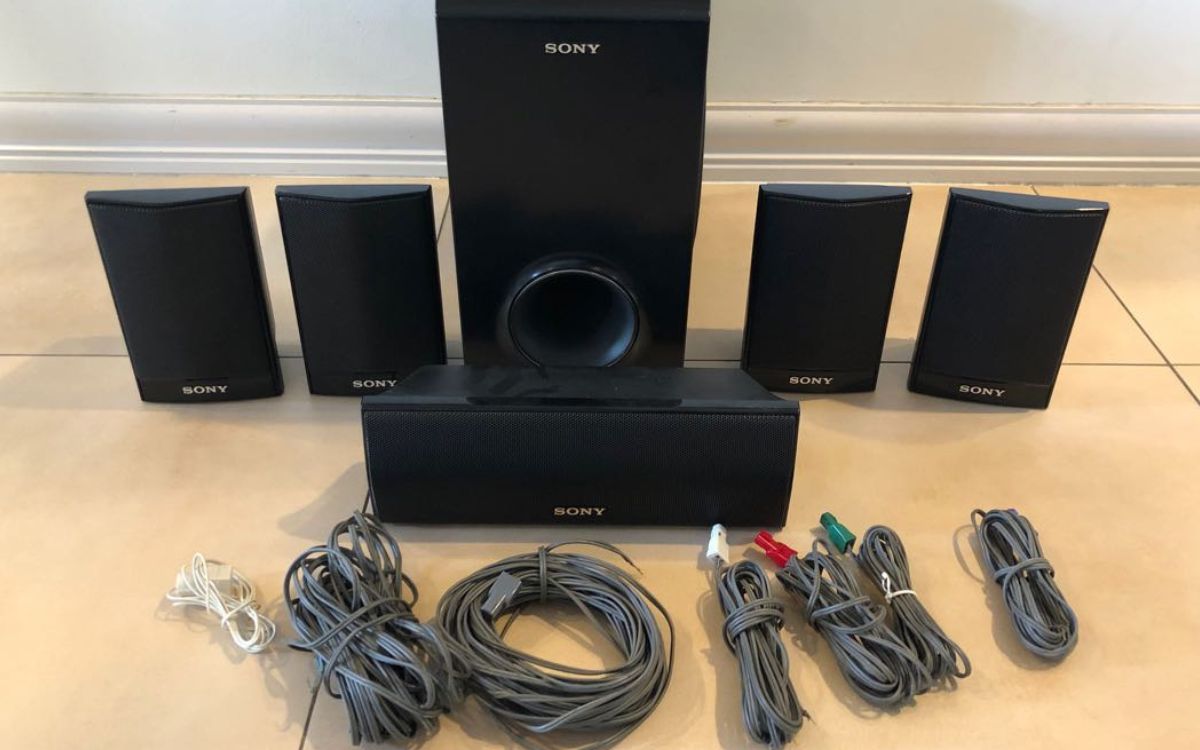
Before you can set up surround sound to your TV with a cable box, you need to ensure that you have all the necessary equipment at hand. Here’s a list of items you’ll need:
- TV: Of course, you’ll need a television to connect your surround sound system to. Make sure your TV has the necessary audio output options.
- Cable box: This is the device that allows you to receive cable TV signals. Make sure your cable box has audio output connections.
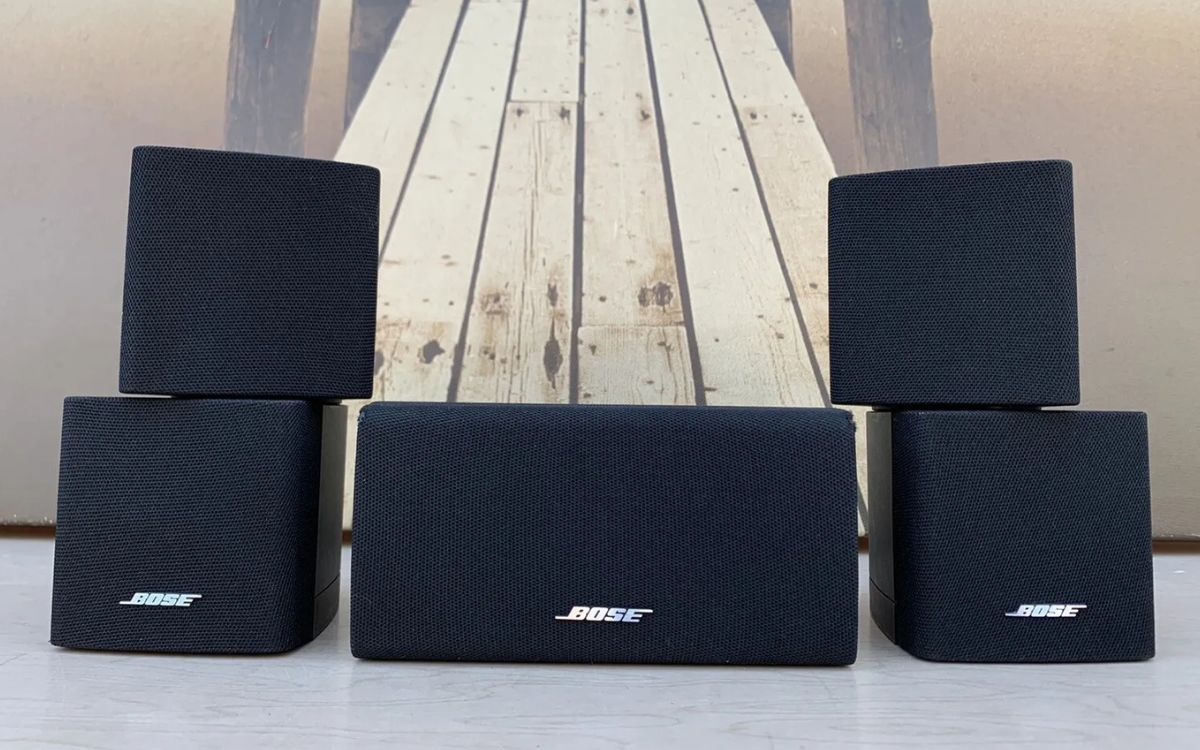
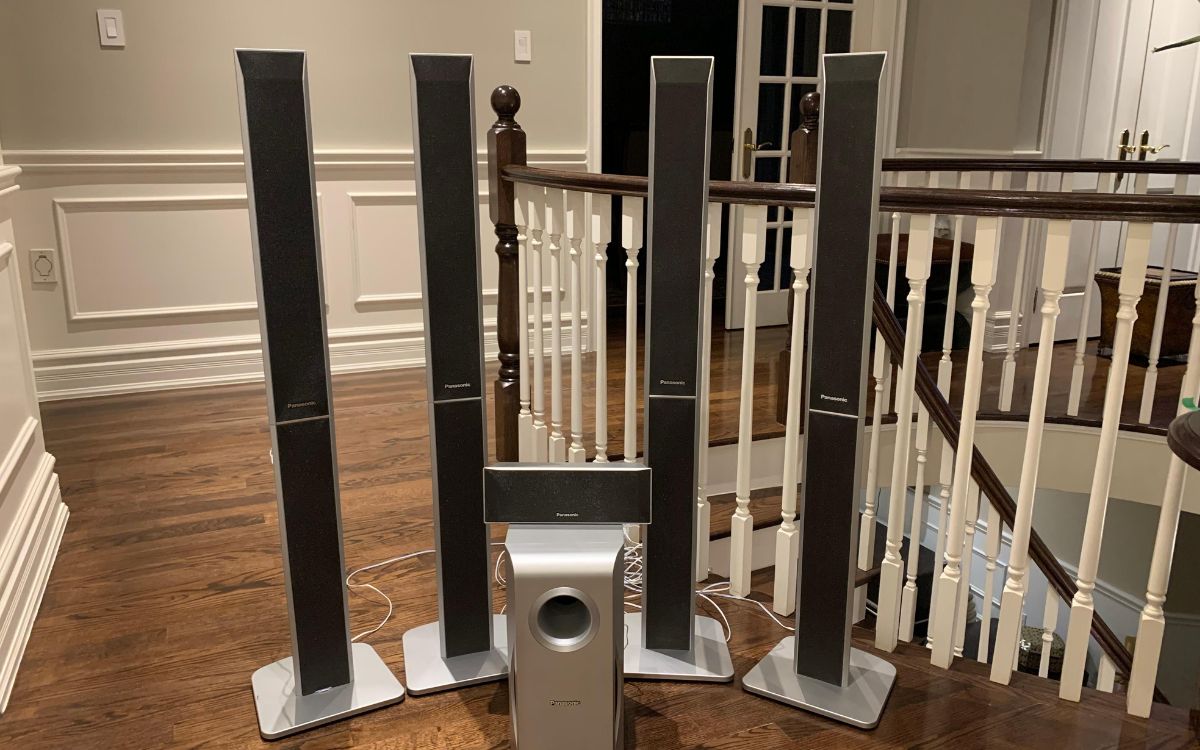
- Surround sound system: This includes a receiver, speakers, and subwoofer. It’s important to choose a surround sound system that supports your TV’s audio output options.
- HDMI or audio cables: You’ll need cables to connect the cable box, TV, and surround sound system. HDMI cables are preferred for their ability to carry both video and audio signals, but you can also use audio cables.
- Remote control: Most surround sound systems come with a dedicated remote control. It’s essential to have this remote handy.
Once you have gathered all the necessary equipment, you’re ready to proceed to the next step of the setup process. Having everything readily available will make the installation process smoother and more convenient.
Step 2: Connect the cable box to the TV
Now that you have all the equipment ready, it’s time to connect your cable box to the TV. Follow these steps:
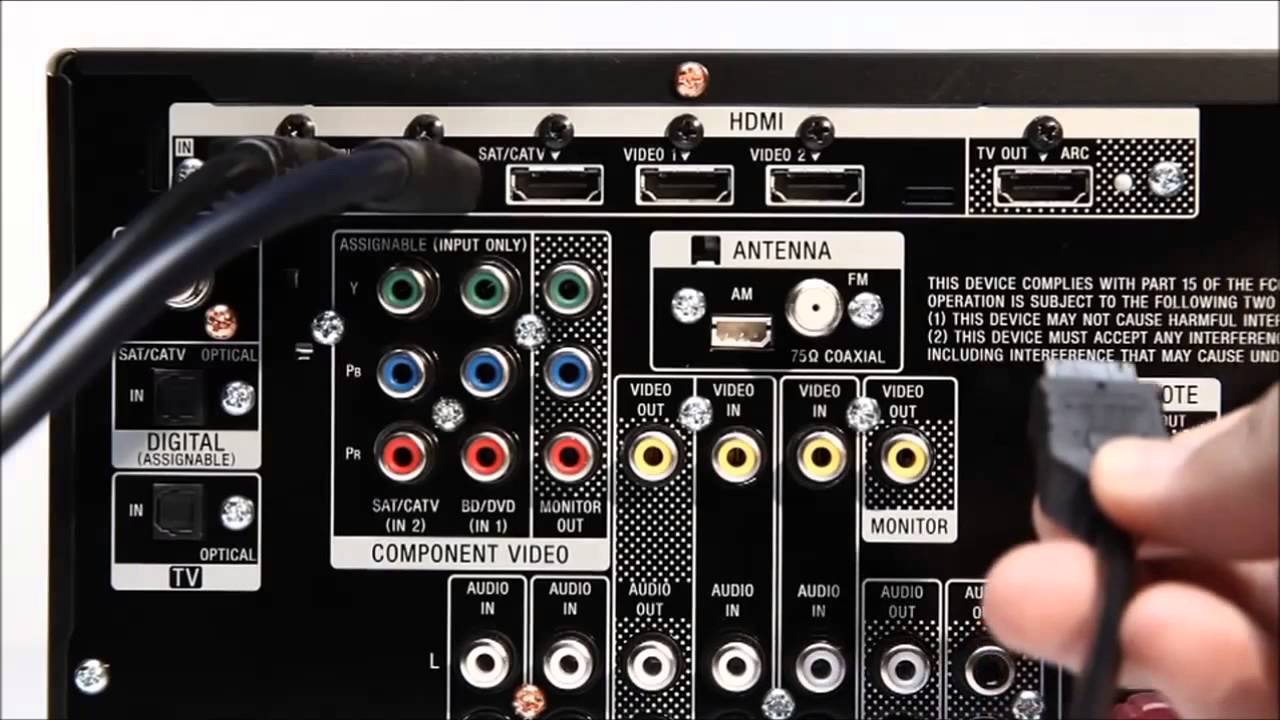
- Locate the audio output ports on your cable box. These are typically labeled as “Audio Out” or “HDMI Out”.
- Identify the corresponding audio input ports on your TV. These are often labeled as “Audio In” or “HDMI In”.
- Take the HDMI or audio cable and connect one end to the audio output port on your cable box.
- Connect the other end of the cable to the audio input port on your TV. If using HDMI, make sure to connect to an HDMI input.
- If you are using an audio cable, you will need to connect the corresponding audio cables to the TV’s audio input ports. Match the colors of the cables to the corresponding colors of the audio input ports (red to red, white to white).
- Once the cable connections are secure, make sure to set the TV’s input source to the corresponding HDMI or audio input channel.
By following these steps, you have successfully connected the cable box to the TV. This allows the TV to receive audio signals from the cable box.
Next, we will move on to connecting the surround sound system to the TV to complete the setup process. Make sure to keep the cables and connections organized to avoid any confusion during the installation process.
Step 3: Connect the surround sound system to the TV
Now that the cable box is connected to the TV, it’s time to connect the surround sound system and elevate your audio experience. Follow these steps:
- Locate the audio output ports on your TV. These may be labeled as “Audio Out” or “Digital Audio Out”.
- Identify the corresponding audio input ports on your surround sound system’s receiver. These are generally labeled as “Audio In” or “AUX”.
- Select an appropriate cable based on the available audio output and input options. HDMI cables or optical audio cables are commonly used for this connection.
- Connect one end of the cable to the audio output port on your TV.
- Connect the other end of the cable to the audio input port on your surround sound system’s receiver.
- If you are using an HDMI cable, make sure to set the TV’s audio output to “HDMI” or “External speakers” in the audio settings menu.
- If you are using an optical audio cable, check the receiver’s manual to ensure that the audio input is configured correctly.
- Once the cable connections are secure, make sure to turn on the surround sound system and select the appropriate input source on the receiver.
By following these steps, you have successfully connected the surround sound system to the TV. This enables the audio from the TV to be played through the surround sound speakers, creating a more immersive audio experience.
Now that the audio connections are set up, it’s time to tweak the audio settings on your TV to optimize the surround sound setup. This will ensure that you get the best audio quality and surround sound experience possible.
Step 4: Adjust audio settings on the TV
After connecting the surround sound system to the TV, it’s important to adjust the audio settings on your TV to optimize the audio output and ensure a seamless surround sound experience. Follow these steps:
- Access the menu or settings on your TV. This can usually be done using the remote control.
- Navigate to the audio settings menu. The location and terminology may vary depending on the TV brand and model.
- Look for an option to select the audio output. Choose the option that corresponds to the audio connection you have made – HDMI or optical audio.
- Adjust the surround sound settings. Most modern TVs have preset sound modes, such as “Standard”, “Movie”, “Music”, or “Sports”. Experiment with these settings to find the one that enhances your surround sound experience.
- Adjust the volume levels. Make sure to balance the volume levels of the different speakers in your surround sound system. Some TVs allow you to manually adjust the volume for each speaker, while others have an automated calibration feature to set the levels correctly.
- Test the surround sound. Play a movie or TV show with surround sound content and listen carefully for the audio effect. Make sure the sound is coming from all the speakers and that the sound is balanced and immersive.
It’s important to note that the audio settings on your TV may vary. Refer to the TV’s manual or online documentation for specific instructions based on your TV model.
By adjusting the audio settings on your TV, you can optimize the surround sound experience and ensure that the audio is reproduced as intended by the content creators.
Now, let’s move on to the final step of the setup process – testing the surround sound setup.
Step 5: Test the surround sound setup
Now that you have completed the setup and adjusted the audio settings, it’s time to test your surround sound setup and ensure that everything is working correctly. Here’s how you can test it:
- Play a movie or video with surround sound. Choose a title that is known for its immersive audio experience.
- Listen for audio cues. Pay attention to how the sound moves around the room and how the different speakers contribute to the overall audio experience.
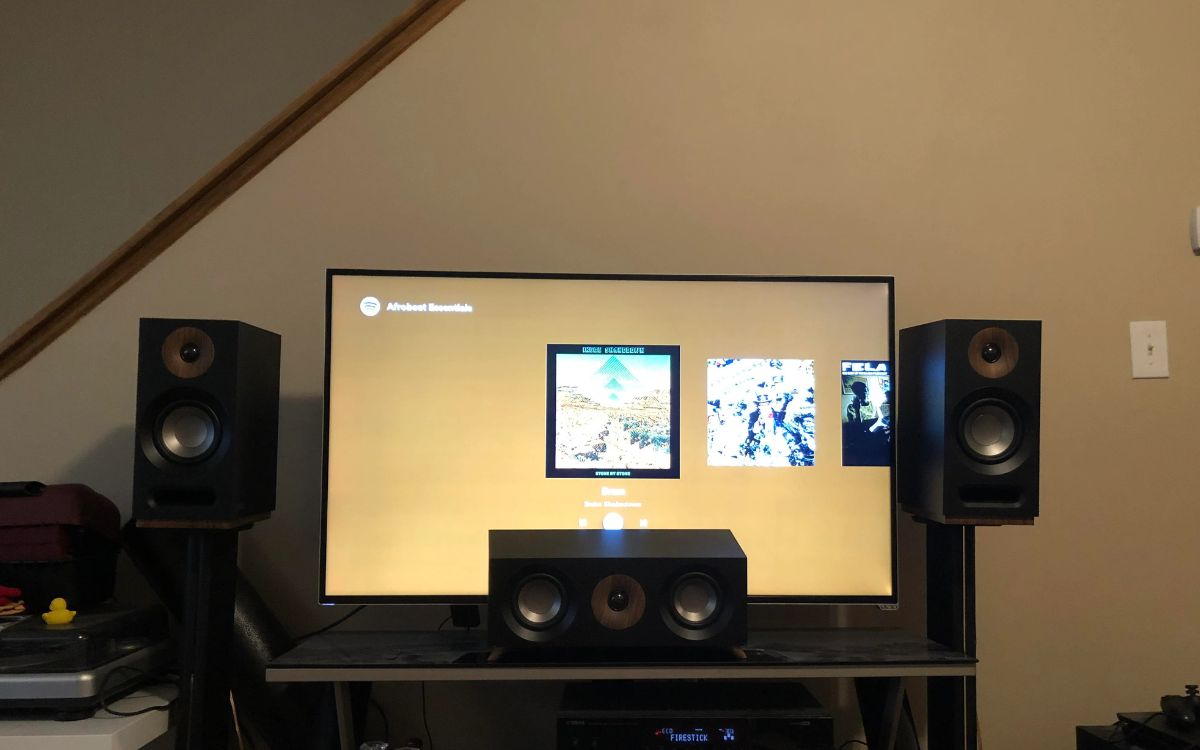
- Check speaker placement. Verify that the sound is coming from the correct speakers and that they are positioned in the optimal locations for an immersive surround sound experience.
- Experience different audio modes. If your surround sound system has different audio modes or sound presets, test them out to see which one suits your preferences the best.
- Adjust the volume. Make sure that the volume levels are balanced and at a comfortable level for your listening enjoyment.
During the testing phase, take note of any issues or inconsistencies in the audio playback. This could involve missing sound effects, distorted audio, or problems with specific speakers. If you encounter any issues, try troubleshooting by checking the cable connections, adjusting the audio settings, or referring to the user manual for further assistance.
By thoroughly testing your surround sound setup, you can ensure that you are getting the most out of your audio system and enjoying a truly immersive experience with movies, games, and music.
With the completion of these steps, you have successfully set up your surround sound system to your TV with a cable box. Congratulations! You can now sit back, relax, and immerse yourself in the breathtaking sound quality that surround sound provides.
Conclusion
Setting up a surround sound system to your TV with a cable box may seem like a daunting task, but with proper guidance and a little patience, it can be accomplished smoothly. By following the steps outlined in this article, you can enjoy a truly immersive audio experience that enhances your home entertainment.
From gathering the necessary equipment to connecting the cable box and surround sound system, adjusting the audio settings, and testing the setup, each step plays a crucial role in creating a seamless and captivating audio experience.
Remember to gather all the required equipment, including the TV, cable box, surround sound system, and appropriate cables. Take your time to make the necessary connections and ensure they are secure.
Adjusting the audio settings on your TV is vital to optimize the surround sound experience. Explore the various audio modes and test different settings until you find the perfect balance that suits your preferences.
Finally, don’t forget to test your surround sound setup by playing content known for its immersive sound. Take note of any issues or inconsistencies and troubleshoot accordingly to ensure optimal audio quality.
With the completion of these steps, you are now ready to sit back, relax, and enjoy a cinematic audio experience in the comfort of your own home.
Remember, setting up a surround sound system requires attention to detail and patience. Don’t hesitate to refer to the user manuals for your specific devices if you encounter any difficulties along the way.
So, go on and immerse yourself in the captivating soundscapes created by your surround sound system. Whether you’re watching your favorite movies, playing video games, or listening to music, be prepared to be blown away by the immersive surround sound experience!