Home>Production & Technology>Surround Sound>How To Get TV To Play Through Surround Sound
Surround Sound
How To Get TV To Play Through Surround Sound
Modified: January 22, 2024
Learn how to get your TV to play through surround sound speakers and enhance your audio experience at home. Follow our step-by-step guide and enjoy immersive sound quality.
(Many of the links in this article redirect to a specific reviewed product. Your purchase of these products through affiliate links helps to generate commission for AudioLover.com, at no extra cost. Learn more)
Table of Contents
Introduction
Welcome to the world of immersive audio with surround sound! If you’re a home theater enthusiast or someone who simply appreciates high-quality audio experiences, you’ve come to the right place. In this article, we’re going to explore how to get your TV to play through your surround sound system, taking your audio enjoyment to the next level.
Surround sound has revolutionized the way we experience movies, TV shows, and video games by creating a multidimensional audio environment that surrounds the listener. Rather than just relying on speakers placed in front of us, surround sound systems utilize multiple speakers strategically positioned around the room, delivering a truly enveloping soundstage.
Before we dive into the steps of setting up your TV with surround sound, let’s quickly touch on the types of surround sound systems available. The most common configurations include 5.1 and 7.1 systems, where the number before the dot refers to the number of main speakers, and the number after the dot represents the subwoofer (usually responsible for delivering deep bass) and, in some cases, additional speakers for more immersive sound.
Now, let’s get started on the journey to enhancing your audio setup. Whether you’re connecting your brand-new TV to a surround sound system for the first time or troubleshooting an existing setup, we’ll guide you through the process step by step. So, grab your popcorn, sit back, and let’s dive into the wonderful world of surround sound.
Step 1: Check Audio Connections
The first step in getting your TV to play through your surround sound system is to check the audio connections. This may seem like a simple task but is crucial for ensuring proper audio transmission between your TV and the surround sound speakers.
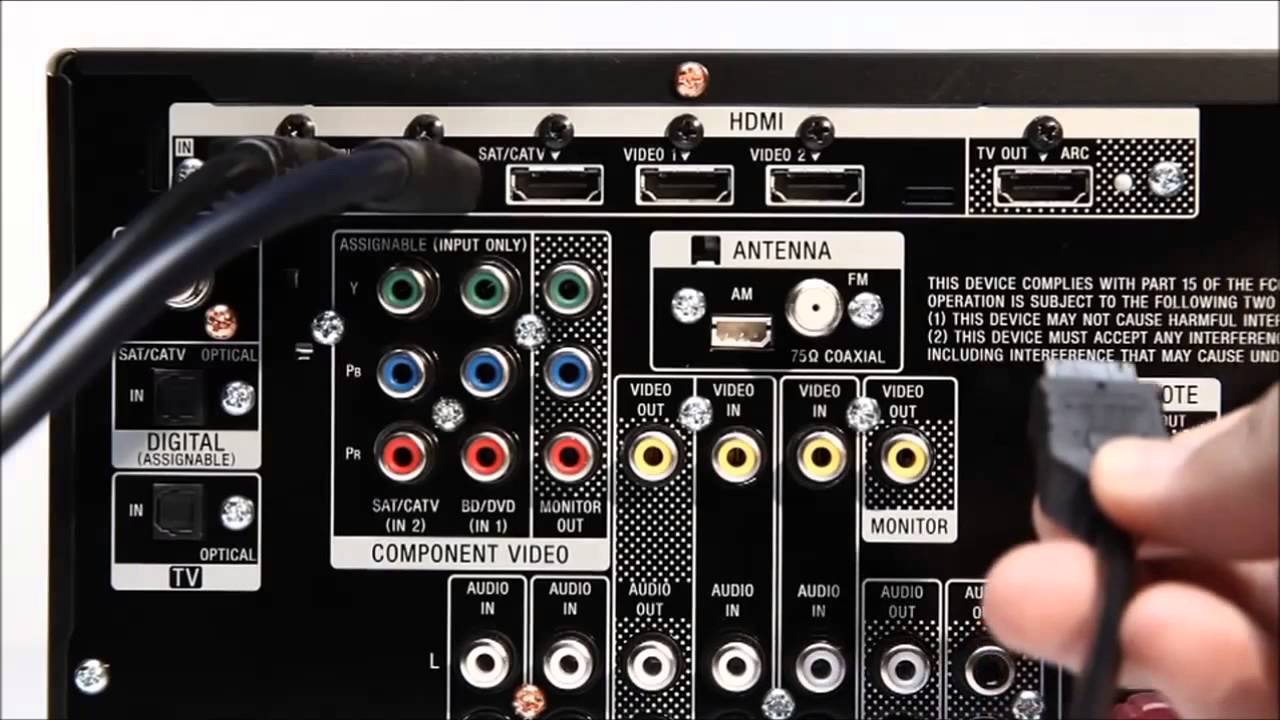
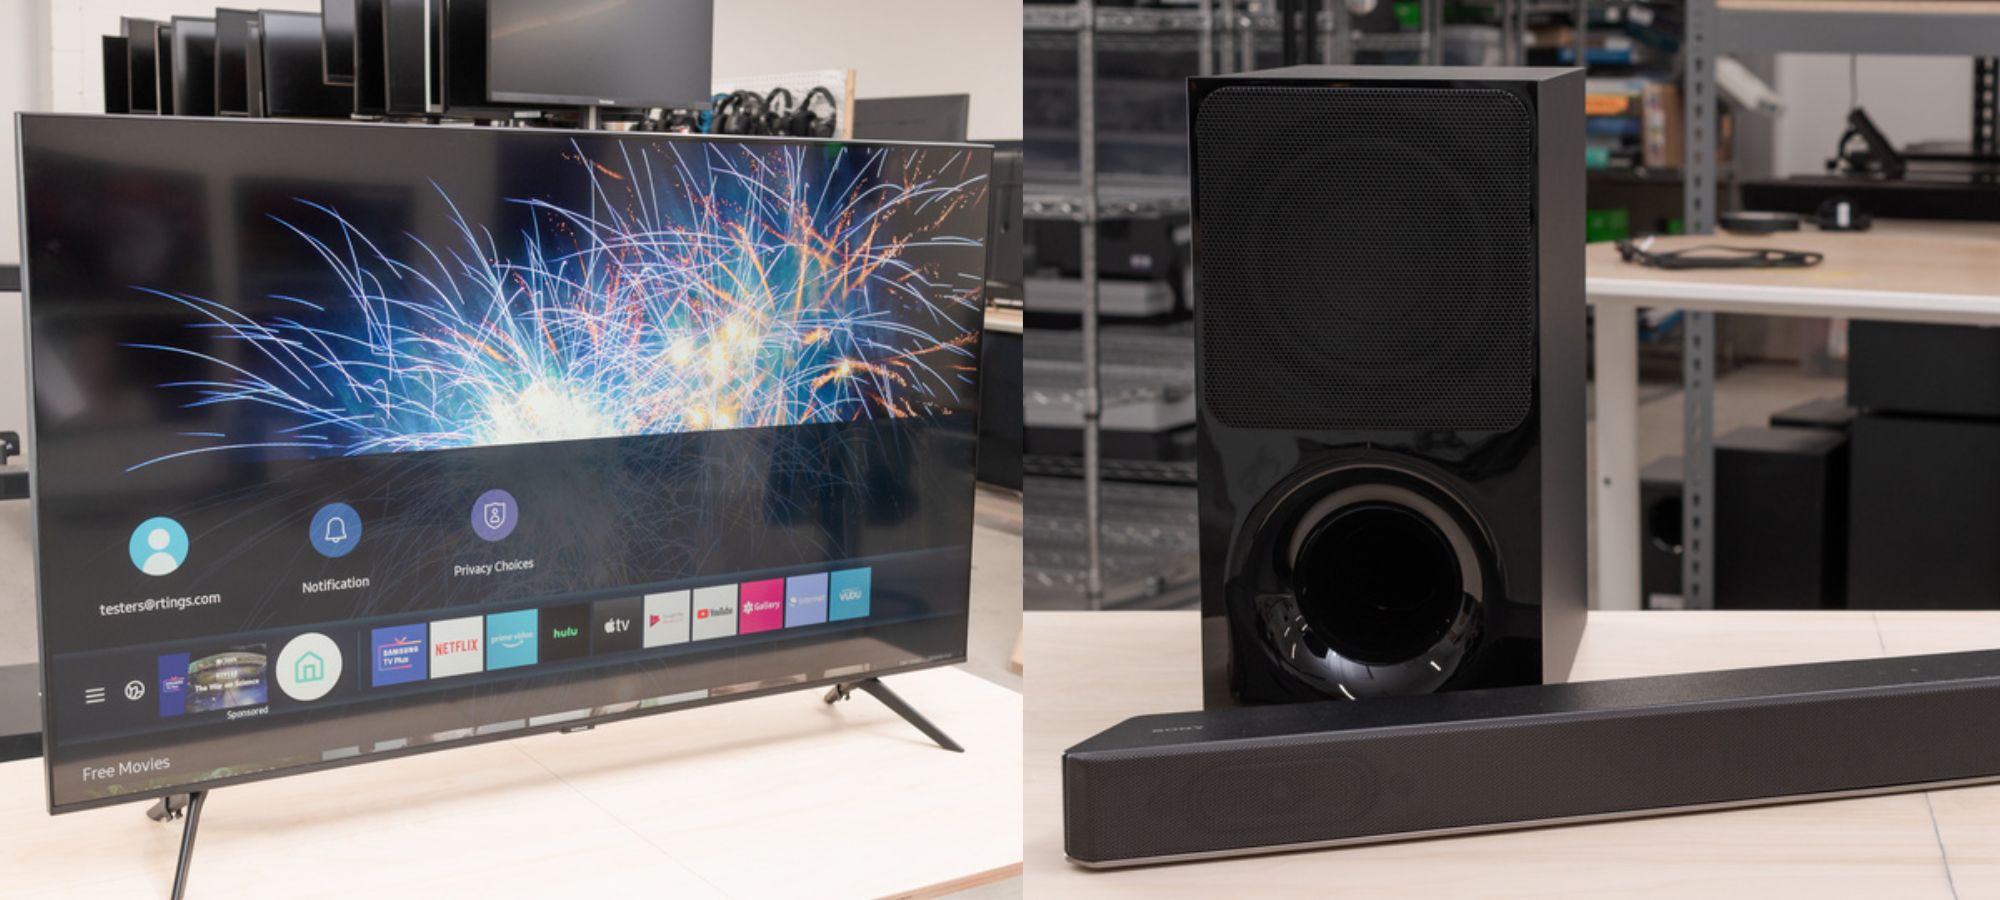
Start by identifying the audio output options on your TV. Most modern TVs provide multiple audio output options, including HDMI ARC (Audio Return Channel), optical audio, and RCA (red and white) connectors. The specific outputs available on your TV will depend on the model.
Once you’ve identified the audio outputs, you’ll need to connect the corresponding cables to your surround sound system. If your TV and surround sound system both support HDMI ARC, this is the recommended method as it allows for both audio playback and device control through a single HDMI cable.
If HDMI ARC is not available, you can use an optical audio cable. This cable transmits digital audio signals and is commonly found on both TVs and surround sound systems. Simply connect one end of the optical cable to the TV’s optical audio output and the other end to the matching input on your surround sound system.
If your TV and surround sound system don’t have HDMI ARC or optical audio connections, you can use RCA cables. These cables have red and white connectors and transmit analog audio signals. Connect the red and white ends of the RCA cable to the corresponding audio output jacks on your TV and the input jacks on your surround sound system.
Once you have connected the audio cables, ensure that they are securely plugged in and tightened. Loose connections can result in poor audio quality or no audio at all. Additionally, make sure to select the correct audio input on your surround sound system to ensure that it’s receiving the audio signal from your TV.
Now that you’ve checked and established the audio connections between your TV and surround sound system, you’re ready to move on to the next step: setting up the surround sound system.
Step 2: Set up the Surround Sound System
Now that you’ve ensured the audio connections between your TV and surround sound system are in place, it’s time to set up the surround sound system itself. This step involves positioning the speakers strategically around the room and configuring the system to optimize audio performance.
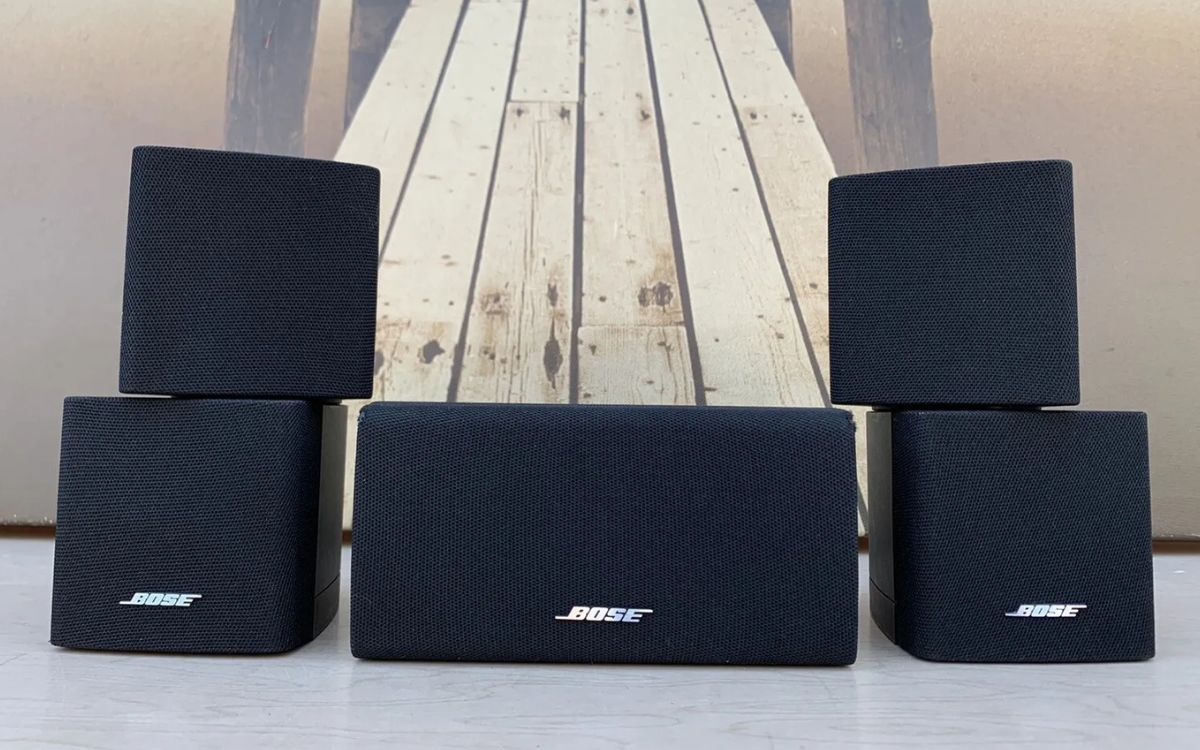
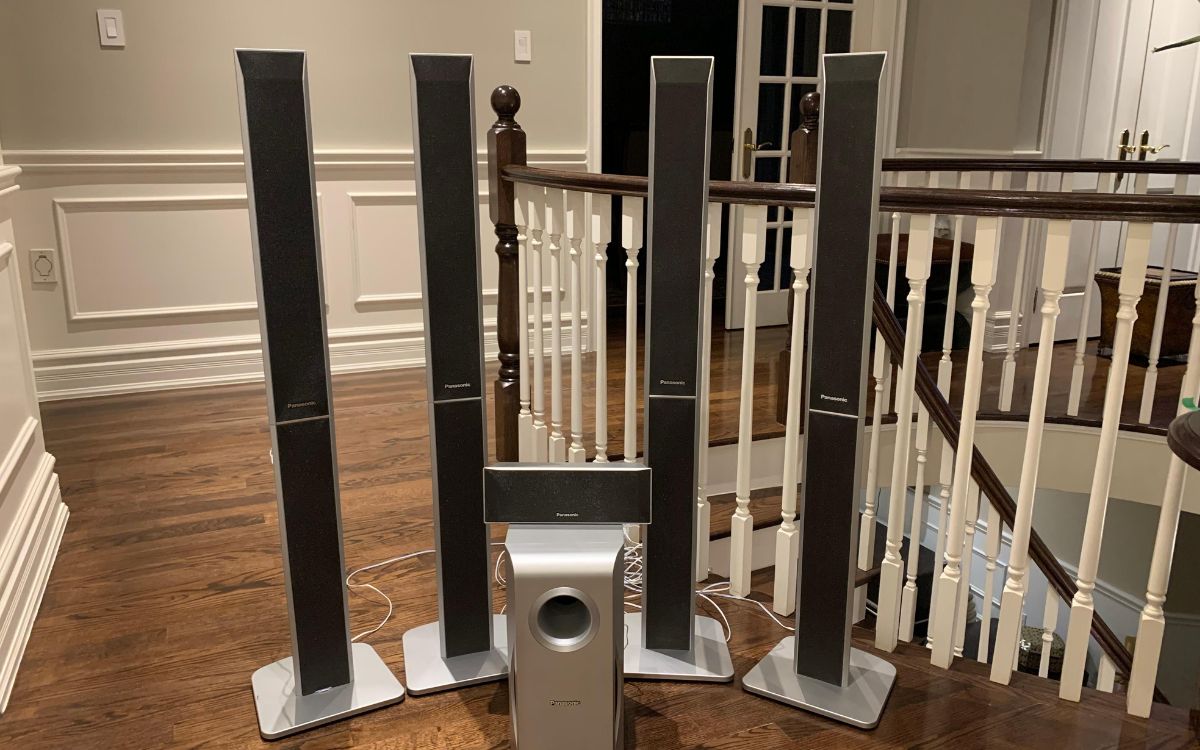
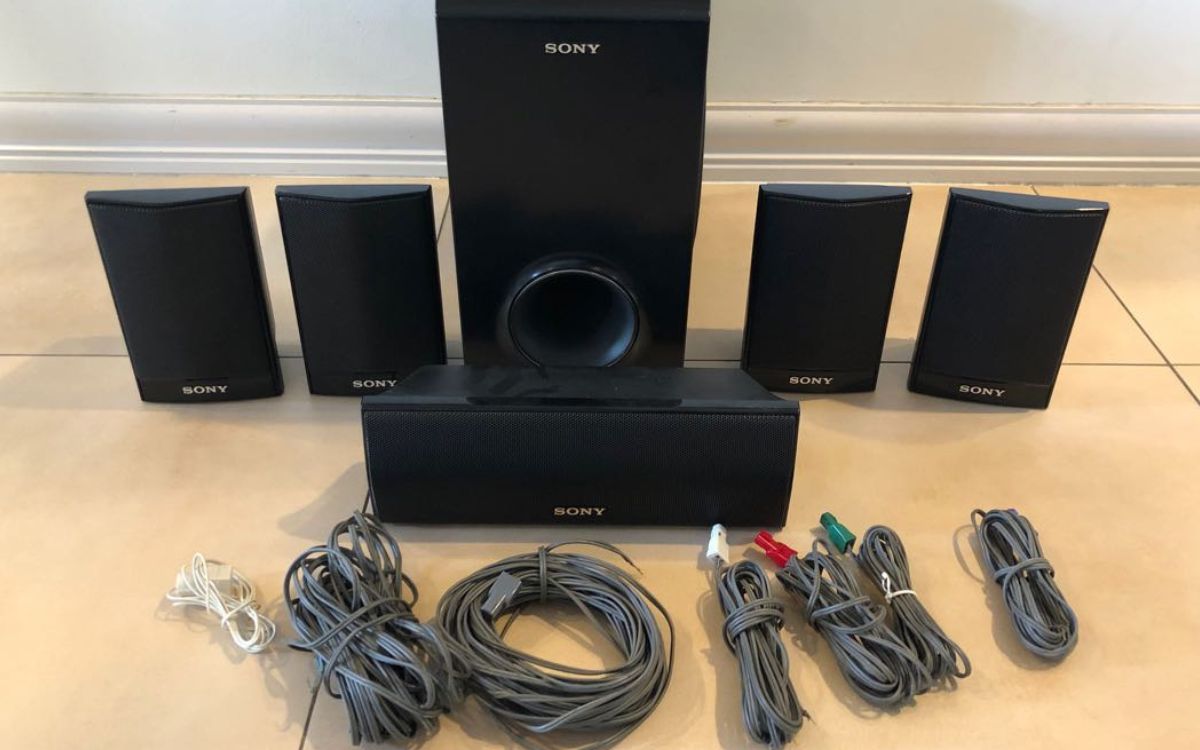
First, consider the layout of your room and the ideal speaker placement for an immersive surround sound experience. Typically, a 5.1 system includes five main speakers: front left, front right, center, surround left, and surround right, along with a subwoofer for deep bass reproduction. For a 7.1 system, two additional surround back speakers are added.
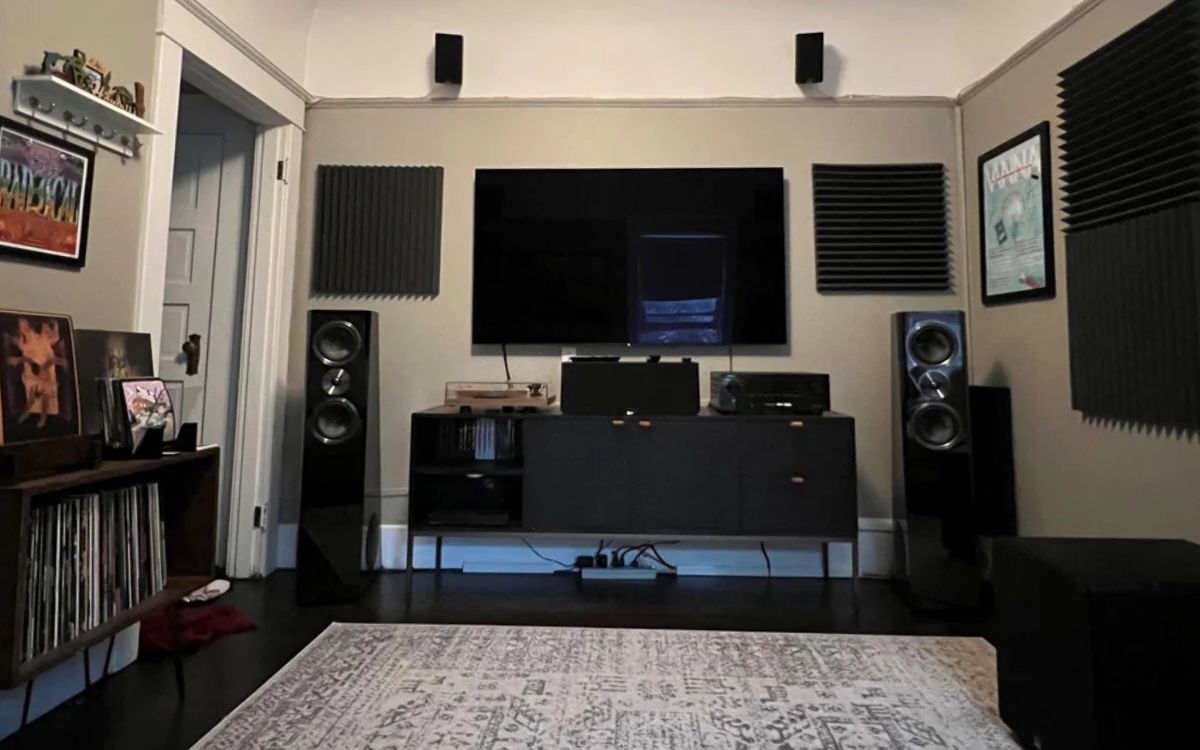
Start with the front left, front right, and center speakers. Place the front left and right speakers on either side of the TV or screen, aiming them towards the viewing position. The center speaker should be positioned directly above or below the screen, so the sound appears to be coming from the actors on the screen.
The surround left and surround right speakers should ideally be placed slightly behind the viewing position on either side of the room. These speakers create a sense of space and depth in the audio, immersing you in the sound experience. Angle the speakers inward towards the listening area for optimal effect.
If you have a 7.1 system, the surround back speakers should be positioned behind the viewing position, complementing the surround left and right speakers. This placement enhances the enveloping sound effect, especially for movies with more directional audio effects.
The subwoofer, responsible for low-frequency sounds and deep bass, can be placed anywhere in the room. Experiment with different locations to find the spot that delivers the best bass response. Keep in mind that placing the subwoofer near a wall or in a corner can enhance bass output.
Once you’ve positioned the speakers, it’s time to configure the settings on your surround sound system. Access the system’s setup menu via the remote control or the control panel on the receiver. Here, you can specify the speaker sizes, distance from the listening position, and set the appropriate speaker levels to ensure a balanced sound stage.
Refer to the user manual of your specific surround sound system for detailed instructions on how to access and adjust these settings. Some systems even include automatic calibration features that analyze your room’s acoustic properties and optimize the audio parameters accordingly.
With the surround sound system properly set up and calibrated, you’re one step closer to enjoying immersive audio in your home theater. The next step involves adjusting the audio settings on your TV to ensure the sound is routed through the surround sound system. We’ll explore this in the next step.
Step 3: Adjust Audio Settings on the TV
After setting up the surround sound system and positioning the speakers, it’s time to adjust the audio settings on your TV to ensure that the sound is properly routed through the surround sound system. This step is crucial for ensuring that you get the best audio experience possible.
Start by accessing the audio settings menu on your TV. The exact method may vary depending on the TV model, but it is typically accessed through the main menu or the settings button on your remote control.
Once you’re in the audio settings menu, look for an option related to audio output or sound output. Here, you should find the different audio output options available on your TV, such as HDMI, optical, or RCA.
If you connected your TV to the surround sound system using HDMI ARC, select the HDMI option as the audio output. This will ensure that the sound from your TV is transmitted to the surround sound system through the HDMI connection.
If you used an optical audio cable, select the optical (or SPDIF) option as the audio output. This will route the audio signal to the surround sound system through the optical connection.
For those who connected their TV to the surround sound system using RCA cables, choose the audio output option labeled as “Analog” or “RCA.”
After selecting the appropriate audio output option, make sure to save your changes. The TV will then prioritize this audio output and send the audio signal to the connected surround sound system.
Additionally, it’s worth checking if your TV has any audio enhancement features, such as virtual surround sound or equalizer settings. These features can further enhance your audio experience by adjusting the sound stage or fine-tuning the audio frequencies to your liking.
Remember to refer to your TV’s user manual for specific instructions on accessing and adjusting the audio settings. The terminology and options may vary between TV brands and models.
Now that you’ve adjusted the audio settings on your TV to ensure it’s properly connected to the surround sound system, it’s time to move on to the next step: testing the audio playback.
Step 4: Test the Audio Playback
With the audio connections established, the surround sound system set up, and the TV’s audio settings adjusted, it’s time to test the audio playback to ensure everything is working as expected. Testing the audio playback will allow you to confirm that the audio is playing through the surround sound system and that all speakers are properly functioning.
Start by playing a test video or audio clip that is known to have surround sound content. Many Blu-ray discs or streaming services offer movies or shows specifically designed to showcase surround sound capabilities. Alternatively, you can download surround sound test files from reputable sources online.
As the audio plays, pay attention to the audio coming from each individual speaker. The front left, front right, and center speakers should deliver clear and distinct dialogue and sound effects, while the surround left and surround right speakers should create a sense of spaciousness and depth.
If you have a 7.1 system, make sure the surround back speakers are also producing audio, adding to the immersive experience. The subwoofer should provide deep, rumbling bass without overpowering or distorting the other sounds.
During the playback, you may also want to adjust the volume levels of each speaker to balance the sound. Most surround sound systems have a speaker level calibration feature that helps ensure each speaker is set to the appropriate volume. This can be accessed through the system’s menu or remote control.
If you notice any issues, such as missing sound from certain speakers or distorted audio, double-check the audio connections, speaker placement, and settings on both the TV and surround sound system. Ensure that all cables are securely connected, speakers are properly positioned, and settings are correctly configured.
If you’re still experiencing problems, consult the user manuals for your TV and surround sound system, as they often provide troubleshooting steps for common audio issues. You can also reach out to the manufacturers’ customer support for further assistance.
Once you’re satisfied with the audio playback and everything is working correctly, congratulations! You have successfully set up your TV to play through your surround sound system. Now it’s time to sit back, relax, and enjoy your favorite movies, shows, and games with immersive and breathtaking sound.
Step 5: Troubleshooting Tips
While setting up and configuring your TV to play through a surround sound system can be a straightforward process, occasional challenges may arise. In this step, we’ll provide you with some troubleshooting tips to help you overcome common issues that may occur along the way.
1. No sound or low volume: Double-check that the audio cables are properly connected to the correct ports on both the TV and surround sound system. Ensure that the volume levels are appropriately adjusted on both devices and that the TV’s audio output is set to the correct option compatible with your audio connection.
2. Missing or inconsistent audio from specific speakers: Verify that the speakers are wired correctly and securely connected to the surround sound system. Check the speaker balance settings on the system and make sure they’re appropriately balanced. If using a receiver, ensure that the speaker channels are correctly assigned in the setup menu.
3. Audio delay or synchronization issues: If you notice a lag between the audio and video, some TVs have audio delay settings that can be adjusted. Check your TV’s audio settings for options related to audio delay or lip-sync and make necessary adjustments until the audio is in sync with the video.
4. Poor audio quality or distorted sound: If you’re experiencing distorted sound or poor audio quality, ensure that the audio cables are of good quality and undamaged. If using HDMI, try using a different HDMI cable and verify that it supports the necessary bandwidth for high-quality audio transmission. Additionally, check the audio settings on your surround sound system and TV to ensure they’re optimized for the type of content you’re playing.
5. Compatibility issues between devices: Not all TVs and surround sound systems are fully compatible with each other. Ensure that both devices support the same audio formats and have compatible connections. It may be necessary to consult the user manuals or contact customer support for both the TV and surround sound system to check for any known compatibility issues.
Remember, troubleshooting will depend on the specific equipment you’re using, so it’s always helpful to consult the user manuals and online resources provided by the manufacturers. Additionally, don’t hesitate to reach out to customer support for further assistance if needed.
By following these troubleshooting tips, you’ll be able to address common issues that may arise when setting up your TV to play through a surround sound system. Once any problems are resolved, you can fully enjoy the immersive audio experience that surround sound provides.
Conclusion
Congratulations! You’ve reached the end of our guide on how to get your TV to play through your surround sound system. By following the steps outlined in this article, you’ve set yourself up for an incredible audio experience that will elevate your home theater to new heights.
From checking audio connections to setting up the surround sound system, adjusting audio settings on your TV to testing audio playback, and troubleshooting common issues, you’ve learned the essential steps to achieve optimal audio performance.
Surround sound technology allows you to immerse yourself in a multi-dimensional audio environment, enhancing your enjoyment of movies, TV shows, and video games. The strategic placement of speakers and proper configuration of your surround sound system are key to creating an enveloping soundstage that brings your entertainment to life.
Remember, if you encounter any challenges along the way, refer back to the troubleshooting tips provided in this article or consult the user manuals and customer support for your specific devices. Sometimes, a small adjustment or cable check can make a world of difference.
Now, sit back, relax, and get ready to be amazed by the immersive sound experience that surrounds you. Feel the deep bass rumble, hear the crisp dialogue, and become fully absorbed in your favorite movies, TV shows, and games.
Thank you for joining us on this journey to enhance your audio setup. We hope this guide has been informative and helpful. Enjoy your surround sound system, and happy watching!