Stereo
How To Reset Car Stereo
Modified: 22 January 2024
Table of Contents
First, diagnose what's actually wrong with your reset car stereo
Before you attempt to reset car stereo hardware with a paperclip, it is worth identifying the reason a stereo stops working so you do not erase your presets for a problem that lives somewhere else entirely. If you are dealing with a car stereo that keeps resetting on every ignition cycle, the culprit is rarely the head unit itself but almost always a missing constant 12‑volt supply, often because the yellow memory wire has pulled loose or a fuse has blown. For phone projection troubles, start with the basics Apple outlines by trying a different USB cable and a different port; if the iPhone is not detected, navigate to Settings > Screen Time > Content & Privacy Restrictions > Allowed Apps and confirm CarPlay is enabled. When you see a Kenwood protect error on the display, the unit has detected a short circuit and Kenwood’s guidance is to lay or insulate the speaker cable properly. Press the Reset button before you attempt to fix my stereo receiver with any deeper disassembly. On the wireless side, Apple notes that the CarPlay network must have Auto‑Join turned on under Settings > Wi‑Fi, as a single misconfigured toggle can mimic a major hardware failure.
General reset methods for any car stereo
Before you try a full system wipe, remember the faceplate trick, which resolves many freezes instantly and saves your calibration data.
When that does not work, most manufacturers hide a physical RESET button behind the faceplate; press it with a ball-point pen tip for a moment to restore normal operation. On some units, holding a specific combination of front-panel keys for more than two seconds, such as DSPL and (back)/MODE or SOURCE/OFF, accomplishes the same thing before you power the unit back on, though the exact buttons vary by model.
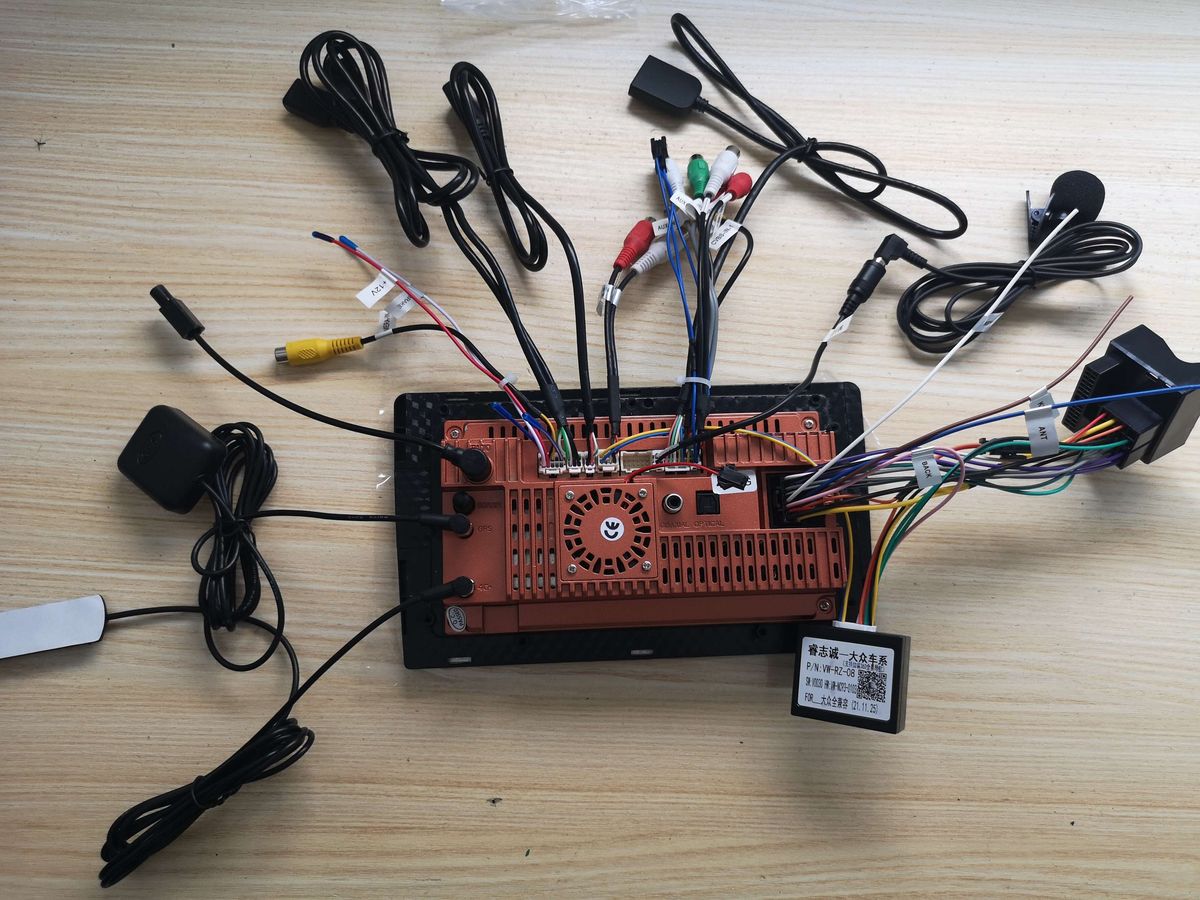
If you are trying to perform a hard reset Android car stereo procedure, that same physical reset button may be a starting point, but when deeper software issues persist, you may need to update mcu on the Android car stereo to refresh the microcontroller firmware that handles core functions. These steps fix car stereo lock-ups, blank screens, and unresponsive controls on documented Sony models before you move into device-specific menus.
Reset Pioneer, Sony, and Kenwood car stereos
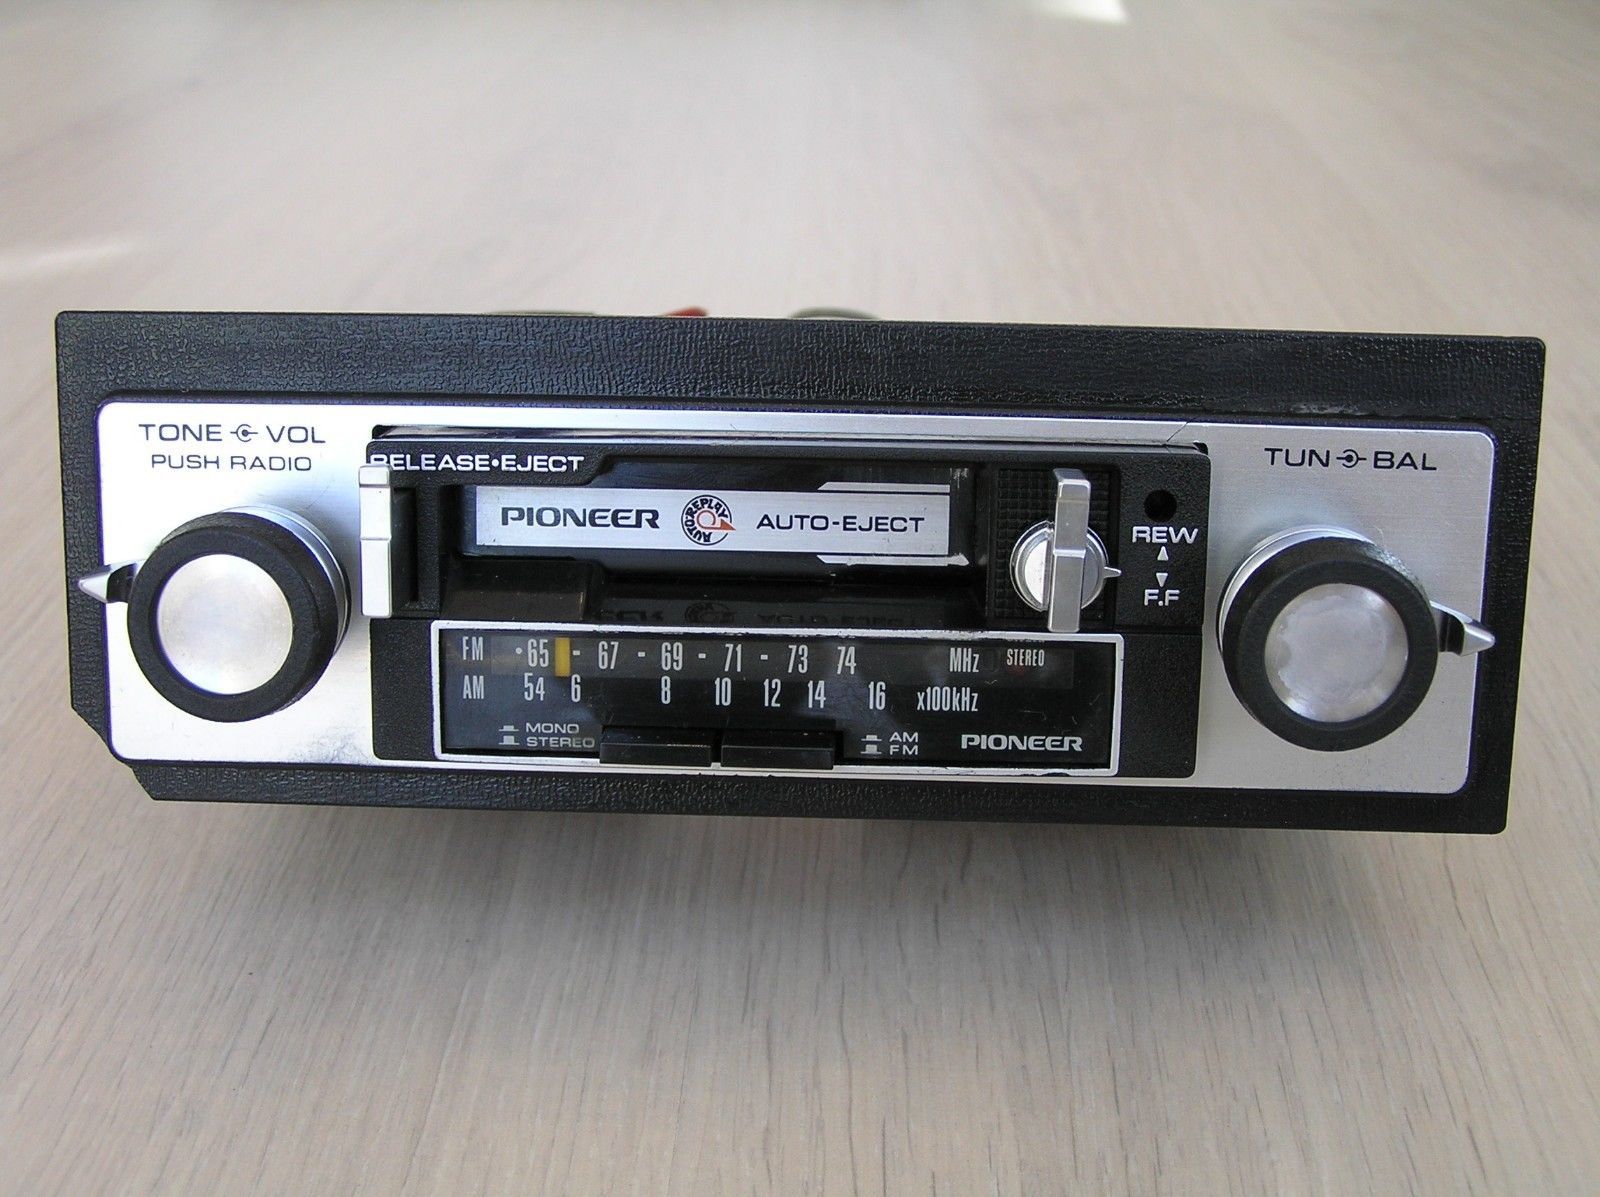
Before you wipe all your presets, try the faceplate reseat mentioned earlier, it resolves a surprising number of glitches across these three brands without touching stored settings. If that fails, the path forward depends on what is printed on your unit. For a Sony, check behind the front panel for a physical button labeled RESET. Press it with a ball-point pen tip. If your model lacks that button, the key combination to reset Sony stereo system varies, which is why you should consult the dedicated guide to ensure you use the correct sequence for your specific model. Hold DSPL and (Back)/MODE or SOURCE/OFF for more than two seconds. These are the documented sequences. On some touchscreen Sony receivers, turn the unit off with SOURCE. Hold MENU until settings appear. Navigate to Factory Reset or Initialize and confirm. Kenwood’s procedure is less centralized. If a security code lockout is your issue, book an appointment at a KENWOOD authorized service center to decode the unit. The feature only activates after the code is entered twice, so it is not triggered by accident. You may need to update pioneer car stereo firmware to resolve persistent software lock-ups before assuming the hardware is dead, and if a firmware update does not solve the problem, you can follow the steps to reset a pioneer car stereo to restore factory defaults. When a simple pinhole reset is not enough, the right model-specific walkthrough makes the difference between a quick fix and pulling the unit from the dash. The guides below cover the exact reset sequence for your head unit. They range from a basic soft reboot to a full factory restore that clears all memory. For instance, if you own a Kenwood, you can follow the instructions to reset kenwood car stereo to clear any frozen settings, while JVC owners should refer to the steps to reset a JVC car stereo for a reliable recovery method. Similarly, those with a Sony vehicle receiver can use the guide to reset Sony car stereo to eliminate audio glitches, and for a general approach, the article on how to reset car stereo provides universal troubleshooting steps that apply across multiple brands.
- reset a pioneer car stereo — How To Reset A Pioneer Car Stereo
- reset Sony car stereo — How To Reset Sony Car Stereo
- reset kenwood car stereo — How To Reset Kenwood Car Stereo
- reset car stereo — How To Reset Car Stereo
- reset a JVC car stereo — How To Reset A JVC Car Stereo
- update pioneer car stereo — How To Update Pioneer Car Stereo
- reset Sony stereo system — How To Reset Sony Stereo System
Reset other car stereo brands and factory systems
Before you attempt a full system wipe, remember the faceplate trick, reseating it resolves many freezes instantly and saves your calibration data. When a faceplate reseat does not revive your unit, the next step depends on what is printed on the front panel. For owners needing to reset an Eclipse unit, the process uses a physical button, and you can read how to reset an eclipse MP3 player for a detailed walkthrough of the procedure. Locate the small hole labeled RESET on the unit. Press the button inside with a paper clip or similar sharp tool. Keep in mind that this clears all entries from memory. It returns every setting to the factory shipment defaults. Moving to the vehicle side, a reset Toyota Corolla factory stereo procedure moves into the touchscreen menus, and you should consult the guide on how to hard reset toyota corolla s stereo to ensure you do not miss any critical steps. Open System Settings and tap Reset to Factory Settings. Confirm the prompt after acknowledging that all your saved preferences will be wiped. If those units fail to respond after the faceplate trick, check the constant power wire and fuse first. Do this before searching for a physical pinhole. None of these paths involve a phone or app. The Eclipse reset deletes everything with no partial recovery option. Treat that paper clip press as a last resort once you are certain the wiring is intact.
Fix specific stereo hardware problems
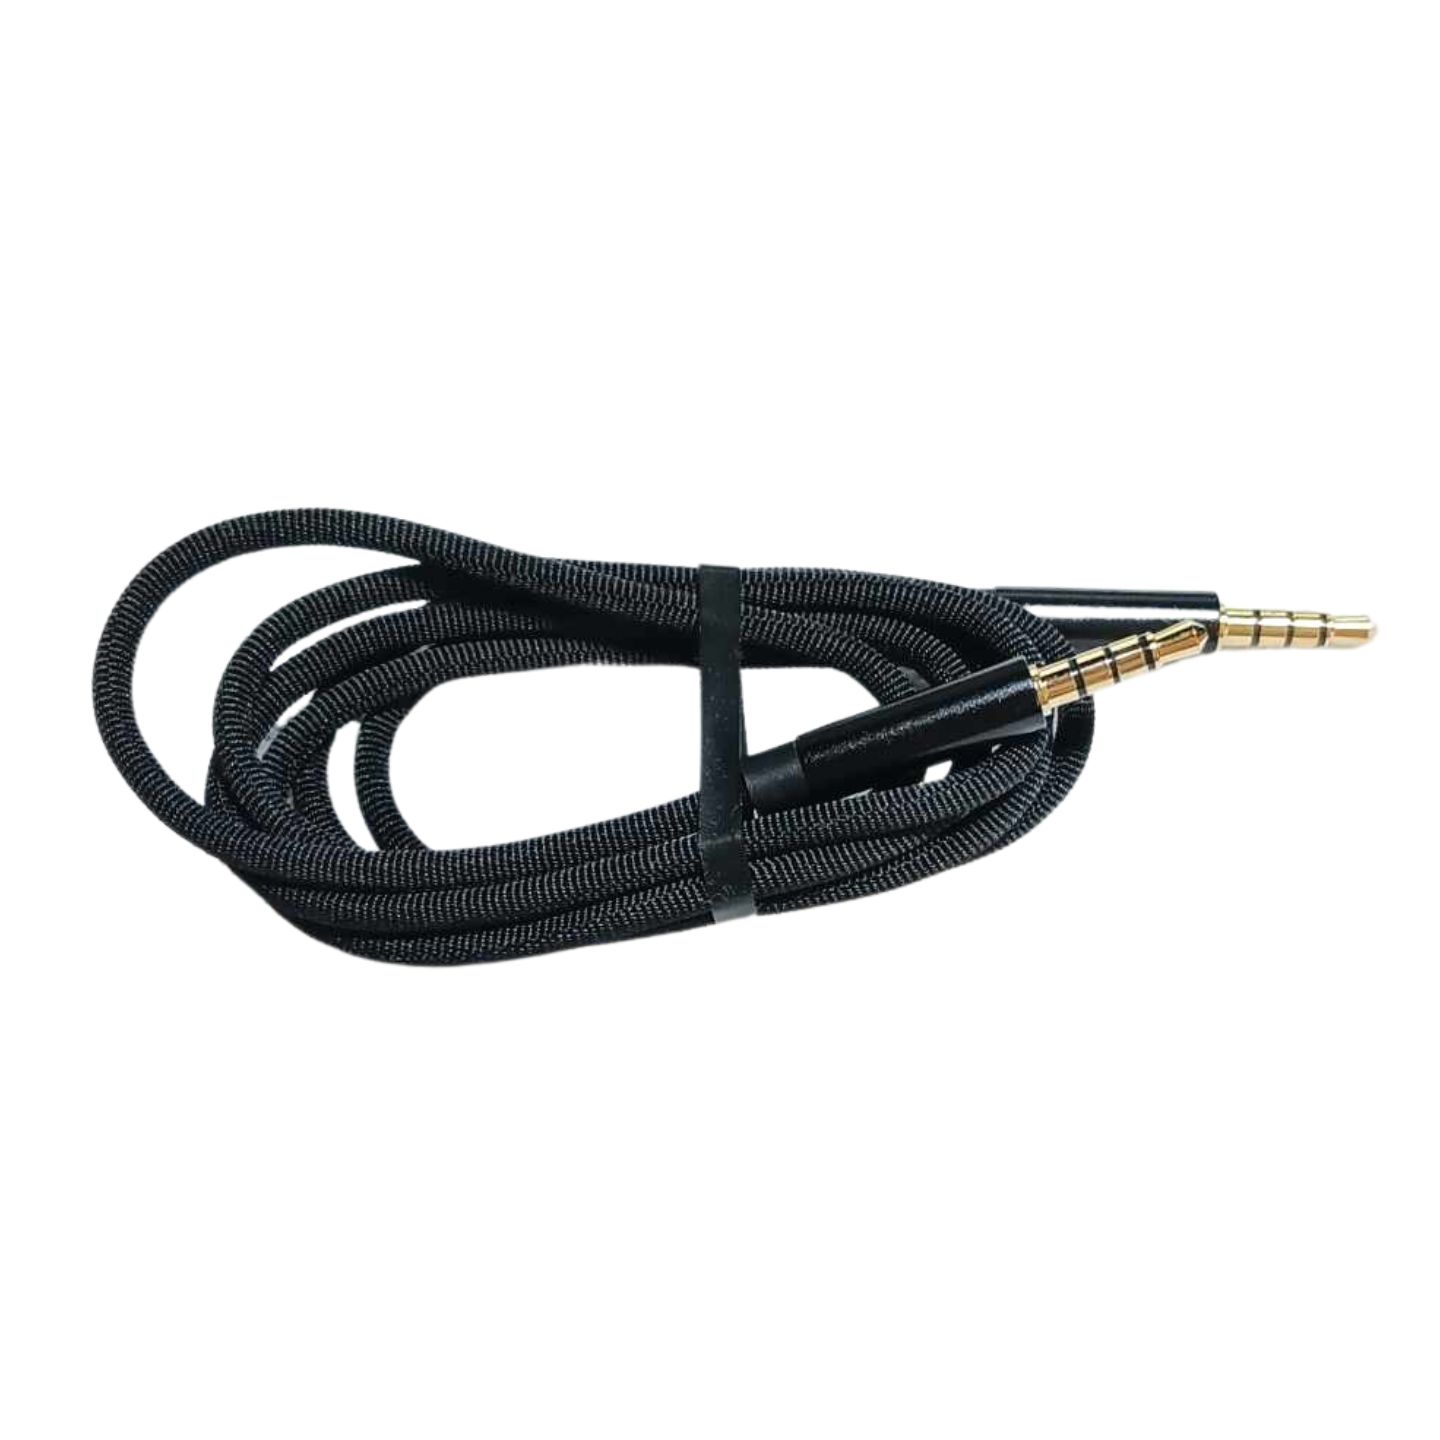
Physical ports and standalone audio components often fail for reasons that have nothing to do with the head unit’s software. Before you conclude that the internal preamp is fried, try to fix AUX port on stereo by testing with a known good cable and a different source device, inspecting and cleaning the port, and confirming the stereo is set to AUX or Line In. Inspect the socket carefully with a flashlight for pocket lint or bent contacts, and remember that newer phones may require a Lightning-to-3.5 mm or USB-C-to-3.5 mm adapter, a missing adapter often being mistaken for a dead input. When the connection is clean and the correct source mode is selected but you still get no sound, raise the volume on both the stereo and the connected device to rule out a simple gain mismatch. On the digital side, a transport issue can mimic a dead laser assembly. You should run diagnostics on audiophile cd player by first confirming the unit powers on and watching the disc tray mechanism complete its cycle without stuttering. If the player refuses to read a pristine disc, clean the lens with a dry optical-disc cleaner, which may restore playback. Persistent skipping or error codes that survive a faceplate reseat usually point to internal audio circuitry damage that requires a technician’s bench.
Reset home audio receivers and soundbars
If the problem persists, the path to reset yamaha receiver hardware runs through the ADVANCED menu, which is useful when you need to clear corrupted settings and start fresh: turn the receiver off, then power on while holding RETURN / CONNECT, turn the SELECT / Enter jog clockwise until INIT…..CANCEL appears, then press Select / Enter repeatedly until INIT…..ALL appears, which permanently erases your YPAO room measurements. For a quick soundbar refresh, you can reset yamaha YAS 209 units by using only the physical buttons on the bar itself, powering off, then holding MUTE and POWER together until every indicator except the Alexa light flashes rapidly, this is the procedure to follow when you need to restore factory defaults on that model. When you need to restore an onkyo surround sound receiver to default setting, turn the unit on and, for a TX-SR705 model family, hold the VCR/DVR input button while pressing STANDBY/ON, clearing your audio/video assignments, speaker configuration, distances, calibration settings, Audyssey settings, and programmed radio stations before dropping into standby. Owners of older shelf systems searching for an aiwa stereo reset will find that the exact button combination is not standardized in a single sequence, so inspecting the unit physically for a recessed pinhole is your best first move when you want to clear all user-programmed memory. Similarly, if you need to reset definitive technology sound bar, the available documentation does not lock in one universal key combo; reseat the faceplate and perform a power cycle as essential troubleshooting steps, then hunt for a hidden reset aperture to restore the sound bar to its out-of-box state.
- restore an onkyo surround sound receiver to default setting — How Do You Restore An Onkyo Surround Sound Receiver To Default Setting
- reset definitive technology sound bar — How To Reset Definitive Technology Sound Bar
- reset yamaha receiver — How To Reset Yamaha Receiver
- reset yamaha YAS 209 — How To Reset Yamaha YAS 209
- aiwa stereo reset — How To Reset - Aiwa Stereo