Home>Devices & Equipment>Music Box>How To Make Light Activated Music Box
Music Box
How To Make Light Activated Music Box
Published: January 11, 2024
Learn how to create a mesmerizing music box that responds to light. Step-by-step guide to make your own light activated music box. Perfect for music enthusiasts and DIY lovers.
(Many of the links in this article redirect to a specific reviewed product. Your purchase of these products through affiliate links helps to generate commission for AudioLover.com, at no extra cost. Learn more)
Table of Contents
Introduction
Welcome to the fascinating world of light activated music boxes! These enchanting devices combine the beauty of music with the magic of light, creating a captivating experience that delights both young and old. Whether you are a music lover or a DIY enthusiast, making your own light activated music box allows you to personalize your creation and showcase your creativity.
In this article, we will guide you through the process of making your very own light activated music box. We will cover all the necessary steps, from gathering the materials to connecting the circuit and testing the final setup. So, grab your tools and let’s dive into the world of music and light!
To embark on this journey, you will need a few key components and a basic understanding of electronics. Don’t worry if you’re new to this; we will explain everything in a beginner-friendly manner. By the end of this guide, you will have a fully functional music box that plays melodies whenever it detects light.
So, without further ado, let’s gather our materials and get started on this exciting DIY project!
Materials Needed
Before we begin, let’s make sure we have all the necessary materials to create our light activated music box. Here’s a list of the items you’ll need:
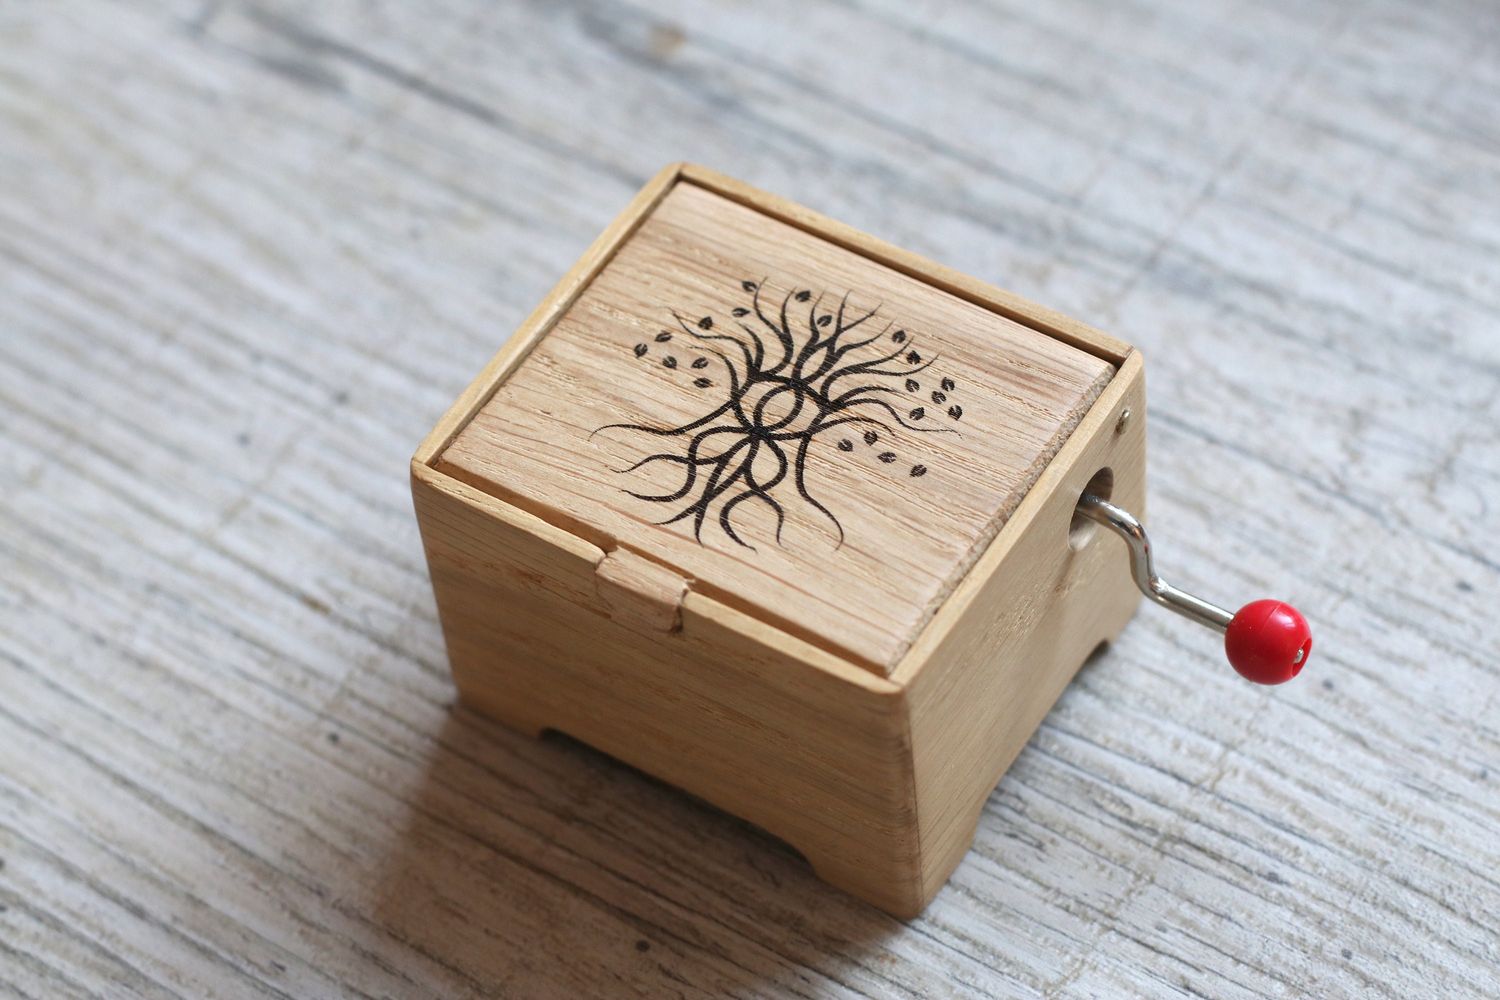
- A music box mechanism: This is the heart of our music box, producing the melodious tunes. You can find these mechanisms at craft stores or online.
- Light sensor: This electronic component detects the presence or absence of light. It will be the trigger that sets off the music box. A commonly used light sensor is the LDR (Light Dependent Resistor).
- Arduino microcontroller: The Arduino acts as the brain of our music box, interpreting the signals from the light sensor and controlling the music mechanism. You can purchase an Arduino board from various online retailers.
- Jumper wires: These are small wires used to connect the components together, ensuring a smooth flow of electrical signals.
- Resistors: Depending on your specific light sensor and Arduino, you may need one or more resistors to ensure proper voltage and current flow.
- Breadboard: A breadboard provides a platform to prototype and connect the components without soldering them together. It allows for easy testing and modification.
- Power source: You will need a power source to supply electricity to your Arduino and music box. This can be a USB cable connected to a computer or a separate power adapter.
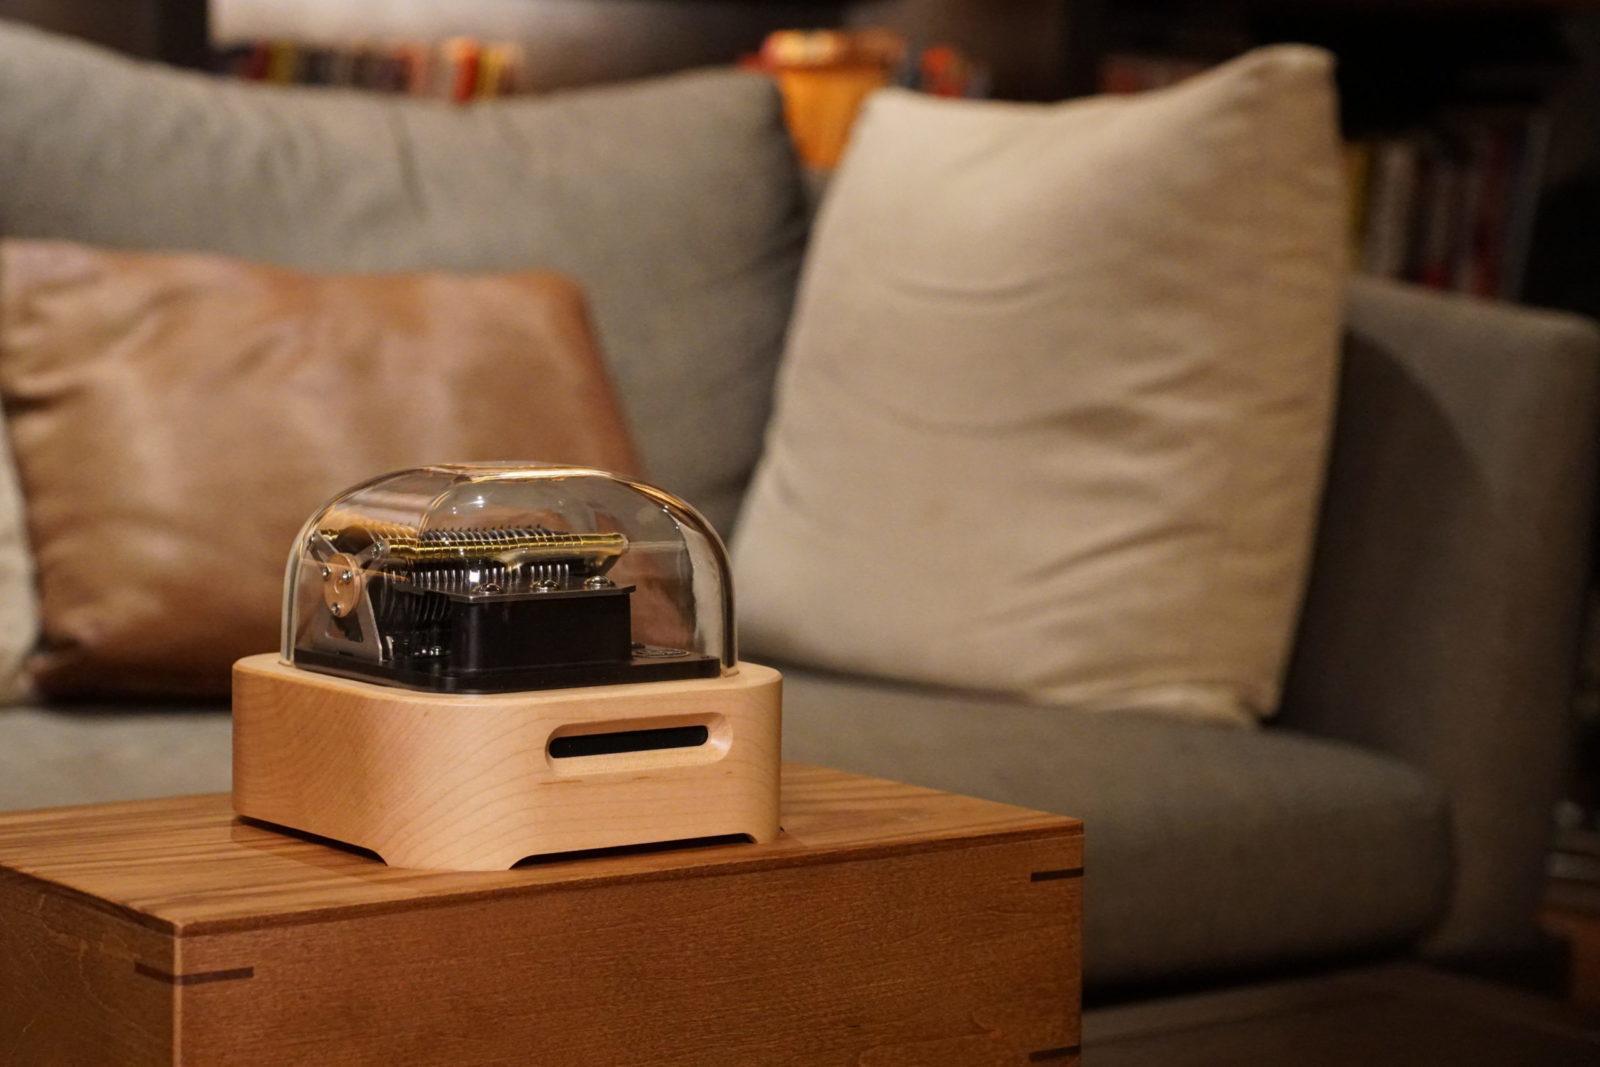
- Enclosure: While optional, an enclosure can add a professional finish to your project and protect the delicate components inside. You can choose a pre-made box or design and create your own using materials like wood or plastic.
Make sure to gather all these materials before starting your project. It’s always a good idea to have some extra jumper wires and resistors on hand in case you need them during the assembly process.
Now, let’s move on to the next step: gathering the components and getting ready to build our light activated music box!
Step 1: Gathering the Components
Now that we have our materials list ready, let’s proceed to gather all the necessary components for our light activated music box project. Double-check that you have everything on the list before moving on to the next steps.
Start by finding a music box mechanism that suits your taste. These mechanisms come in various sizes and have different tune options. You can choose a classic melody or even customize it with a tune of your own. Look for craft stores or search online for a music box mechanism that fits your preferences. Make sure to check the dimensions and specifications to ensure compatibility with your project.
Next, acquire a light sensor for our light activation feature. The LDR (Light Dependent Resistor) is a common choice, as it changes its resistance based on the light intensity it detects. This change in resistance can be used to trigger the music box mechanism. Purchase an LDR sensor from an electronics supplier or online retailer.
Now, it’s time to get an Arduino microcontroller board. The Arduino will serve as the brain of our music box, interpreting the signals from the light sensor and controlling the music mechanism. You can find Arduino boards in different models, such as Arduino Uno or Arduino Nano. Choose the one that suits your project requirements and budget. Remember to include a USB cable or a separate power adapter to provide power to the Arduino.
Don’t forget to stock up on jumper wires to connect the components together. The jumper wires ensure proper electrical connections and allow us to prototype and test the circuit on a breadboard before final assembly. Various online stores offer jumper wire sets in different lengths and colors, making it easier to organize and identify the connections.
Depending on the specific LDR sensor and Arduino board you have chosen, you may need resistors to ensure the proper voltage and current flow. Check the datasheets of the components to determine the required resistor values and quantities. Purchase the necessary resistors accordingly to ensure smooth circuit operations.
Lastly, consider whether you want to enclose your music box in a protective case or enclosure. While optional, an enclosure can add a professional aesthetic and protect the delicate components inside. You can choose a pre-made box or even craft your own using materials like wood or plastic. Make sure to leave enough space inside the enclosure for the components to fit comfortably.
Once you have gathered all the necessary components, you’re ready to proceed to the next step: assembling the circuit for our light activated music box.
Step 2: Assembling the Circuit
Now that we have all our components ready, let’s start assembling the circuit for our light activated music box. Remember to work in a well-lit and static-free environment to ensure the safety and proper functioning of the components.
Begin by placing the Arduino microcontroller board on the breadboard. The board should straddle the central divide of the breadboard, with its headers inserted into the appropriate rows. Make sure the board sits securely and is aligned correctly.
Next, grab your jumper wires and connect the Arduino to the breadboard. Connect the 5V pin on the Arduino to the positive (+) rail of the breadboard and the GND (ground) pin to the negative (-) rail of the breadboard. These connections will provide power to the breadboard and the other components.
Now, locate the LDR sensor in your components. Connect one leg of the LDR to the positive rail of the breadboard using a jumper wire. Connect the other leg to the GND rail of the breadboard using another jumper wire. These connections ensure that the LDR is powered and grounded properly.
Since the LDR changes its resistance based on light intensity, we need to create a voltage divider circuit to measure this change. Connect a resistor between the A0 pin on the Arduino and the junction of the LDR and the jumper wire connected to the positive rail. This resistor will help stabilize the voltage and prevent inaccurate readings.
Now, we need to connect the music box mechanism to the Arduino. Locate the appropriate pins on the Arduino that can generate PWM (Pulse Width Modulation) signals. These pins will be responsible for controlling the speed and timing of the music box mechanism. Connect these pins to the corresponding inputs on the music box mechanism using jumper wires.
Double-check all the connections to ensure they are secure and properly connected. Cross-reference with circuit diagrams or tutorials if needed.
With the circuit assembled, it’s time to move on to the next step: wiring the light sensor for our light activation feature.
Step 3: Wiring the Light Sensor
Now that our circuit is assembled, it’s time to wire the light sensor and integrate it into our music box setup. The light sensor will be the key component responsible for activating the music when light is detected.
Start by locating the output leg of the light sensor (LDR) that is connected to the resistor. This leg will provide the varying voltage signal based on the detected light intensity. Connect this leg to one of the analog input pins on the Arduino, such as A1 or A2, using a jumper wire.
Next, we need to supply power to the light sensor. Connect the leg of the light sensor that is connected to the positive rail of the breadboard to the 5V pin on the Arduino using a jumper wire. This will ensure that the light sensor has the necessary power to function.
Finally, connect the other leg of the light sensor, the one that is connected to the negative rail of the breadboard, to the GND (ground) pin on the Arduino using a jumper wire. This connection will complete the circuit and provide the necessary reference for the light sensor’s operation.
Take a moment to review all the connections and make sure they are secure and properly connected. You can use a multimeter to check the continuity and voltage across the connections if needed.
With the light sensor correctly wired, we are ready to move on to the next step: connecting the music box mechanism to our setup.
Step 4: Connecting the Music Box
Now that we have wired the light sensor, it’s time to connect the music box mechanism and integrate it into our light activated music box setup. The music box mechanism will bring the magic of melodies into our project.
Start by identifying the input pins on the music box mechanism. Typically, there are pins labeled “+”, “-“, and “SIG” (signal). Check the documentation or the manufacturer’s instructions to ensure you are connecting the correct pins.
Connect the “+” pin of the music box mechanism to the positive rail of the breadboard using a jumper wire. This will provide power to the music box mechanism.
Connect the “-” pin of the music box mechanism to the GND (ground) rail of the breadboard. This connection ensures that the ground of the music box mechanism is shared with the rest of the circuit.
Lastly, connect the “SIG” (signal) pin of the music box mechanism to one of the digital output pins on the Arduino. Choose a pin that supports PWM (Pulse Width Modulation) signals, as this will allow us to control the speed and timing of the music box mechanism.
Double-check all the connections to ensure they are secure and properly connected. Make sure the pins of the music box mechanism are inserted correctly, as an incorrect connection may cause the mechanism to operate improperly.
We are almost there! The final step is testing and troubleshooting our setup to ensure everything is working as expected.
Step 5: Testing and Troubleshooting
Now that our light activated music box is fully assembled, it’s time to test its functionality and troubleshoot any potential issues. Follow these steps to ensure a successful testing process:
1. Power on the Arduino by connecting it to a power source, either through a USB cable or a separate power adapter. Make sure the power is properly supplied to the Arduino and that all the components are receiving power.
2. Place the light sensor in an area with varying light conditions, such as near a window or under a lamp. Observe the behavior of the music box mechanism in response to light. When the light intensity changes, the music should start playing or stop playing, based on the program you have written for the Arduino.
3. If the music box mechanism does not respond to changes in light intensity, double-check all the connections and ensure they are properly secured. Look for loose wires or loose connections that may be causing the issue.
4. Verify the code uploaded to the Arduino. Ensure that the code correctly reads the analog input from the light sensor and triggers the music box mechanism accordingly. Make any necessary adjustments to the code if needed.
5. If you encounter any issues, consult online resources, forums, or tutorials for troubleshooting advice specific to your components and setup. Often, other DIY enthusiasts have encountered similar problems and can provide valuable insights and solutions.
6. Remember to be patient and methodical during the troubleshooting process. Sometimes, a small oversight can lead to unexpected behavior. Take your time to identify and rectify any issues that arise.
With thorough testing and troubleshooting, you’ll be able to ensure that your light activated music box is functioning correctly and bringing joy with its beautiful melodies.
Congratulations! You have successfully created your very own light activated music box. Now it’s time to enjoy the magic of music and light, or perhaps gift it to someone special and brighten their day.
Feel free to experiment and customize your music box further. You can add additional sensors, program different tunes, or even design a unique enclosure to make it truly one-of-a-kind.
Thank you for joining us on this creative journey. We hope you had fun building your light activated music box and discovered the enchanting blend of music and light.
Conclusion
Congratulations on completing your light activated music box! You have embarked on a creative journey and successfully combined the realms of music and light in a captivating DIY project. The result is a unique and enchanting device that brings joy and wonder to those who experience it.
Throughout this guide, we learned how to gather the necessary materials, assemble the circuit, wire the light sensor, connect the music box mechanism, and perform testing and troubleshooting. By following these steps, you built a fully functional music box that plays melodies in response to changes in light intensity.
When it comes to personalization, the possibilities are endless. You can experiment with different tunes, add more sensors to create different triggering mechanisms, or even design a custom enclosure to enhance the aesthetics. Let your imagination soar and make your music box truly unique.
This project not only provided an opportunity for hands-on learning but also introduced you to the fascinating world of electronics and DIY craftsmanship. As you gained familiarity with components like the Arduino, light sensor, and music box mechanism, you developed valuable skills that can be applied to future projects.
Remember to continue exploring and expanding your knowledge in the realm of DIY electronics. There are countless other projects and possibilities waiting to be discovered, each offering a chance to explore your creativity and expand your skills even further.
We hope that this guide has inspired you to bring music and light together in other creative endeavors. Share your music box creation with others and spread the joy and wonder it brings. Who knows, you might even inspire someone else to embark on their own DIY adventure.
Thank you for joining us on this journey to create a light activated music box. We hope you enjoyed the process and that your music box continues to enchant and delight for years to come!