Home>Devices & Equipment>Turntable>How To Remove A Platter Turntable

Turntable
How To Remove A Platter Turntable
Published: January 17, 2024
Learn how to remove a platter turntable with our step-by-step guide. Safely take apart your turntable and make repairs or upgrades to enhance your listening experience.
(Many of the links in this article redirect to a specific reviewed product. Your purchase of these products through affiliate links helps to generate commission for AudioLover.com, at no extra cost. Learn more)
Table of Contents
Introduction
Welcome to the world of turntables! If you’re a music enthusiast or an audiophile, chances are you have a turntable as part of your audio setup. Turntables are a classic and timeless way to enjoy your favorite vinyl records, offering a warm and rich sound that digital formats often lack. However, like any other audio equipment, turntables require regular maintenance to ensure optimal performance and longevity.
One important aspect of turntable maintenance is removing the platter. The platter is the rotating component that holds the vinyl record in place while it spins. Over time, dust, dirt, and even build-up from record cleaning products can accumulate on the platter, affecting the sound quality and overall performance of your turntable. Removing the platter not only allows you to clean it thoroughly but also provides access to the turntable’s internal components for any necessary repairs or adjustments.
In this guide, we will walk you through the step-by-step process of removing a platter from a turntable. We will also provide tips on how to clean and care for the platter, as well as how to reassemble the turntable once the platter has been removed. Whether you are a seasoned turntable owner or just starting out, this guide will help you maintain your turntable and keep it sounding its best.
Step 1: Gather the necessary tools
Before you begin the process of removing the platter from your turntable, it’s important to gather all the necessary tools. Having the right tools on hand will make the process easier and help you avoid any potential damage to your turntable. Here are the tools you’ll need:
- A screwdriver: Depending on the make and model of your turntable, you may need a Phillips or flathead screwdriver to loosen and remove screws or fasteners holding the platter in place.
- A lint-free cloth or microfiber cloth: This will be used to clean the platter and remove any dust or debris.
- A cleaning solution: If the platter requires more than just a dry cloth, you may need a vinyl record cleaning solution or isopropyl alcohol diluted with distilled water to effectively clean the surface.
- A soft brush or stylus brush: This will be used to gently brush away any dust or debris from the stylus or needle.
- Tweezers or a pair of fine-tip pliers: These tools can be handy for removing any small screws or parts that might be difficult to grasp by hand.
Make sure to have all of these tools assembled and within easy reach before proceeding to the next step. Having everything prepared will save you time and frustration during the process.
Step 2: Unplug the turntable
Prior to removing the platter from your turntable, it is crucial to ensure the device is unplugged. This step is essential for your safety as well as the protection of the turntable’s internal components.
Unplugging the turntable prevents any accidental power surges or electrical shocks while you are working on it. It also minimizes the risk of damaging any electrical connections or causing a short circuit.
To unplug the turntable, locate the power cord and follow it to the power source. This may be a wall outlet or a power strip. Ensure that the cord is completely disconnected from the power source to guarantee your safety.
It is also a good practice to double-check that the turntable is completely powered off. Some turntables have a separate power switch that should be in the off position. Verify that the switch is off before proceeding to the next step.
By taking the time to unplug the turntable, you are prioritizing your safety and reducing the risk of any electrical mishaps. With the turntable safely unplugged, you can proceed confidently to the next step of removing the platter.
Step 3: Remove the platter
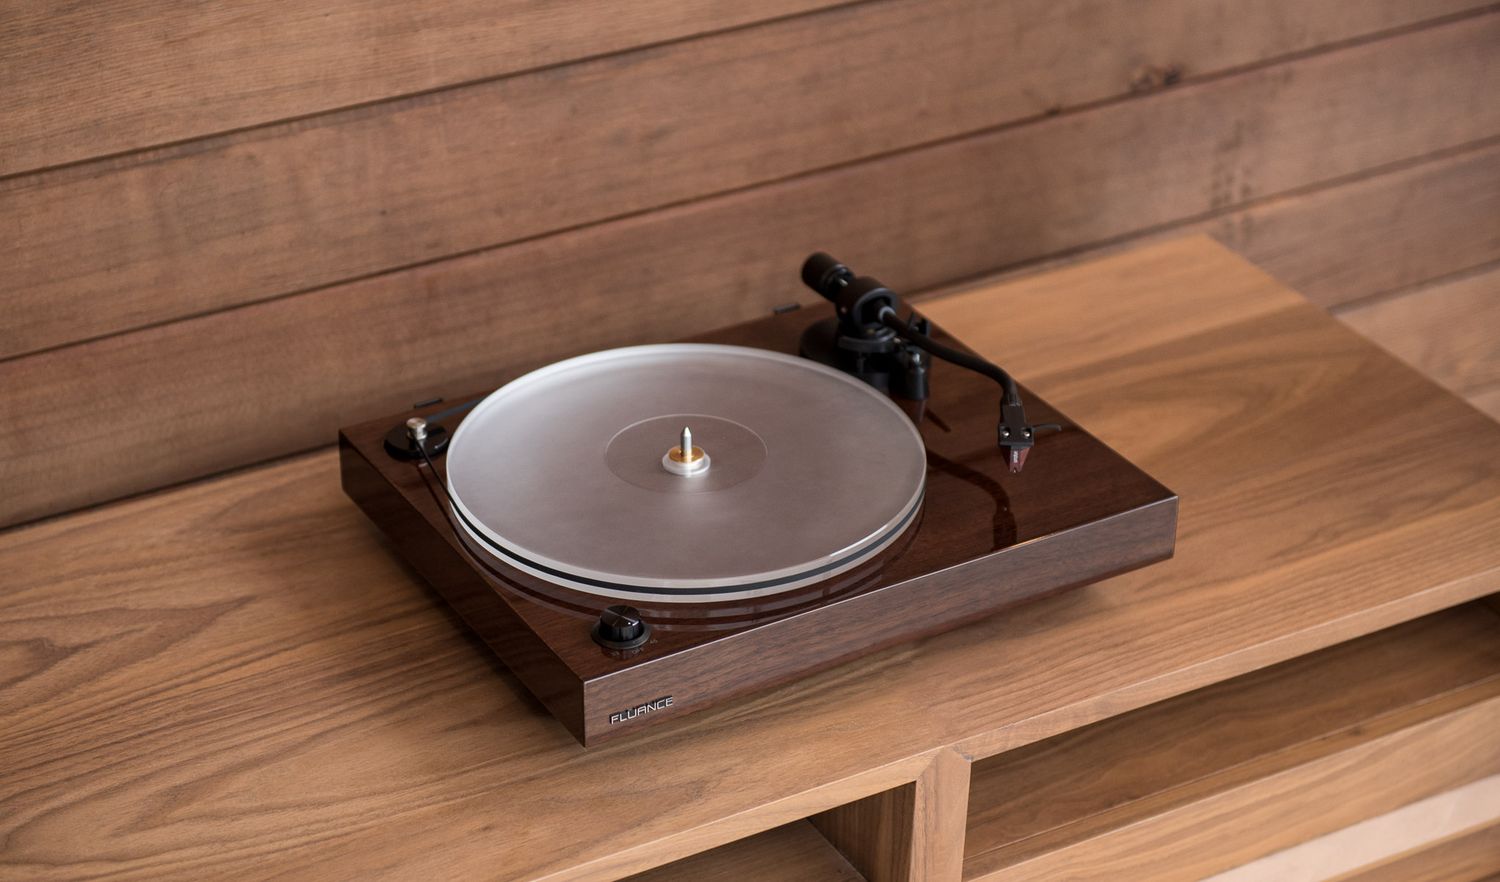
Now that the turntable is unplugged and powered off, you can proceed with removing the platter. The platter is the circular component that sits atop the turntable and holds the vinyl record in place while it spins.
The removal process may vary depending on the make and model of your turntable, so it’s a good idea to consult the user manual specific to your device. However, here is a general step-by-step guide to help you remove the platter:
- Locate any screws or fasteners holding the platter in place. These are typically found near the center spindle or along the circumference of the platter.
- Using the appropriate screwdriver or tool, carefully loosen and remove the screws. Set them aside in a safe place so they don’t get lost.
- Gently grip the edges of the platter with both hands. Apply even pressure and lift the platter straight up. Avoid rocking or tilting the platter, as this can cause damage to the turntable’s mechanism.
- If the platter feels stuck or resistant, check for any additional screws or fasteners that may be securing it. Some turntables may have multiple layers or components that need to be removed before accessing the platter.
- Once the platter is lifted, carefully set it aside on a clean and stable surface. Be mindful of any delicate parts like the turntable belt or tonearm that may be attached to the platter.
With the platter removed, you now have access to the underlying components of the turntable. Take this opportunity to inspect for any visible dust, dirt, or debris on the surface or inside the turntable. Cleaning these areas will help maintain optimal performance and prevent any potential issues in the future.
Make sure to handle the platter with care to avoid any damage. Keep the removed screws and small parts in a safe place for easy reassembly later. With the platter successfully removed, you are ready to move on to the next step of cleaning the turntable.
Step 4: Clean the turntable
Now that you have successfully removed the platter from your turntable, it’s time to clean both the platter and the turntable surface. Cleaning your turntable regularly helps to maintain its performance and prolong its lifespan.
Here are the steps you can follow to effectively clean your turntable:
- Start by gently wiping down the surface of the turntable with a lint-free or microfiber cloth. This will remove any loose dust or debris that may have accumulated.
- If there are stubborn stains or grime on the turntable surface, dampen the cloth with a mild vinyl record cleaning solution or a mixture of isopropyl alcohol and distilled water. Gently scrub the affected areas to remove the dirt, being careful not to apply too much pressure or get any liquid near the turntable’s sensitive components.
- While cleaning the surface, also pay attention to the tonearm and stylus. Use a soft brush or stylus brush to gently remove any dust or debris from the stylus. Avoid touching the stylus directly to prevent any damage.
- Next, turn your attention to the platter. Use a separate clean cloth or microfiber cloth to wipe down the platter. Again, if there are stains or residue, use a vinyl record cleaning solution or isopropyl alcohol diluted with water to remove them.
- For deep cleaning, you can remove any dust or debris from the underside of the platter. Carefully flip the platter over and inspect for any build-up. You can use a soft brush or cloth to gently wipe away the dirt.
- Allow all cleaned components to dry completely before reassembling the turntable.
Remember to follow the manufacturer’s recommendations and guidelines for cleaning your specific turntable. Some turntables may have specific cleaning instructions or recommend certain products to use or avoid.
Cleaning your turntable on a regular basis helps to maintain its overall performance and ensure optimal sound quality. With a clean turntable, you can enjoy your vinyl records to their fullest potential.
Step 5: Reassemble the turntable
After cleaning the turntable and platter, it’s time to reassemble the components and get your turntable back in working order. Here are the steps to follow:
- Ensure that the turntable is still powered off and unplugged from the power source.
- Take the cleaned platter and carefully position it back onto the turntable. Align it properly with the spindle in the center.
- If there were any screws or fasteners holding the platter in place, reinsert them and tighten them securely. Make sure not to overtighten, as this can cause damage.
- If your turntable has a separate belt drive system, you will need to reattach the belt. Consult your user manual for specific instructions on how to properly position and secure the belt on your turntable.
- Once the platter is securely in place, double-check that all screws or fasteners are tightened, and ensure that the platter spins freely without any obstruction.
- Connect the turntable back to the power source by plugging in the power cord. Double-check that the power switch is in the off position before turning it on.
- Power on the turntable and test that it is functioning properly. Check for any unusual noises or performance issues.
- If everything is working as expected, you have successfully reassembled your turntable. Congratulations!
It’s important to note that each turntable model may have unique reassembly steps, so referring to your user manual is always recommended. Following the manufacturer’s instructions will ensure that you reassemble the turntable correctly and avoid any potential damage.
By reassembling the turntable with care, you can enjoy your vinyl records once again with optimal sound quality and performance.
Conclusion
Congratulations! You’ve now learned how to remove the platter from your turntable, clean it, and reassemble your beloved audio equipment. By following these steps and properly maintaining your turntable, you can ensure optimal performance and longevity.
Regularly removing the platter and cleaning both the turntable surface and platter not only helps to maintain the overall sound quality but also prevents any build-up of dust and debris that can potentially damage your turntable’s components.
Remember to always unplug the turntable before beginning any maintenance tasks and refer to your specific turntable’s user manual for any model-specific instructions or recommendations.
Additionally, it is advisable to clean your vinyl records before playing them on your freshly maintained turntable. This will help to prevent any dust or debris from transferring back onto the cleaned platter and stylus.
With a clean and well-maintained turntable, you can immerse yourself in the warm, analog sound of your favorite vinyl records for years to come. Enjoy your music and happy listening!

