Home>Devices & Equipment>Yamaha>How To Connect IPad To Yamaha P125
Yamaha
How To Connect IPad To Yamaha P125
Modified: February 11, 2024
Learn how to connect your iPad to the Yamaha P125 and enhance your music experience. Follow our step-by-step guide and unlock a world of possibilities with Yamaha.
(Many of the links in this article redirect to a specific reviewed product. Your purchase of these products through affiliate links helps to generate commission for AudioLover.com, at no extra cost. Learn more)
Table of Contents
Introduction
Connecting your iPad to the Yamaha P125 opens up a whole new world of possibilities for musicians and enthusiasts alike. The Yamaha P125 is a versatile and powerful digital piano that offers a wide range of sounds and features. By connecting your iPad to the P125, you can unlock even more functionality and control, allowing you to enhance your playing experience and explore new musical horizons.
In this article, we will guide you through the step-by-step process of connecting your iPad to the Yamaha P125. Whether you want to use your iPad as a controller, access additional sounds and effects, or learn and practice with interactive apps, we’ve got you covered.
Before we dive into the details, let’s go over the requirements to ensure you have everything you need:
Requirements:
- Yamaha P125 digital piano
- Apple iPad (3rd generation or later) running iOS 8.0 or higher
- USB to lightning cable (official Apple cable recommended for reliable performance)
- Yamaha Smart Pianist app (available for free on the App Store)
Now that you have the necessary equipment and software, let’s get started with the first step of connecting your iPad to the Yamaha P125.
Requirements
Before you can connect your iPad to the Yamaha P125, there are a few things you’ll need to ensure a successful connection and optimal performance. Here’s a list of the requirements:
- Yamaha P125 digital piano: The P125 is a versatile and feature-rich digital piano that serves as the centerpiece of your music setup. It offers a wide range of sounds, effects, and settings, making it a popular choice among musicians of all skill levels.
- Apple iPad (3rd generation or later) running iOS 8.0 or higher: To connect your iPad to the P125, you’ll need an iPad that is compatible with the Yamaha Smart Pianist app. This includes the 3rd generation iPad or any newer model, running iOS 8.0 or higher.
- USB to lightning cable: To establish a physical connection between your iPad and the P125, you’ll need a USB to lightning cable. It’s recommended to use the official Apple cable for reliable performance and compatibility.
- Yamaha Smart Pianist app: The Yamaha Smart Pianist app is a free app available on the App Store. It offers a wide range of features, including sound customization, recording and playback, and access to additional functions of the P125. Ensure that you have the app installed on your iPad before proceeding.
By having these requirements fulfilled, you’ll be ready to connect your iPad to the Yamaha P125 and unlock its full potential. Now, let’s move on to the step-by-step process of establishing the connection.
Step 1: Powering On the Yamaha P125
Before connecting your iPad to the Yamaha P125, ensure that the piano is powered on and ready for use. Follow these steps to power on the P125:
- Locate the power switch on the back of the P125. It is usually located near the power input jack.
- Turn on the power switch by pushing it to the “ON” position.
- Once the piano is powered on, you will see the display screen and the LED indicators light up.
- Wait for the piano to initialize, which usually takes a few seconds.
- Verify that the volume is set to an appropriate level by using the volume control knobs on the piano, ensuring that it’s not too low or too high.
Now that your Yamaha P125 is powered on and ready, it’s time to move on to the next step of connecting your iPad.
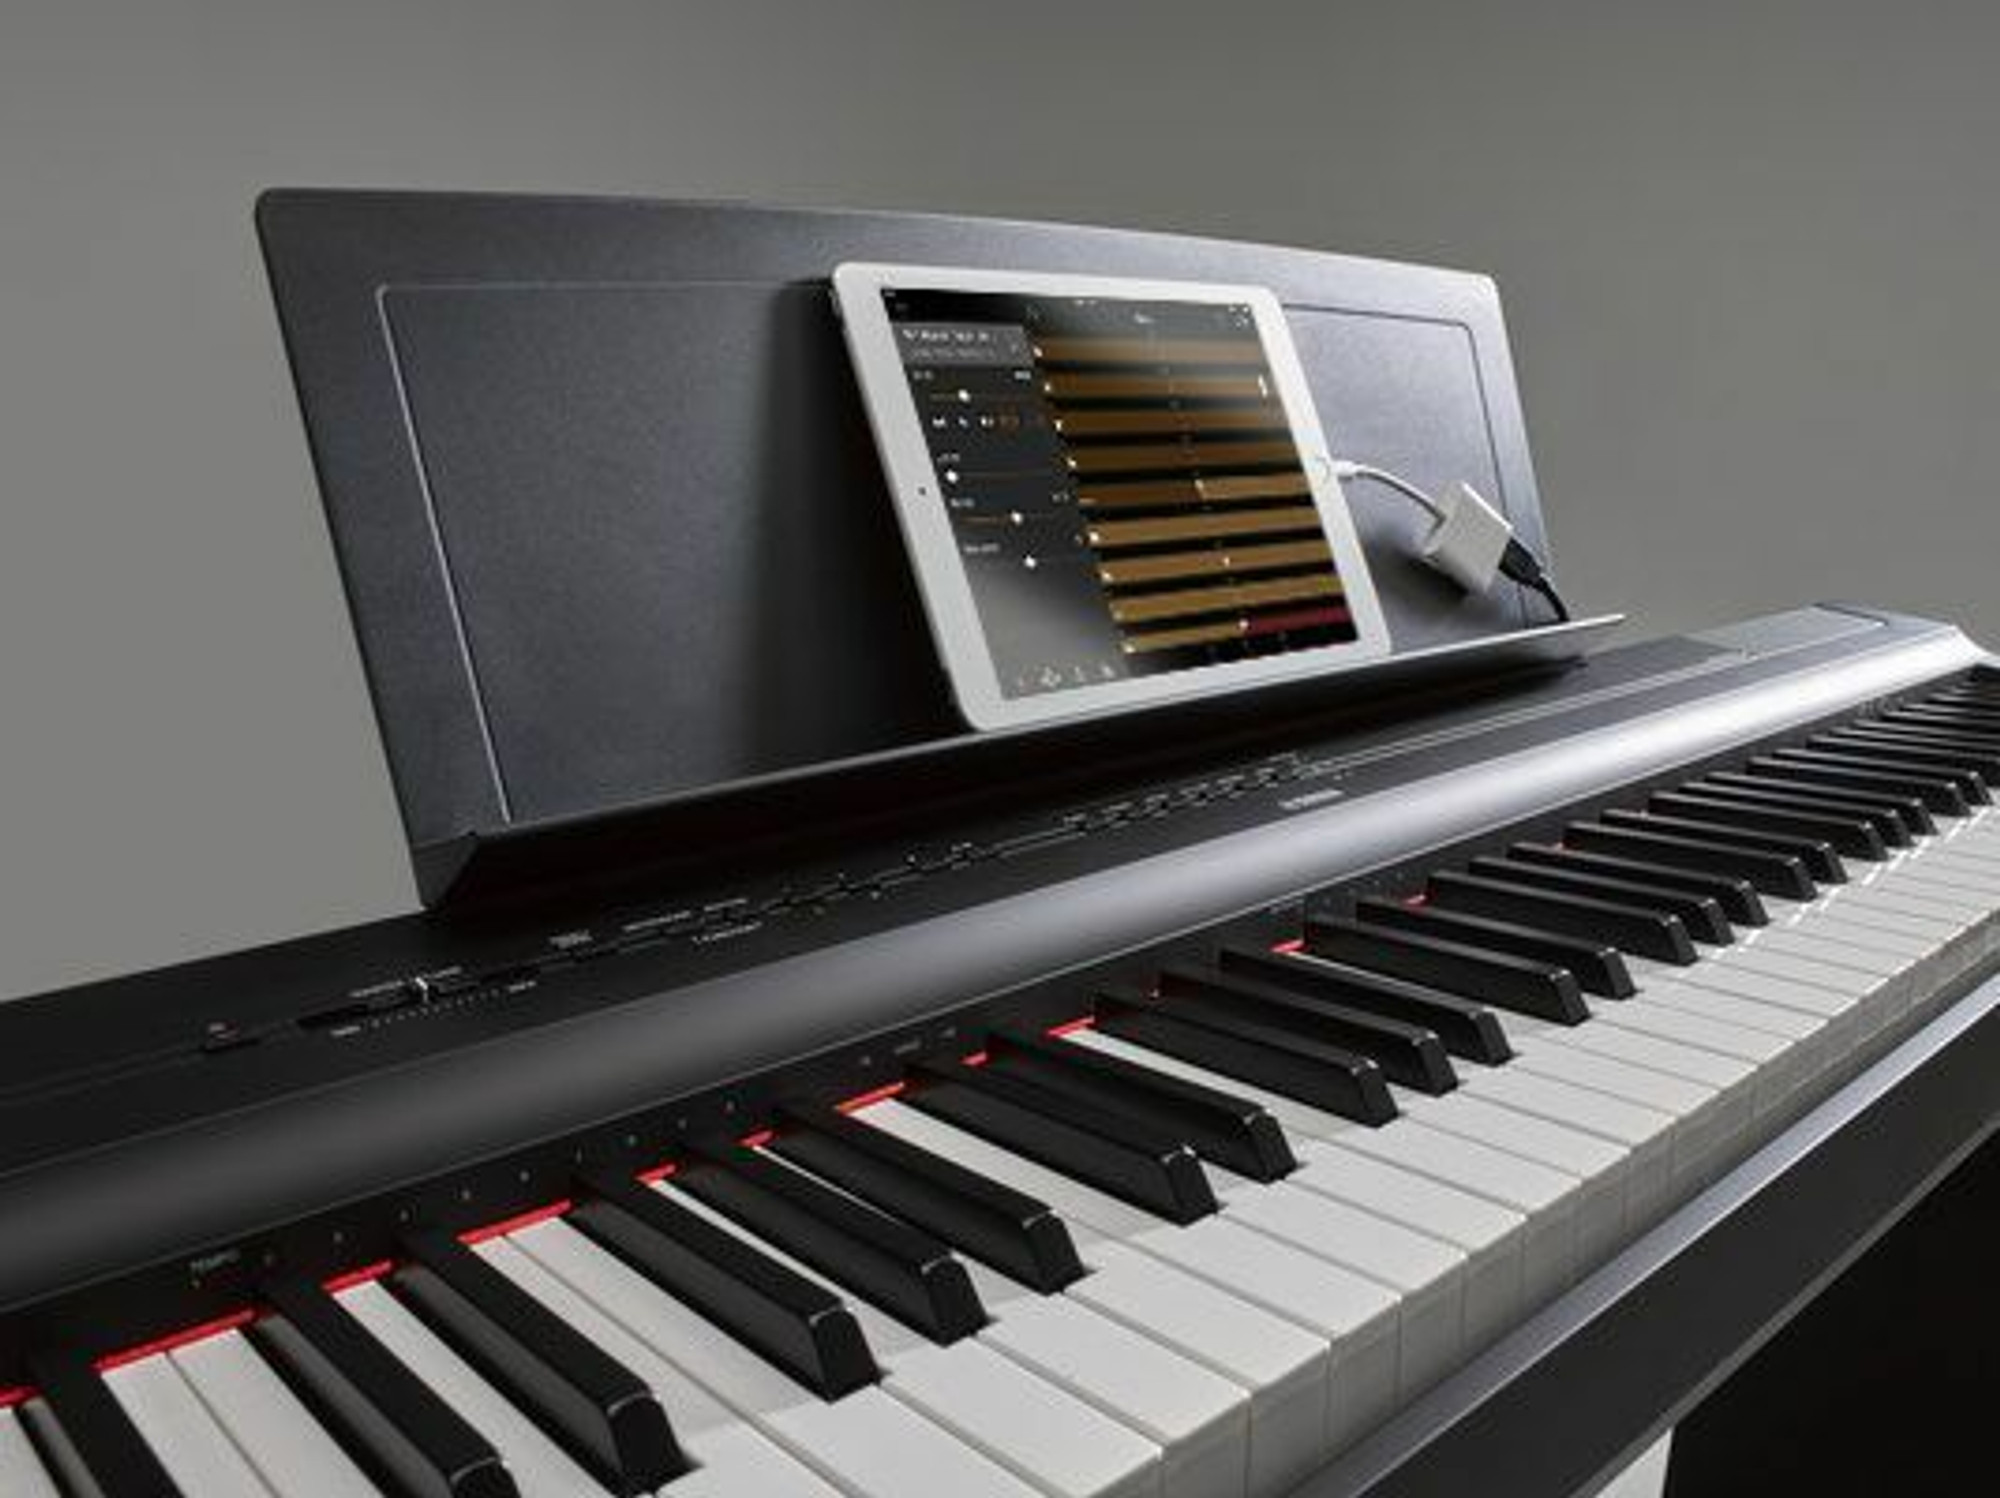
Step 2: Connecting the iPad to the P125
Now that your Yamaha P125 is powered on, it’s time to establish a physical connection between your iPad and the piano. Follow these steps to connect your iPad to the P125:
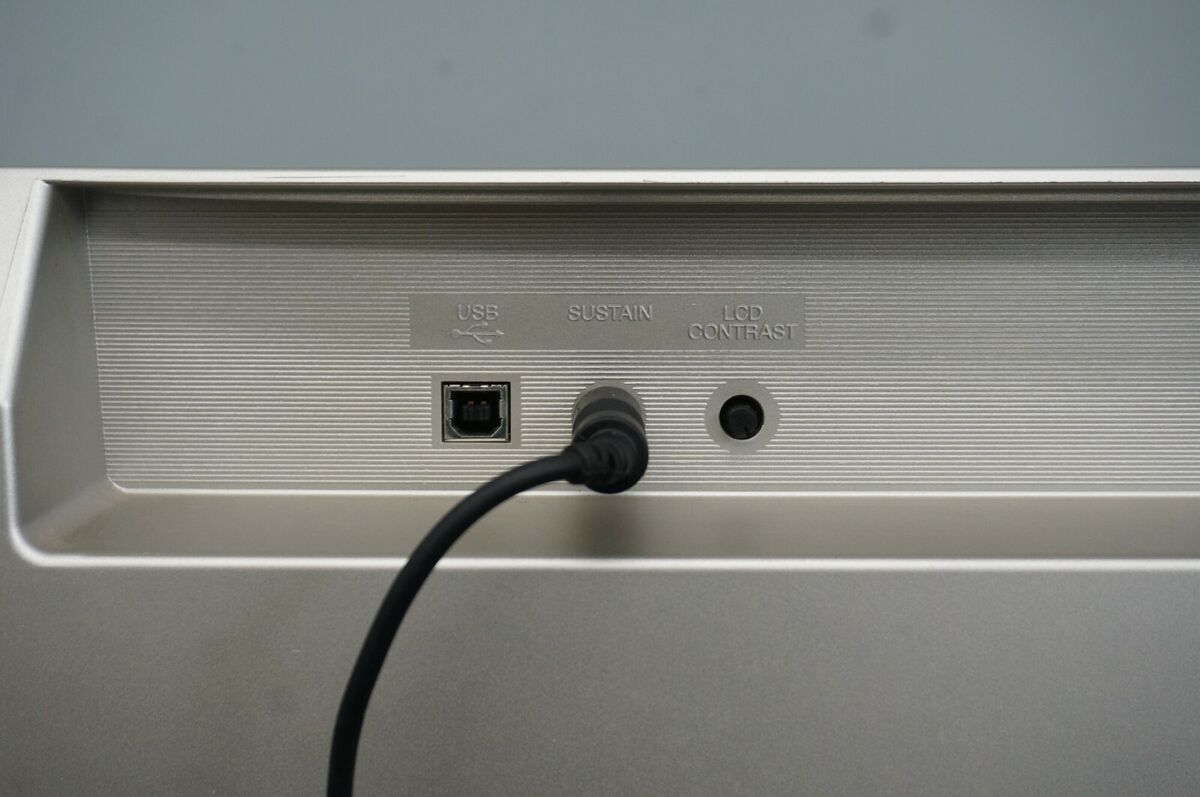
- Locate the USB to lightning cable.
- Connect one end of the cable to the lightning port on your iPad. Make sure you insert it securely.
- Connect the other end of the cable to the USB-to-Host port on the back of the P125. The USB-to-Host port is usually labeled with a small USB icon.
- Ensure that the cable is securely connected to both the iPad and the P125.
Once the cable is successfully connected, you have established a physical connection between your iPad and the Yamaha P125. The next step is to configure the connection settings. Let’s proceed to the next step.
Step 3: Configuring the Connection Settings
After connecting your iPad to the Yamaha P125, you’ll need to configure the connection settings to ensure proper communication between the devices. Follow these steps to configure the connection settings:
- On your iPad, open the Yamaha Smart Pianist app.
- In the app, tap on the “Settings” icon, usually located in the top right corner of the screen.
- In the settings menu, locate the “MIDI” section.
- Ensure that the “MIDI In/Out” option is set to “P125.”
- Tap on the “P125” option to select it, if it’s not already selected.
By configuring the connection settings, you have successfully established the communication between your iPad and the Yamaha P125. Now, let’s move on to the next step and explore how you can utilize your iPad with the P125.
Step 4: Using the iPad with the Yamaha P125
Now that your iPad is connected to the Yamaha P125 and the connection settings are configured, you can start exploring the various ways to use your iPad with the piano. Here are some possibilities:
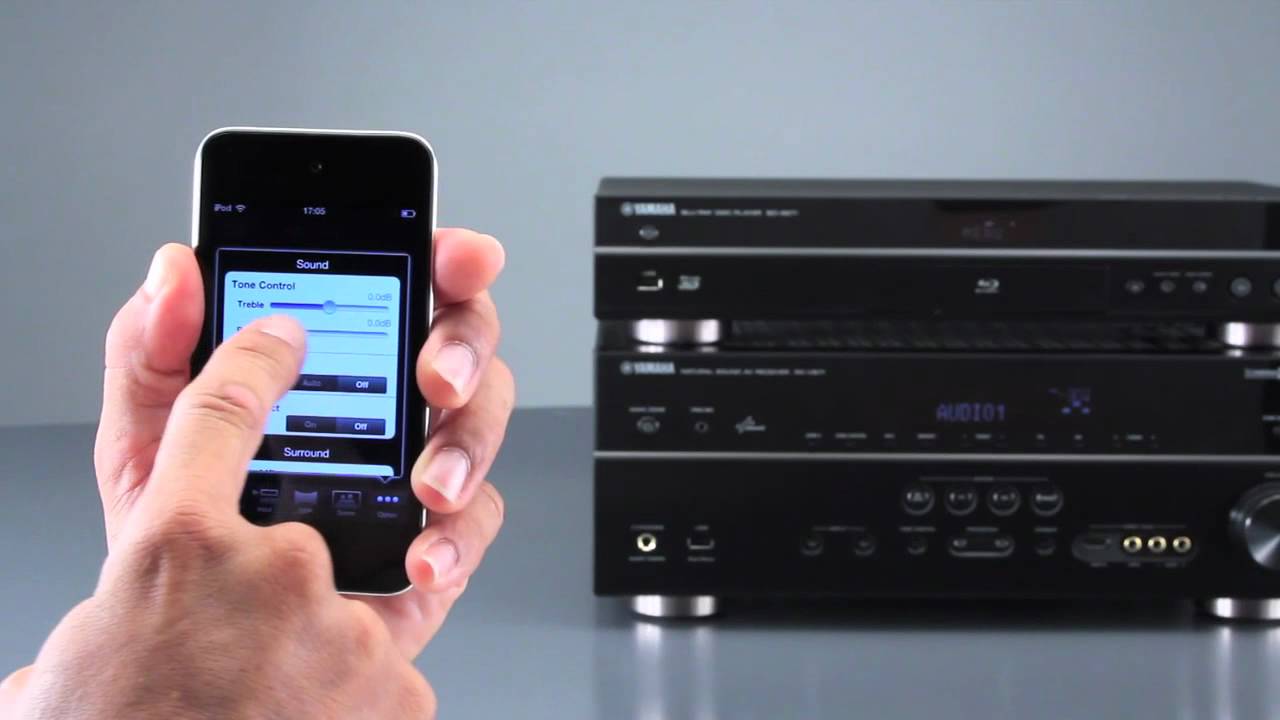
1. Control Functions:
Use your iPad as a convenient controller to access various functions and settings of the P125. The Yamaha Smart Pianist app provides an intuitive interface that allows you to easily navigate through different sounds, adjust the volume, change the reverb settings, and more. Simply tap on the respective options in the app to modify the piano’s settings to your preference.
2. Expand Your Sound Library:
The Yamaha Smart Pianist app offers a vast collection of additional sounds and instruments that you can access and play through the P125. From grand pianos to synthesizers, strings to brass, the app opens up a world of musical possibilities. Experiment with different sounds to enhance your creative expression and adapt to various musical genres.
3. Practice and Learn:
Take advantage of interactive features within the Yamaha Smart Pianist app to improve your playing skills. The app provides various practice modes, including tempo adjustment, metronome, and even song recording and playback. Practice along with built-in lessons or import your own MIDI files to learn and play your favorite songs at your own pace.
4. Recording and Playback:
With the Yamaha Smart Pianist app, you can easily record your performances on the P125 and play them back for review or sharing. This feature allows you to capture your musical ideas and track your progress over time. You can even export the recordings to your iPad for further editing and sharing.
By utilizing your iPad with the Yamaha P125 and the Smart Pianist app, you can enhance your playing experience, expand your musical possibilities, and elevate your overall performance. Take the time to explore the different features and functions available to make the most out of this powerful combination.
Before we wrap up, let’s go over some troubleshooting tips in case you encounter any issues during the connection or usage.
Troubleshooting Tips
While connecting your iPad to the Yamaha P125 is generally a straightforward process, you may encounter some issues along the way. Here are some troubleshooting tips to help you resolve common problems:
1. Ensure Proper Cable Connection:
Make sure that the USB to lightning cable is securely connected to both your iPad and the P125. A loose or faulty connection may cause connectivity issues. Try disconnecting and reconnecting the cable to ensure a reliable connection.
2. Update Firmware and App:
Check for any available firmware updates for your Yamaha P125 and ensure that you have the latest version of the Yamaha Smart Pianist app installed on your iPad. Updating both the firmware and the app can address compatibility issues and provide improved performance.
3. Restart Devices:
If you’re experiencing connection or functionality problems, try restarting both your iPad and the Yamaha P125. Restarting can reset any temporary issues and allow the devices to establish a fresh connection.
4. Check Settings and Permissions:
Ensure that the MIDI settings in the Yamaha Smart Pianist app are correctly configured, with the “MIDI In/Out” option set to “P125.” Additionally, check the app permissions on your iPad to ensure that it has access to the necessary resources, such as microphone and storage permissions.
5. Try a Different Cable or Device:
If the connection issues persist, try using a different USB to lightning cable or connecting your iPad to another compatible device. This can help identify whether the problem lies with the cable, the piano, or the iPad itself.
If you’re still unable to resolve the issues after trying these troubleshooting tips, it’s recommended to consult the user manual for your Yamaha P125 or reach out to Yamaha customer support for further assistance.
With these troubleshooting tips in mind, you should be able to overcome any hurdles that may arise during the connection and usage of your iPad with the Yamaha P125. Now, let’s conclude.
Conclusion
Connecting your iPad to the Yamaha P125 opens up a world of possibilities for enhancing your musical experience. With the right connections, settings, and apps, you can control functions, expand your sound library, practice and learn, and even record and playback your performances.
In this article, we provided a step-by-step guide on how to connect your iPad to the Yamaha P125. We discussed the necessary requirements, powering on the piano, physically connecting the iPad, configuring the connection settings, and utilizing the iPad with the Smart Pianist app.
Furthermore, we shared some troubleshooting tips to help you overcome common issues that may arise during the connection process. Proper cable connection, firmware and app updates, restarting devices, checking settings and permissions, and trying different cables or devices are all strategies you can employ to troubleshoot any connectivity problems.
By following these guidelines, you can unlock the full potential of your Yamaha P125 and utilize your iPad to enhance your playing experience, explore new sounds, improve your skills, and capture and share your musical creations.
Remember to consult the user manual for your specific model and reach out to Yamaha customer support if you encounter any persistent issues.
Now, go ahead and connect your iPad to the Yamaha P125, embrace the possibilities, and let your creativity flow!