Home>Events & Info>Acapella>How To Make An Acapella Pro Tools

Acapella
How To Make An Acapella Pro Tools
Published: January 2, 2024
Learn how to create stunning acapella tracks using Pro Tools. Master the art of isolating vocals and blending harmonies with our step-by-step guide.
(Many of the links in this article redirect to a specific reviewed product. Your purchase of these products through affiliate links helps to generate commission for AudioLover.com, at no extra cost. Learn more)
Table of Contents
Introduction
Acappella music, also known as vocal music or vocal-only music, has a unique charm that captivates listeners across genres. From barbershop quartets to modern a cappella groups like Pentatonix, the sheer talent and vocal harmonies displayed in these performances are truly awe-inspiring.
Creating acapella tracks from existing songs has become increasingly popular, allowing artists and producers to explore new creative possibilities. With the advancements in technology and software, it is now possible to isolate vocals and remove instrumentals, transforming a fully produced track into a captivating acapella rendition.
In this article, we will explore the process of making an acapella track using Pro Tools, a powerful digital audio workstation widely used in the music industry. Whether you are a musician, producer, or simply an acappella enthusiast, this guide will provide you with the necessary steps to create your own acapella masterpiece.
Before we dive into the technical aspects, it’s important to note that creating a high-quality acapella track requires a good source audio file. Ideally, you should start with a well-mixed and balanced song. While you can still work with lower-quality audio, keep in mind that the final acapella result might not be as clean or polished.
Now, let’s get started with the step-by-step process of making an acapella track using Pro Tools.
Step 1: Preparing the Audio Tracks
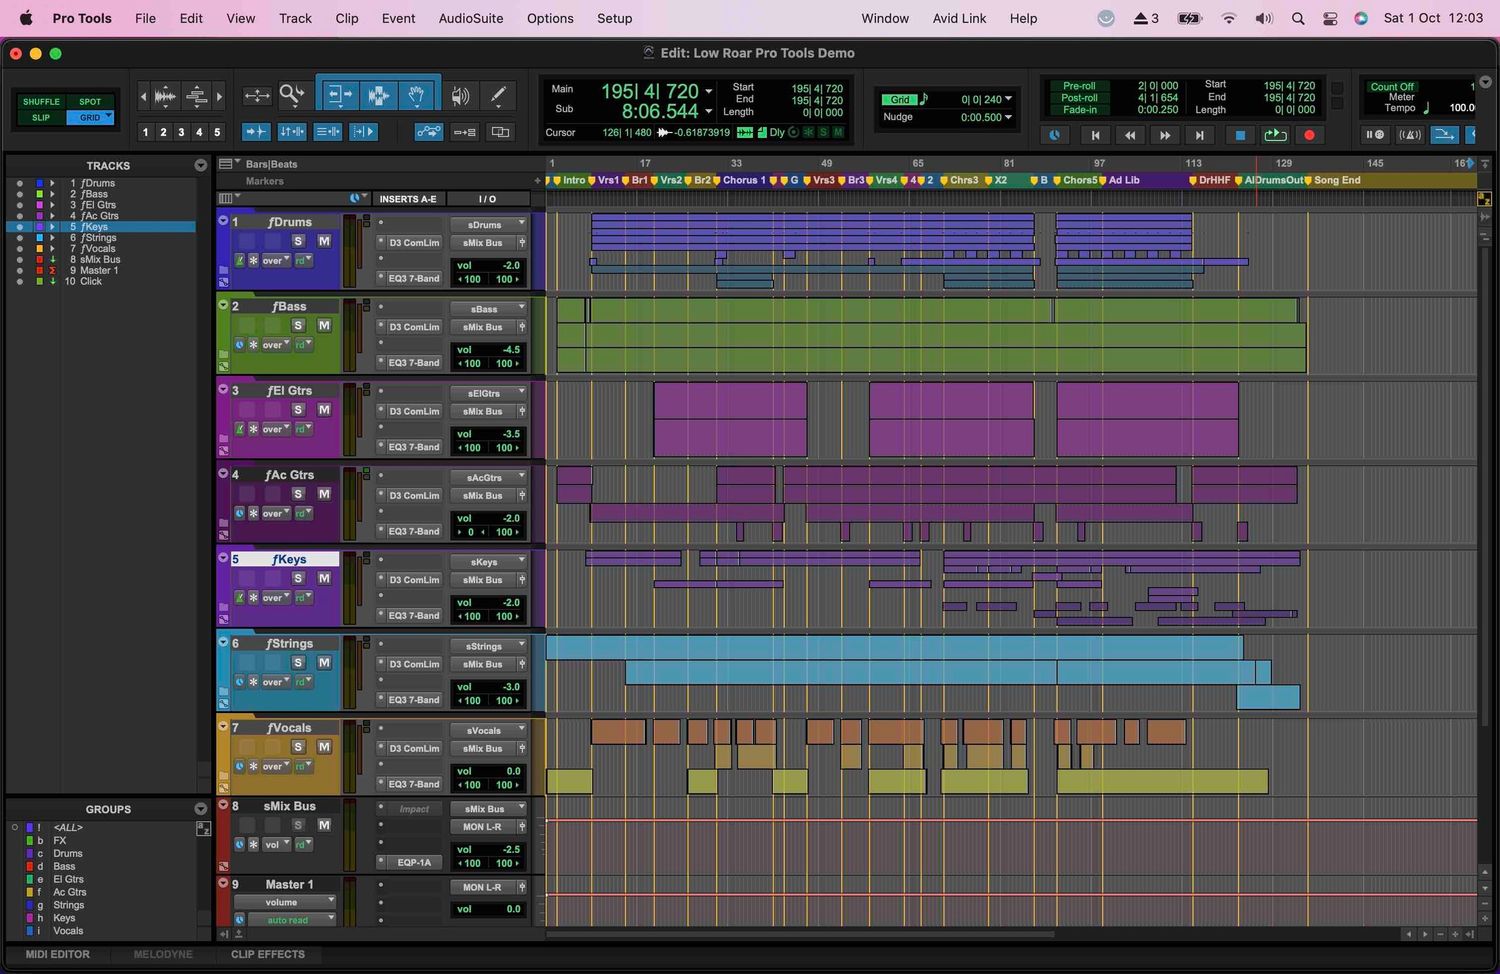
The first step in creating an acapella track in Pro Tools is to gather and prepare the necessary audio tracks. Start by importing the original song file into your Pro Tools session. Make sure the song is in a format that is compatible with Pro Tools, such as WAV or AIFF.
Once the song is imported, it’s a good idea to organize your session by creating separate tracks for each component of the song. This can include vocal tracks, instrumental tracks, and any other additional elements in the original mix. By doing this, you will have more control over each element when it comes time to isolate the vocals.
In Pro Tools, you can easily create new tracks by going to the Track menu and selecting “New Track.” Choose the appropriate track type, such as mono or stereo, depending on your source audio. Make sure to name each track accordingly to avoid confusion later on.
Now that you have separate tracks for vocals and instrumentation, it’s time to identify which tracks contain the vocal elements you want to isolate. Solo each vocal track one at a time and listen carefully to determine if it contains any desired vocals. You may need to mute or delete any unnecessary tracks if they do not contribute to the acapella you’re trying to create.
Another important aspect of preparing the audio tracks is to ensure that they are properly aligned. Use the grid function in Pro Tools to snap the audio to the correct timing if necessary. This will help in maintaining the synchronization of the vocals and instruments throughout the editing process.
Lastly, it’s a good practice to make copies of your original audio tracks and work on the copies instead. This way, you’ll always have a backup of the original files in case anything goes wrong during the editing process. It’s better to be safe than sorry!
With the audio tracks properly organized and prepared, you’re now ready to move on to the next step: vocal isolation techniques.
Step 2: Vocal Isolation Techniques
Once you have your audio tracks organized and prepared, the next step in creating an acapella track in Pro Tools is to employ vocal isolation techniques. The goal is to isolate the vocals from the rest of the instrumentation to create a standalone vocal track.
One method of isolating vocals is by using EQ (equalization). Start by inserting an EQ plugin on the vocal track. Use the EQ controls to boost the frequencies associated with the human voice, such as the mid-range frequencies between 2kHz and 6kHz. Simultaneously, cut or reduce the frequencies that are more prominent in the instrumentation, such as low-end bass frequencies or high-frequency cymbals.
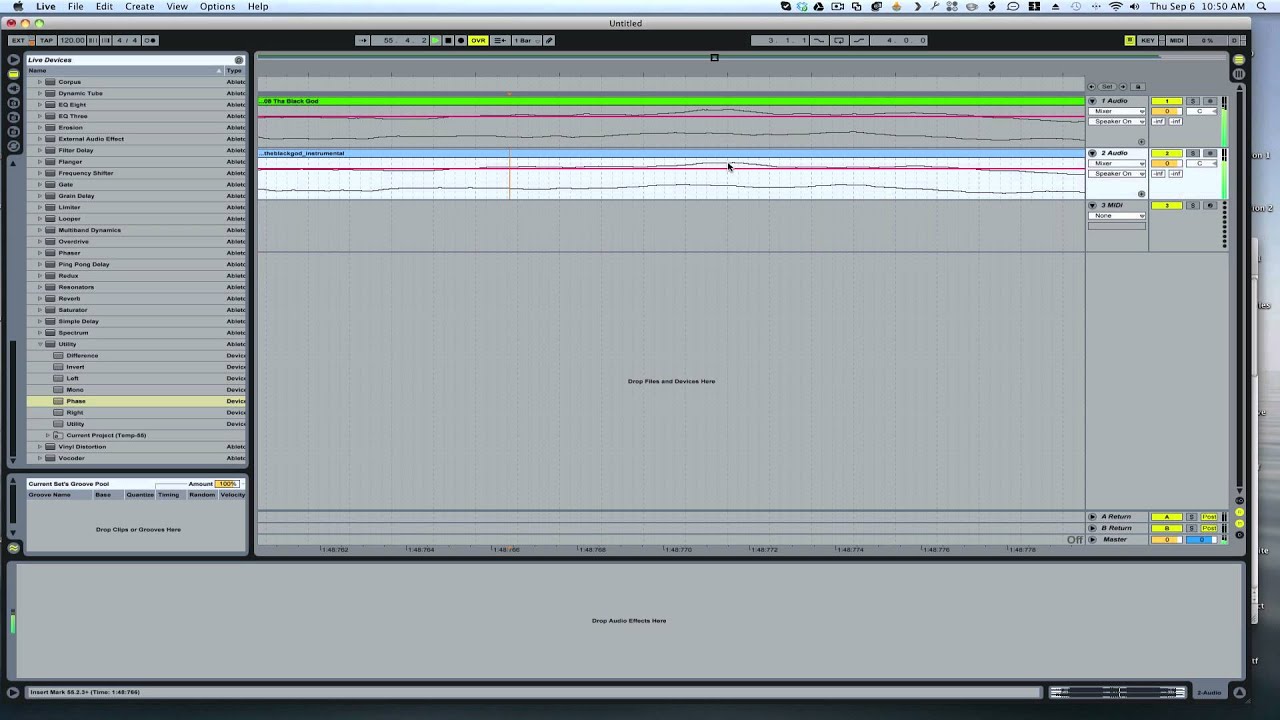
Another helpful technique is utilizing a phase cancellation method known as “vocal removal.” Duplicate the instrumental track and reverse the phase of one of the duplicate tracks. Invert the phase of one of the vocal tracks as well. By summing the reversed instrumental track with the reversed vocal track, the instrumental elements cancel each other out, leaving only the vocals intact. Adjust the levels of the tracks accordingly to achieve the desired balance between vocals and instrumentation.
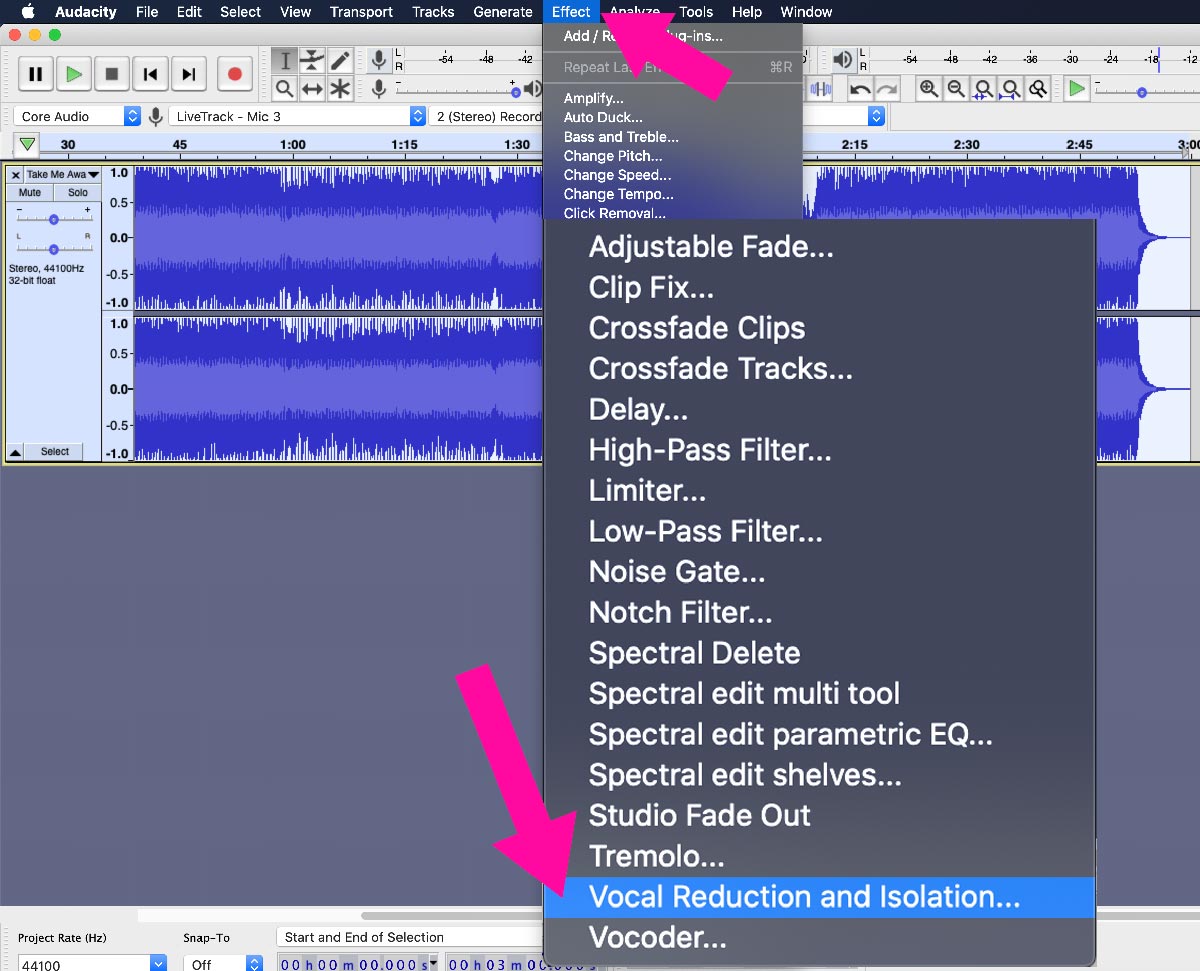
If the vocal isolation techniques mentioned above do not yield satisfactory results, you can try using specialized software plugins that are specifically designed for vocal extraction. These plugins use advanced algorithms to analyze and isolate vocal elements from a given audio track. They can often produce better results by minimizing artifacts and preserving the overall quality of the vocals.
Remember, vocal isolation is not an exact science, and achieving the perfect acapella result can be challenging, especially with complex mixes. There may be instances where the vocals cannot be entirely isolated due to overlapping frequencies with the instrumentation. In such cases, the best approach is to experiment with different techniques and find the balance that works best for your specific audio tracks.
Once you have successfully isolated the vocals, you’re ready to move on to the next step: removing instrumentation from the vocal track.
Step 3: Removing Instrumentation
After isolating the vocals in the previous step, the next phase of creating an acapella track in Pro Tools involves removing the remaining instrumentation from the vocal track. This step requires careful editing and the use of various tools and techniques to achieve the desired result.
One effective method of removing instrumentation is utilizing the “Invert” technique. Start by duplicating the full mix instrumental track and phase inverting it. By summing the inverted instrumental track with the vocal track, the instrumental elements cancel out, leaving only the vocals.
Another approach is to manually edit the vocal track to remove any remaining instrumental elements. Zoom in on the waveform and identify any visible peaks or spikes that correspond to instrumentals. Use the “Pencil Tool” or any other editing tool in Pro Tools to carefully remove or mute these sections while preserving the integrity of the vocals.
When manually editing the vocal track, it’s important to listen critically to ensure that you are not removing any essential elements or altering the timbre and quality of the vocals. Take your time and be patient, as this process can be time-consuming, especially for complex mixes.
Additionally, various plugins and software can assist in instrument removal by employing advanced algorithms to analyze the audio and separate the vocals from the instrumentation. These plugins can be a valuable tool when dealing with intricate mixes or when the manual editing process is laborious.
Remember that completely removing all instrumentation from a vocal track without affecting its quality is a complex task. It is not always possible to achieve a perfectly clean acapella, especially with heavily layered or produced songs. However, with meticulous editing and the right tools, you can still create an acapella track that sounds pleasing and retains the essence of the original vocals.
Once you have successfully removed as much instrumentation as possible, it’s time to move on to the next step: cleaning up the vocals.
Step 4: Cleaning up the Vocals
Now that you have removed the majority of the instrumentation from the vocal track, it’s time to focus on cleaning up the remaining vocals to ensure they are clear and polished in your acapella track. This step involves addressing any imperfections, unwanted artifacts, or background noise that may be present.
One of the most common issues with vocals is unwanted background noise or hum. To reduce this noise, use a noise reduction plugin or a high-pass filter to remove low-frequency rumble or constant hiss. Be cautious not to overuse these tools, as they can also affect the quality and dynamics of the vocals.
In Pro Tools, you can also take advantage of the various editing tools available to address any pops, clicks, or sibilance in the vocals. The “Pencil Tool” allows you to manually edit the waveform and smooth out any noticeable errors. The “Strip Silence” function can also be helpful in removing any silent portions or gaps between vocal phrases.
During the cleaning process, it’s important to listen critically and make adjustments as needed. Pay attention to any areas where the vocals may sound unnatural or overly processed. Use your ears as a guide and make subtle adjustments to maintain the authenticity and character of the vocal performance.
If you find that the vocals still require further enhancement, you can utilize various special effects plugins to add depth and character. Effects such as reverb, delay, or subtle pitch correction can be applied to enhance the overall sound of the vocals. However, exercise caution and ensure that these effects complement the acapella track without overpowering or distracting from the vocals themselves.
Lastly, it’s always a good practice to save your progress as you go along. This way, you can easily revert to previous versions or make adjustments if necessary. Regularly saving your work avoids any potential loss of progress, especially during the editing and cleaning stages.
Once you are satisfied with the cleanliness and quality of the vocals, you’re ready to move on to the next step: adjusting the volume and panning.
Step 5: Adjusting the Volume and Panning
After cleaning up the vocals and ensuring their clarity in the acapella track, the next step is to fine-tune the volume levels and panning to achieve a balanced and cohesive sound. This step is crucial in creating a professional and pleasant listening experience.
Start by listening to the acapella track as a whole and make note of any sections where the vocals may be too quiet or too loud in relation to the rest of the audio. Use the volume automation feature in Pro Tools to adjust the volume levels of individual vocal tracks, ensuring that the vocals sit well within the mix. The goal is to create a smooth and consistent sound without any sudden changes in volume.
Pay attention to the dynamics of the vocals and adjust the volume accordingly to emphasize certain parts or phrases. For example, you may want to raise the volume during powerful choruses or lower it during softer verses to maintain a balanced and dynamic performance.
In addition to adjusting the volume, panning can play a significant role in creating a spacious and immersive acapella track. Experiment with panning the vocal tracks to different positions in the stereo field to create separation between the different vocal parts. This can add depth and dimension to the acapella, making it more engaging for the listener.
When panning the vocal tracks, consider the placement of each vocal part in relation to the original song’s production. For instance, if the original song had a backing vocal on the left side, you can pan the corresponding acapella vocal track to the same position to maintain consistency.
Remember, subtlety is key when adjusting volume and panning. Be careful not to overdo it, as extreme adjustments can create an unnatural and unbalanced sound. Continuously listen to the acapella track as you make these adjustments, ensuring that the vocals remain clear and intelligible throughout the mix.
Once you are satisfied with the volume levels and panning of the vocals, it’s time to move on to the final step: finalizing the acapella track.
Step 6: Finalizing the Acapella Track
Now that you’ve gone through the process of preparing, isolating, cleaning, and adjusting the vocals in your acapella track, it’s time to finalize it and make any necessary tweaks before the track is ready for distribution or further production.
One important aspect to consider during this final step is the overall tonal balance of the acapella track. Listen carefully to the vocals and ensure that they blend well together and sound cohesive. Make any necessary adjustments to the EQ settings to enhance the tonal characteristics of the vocals and create a pleasing sound.
It’s also crucial to pay attention to the overall volume level of the acapella track. Compare it with other commercially released acapella tracks and ensure that it matches the appropriate loudness standards. Tools such as the Loudness Meter in Pro Tools can help with achieving an optimal volume level while maintaining the dynamic range of the vocals.
If necessary, consider applying subtle compression or limiting to control any dynamic inconsistencies in the vocal track. This can even out the volume levels and provide a more polished and professional sound. However, be cautious not to overdo the processing, as it can result in a flattened and unnatural sound.
Finally, take the time to preview and listen to the full acapella track from start to finish. Pay attention to any artifacts, glitches, or other issues that may have been overlooked during the editing process. Make any final adjustments and ensure that the acapella track is clean and ready for release.
Once you’re satisfied with the final result, it’s a good idea to save a copy of the acapella track in a high-quality audio format, such as WAV or AIFF. This ensures that you have a lossless version that can be used for future projects or collaborations.
Creating an acapella track in Pro Tools requires patience, attention to detail, and a keen ear for sound. By following these steps and taking the time to carefully edit and refine the vocals, you can create an exceptional acapella track that showcases the talent and artistry of the vocals.
With the acapella track finalized, you can explore various creative possibilities, such as adding new instrumental elements, remixing the track, or collaborating with other musicians. The possibilities are endless!
Congratulations on successfully creating your acapella track in Pro Tools. Now, go out there and share your masterpiece with the world!
Conclusion
Creating an acapella track using Pro Tools can be a rewarding and creative process. Through the steps of preparing the audio tracks, employing vocal isolation techniques, removing instrumentation, cleaning up the vocals, adjusting volume and panning, and finalizing the track, you can transform a fully produced song into a captivating acapella masterpiece.
While the process can be complex and time-consuming, with careful attention to detail and the use of various tools and techniques, you can achieve impressive results. Remember to trust your ears and take the time to critically listen to the acapella track throughout the editing process.
It’s important to keep in mind that creating a high-quality acapella track requires a solid source audio file and meticulous editing. Not all songs will yield perfect acapellas, especially those with highly layered or produced instrumentation. However, by experimenting with different techniques and finding the right balance, you can create an acapella track that is both enjoyable to listen to and showcases the vocal talent.
Once you have created your acapella track, don’t hesitate to share it with others. Whether you’re an artist, a producer, or simply an acapella enthusiast, your creation can be a source of inspiration and entertainment for others.
Remember to have fun throughout the process and embrace the creativity that acapella music brings. Whether you’re recreating a favorite song or putting your own unique spin on a track, the possibilities are endless.
So, pick up your headphones, open Pro Tools, and let your imagination run wild as you embark on the journey of creating your very own acapella track. Enjoy the process, and may your vocals soar!

