Home>Instruments>Drums>How To Record Drums With An Audio Interface

Drums
How To Record Drums With An Audio Interface
Modified: March 12, 2024
Learn how to capture the perfect drum sound using an audio interface. Discover essential tips for recording drums at home. Master the art of drum recording!
(Many of the links in this article redirect to a specific reviewed product. Your purchase of these products through affiliate links helps to generate commission for AudioLover.com, at no extra cost. Learn more)
Table of Contents
Understanding the Basics of Drum Recording with an Audio Interface
Introduction
Recording drums can be a challenging yet rewarding endeavor. Whether you're a musician, producer, or audio engineer, capturing the energy and dynamics of a live drum performance is crucial for achieving a professional sound. One essential tool for recording drums is an audio interface. In this article, we will explore the process of recording drums with an audio interface, from selecting the right microphones to setting up and adjusting input levels. Additionally, we will provide tips for achieving better drum recordings and discuss the importance of monitoring and playback.
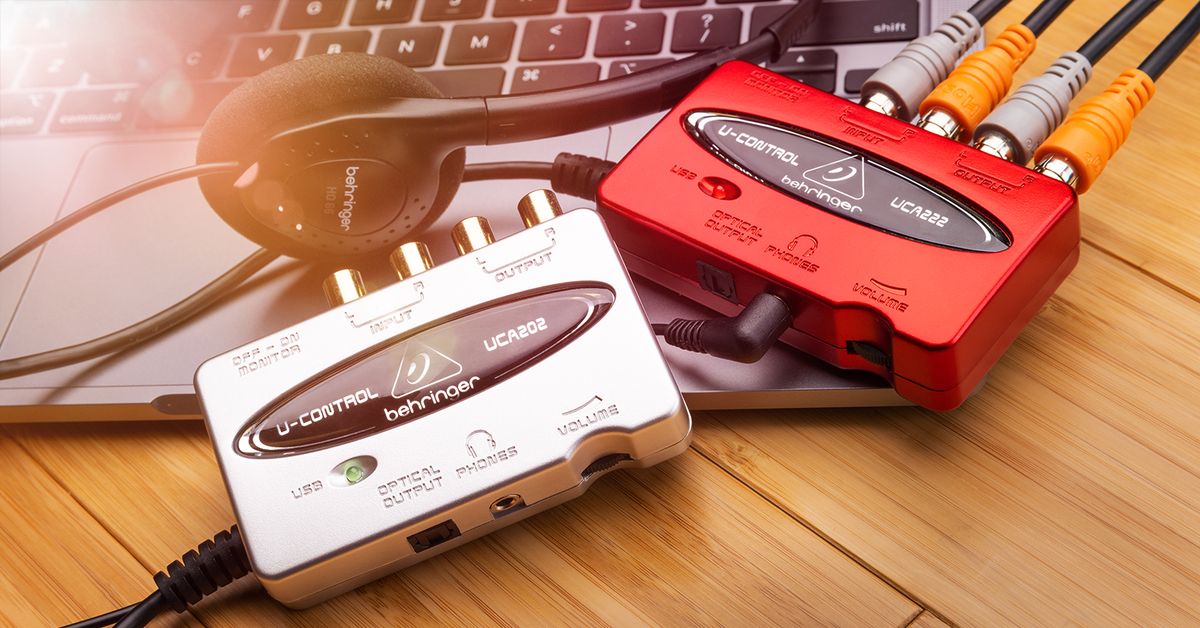
When it comes to recording drums, the quality of the audio interface plays a significant role in capturing the nuances of the performance. An audio interface serves as the bridge between the analog signals from the microphones and the digital audio workstation (DAW) on your computer. It provides preamps for connecting microphones, converts analog signals to digital, and offers various input and output options.
To achieve a professional drum sound, it's essential to understand the capabilities of your audio interface and how to leverage its features effectively. This includes selecting the right microphones for capturing different elements of the drum kit, setting up the microphones in optimal positions, and adjusting input levels to prevent clipping and distortion. Additionally, monitoring the recording process and playback through the audio interface ensures that you capture the desired sound accurately.
In the following sections, we will delve into the specifics of drum recording with an audio interface, covering everything from microphone selection to the final recording process. By understanding the fundamentals of using an audio interface for drum recording and implementing best practices, you can elevate the quality of your recordings and unleash the full potential of your drum performances.
Understanding Audio Interfaces
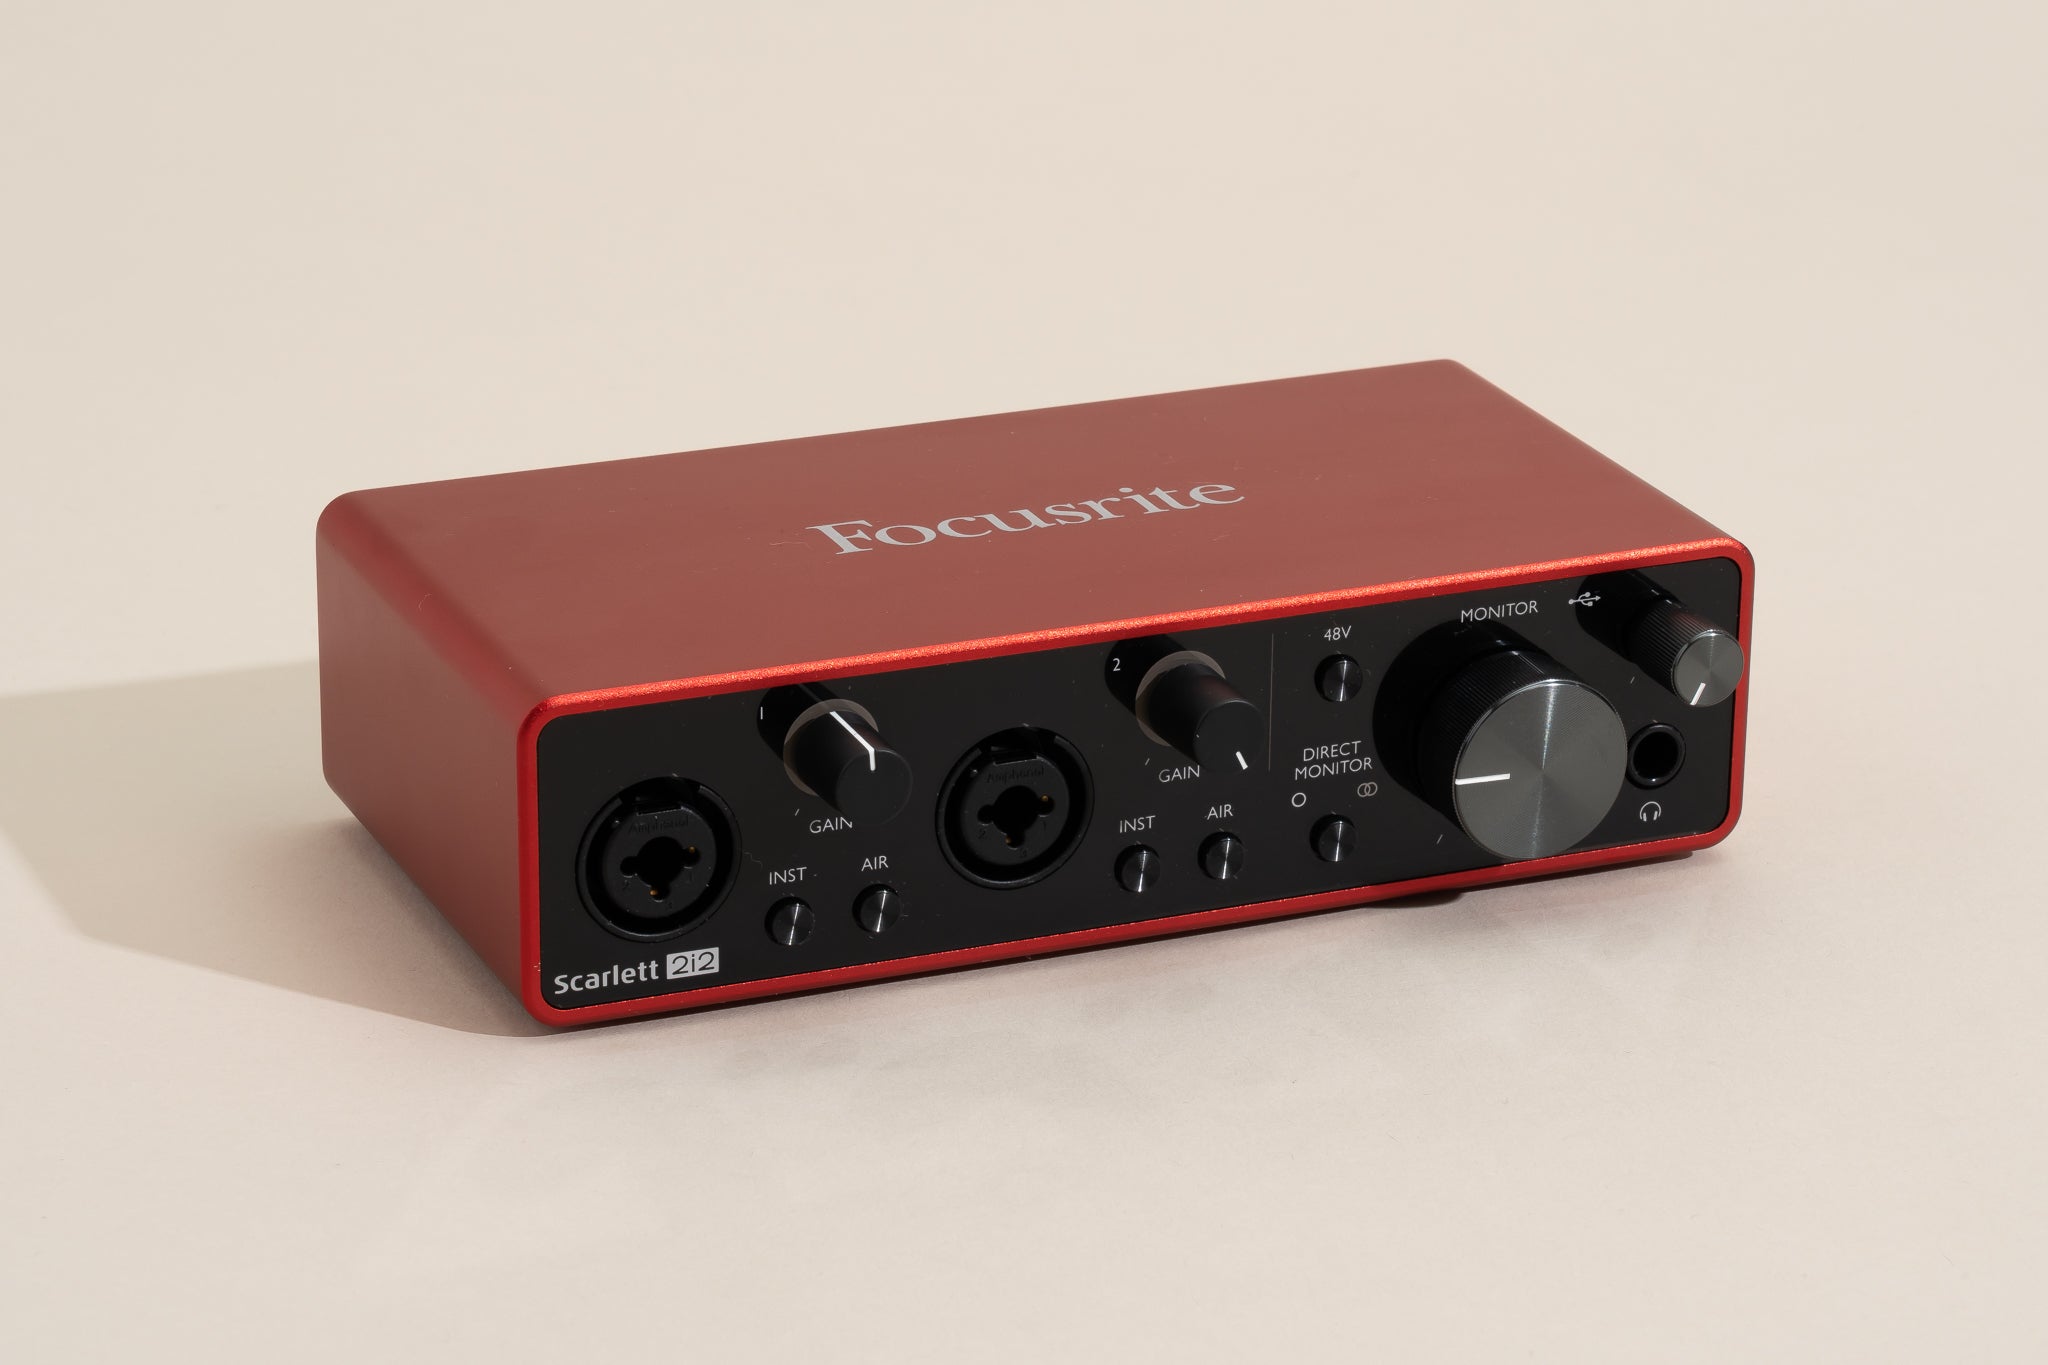
Before delving into the intricacies of recording drums with an audio interface, it’s crucial to grasp the fundamental role that audio interfaces play in the recording process. An audio interface serves as the central hub for connecting microphones, instruments, and other audio sources to a computer for recording and playback. It acts as the intermediary device that facilitates the conversion of analog audio signals into digital data that can be processed and manipulated within a digital audio workstation (DAW).
Audio interfaces come in various configurations, offering different input and output options to accommodate the needs of different recording setups. They typically feature built-in microphone preamps, which amplify the low-level signals from microphones to line level, making them suitable for recording. Additionally, audio interfaces may include instrument inputs for directly connecting guitars, basses, and other instruments, as well as line inputs for connecting external preamps or line-level sources.
When selecting an audio interface for drum recording, it’s essential to consider the number of simultaneous inputs required to capture the entire drum kit effectively. For a standard drum kit recording, an audio interface with at least eight microphone preamps is recommended to accommodate close miking of individual drums and overhead miking for capturing the overall kit sound. Some audio interfaces also offer expandable input options through additional preamp units or digital expansion, providing flexibility for larger recording setups.
Furthermore, audio interfaces vary in their connectivity options, with USB, Thunderbolt, FireWire, and PCIe being common interface types. The choice of interface depends on the compatibility with your computer and the required data transfer speed for handling multiple audio channels simultaneously. Additionally, the quality of the analog-to-digital converters (ADC) and digital-to-analog converters (DAC) within the audio interface significantly impacts the fidelity of the recorded audio, making it essential to prioritize high-quality conversion for capturing the nuances of drum performances.
As technology continues to advance, audio interfaces are equipped with features such as onboard digital signal processing, headphone monitoring with low-latency cue mixing, and MIDI connectivity, further enhancing their utility in recording and production workflows. Understanding the capabilities and limitations of your audio interface is crucial for optimizing the drum recording process and achieving professional-quality results.
Selecting the Right Microphones
Choosing the appropriate microphones is a critical aspect of capturing the full sonic spectrum and dynamics of a drum kit during recording. Different microphones are suited for specific drum elements, and understanding their characteristics is essential for achieving a balanced and impactful drum sound. When selecting microphones for drum recording, it’s important to consider the distinct tonal qualities and directional patterns of each microphone type, as well as their suitability for capturing various aspects of the drum kit.
For close miking individual drums, dynamic microphones are commonly used due to their ability to handle high sound pressure levels and their focused pickup patterns, which help isolate each drum’s sound. Dynamic microphones such as the Shure SM57 and Sennheiser MD 421 are popular choices for capturing the punch and attack of snare drums and toms. Their robust build and tailored frequency response make them well-suited for close miking applications, allowing for precise sound reinforcement and shaping during mixing.
When it comes to capturing the resonance and depth of the kick drum, a dynamic microphone with extended low-frequency response, such as the AKG D112 or Electro-Voice RE20, is often preferred. These microphones excel at capturing the low-end impact and articulation of the kick drum, providing a solid foundation for the overall drum mix.
Overhead miking is essential for capturing the ambience, cymbal wash, and overall stereo image of the drum kit. Condenser microphones are commonly used for overhead miking due to their extended frequency response, transient response, and sensitivity to high-frequency detail. Large-diaphragm condenser microphones such as the Neumann U87 and AKG C414 are popular choices for capturing the spaciousness and natural reverberation of the drum kit, contributing to a sense of depth and dimension in the overall drum mix.
Furthermore, incorporating room mics can add depth and character to the drum sound by capturing the acoustics of the recording space. Ribbon microphones, known for their smooth and natural sound reproduction, are often favored for room miking due to their ability to capture the nuances of the ambient sound without sounding overly bright or harsh.
When selecting microphones for drum recording, it’s important to consider the sonic characteristics of each microphone type and their compatibility with the desired drum sound. Experimentation with microphone placement and combinations can yield unique sonic textures, allowing for creative exploration and sonic sculpting during the drum recording process.
Setting Up the Microphones
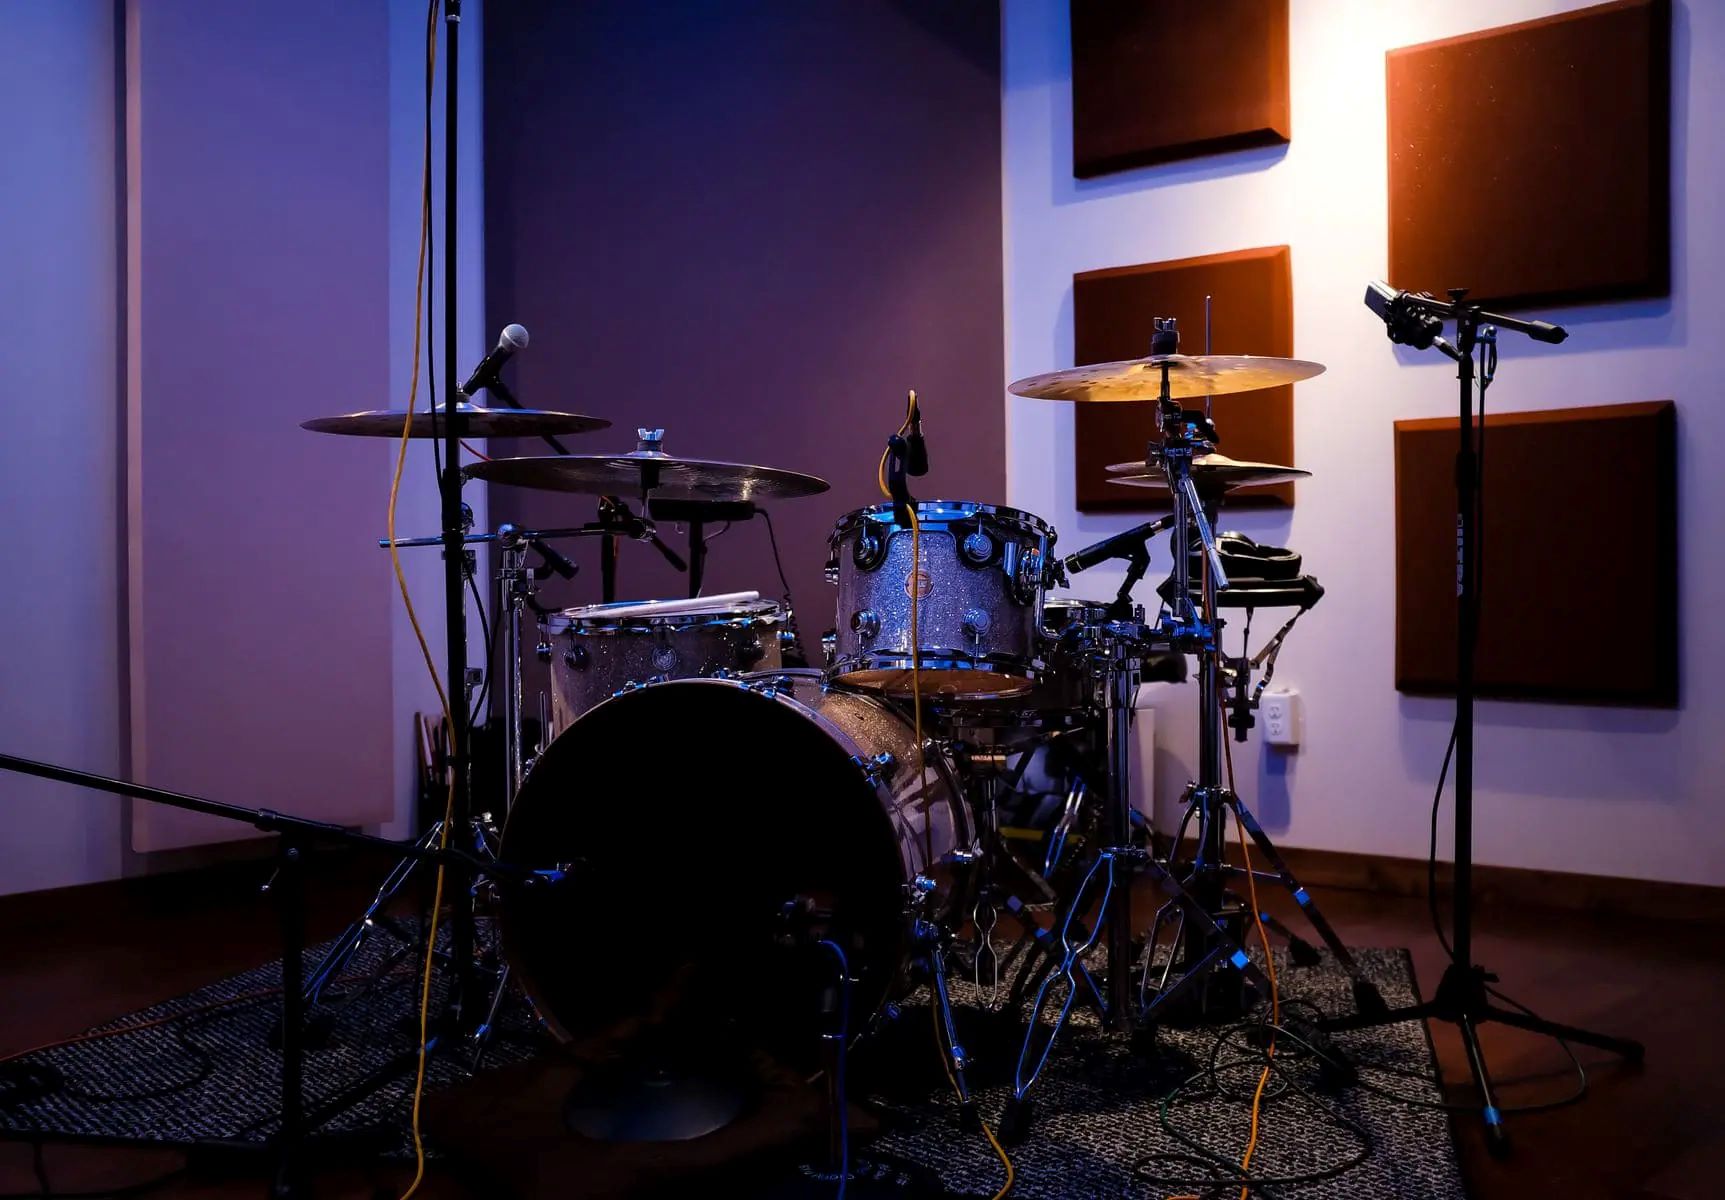
Proper microphone placement is essential for capturing the nuances and dynamics of a drum kit accurately. Each microphone serves a specific purpose in capturing the individual elements of the kit, and their placement significantly influences the overall drum sound. When setting up microphones for drum recording, it’s crucial to consider the optimal placement for each microphone to achieve a balanced and cohesive sonic representation of the entire kit.
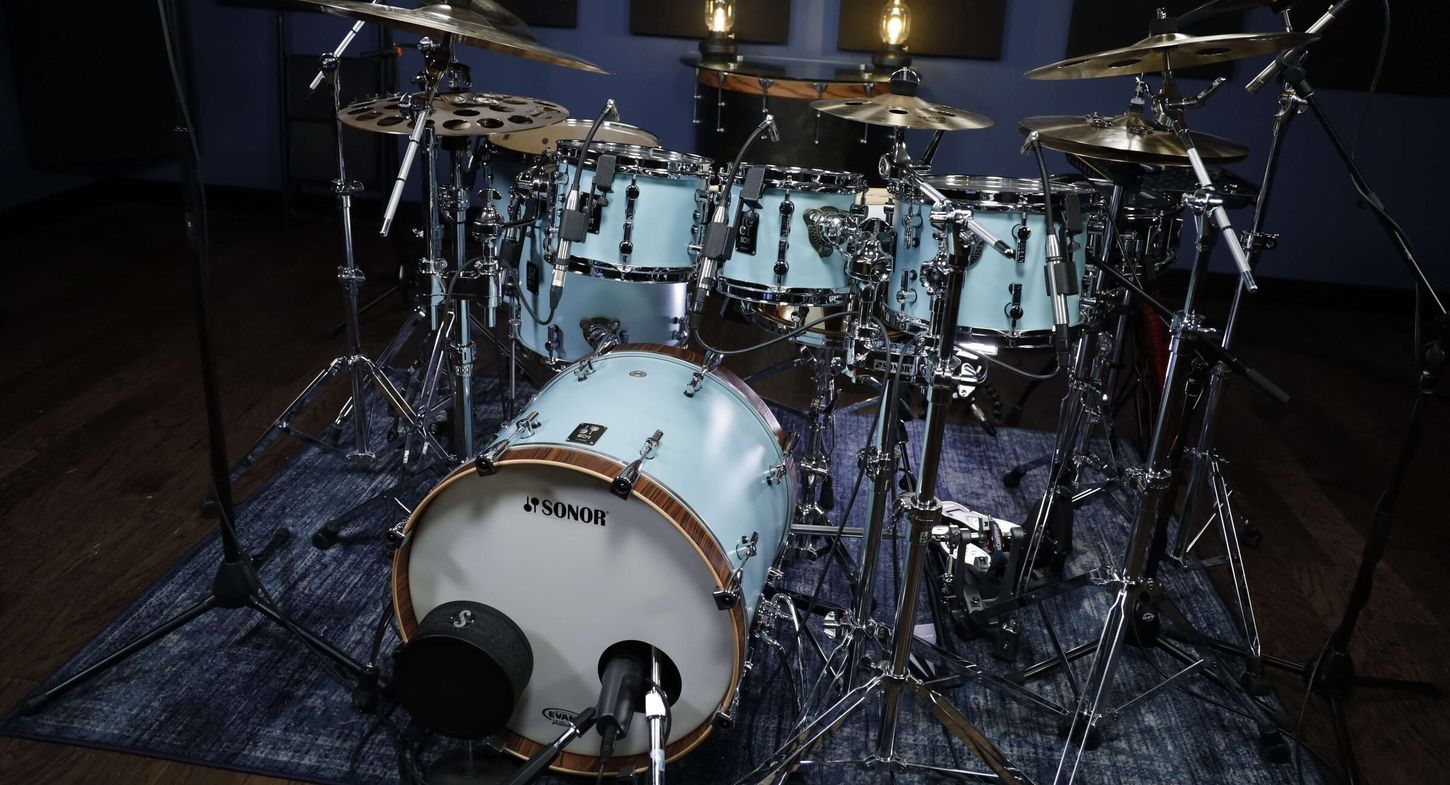
Close miking individual drums involves placing microphones in close proximity to each drum to capture their distinct tonal characteristics and nuances. For the snare drum, positioning a dynamic microphone slightly above the drumhead, pointed towards the center, can capture the attack and body of the snare sound while minimizing bleed from other drums. Similarly, for tom drums, placing dynamic microphones just above the drumheads at an angle that captures both the attack and resonance of the drums is essential for achieving a well-defined and balanced tom sound.
When miking the kick drum, positioning a dynamic microphone inside the drum shell or just outside the resonant head can capture the low-end punch and articulation of the kick drum. Experimenting with different microphone placements, such as adjusting the distance from the beater head or angling the microphone, allows for fine-tuning the kick drum sound to suit the desired tonal characteristics and impact.
Overhead miking plays a crucial role in capturing the overall stereo image and ambience of the drum kit. Placing a pair of condenser microphones in an overhead position, typically in an XY or spaced pair configuration, allows for capturing the cymbal wash, stereo spread of the kit, and the natural reverberation of the room. Adjusting the height and angle of the overhead microphones can influence the balance between the direct sound of the drums and the ambient space, contributing to the overall depth and dimension of the drum mix.
Additionally, incorporating room mics for capturing the acoustics and spatial characteristics of the recording environment requires strategic placement to capture the desired reverberation and ambiance. Placing ribbon microphones at a distance from the drum kit, facing the kit or positioned to capture reflections off the walls, can yield a rich and immersive room sound that complements the close and overhead miking, enhancing the overall sonic texture of the drum recording.
By carefully setting up and positioning the microphones to capture the individual elements and overall sonic character of the drum kit, you can ensure that each drum sound is faithfully represented and contributes to a cohesive and impactful drum mix.
Connecting the Microphones to the Audio Interface
Once the microphones are properly set up and positioned to capture the nuances of the drum kit, the next crucial step is to connect them to the audio interface effectively. Proper cable management and signal flow are essential for ensuring that the audio signals from the microphones are accurately transmitted to the audio interface, where they are converted into digital data for recording within a digital audio workstation (DAW).
When connecting microphones to the audio interface, it’s important to use high-quality microphone cables with appropriate connectors to maintain signal integrity and minimize interference. XLR cables are commonly used for connecting microphones to the audio interface, providing balanced connections that are resistant to noise and interference over longer cable runs. Ensuring that the cables are securely connected to both the microphones and the microphone preamps on the audio interface helps prevent signal dropout and intermittent connections during recording.
Many audio interfaces feature combo jacks that accept both XLR and TRS (tip-ring-sleeve) connectors, allowing for flexibility in connecting microphones and line-level sources. For microphones with XLR outputs, simply plugging the XLR connectors into the combo jacks provides a secure and balanced connection to the microphone preamps on the audio interface. Additionally, some audio interfaces offer phantom power, which is essential for powering condenser microphones that require it for proper operation. Engaging phantom power on the audio interface when using condenser microphones ensures that they receive the necessary power for capturing audio signals accurately.
When connecting multiple microphones to the audio interface for drum recording, it’s crucial to label the input channels to correspond with the specific drum elements being captured by each microphone. This labeling ensures that the audio signals are routed to the appropriate tracks within the DAW, allowing for efficient organization and processing during mixing and editing. Additionally, setting appropriate input levels on the audio interface for each microphone prevents clipping and distortion, ensuring that the recorded audio maintains optimal fidelity and dynamic range.
Furthermore, some audio interfaces offer features such as pad switches and high-pass filters on the microphone preamps, allowing for additional control over the input signals. Using pad switches to attenuate the input level when capturing loud sound sources, such as the kick drum, prevents overloading the microphone preamps and ensures clean and distortion-free recordings. High-pass filters can be engaged to roll off low-frequency rumble and unwanted subsonic noise, further refining the captured drum sound.
By effectively connecting the microphones to the audio interface and leveraging its features for signal management and processing, you can ensure that the captured audio signals faithfully represent the nuances and dynamics of the drum kit, laying the foundation for a successful drum recording session.
Adjusting Input Levels
Properly adjusting the input levels on the audio interface is a critical step in ensuring that the audio signals from the microphones are captured accurately without clipping or distortion. The input levels determine the sensitivity of the microphone preamps, allowing for the optimal capture of dynamic range and transient peaks within the drum performance. When setting input levels for drum recording, it’s essential to strike a balance between capturing the full sonic impact of the drums and preventing signal overload that can compromise the audio quality.
Before adjusting the input levels, it’s important to consider the dynamic range and playing style of the drummer to anticipate the potential variations in loudness and intensity throughout the performance. This awareness allows for setting initial input levels that accommodate the dynamic peaks while leaving headroom to prevent clipping during louder passages. Engaging the audio interface’s input meters or utilizing the visual feedback within the DAW helps monitor the incoming signal levels and ensures that they remain within the optimal range.
When adjusting input levels for individual drums, it’s beneficial to have the drummer perform a brief sound check or play a representative passage to gauge the loudest transients and overall volume levels. This allows for setting initial input levels that capture the full range of dynamics without exceeding the maximum input capacity of the microphone preamps. Adjusting the input gain knobs or digital input level controls on the audio interface allows for fine-tuning the sensitivity of the preamps to accommodate the specific characteristics of each drum element.
For the kick drum, ensuring that the input level captures the low-end impact and articulation without overloading the preamp is crucial for achieving a solid and defined kick drum sound. Adjusting the input level to capture the transient attack and low-frequency sustain while avoiding distortion ensures that the kick drum retains its impact and clarity within the overall drum mix.
Similarly, setting input levels for snare and tom drum mics involves capturing the transient attack, body, and resonance of the drums without allowing the signal to peak into distortion. Fine adjustments to the input levels allow for achieving a balanced and expressive representation of the snare and tom sounds, preserving their tonal characteristics and nuances throughout the performance.
When miking cymbals and capturing the overhead stereo image, setting input levels that accommodate the dynamic range of the cymbal crashes and swells while maintaining clarity and definition is essential. Balancing the input levels for the overhead mics ensures that the cymbal wash and stereo spread contribute to the overall ambience and dimension of the drum sound without overwhelming the mix.
By carefully adjusting the input levels on the audio interface to capture the full range of dynamics and tonal characteristics of the drum kit, you can ensure that the recorded audio faithfully represents the energy and nuances of the live performance, providing a solid foundation for the subsequent mixing and production stages.
Recording the Drums
With the microphones set up, connected to the audio interface, and input levels adjusted, the stage is set for capturing the drum performance. Recording drums with an audio interface involves translating the live energy and dynamics of the performance into pristine digital audio that can be manipulated and shaped during the mixing and production process. As the drummer delivers the performance, the audio interface serves as the gateway for capturing the individual drum elements and the overall kit sound with precision and fidelity.
When initiating the recording process, it’s essential to ensure that the audio interface is set to record the incoming signals from the microphones onto separate tracks within the digital audio workstation (DAW). This allows for individual control and processing of each drum element during mixing, providing flexibility in sculpting the drum sound to suit the musical context and artistic vision.
As the drummer performs, monitoring the incoming audio signals through the audio interface’s headphone output or monitor speakers allows for real-time assessment of the captured sound. This monitoring ensures that the balance and tonal characteristics of the drums are accurately represented, allowing for immediate adjustments to the microphone positions or input levels if necessary.
During the recording process, the audio interface captures the transient attacks, tonal nuances, and dynamic range of the drum performance, preserving the expressive qualities of the live playing. The high-quality microphone preamps and analog-to-digital converters within the audio interface ensure that the captured audio signals maintain fidelity and clarity, faithfully representing the sonic intricacies of the drum kit.
As each drum element is recorded onto separate tracks, the audio interface facilitates the isolation and manipulation of the individual sounds, allowing for precise editing, processing, and enhancement during the subsequent mixing phase. The flexibility provided by the audio interface’s multi-channel recording capabilities empowers the producer and engineer to shape the drum sound with precision, ensuring that each drum element contributes to a cohesive and impactful drum mix.
Throughout the recording process, the audio interface serves as the conduit for translating the acoustic energy of the drums into digital audio data, preserving the depth, dimension, and character of the live performance. By leveraging the capabilities of the audio interface and the meticulous setup of the microphones, the recording captures the essence of the drum performance, laying the groundwork for crafting a compelling and immersive drum mix that elevates the musical composition.
Monitoring and Playback
Following the recording of the drum performance, the audio interface plays a crucial role in facilitating monitoring and playback, allowing for critical assessment of the captured audio and the refinement of the drum sound. Monitoring through the audio interface’s headphone output or monitor speakers provides real-time feedback on the recorded drum tracks, enabling the producer and engineer to evaluate the tonal balance, dynamic range, and overall sonic character of the drum performance.
When monitoring the recorded drum tracks, the audio interface’s headphone output offers low-latency cue mixing, allowing for the blending of the live drum sound with previously recorded tracks or click tracks. This feature enables the drummer to monitor the recorded performance in sync with the rest of the musical arrangement, facilitating a cohesive and expressive drum performance that aligns seamlessly with the overall musical context.
Through the audio interface, the playback of the recorded drum tracks provides an opportunity to assess the fidelity and impact of the captured sound, ensuring that the nuances and dynamics of the live performance are faithfully represented. By routing the playback through high-quality monitor speakers or headphones connected to the audio interface, the full sonic spectrum and spatial characteristics of the drum recording are revealed, allowing for critical evaluation and refinement.
Additionally, the audio interface’s direct monitoring feature enables the real-time monitoring of the incoming signals from the microphones, bypassing the latency introduced by the digital audio processing within the DAW. This direct monitoring capability ensures that the drummer and recording team experience minimal delay between the live performance and the monitored sound, fostering a responsive and immersive recording environment that enhances the musical communication and performance cohesion.
As the recorded drum tracks are played back through the audio interface, the producer and engineer can assess the tonal qualities, dynamics, and spatial placement of each drum element within the mix. This critical evaluation allows for identifying areas for potential enhancement, such as adjusting the balance between close mics and overheads, refining the tonal characteristics of individual drums, or applying dynamic processing to achieve a cohesive and impactful drum sound.
By leveraging the monitoring and playback capabilities of the audio interface, the producer and engineer can ensure that the recorded drum tracks meet the sonic and expressive requirements of the musical composition, setting the stage for further production and mixing decisions that elevate the drum sound within the overall mix.
Tips for Better Drum Recordings
Recording drums with an audio interface presents a unique set of challenges and opportunities. To achieve exceptional drum recordings that capture the full sonic spectrum and expressive qualities of the performance, consider the following tips and best practices:
- Select the Right Room: The acoustic characteristics of the recording space significantly impact the drum sound. Choose a room with favorable acoustics, such as controlled reverb and minimal unwanted reflections, to enhance the clarity and depth of the drum recordings.
- Experiment with Microphone Placement: Don’t hesitate to explore different microphone positions and angles to capture unique tonal characteristics and spatial nuances of the drum kit. Small adjustments in microphone placement can yield substantial sonic differences.
- Focus on Phase Coherence: Pay attention to the phase relationships between close mics and overheads to ensure a cohesive and natural drum sound. Aligning the phase of the microphones, especially between the kick and overhead mics, can significantly impact the overall drum mix.
- Utilize Drum Room Mics: Incorporating room mics can add depth and dimension to the drum sound. Experiment with different room mic placements to capture the ambient qualities of the recording space and enhance the overall sonic texture.
- Employ Drum Sound Isolation: Minimize bleed and crosstalk between drum microphones by using isolation shields and proper positioning. This helps capture clean and focused drum tracks, allowing for greater flexibility during mixing and processing.
- Embrace Dynamic Mic Techniques: Explore dynamic microphone techniques, such as the “Glyn Johns method” or “Recorderman technique,” to capture a balanced and natural representation of the drum kit with minimal phase issues and maximum flexibility during mixdown.
- Leverage Drum Replacement Tools: Consider using drum replacement tools within your DAW to augment or enhance the recorded drum sound. This can provide added flexibility in shaping the drum sound and addressing specific tonal deficiencies.
- Focus on Performance and Tuning: Prioritize the quality of the drum performance and ensure that the drums are well-tuned. A great performance and well-maintained drum heads contribute significantly to the overall quality of the recordings.
- Optimize Signal Chain: Pay attention to the signal chain, ensuring that high-quality cables, preamps, and analog-to-digital converters are utilized to maintain signal integrity and fidelity throughout the recording process.
- Engage in Pre-Production Planning: Collaborate with the drummer and the production team to establish a clear vision for the drum sound. Pre-production planning helps align creative expectations and technical requirements, leading to more focused and successful recording sessions.
By incorporating these tips and techniques into your drum recording process, you can elevate the sonic quality and expressive impact of the drum performances, ultimately contributing to more compelling and immersive musical productions.
Conclusion
Recording drums with an audio interface is a multifaceted process that demands attention to detail, technical proficiency, and creative exploration. The audio interface serves as the linchpin in capturing the full sonic spectrum and expressive nuances of the drum kit, providing the essential tools for translating live performances into pristine digital audio. From selecting the right microphones to adjusting input levels and monitoring the recordings, the audio interface plays a pivotal role in shaping the drum sound and preserving the energy of the performance.
By understanding the capabilities of the audio interface, leveraging high-quality microphones, and implementing best practices in setup and recording techniques, it’s possible to achieve exceptional drum recordings that resonate with clarity, impact, and musicality. The careful orchestration of microphone placements, signal flow management, and monitoring processes ensures that the recorded drum tracks faithfully represent the artistic vision and sonic nuances of the drum performance.
Furthermore, the integration of creative experimentation, innovative microphone techniques, and strategic signal processing empowers producers and engineers to sculpt the drum sound with precision and artistry. The audio interface serves as the conduit for capturing the raw essence of the drums and providing a canvas for sonic exploration and refinement, ultimately contributing to the immersive and dynamic qualities of the final drum mix.
As technology continues to evolve, audio interfaces continue to offer advanced features and enhanced fidelity, further expanding the possibilities for capturing and shaping drum recordings with unparalleled realism and impact. The synergy between the audio interface, microphones, and the recording environment creates a symbiotic relationship that elevates the art of drum recording, allowing for the preservation and enhancement of the live energy and expressive qualities of the drum performance.
In conclusion, the role of the audio interface in drum recording extends beyond mere signal conversion and routing; it embodies the conduit for artistic expression, sonic fidelity, and immersive musical storytelling. By embracing the capabilities of the audio interface and integrating best practices and creative ingenuity, producers and engineers can unlock the full potential of drum recordings, providing a compelling and evocative sonic backdrop for musical compositions and artistic visions.

