Home>Production & Technology>Audio Interface>How To Use A Microphone And Audio Interface Outside Of A Daw
Audio Interface
How To Use A Microphone And Audio Interface Outside Of A Daw
Modified: February 17, 2024
Learn how to effectively use an audio interface with a microphone outside of a DAW. Enhance your audio recording experience with this step-by-step guide.
(Many of the links in this article redirect to a specific reviewed product. Your purchase of these products through affiliate links helps to generate commission for AudioLover.com, at no extra cost. Learn more)
Table of Contents
Introduction
Welcome to the world of audio recording and production! Whether you are a professional musician, podcaster, or aspiring sound engineer, understanding how to use a microphone and audio interface is essential for achieving high-quality recordings.
Microphones and audio interfaces are powerful tools that allow you to capture and process audio signals with clarity and precision. With the right combination of microphone and audio interface, you can ensure that your voice or instrument is faithfully reproduced, free from unwanted noise and distortion.
In this article, we will provide you with a comprehensive guide on how to use a microphone and audio interface, outside of a Digital Audio Workstation (DAW). We will walk you through the process of setting up your equipment, connecting it to your computer, configuring the necessary settings, and testing everything to ensure it’s working correctly.
Whether you’re recording vocals, instruments, podcasts, or creating professional audio content, understanding the fundamentals of using a microphone and audio interface will make a significant difference in the quality of your recordings.
So let’s dive in and explore the fascinating world of microphones and audio interfaces, and learn how to use them effectively to bring your creativity to life!
Overview of Microphones and Audio Interfaces
Before we start using a microphone and audio interface, it’s essential to understand what they are and how they work.
A microphone is a transducer that converts sound waves into electrical signals. It captures audio by converting the vibrations of sound waves into corresponding electrical voltages. There are various types of microphones, including dynamic, condenser, ribbon, and lavalier microphones, each with its own unique characteristics and uses.
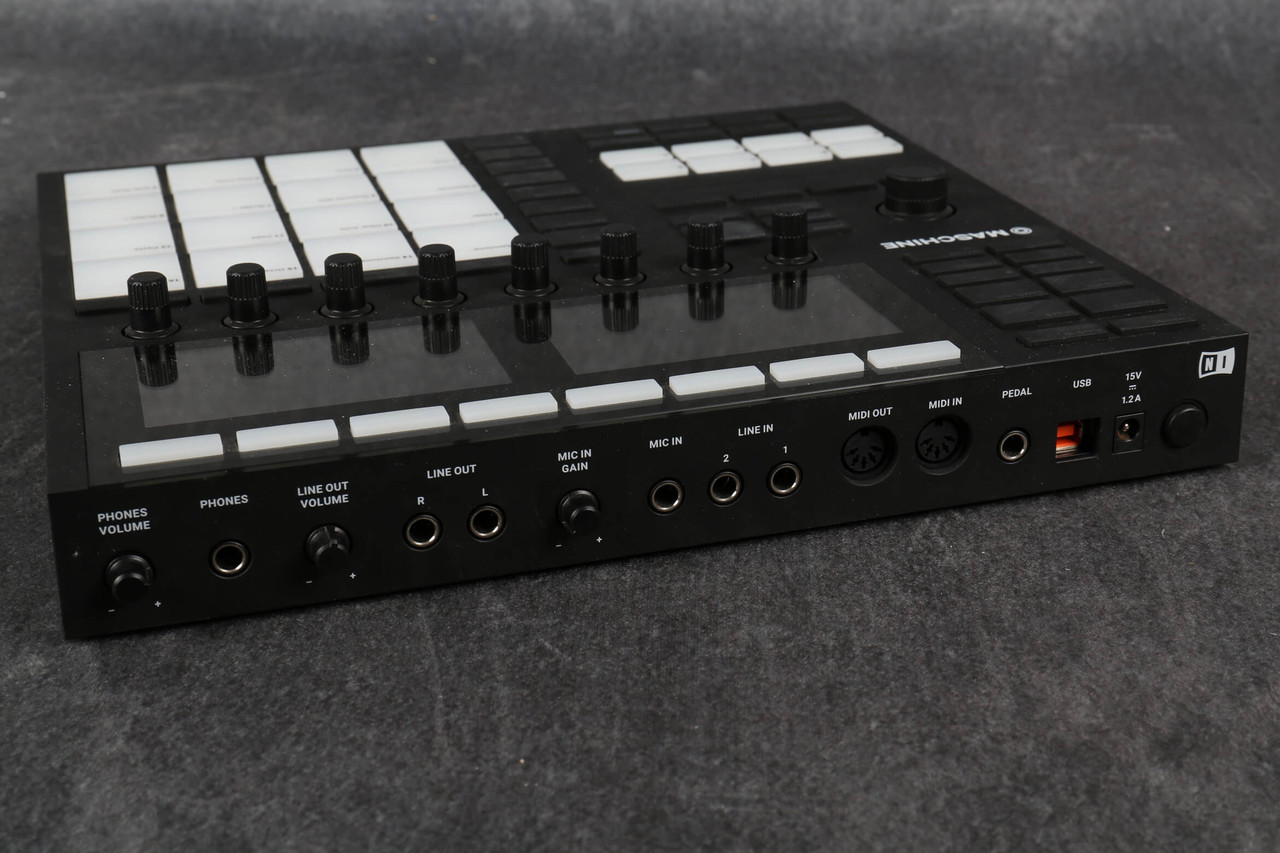
An audio interface, on the other hand, serves as a bridge between your microphone and your computer. It takes the analog audio signal from the microphone and converts it into a digital signal that your computer can process. Audio interfaces also provide features like preamps, which amplify the microphone signal, and inputs and outputs for connecting other audio devices.
Audio interfaces come in different sizes and configurations, from compact USB audio interfaces designed for solo recording to larger interfaces with multiple inputs and outputs for complex studio setups. When choosing an audio interface, consider factors like your recording needs, budget, and future growth potential.
Now that we have a general understanding of microphones and audio interfaces, let’s move on to setting up and using them.
Setting Up Your Microphone and Audio Interface
Properly setting up your microphone and audio interface is crucial for capturing high-quality audio. Here are some steps to guide you through the setup process:
- Choose the right location: Select a suitable location for your recording setup. Consider factors like ambient noise, room acoustics, and available space. A quiet and acoustically treated room is ideal, but you can also use portable vocal booths or foam panels to minimize unwanted reflections.
- Position your microphone: Proper microphone placement is essential for achieving optimal sound quality. Experiment with different positions to find the best sound for your specific needs. In general, place the microphone close to the audio source for better clarity and reduce the risk of picking up unwanted ambient noise.
- Connect your microphone to the audio interface: Use an XLR cable to connect your microphone to the input on the audio interface. Ensure that the connection is secure and stable. If your microphone requires phantom power (usually condenser microphones), make sure to activate it on the audio interface.
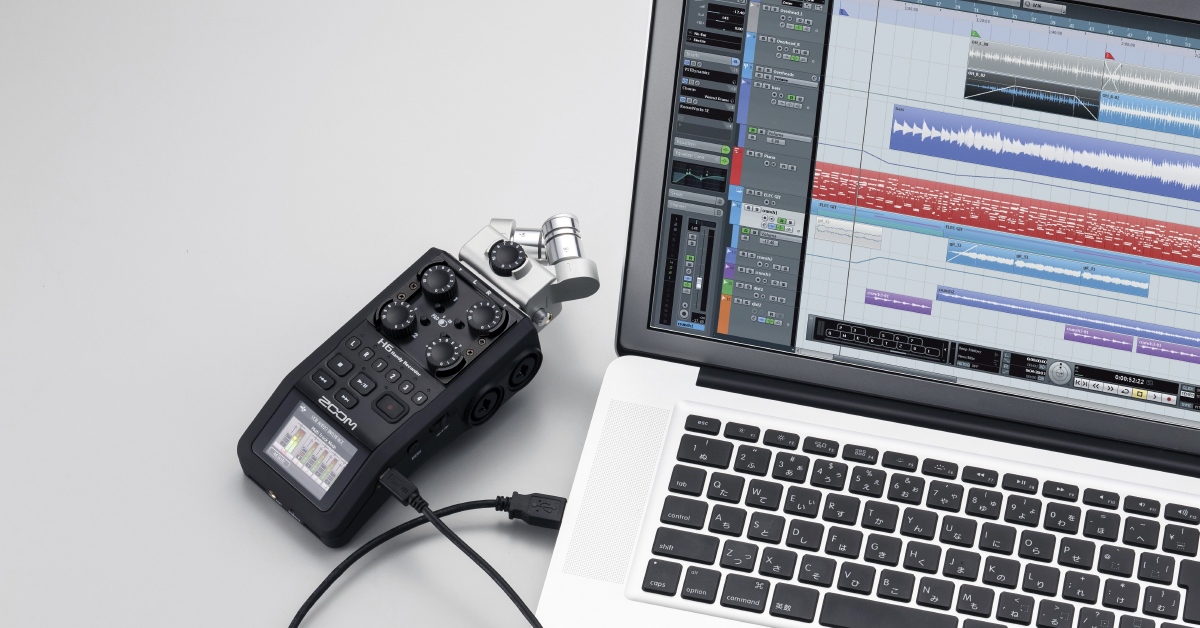
- Connect your audio interface to your computer: Depending on the type of audio interface, you can connect it to your computer using USB, Thunderbolt, or FireWire cables. Ensure that the connection is secure and that the necessary drivers are installed on your computer.
- Power up your audio interface: Most audio interfaces require external power, either through a power adapter or USB bus power. Make sure to power up your audio interface before proceeding.
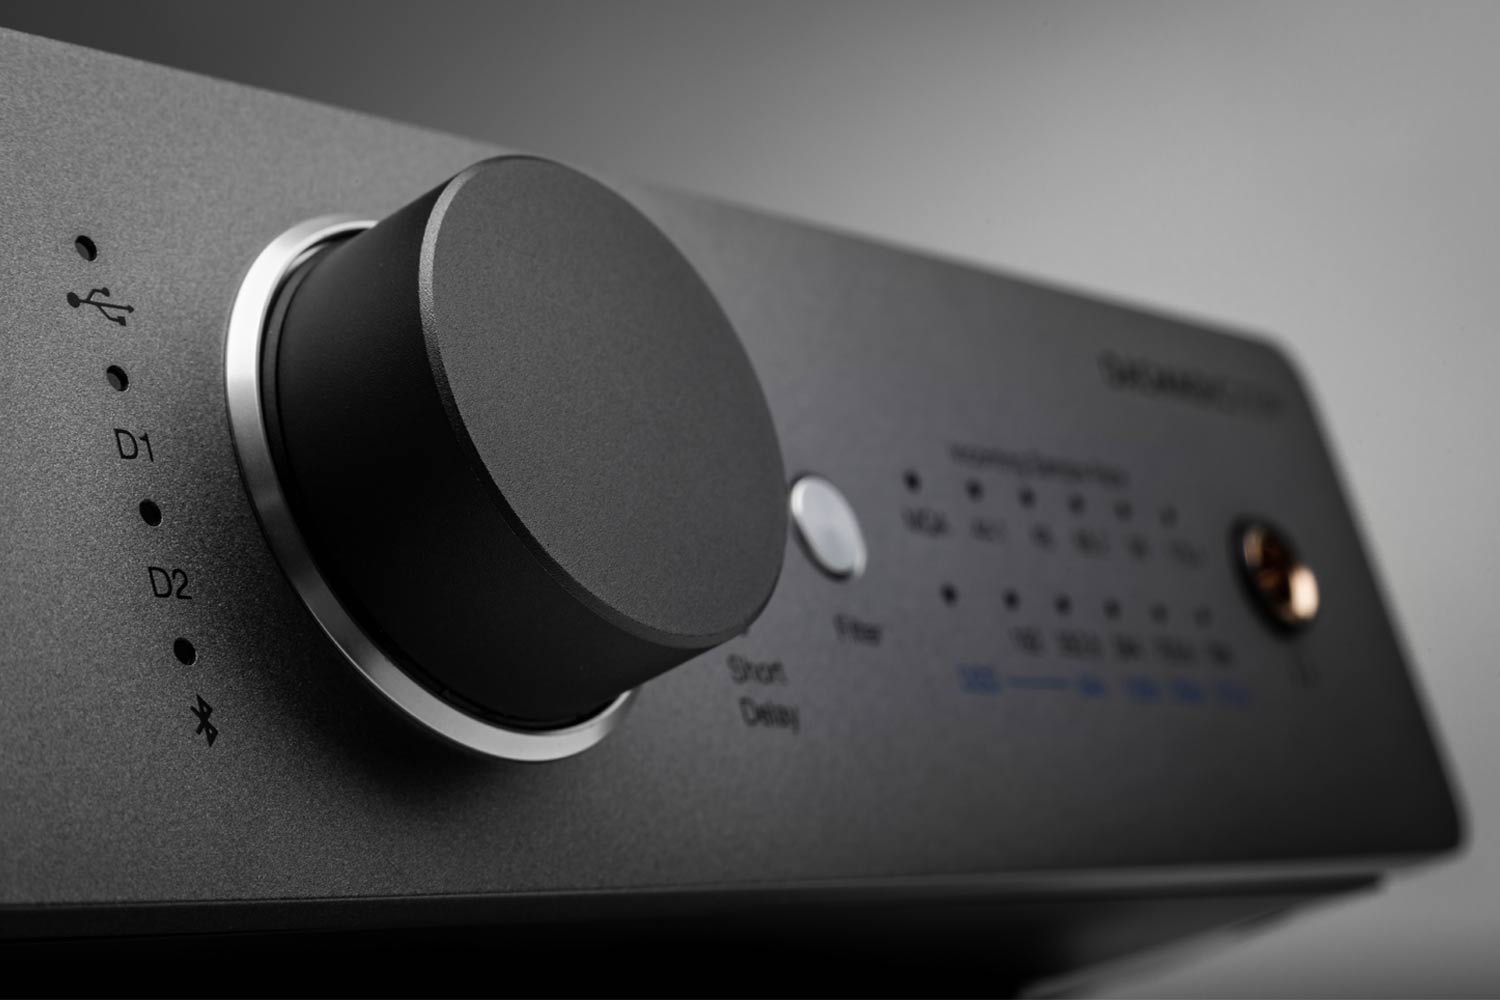
- Check input and output levels: Open your audio interface’s control panel or software and check the input and output levels. Adjust the input gain on the audio interface to achieve an optimal recording level without clipping or distortion. Also, ensure that the output level is set at an appropriate level for monitoring.
Once you have completed these steps, your microphone and audio interface will be set up and ready to use. Now let’s move on to the next section to configure the necessary settings.
Connecting Your Microphone and Audio Interface to Your Computer
Now that you have set up your microphone and audio interface, it’s time to connect them to your computer. Follow these steps to establish the connection:
- Choose the appropriate connection method: Depending on your audio interface and computer, you will need to connect them using either USB, Thunderbolt, or FireWire cables. Check the ports on your computer and audio interface to determine the compatible connection method.
- Plug in the cable: Connect one end of the cable (USB, Thunderbolt, or FireWire) to the appropriate port on your audio interface. Then, plug the other end of the cable into a matching port on your computer. Ensure that the connection is secure.
- Ensure driver installation: Some audio interfaces require specific drivers to be installed on your computer for proper functionality. Check the manufacturer’s website and download the latest drivers if needed. Install the drivers following the provided instructions.
- Check the input and output settings: Access the audio settings on your computer and select the audio interface as the default input and output device. This ensures that your computer recognizes the audio interface and directs the audio signals accordingly.
- Test the connection: Once the connection is established, test the setup by speaking into the microphone. You should see the audio levels on your computer’s recording software or audio interface control panel indicating the input signal is being received.
It’s important to note that the specific steps and settings may vary depending on the operating system (Windows, macOS, or Linux) and audio interface you’re using. Consult the user manual or the manufacturer’s website for detailed instructions if needed.
By following these steps, you will have successfully connected your microphone and audio interface to your computer, allowing you to now move on to configuring the necessary settings.
Configuring Your Audio Interface Settings
Once your microphone and audio interface are connected to your computer, it’s important to configure the settings correctly to ensure optimal performance. Here are the key steps to follow:
- Open your audio interface control panel: Each audio interface usually has its own control panel or software that allows you to adjust various settings. Locate and open the control panel for your specific audio interface.
- Set the sample rate and bit depth: The sample rate and bit depth determine the audio quality and resolution. It’s recommended to set the sample rate to 44.1 kHz or higher for CD-quality audio. The bit depth should be set to 24 bits for better dynamic range and clarity.
- Configure the buffer size: The buffer size affects the latency of your audio interface. Lower buffer sizes decrease latency but may increase the strain on your computer’s processing power. Find a balance between low latency and stable performance based on your computer’s capabilities.
- Activate monitoring: Many audio interfaces offer direct monitoring capabilities, allowing you to hear your input signal in real-time without latency. Enable direct monitoring to monitor your voice or instrument through headphones or studio monitors while recording.
- Adjust input gain and phantom power: Set the input gain level on your audio interface to an appropriate level. Avoid setting it too low, as it might result in a weak signal, or too high, as it may cause distortion. If using a condenser microphone, activate phantom power on your audio interface to power the microphone.
- Configure routing and mixer settings: Depending on your audio interface, you may have options to route the audio to different outputs or mix multiple input signals. Adjust the routing and mixer settings according to your specific needs.
Remember to consult the user manual or online documentation provided by the audio interface manufacturer for detailed instructions on configuring the settings specific to your device.
Once you have configured the audio interface settings, you’re ready to move on to the next step: testing your microphone and audio interface to ensure everything is working properly.
Testing Your Microphone and Audio Interface
After setting up and configuring your microphone and audio interface, it’s important to test them to ensure they are functioning correctly. Follow these steps to conduct a simple test:
- Open your recording software: Launch your preferred recording software, such as Audacity, GarageBand, or Adobe Audition. Make sure the software is set to recognize the audio interface as the input device.
- Create a new recording session: Set up a new recording session in your software, ensuring that it is set to record from the audio interface’s input channel where you have connected your microphone.
- Test the audio signal: Speak into the microphone or play an instrument connected to the audio interface. Observe the recording levels in your software. Ensure that the levels are adequate and that you can hear clear audio without any distortion or background noise.
- Monitor the playback: Play back the recorded test audio to confirm that the audio was captured correctly. Listen for any issues such as distortion, noise, or uneven audio levels.
- Adjust settings as needed: If you encounter any issues during the testing process, revisit the audio interface settings and adjust the input gain, buffer size, or other parameters as necessary. Repeat the testing process until you achieve satisfactory results.
During the testing phase, pay attention to factors like background noise, room acoustics, and microphone position. Make any adjustments required to minimize unwanted noise and achieve the desired audio quality.
If you encounter persistent issues, consult the troubleshooting section or reach out to the technical support provided by your audio interface manufacturer for further assistance.
By conducting a thorough test of your microphone and audio interface, you can ensure that everything is functioning properly and that you are ready to start recording with confidence.
Troubleshooting Common Issues
While using a microphone and audio interface, you may encounter some common issues. Here are a few troubleshooting tips to help you resolve them:
- No audio signal: If you are not getting any audio signal when recording, first check the microphone and audio interface connections. Ensure that the cables are securely plugged in. Also, verify that the input gain on the audio interface is set appropriately. Additionally, check the input and output settings in your recording software to ensure the audio interface is selected as the input device.
- Distorted or clipped audio: If your recorded audio sounds distorted or clipped, it may be due to input gain levels being set too high. Lower the input gain on your audio interface and test the audio again. It’s important to find the sweet spot where the audio is loud and clear without any distortion.
- Background noise: If you notice excessive background noise in your recordings, try minimizing external sources of noise by adjusting the microphone placement and using noise reduction techniques. Additionally, check the microphone’s polar pattern and make sure it is suitable for the recording environment.
- Latency: Latency refers to the delay between when you make a sound and when you hear it through your monitoring system. To reduce latency, try decreasing the buffer size in your audio interface settings. However, be mindful as lower buffer sizes may put more strain on your computer’s processing power and could lead to audio dropout or glitches.
- Driver issues: If you are experiencing driver-related problems, ensure that you have installed the latest drivers provided by the audio interface manufacturer. Check their website for any driver updates or compatibility issues with your operating system. Uninstalling and reinstalling the drivers can also help resolve driver-related problems.
If you encounter persistent issues that you cannot resolve, it is recommended to consult the troubleshooting guide provided by your audio interface manufacturer or seek assistance from their technical support team. They can provide specific guidance based on their product’s specifications and help troubleshoot any complex issues you may be facing.
By troubleshooting common issues, you can overcome obstacles during the recording process and ensure a smooth and enjoyable experience with your microphone and audio interface.
Conclusion
Congratulations! You have successfully learned how to use a microphone and audio interface outside of a Digital Audio Workstation (DAW). By following the steps outlined in this guide, you can set up your equipment, connect it to your computer, configure the necessary settings, and test your microphone and audio interface.
Microphones and audio interfaces play a crucial role in capturing high-quality audio for various applications, such as music production, podcasting, voiceovers, and more. Understanding how to properly set up and utilize these tools will greatly enhance the quality of your recordings.
Throughout this guide, you’ve learned the importance of choosing the right location and microphone placement, connecting your microphone and audio interface, configuring the audio interface settings, and troubleshooting common issues that may arise during the process.
Remember, it’s essential to choose the right equipment that suits your recording needs and budget. Continuously experiment and adjust settings to find the best sound possible for your specific application.
As you continue your audio journey, don’t hesitate to explore additional resources, online communities, and tutorials that delve deeper into the intricacies of microphone types, audio interface features, and recording techniques. This will help you further refine your skills and stay up to date with the latest advancements in the field of audio recording and production.
So go ahead, unleash your creativity, and enjoy the endless possibilities that your microphone and audio interface offer. Happy recording!