Home>Production & Technology>Audio Interface>How To Connect IPad To Your Audio Interface
Audio Interface
How To Connect IPad To Your Audio Interface
Published: October 27, 2023
Learn how to easily connect your iPad to an audio interface and enjoy high-quality audio recording and playback. Enhance your music production capabilities with this step-by-step guide.
(Many of the links in this article redirect to a specific reviewed product. Your purchase of these products through affiliate links helps to generate commission for AudioLover.com, at no extra cost. Learn more)
Table of Contents
Introduction
Connecting your iPad to an audio interface opens up a world of possibilities for recording, producing, and mixing music on your device. Whether you’re a musician, podcaster, or simply someone who wants to improve their audio quality, an audio interface can significantly enhance your iPad’s capabilities.
An audio interface acts as the bridge between your iPad and professional audio equipment like microphones, instruments, and studio monitors. It converts analog audio signals into digital data that your iPad can process and vice versa. This allows you to record high-quality audio, apply effects and adjustments, and monitor your recordings effectively.
However, connecting your iPad to an audio interface may seem daunting if you’re new to the world of audio production. Don’t worry – this article will guide you through the simple steps required to make the connection and get you up and running in no time.
In this article, we will cover the following steps:
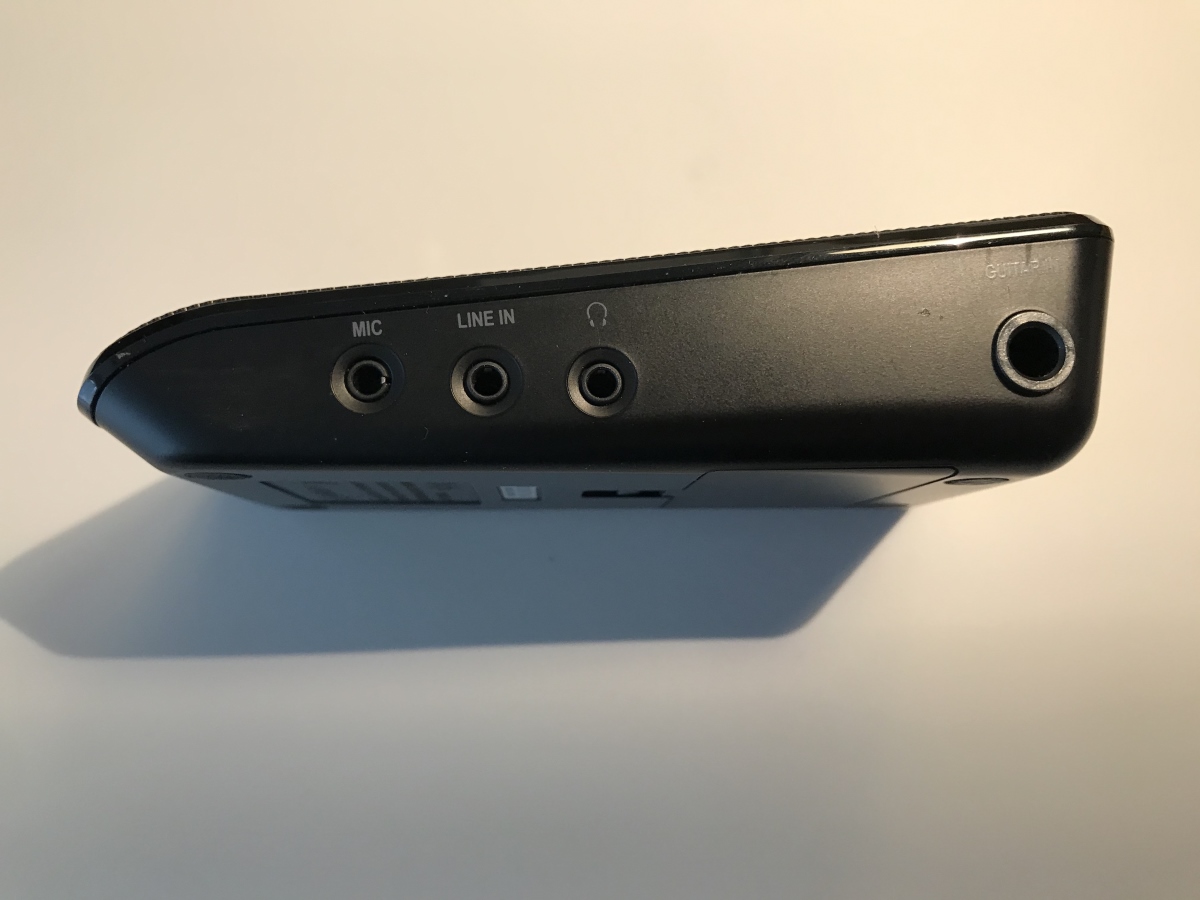
- Checking the compatibility of your audio interface with the iPad
- Gathering the required cables and adapters
- Connecting the audio interface to the iPad
- Adjusting iPad settings
- Testing the connection
By following these steps, you’ll be able to connect your iPad to an audio interface and unlock a whole new level of audio production possibilities. So let’s dive in!
Step 1: Check Compatibility of Your Audio Interface
The first step in connecting your iPad to an audio interface is to ensure that they are compatible with each other. Not all audio interfaces are designed to work with iPads, so it’s important to check for compatibility before making a purchase.
Start by examining the specifications of your audio interface. Look for any indicators or mentions of compatibility with iOS devices, specifically iPad. Some audio interfaces are explicitly marketed as “iPad compatible,” while others may require additional adapters or software updates to work with iPads.
If you already own an audio interface and are unsure about its compatibility, check the manufacturer’s website or product documentation. They often provide detailed information on compatibility, including any required firmware updates or additional accessories.
In addition to compatibility with the iPad, consider the specific model of your iPad. Older iPad models may have different connection ports and require different adapters or cables to establish a connection with the audio interface. Thus, make sure to check both the audio interface’s compatibility and the compatibility with your specific iPad model.
Checking compatibility is crucial because it ensures that your audio interface and iPad can communicate effectively, allowing for seamless audio recording and playback. Skipping this step may result in frustration and wasted time if the devices are not compatible.
Once you have confirmed compatibility, you can proceed to the next step of gathering the necessary cables and adapters to establish the connection between your iPad and the audio interface.
Step 2: Gather Required Cables and Adapters
Now that you’ve confirmed the compatibility of your audio interface with your iPad, it’s time to gather the necessary cables and adapters to establish the connection. The cables and adapters you’ll need will depend on the specific audio interface and iPad models you’re working with.
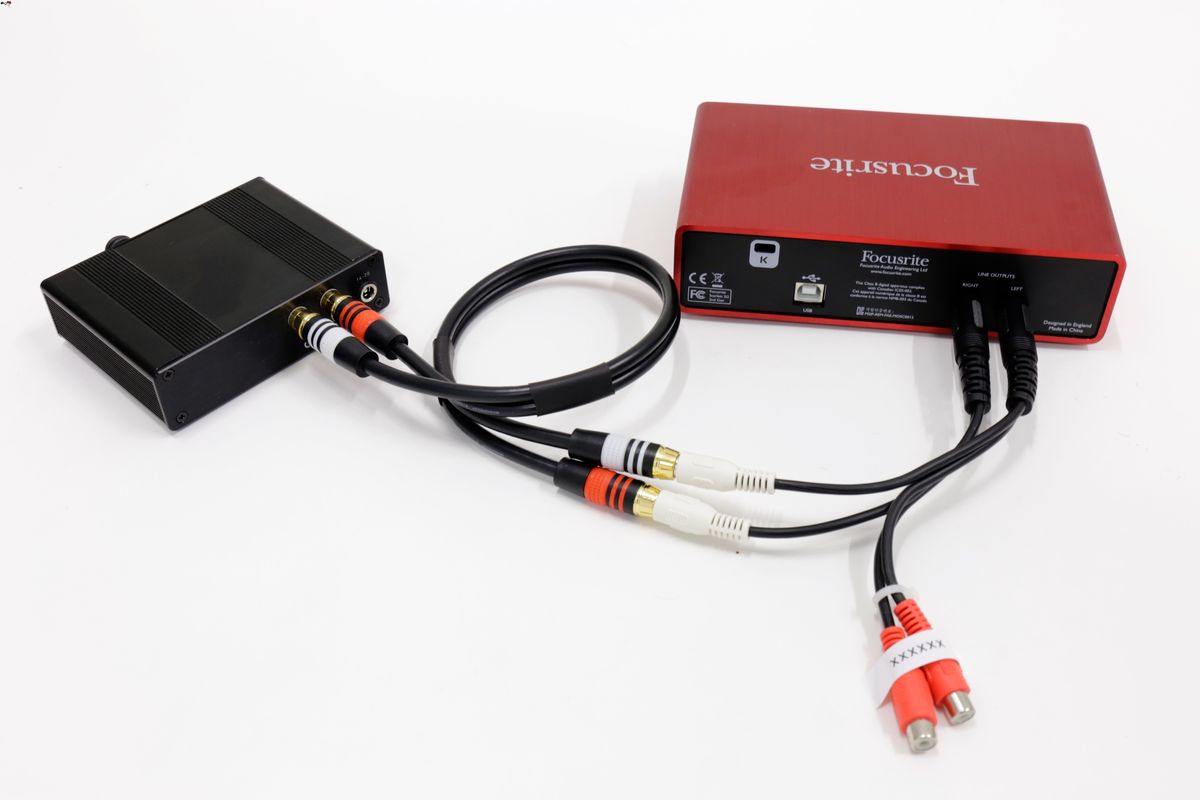
Here are the common cables and adapters you may require:
- USB Cable: Most audio interfaces connect to iPads using a USB connection. Check if your audio interface requires a USB-A to USB-B cable or a USB-C to USB-B cable, depending on the port types available on your iPad and audio interface.
- Lightning to USB Adapter: If you have an older iPad model with a Lightning connector, you’ll need a Lightning to USB adapter to connect the USB cable to your iPad. This adapter allows you to connect USB peripherals to your iPad.
- USB-C to USB Adapter: For newer iPad models with USB-C ports, you may require a USB-C to USB adapter to connect the USB cable to your iPad.
- Power Adapter: Some audio interfaces might require an external power supply for operation. Check if your audio interface needs a separate power adapter and ensure that you have it on hand.
It’s important to use the correct cables and adapters to ensure a stable and reliable connection between your iPad and the audio interface. Using incorrect or low-quality cables may result in audio dropouts, signal degradation, or other connectivity issues.
If you’re unsure about which cables or adapters to use, consult the documentation that came with your audio interface or reach out to the manufacturer’s customer support for guidance. They will provide specific recommendations based on your audio interface and iPad models.
With the required cables and adapters gathered, you’re now ready to move on to the next step: connecting the audio interface to your iPad.
Step 3: Connect the Audio Interface to the iPad
Now that you have gathered the necessary cables and adapters, it’s time to connect your audio interface to your iPad. The process may vary slightly depending on the specific audio interface and iPad models you’re using, but the general steps remain the same.
Follow these steps to connect the audio interface to your iPad:
- First, ensure that your iPad is powered off. This will prevent any potential issues when connecting the audio interface.
- If your audio interface requires external power, connect the power adapter to the interface and plug it into a power outlet.
- Connect one end of the USB cable to the USB port on your audio interface.
- If you have an older iPad model with a Lightning connector, connect the other end of the USB cable to the Lightning to USB adapter, and then connect the adapter to the Lightning port on your iPad.
- If you have a newer iPad model with a USB-C port, connect the other end of the USB cable to the USB-C to USB adapter, and then connect the adapter to the USB-C port on your iPad.
- Once the audio interface is connected to your iPad, power on the audio interface.
Your iPad should recognize the audio interface and establish a connection automatically. However, if prompted, follow any on-screen instructions to complete the connection process.
It’s important to note that some audio interfaces may require additional configuration or settings adjustments to work optimally with your iPad. Consult the documentation provided with your audio interface for any specific instructions or recommended settings.
With your audio interface successfully connected to your iPad, you’re one step closer to unlocking its full potential for recording and producing high-quality audio. Now it’s time to move on to the next step: adjusting the iPad settings.
Step 4: Adjust iPad Settings
After connecting the audio interface to your iPad, it’s essential to adjust the settings on your iPad to ensure optimal audio recording and playback. These settings may vary depending on your specific iPad model and the audio recording app you’re using, but the general guidelines remain similar.
Follow these steps to adjust the settings on your iPad:
- Go to the Settings app on your iPad. It can be found on the home screen.
- Scroll down and tap on “General.”
- Scroll down again and tap on “Accessibility.”
- Under the Hearing section, tap on “Audio/Visual.”
- Tap on “Audio Routing.”
- Switch on the “Always Route” option, which ensures that the audio output is directed to the connected audio interface.
These settings will help ensure that your iPad recognizes the audio interface as the primary audio output and input source. This is crucial for monitoring and recording audio accurately.
Additionally, if you’re using a specific audio recording app, it’s important to explore its settings and preferences to make any necessary adjustments for optimal performance with your audio interface. Look for options related to input/output settings, sample rate, buffer size, and latency to fine-tune the audio recording and playback experience.
It’s worth noting that some audio recording apps may have dedicated settings or modes for working with external audio interfaces. These settings may enable features like direct monitoring, low-latency recording, or compatibility with specific audio interface drivers.
Refer to the documentation or support resources provided by the audio recording app you’re using to understand and configure the settings appropriately.
With your iPad settings adjusted, you’re now ready for the final step: testing the connection to ensure everything is working as expected.
Step 5: Test the Connection
Once you have connected the audio interface to your iPad and adjusted the necessary settings, it’s crucial to test the connection before starting your audio recording or production session. Testing the connection ensures that everything is functioning correctly and that there are no issues or unexpected behavior.
Here are a few steps to test the connection between your audio interface and iPad:
- Open your preferred audio recording app on your iPad. If you don’t have one yet, you can explore popular options like GarageBand, Cubasis, or Pro Tools.
- Create a new project or open an existing one.
- Select the audio interface as the input and output device in the app’s settings or preferences. This step ensures that the app recognizes and uses the audio interface for recording and playback.
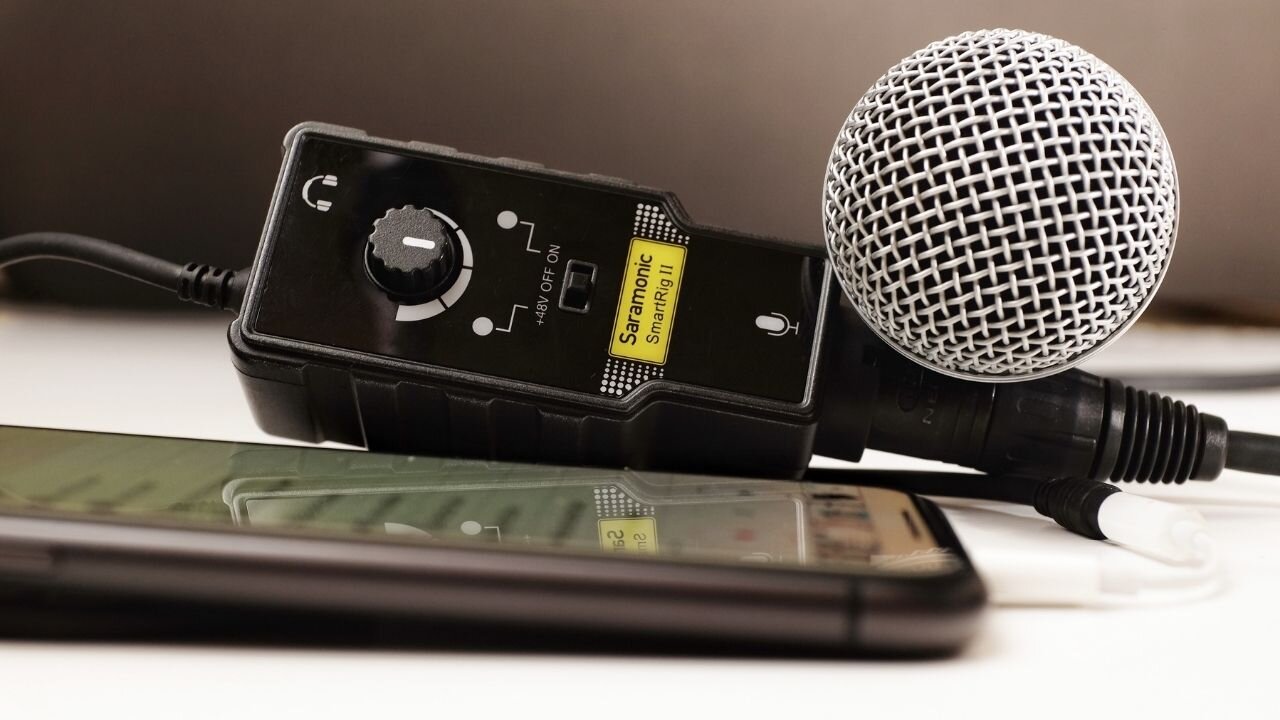
- Connect your microphone, instrument, or any audio equipment to the input channels of the audio interface.
- Check the app’s input levels and make sure they respond when you speak or play your instrument. Adjust the input gain on the audio interface as needed.
- Test the audio playback by playing a pre-recorded track or a virtual instrument. Make sure the audio is routed through the audio interface to your speakers or headphones.
- Monitor the audio quality and latency during playback and recording. If you notice any issues like distortion, audio dropouts, or significant latency, you may need to adjust buffer sizes or other settings in your audio recording app.
By testing the connection and making sure everything is working as expected, you can avoid any surprises or technical glitches during an important recording or production session. It’s always better to address any issues or fine-tune settings beforehand to ensure a smooth experience.
If you encounter any difficulties or have specific questions about using your audio interface with your iPad, consult the documentation provided with the audio interface or reach out to the manufacturer’s support for further assistance. They will be able to provide specific troubleshooting steps or recommendations based on your setup.
Congratulations! You’ve successfully connected your iPad to an audio interface and are ready to unlock its full potential for recording, producing, and mixing high-quality audio. Now go out there and create something amazing!
Conclusion
Connecting your iPad to an audio interface can greatly expand your creative possibilities and enhance your audio production capabilities. By following the steps outlined in this article, you can successfully connect your iPad to an audio interface and unlock a whole new world of high-quality audio recording and production.
Throughout the process, it is crucial to check the compatibility of your audio interface with your iPad, gather the necessary cables and adapters, and establish a proper connection between the devices. Adjusting the iPad settings ensures optimal audio routing and functionality, while testing the connection helps identify any issues before diving into a full recording or production session.
Along the way, remember to consult the documentation provided with your audio interface and audio recording app, as they may offer device-specific instructions and recommendations. Additionally, don’t hesitate to reach out to the manufacturer’s support team if you encounter any difficulties or require further assistance.
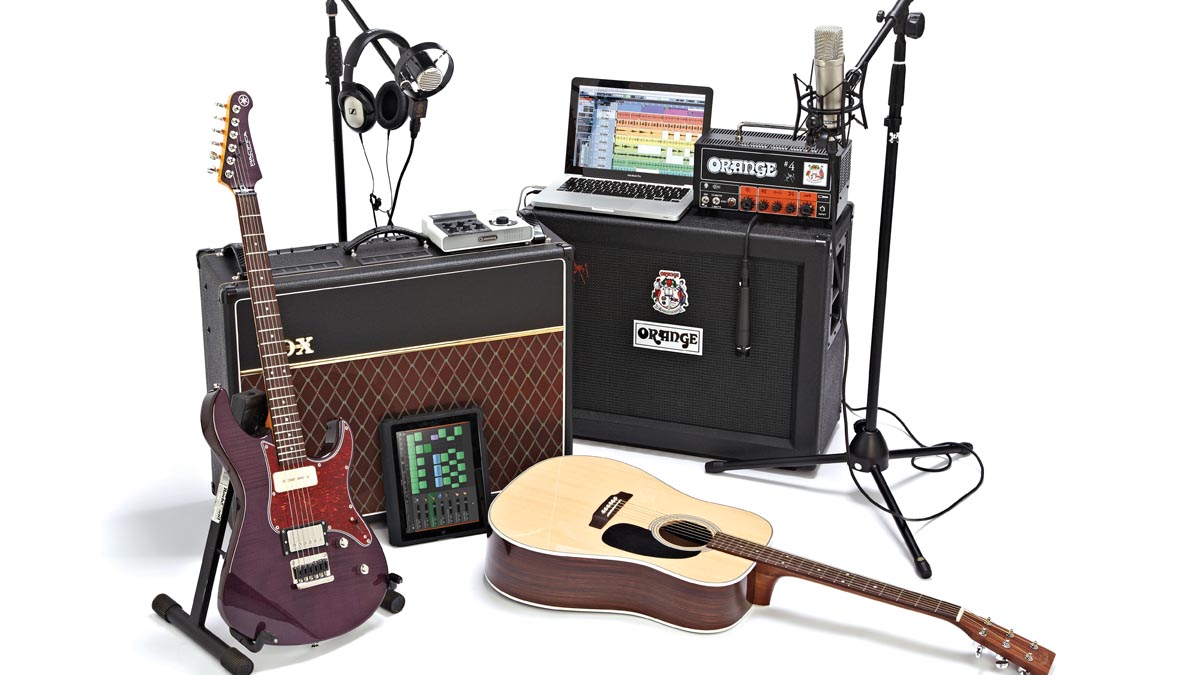
Once your iPad is successfully connected to an audio interface, you’ll gain the ability to record vocals, instruments, podcasts, and more with professional-grade audio quality. The versatility and portability of the iPad combined with the power of an audio interface will empower you to create and produce music or audio content anytime, anywhere.
So go ahead, explore different recording apps and experiment with various audio equipment. Whether you’re a musician, podcaster, or audio enthusiast, connecting your iPad to an audio interface opens up a world of creative possibilities. Enjoy the freedom to record, produce, and elevate your audio projects to new heights with this powerful combination.