Home>Production & Technology>Audio Interface>How To Use Audio Interface For Gaming Mic
Audio Interface
How To Use Audio Interface For Gaming Mic
Modified: February 17, 2024
Learn how to efficiently utilize an audio interface for your gaming microphone, ensuring crystal-clear audio and enhanced gaming experience. Discover the benefits of leveraging an audio interface.
(Many of the links in this article redirect to a specific reviewed product. Your purchase of these products through affiliate links helps to generate commission for AudioLover.com, at no extra cost. Learn more)
Table of Contents
- Introduction
- What is an Audio Interface?
- Benefits of Using an Audio Interface for Gaming Mic
- Choosing the Right Audio Interface for Gaming Mic
- Setting Up Your Audio Interface for Gaming Mic
- Adjusting Audio Interface Settings for Gaming Mic
- Troubleshooting Common Issues with Audio Interface for Gaming Mic
- Conclusion
Introduction
Welcome to the world of gaming! Whether you’re a beginner or a seasoned gamer, having high-quality audio is crucial to immerse yourself in the virtual world and communicate effectively with your teammates. While most gaming headsets come with built-in microphones, you may find that the audio quality is not up to par.
This is where an audio interface comes in. An audio interface is a device that connects your gaming microphone to your computer or gaming console, allowing you to capture clear and professional-grade audio. In this article, we will explore the benefits of using an audio interface for your gaming mic, how to choose the right one, and how to set it up for optimal performance.
By utilizing an audio interface, you can take your gaming experience to the next level. Say goodbye to static, background noise, and low-quality audio. With the help of an audio interface, you can enjoy crystal-clear voice chat, record high-quality commentary, and stream your gameplay without any audio issues.
What is an Audio Interface?
An audio interface is a hardware device that serves as a bridge between your gaming microphone and your computer or gaming console. It acts as an intermediary, converting analog audio signals from your microphone into digital data that can be processed and recorded on your device.
Audio interfaces come in a variety of forms, ranging from simple USB interfaces to more advanced models with multiple inputs and outputs. They are designed to provide high-quality audio recording and playback, ensuring that every nuance of your voice is captured accurately.
One of the key features of an audio interface is its ability to provide superior audio conversion. Most gaming headsets have built-in digital-to-analog converters (DACs), but they are often of lower quality. On the other hand, audio interfaces typically have dedicated DACs that offer higher resolution and better sound reproduction.
Additionally, audio interfaces provide phantom power for condenser microphones, which require a power source to operate. This ensures that your condenser microphone receives the necessary power to capture your voice clearly and accurately.
Another important function of an audio interface is its low-latency monitoring capability. Latency refers to the delay between when you speak into the microphone and when you hear the audio being played back in your headphones. With a low-latency audio interface, you can monitor your voice in real-time without any noticeable delay, allowing for seamless communication with your teammates during gameplay or when recording commentary.
Overall, an audio interface is an essential tool for gamers who prioritize high-quality audio. It provides superior sound conversion, phantom power for condenser microphones, and low-latency monitoring, all of which contribute to a more immersive gaming experience and professional-grade audio recording.
Benefits of Using an Audio Interface for Gaming Mic
Using an audio interface for your gaming microphone offers a multitude of benefits that significantly enhance your gaming experience. Let’s explore some of the key advantages:
- Improved Sound Quality: One of the primary benefits of using an audio interface is the remarkable improvement in sound quality. The dedicated digital-to-analog converters (DACs) in audio interfaces ensure accurate and pristine sound reproduction, eliminating any distortion or unwanted noise. This means that your voice will be clearer and more natural, allowing for better communication with your teammates and a more immersive gaming experience.
- Low Latency: Another major advantage of using an audio interface is the ability to achieve low latency monitoring. Latency refers to the delay between speaking into the microphone and hearing the audio playback. With a low latency audio interface, you can monitor your voice in real-time without any noticeable delay, enabling you to react quickly during gameplay or when recording commentary.
- Phantom Power for Condenser Microphones: Condenser microphones are popular among gamers for their sensitivity and superior audio quality. However, they require a power source to operate. Audio interfaces provide phantom power, which supplies the necessary voltage to the microphone, allowing condenser microphones to function optimally and capture every detail of your voice.
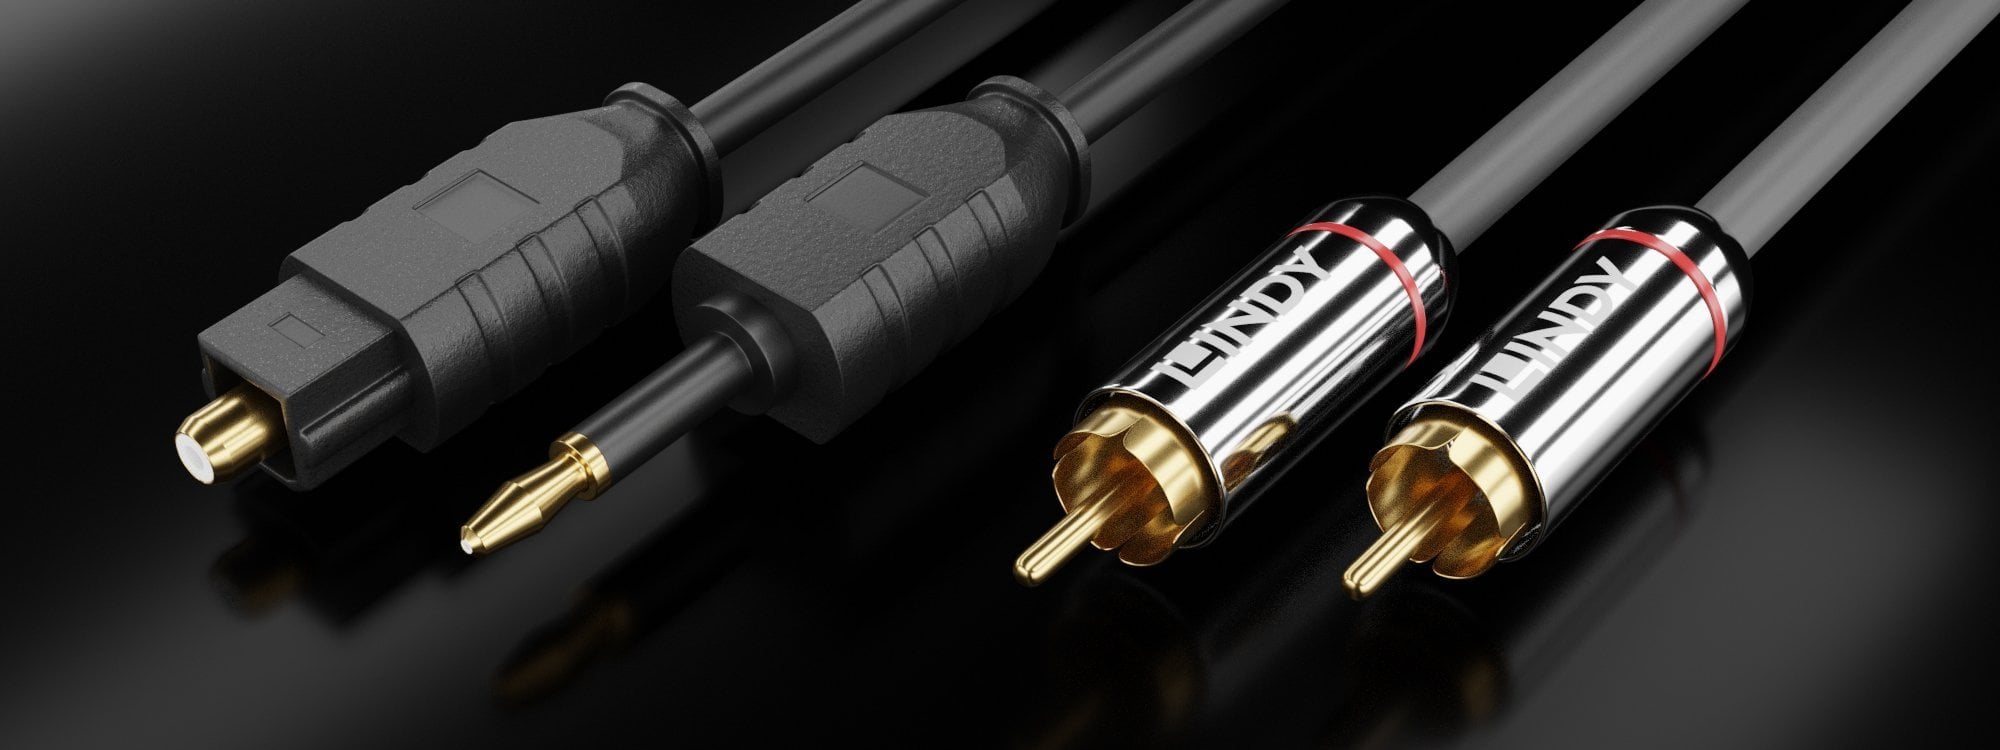
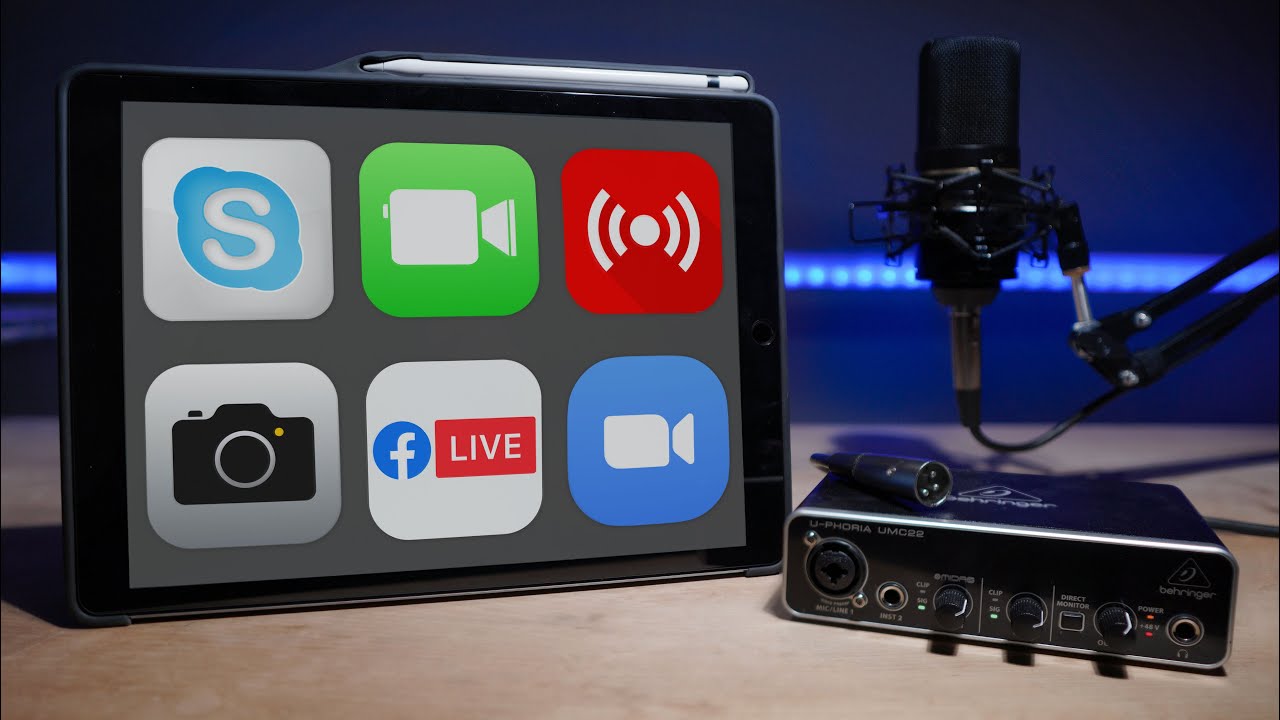
- Flexible Connectivity: Audio interfaces offer a wide range of connectivity options, including USB, Thunderbolt, and XLR inputs. This flexibility allows you to connect various types of microphones to your gaming setup, ensuring compatibility and allowing you to choose the best microphone for your needs.
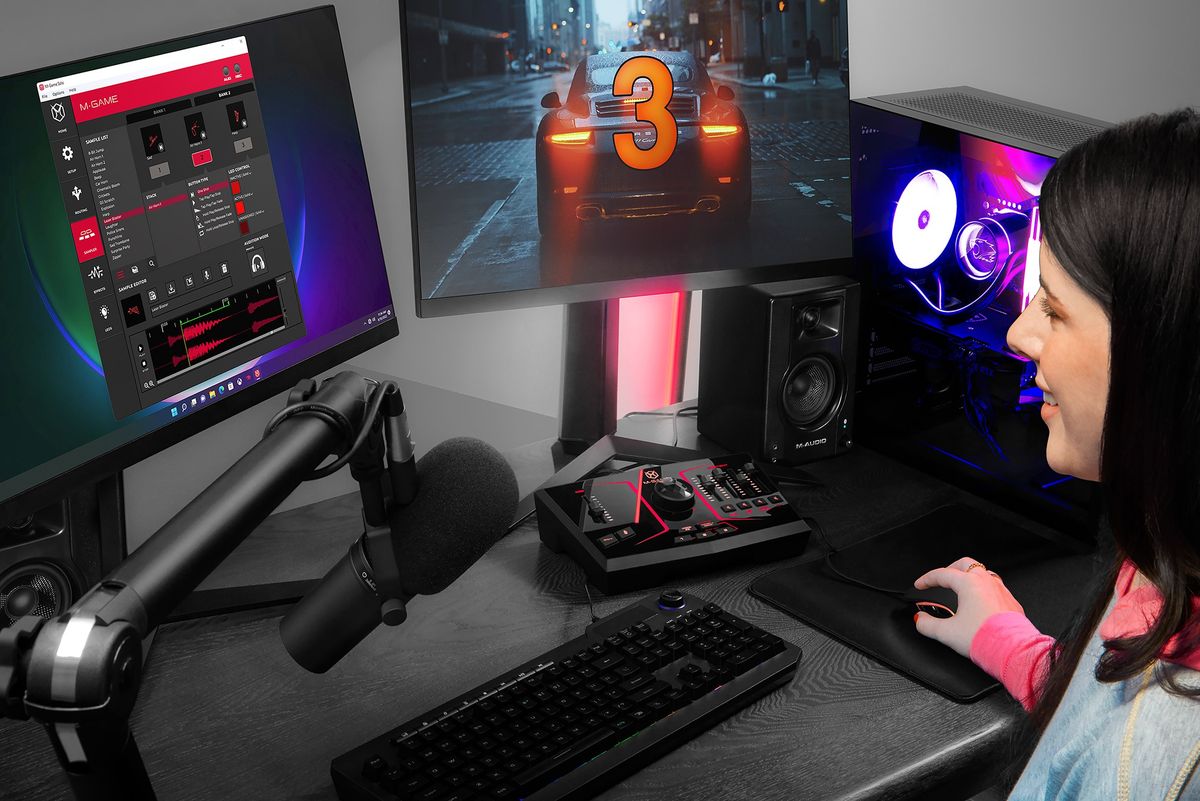
- Versatility: In addition to enhancing your gaming experience, an audio interface can be used for other audio-related tasks. You can use it to record high-quality commentary for your gameplay videos, stream your gaming sessions with professional-grade audio, or even lay down vocals for music production. The versatility of an audio interface makes it a valuable investment for gamers and content creators alike.
Overall, using an audio interface for your gaming microphone brings a new level of audio fidelity to your gaming experience. With improved sound quality, low latency monitoring, phantom power for condenser microphones, flexible connectivity, and versatility, an audio interface is an indispensable tool for gamers who want to elevate their audio game.
Choosing the Right Audio Interface for Gaming Mic
Choosing the right audio interface for your gaming microphone is crucial to ensure optimal audio performance. With a wide range of options available on the market, it’s important to consider several factors before making a decision. Here are some key factors to keep in mind when choosing an audio interface:
- Compatibility: Ensure that the audio interface you choose is compatible with your gaming setup. Check the system requirements and compatibility specifications to ensure that it works seamlessly with your computer or gaming console.
- Inputs and Outputs: Consider the number and types of inputs and outputs you need. If you only plan on using a single microphone, a basic audio interface with a single XLR or USB input may suffice. However, if you plan on using multiple microphones or connecting other audio equipment, opt for an interface with multiple inputs and outputs to accommodate your needs.
- Audio Quality: Pay attention to the audio quality specifications of the audio interface. Look for interfaces with high-resolution DACs and low signal-to-noise ratios (SNRs) to ensure accurate and clear audio reproduction.
- Preamp Quality: The quality of the preamps on the audio interface is important, especially if you’re using a dynamic microphone or require higher gain levels. Look for interfaces with high-quality preamps that provide clean and transparent amplification of your microphone signal.
- Monitoring Options: Check the monitoring capabilities of the audio interface. Look for features like low-latency monitoring, headphone outputs with dedicated volume control, and mix control options to ensure accurate monitoring of your voice during gameplay or when recording commentary.
- Budget: Consider your budget and weigh the features and specifications offered by different audio interfaces. While it’s not necessary to break the bank, investing in a higher-quality interface can make a significant difference in audio performance.
It’s also worth seeking recommendations and reading reviews from other gamers or content creators who have experience with audio interfaces. This can provide valuable insights into the performance and reliability of different models.
By considering these factors and doing thorough research, you’ll be able to choose the right audio interface for your gaming microphone that meets your specific needs and delivers exceptional audio quality.
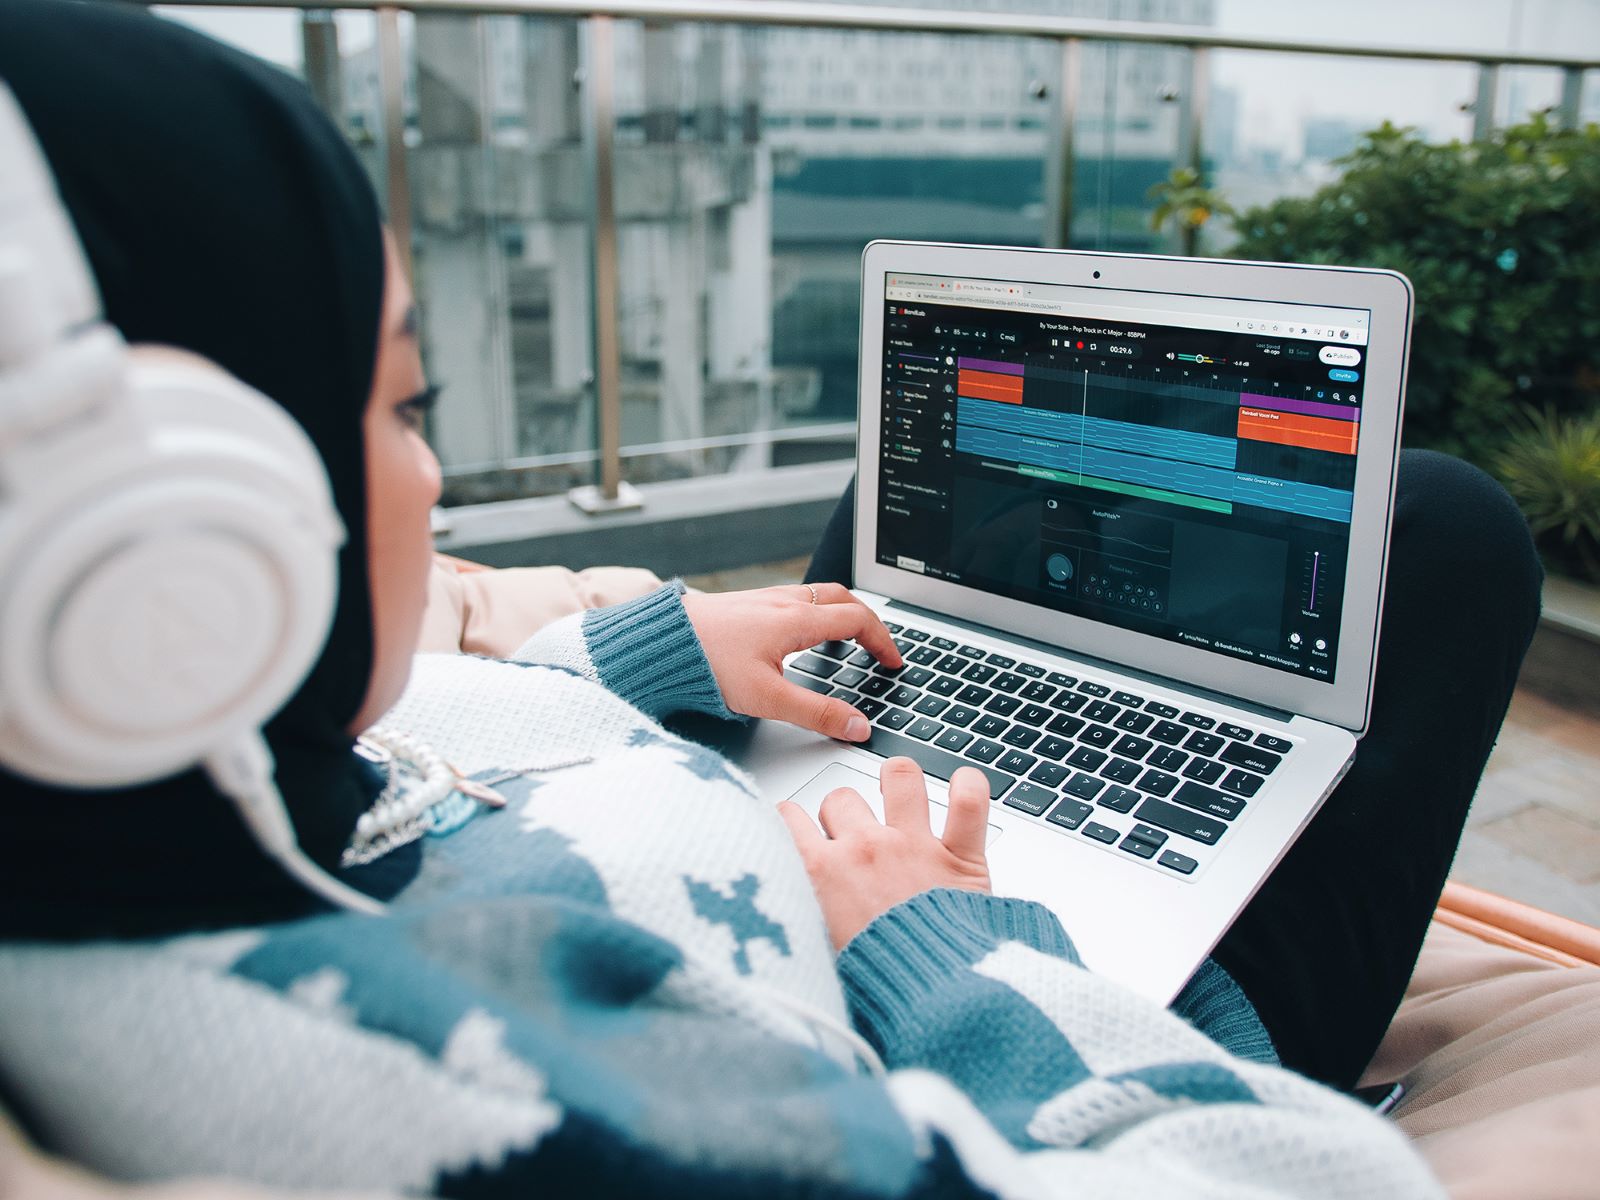
Setting Up Your Audio Interface for Gaming Mic
Setting up your audio interface for your gaming microphone is a straightforward process. Follow these steps to ensure a smooth and successful setup:
- Connect the Audio Interface: Start by connecting your audio interface to your computer or gaming console. Use the appropriate cables (USB, Thunderbolt, etc.) and ensure a secure connection.
- Connect Your Microphone: Attach your gaming microphone to the audio interface using an XLR or USB cable, depending on the type of interface and microphone you have. Ensure that the connection is secure and that the microphone is properly positioned.
- Install Software and Drivers: Depending on the audio interface, you may need to install specific software or drivers. Check the manufacturer’s instructions and download any necessary software or drivers from their official website. Follow the installation instructions provided.
- Configure Audio Interface Settings: Access the settings of your audio interface using the provided software or through your computer or gaming console settings. Set the appropriate sample rate, bit depth, and other audio settings to match your desired recording and playback quality.
- Test and Adjust Levels: Once your audio interface is connected and configured, test your microphone by speaking into it. Monitor the audio levels on your computer or gaming console and adjust the gain or volume settings on the audio interface as needed. Aim for a steady, clear signal without any clipping or distortion.
- Enable Monitoring: If your audio interface supports low-latency monitoring, enable it to monitor your voice in real-time. This will allow you to hear yourself without any noticeable delay, ensuring a seamless gaming experience or while recording commentary.
- Test Audio Quality: Finally, perform a test recording or engage in a gaming session with voice chat to ensure that the audio quality is up to your satisfaction. Make any necessary adjustments to the gain, EQ, or other audio settings to achieve the desired sound.
Remember to refer to the user manual or online resources provided by the audio interface manufacturer for detailed instructions specific to your device.
Once your audio interface is set up and functioning correctly, you can enjoy the benefits of clear and high-quality audio during your gaming sessions, enhancing both your communication with teammates and the overall immersive experience of your gaming adventures.
Adjusting Audio Interface Settings for Gaming Mic
After setting up your audio interface for your gaming microphone, you may need to make additional adjustments to optimize the audio settings. These adjustments can help fine-tune the sound quality and ensure optimal performance during your gaming sessions. Here are some key settings to consider:
- Gain Control: The gain control on your audio interface adjusts the input sensitivity of your microphone. It determines how loud or soft your voice is captured by the microphone. Set the gain level to an appropriate level where your voice is clear and audible without any distortion or clipping. Avoid setting the gain too high, as it can introduce unwanted noise.
- Phantom Power: If you are using a condenser microphone that requires phantom power, ensure that the appropriate phantom power switch is activated on your audio interface. This ensures that the microphone receives the necessary voltage to function properly and capture your voice accurately.
- Sample Rate and Bit Depth: The sample rate refers to the number of samples taken per second during audio recording, while the bit depth determines the dynamic range and accuracy of the audio. Set the sample rate and bit depth to match your desired recording quality. Higher settings generally provide better audio fidelity but may increase file size.
- Monitoring Options: Depending on your audio interface, you may have various monitoring options available. This includes features like direct monitoring, headphone mix control, and EQ settings. Experiment with these options to find the monitoring setup that best suits your needs and preferences.
- EQ and Effects: Some audio interfaces offer built-in EQ and effects processing. If desired, you can adjust the EQ settings to enhance the tonal characteristics of your voice. Be mindful not to overdo it, as excessive EQ adjustments can affect the natural sound of your voice. Additionally, you may explore adding effects such as reverb or compression to further enhance the audio quality.
- Software Integration: Your audio interface may come with dedicated software that allows you to control and customize various settings. Familiarize yourself with the software interface and explore the options available. This can include features like routing options, advanced monitoring controls, and firmware updates.
Remember to test and monitor your audio after making any adjustments to ensure that the changes result in the desired improvements. Make small incremental adjustments and listen for any noticeable differences before settling on the optimal settings for your gaming microphone and audio interface.
With careful adjustment of the audio interface settings, you can achieve clear, professional-grade audio for both in-game communication and recording purposes. Enjoy the improved sound quality and enhanced gaming experience with your optimized audio setup!
Troubleshooting Common Issues with Audio Interface for Gaming Mic
While using an audio interface for your gaming microphone can greatly enhance your audio experience, you may encounter some common issues along the way. Here are some troubleshooting tips to help you resolve these issues:
- No Sound or Mic Input: If you’re not getting any sound or microphone input, check the following:
- Ensure that the audio interface is properly connected to your computer or gaming console.
- Verify that the microphone is securely connected to the audio interface.
- Check the device settings to ensure that the audio interface is selected as the input and output device.
- Make sure that the gain or volume levels are appropriately set on the audio interface.
- Poor Sound Quality: If you’re experiencing poor sound quality, consider these solutions:
- Check the gain levels on your audio interface. If the gain is set too high, it can introduce distortion or clipping. Adjust the gain to an appropriate level.
- Ensure that the microphone is positioned correctly and is not too close to your mouth, which can result in excessive plosives or distorted sound.
- Check if any EQ or effects settings on the audio interface are affecting the sound quality. Reset them to default or make appropriate adjustments.
- Verify that the sample rate and bit depth settings on the audio interface match the desired recording quality and are properly supported by your computer or gaming console.
- Background Noise or Interference: To eliminate or reduce background noise or interference:
- Ensure that all unnecessary electronic devices or sources of electrical interference are kept away from the audio interface and microphone.
- Use shielded cables to connect the audio interface and microphone to minimize interference.
- Consider using a microphone with a built-in shock mount or employing an external shock mount to isolate the microphone from vibrations or handling noise.
- Experiment with microphone placement and gain settings to minimize environmental noise pickup while maintaining the desired audio quality.
- Latency Issues: If you notice a noticeable delay or latency between speaking and hearing the audio in your headphones:
- Ensure that you have enabled the low-latency monitoring feature, if available, on your audio interface.
- Reduce the buffer size in the audio interface settings to minimize latency. However, note that extremely low buffer sizes may increase the load on your computer or gaming console.
- Verify that your computer or gaming console meets the system requirements for low-latency audio processing.
- Consider using a dedicated audio interface with advanced drivers and optimized software for improved latency performance.
If you’re still experiencing issues after trying the troubleshooting tips mentioned above, consult the user manual of your audio interface for specific troubleshooting steps. Additionally, reach out to the manufacturer’s technical support for further assistance.
Remember that troubleshooting may involve a process of trial and error, so be patient and persistent in finding the root cause of the issue. With some troubleshooting and adjustments, you can resolve common issues and enjoy a seamless and high-quality audio experience with your gaming microphone and audio interface.
Conclusion
Using an audio interface for your gaming microphone can make a significant difference in the audio quality and overall immersive experience of your gaming sessions. Whether you’re a casual gamer, a content creator, or a professional esports player, investing in a high-quality audio interface can take your audio game to the next level.
By connecting your gaming microphone to an audio interface, you can enjoy improved sound quality, low latency monitoring, and the ability to use condenser microphones that require phantom power. The flexibility and versatility of audio interfaces allow you to customize your audio setup according to your specific needs and preferences.
When choosing an audio interface, consider factors such as compatibility, inputs and outputs, audio quality, preamp quality, monitoring options, and your budget. Reading reviews and seeking recommendations from other gamers or content creators can also help you make an informed decision.
Setting up your audio interface is a straightforward process, involving connecting the interface, attaching your microphone, installing any necessary software or drivers, and configuring the settings. Adjusting settings such as gain control, phantom power, sample rate, and bit depth, as well as exploring monitoring options and software integration, ensure optimal performance.
If you encounter any issues, troubleshoot common problems such as no sound or mic input, poor sound quality, background noise or interference, and latency issues. These troubleshooting steps can help you resolve the issues and achieve the desired audio quality.
In conclusion, using an audio interface for your gaming microphone is a worthwhile investment to enhance your audio experience. With improved sound quality, low latency monitoring, and the ability to optimize your audio settings, an audio interface can elevate your gaming sessions and provide a professional-grade audio recording experience. So, level up your audio game and enjoy immersive, crystal-clear sound with an audio interface for your gaming mic.