Home>Production & Technology>Audio Interface>How To Connect Condenser Mic To Audio Interface
Audio Interface
How To Connect Condenser Mic To Audio Interface
Modified: February 17, 2024
Learn how to connect a condenser mic to an audio interface for professional audio recording. Enhance your sound quality and capture every detail with the right setup.
(Many of the links in this article redirect to a specific reviewed product. Your purchase of these products through affiliate links helps to generate commission for AudioLover.com, at no extra cost. Learn more)
Table of Contents
- Introduction
- Step 1: Gather the necessary equipment
- Step 2: Connect the audio interface to the computer
- Step 3: Power on the audio interface
- Step 4: Connect the condenser microphone to the audio interface
- Step 5: Adjust the input gain
- Step 6: Set up the recording software
- Step 7: Test the microphone connection
- Step 8: Start recording audio
- Conclusion
Introduction
Welcome to the world of audio recording! Whether you’re a musician, podcaster, or content creator, having a high-quality audio interface is essential for capturing professional sound. An audio interface serves as the bridge between your microphone and your computer, enabling you to record and monitor audio with precision and clarity.
In this guide, we will walk you through the process of connecting a condenser microphone to an audio interface. A condenser microphone is a popular choice for capturing vocals, acoustic instruments, and more due to its sensitivity and detailed sound reproduction. By pairing it with an audio interface, you can unlock its full potential and achieve studio-quality recordings in the comfort of your own home.
If you’re new to the world of audio interfaces, don’t worry! We will break down the steps in a clear and concise manner, ensuring that you have a good understanding of the process. So let’s get started and learn how to connect your condenser microphone to an audio interface!
Step 1: Gather the necessary equipment
Before diving into the process of connecting your condenser microphone to an audio interface, it’s important to gather all the necessary equipment. Here’s a checklist of what you’ll need:
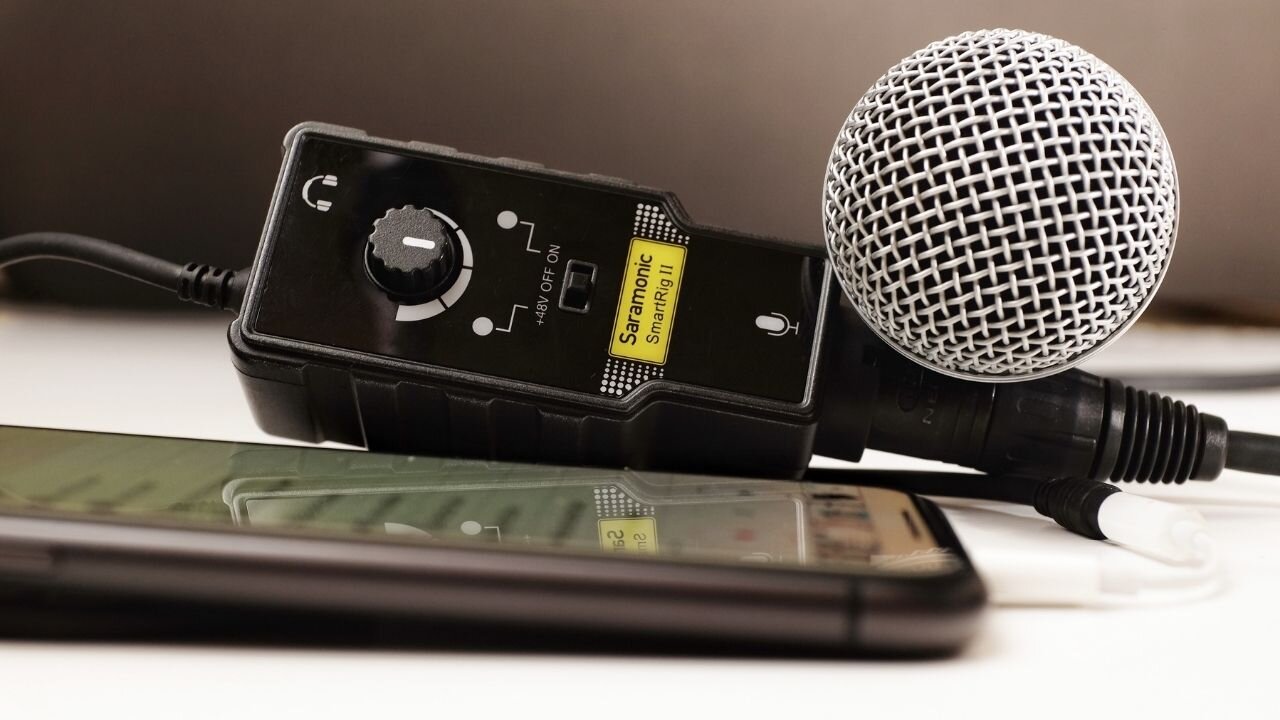
- Condenser microphone: Choose a condenser microphone that suits your recording needs. Make sure it has an XLR output, as this will be the connector used to connect it to the audio interface.
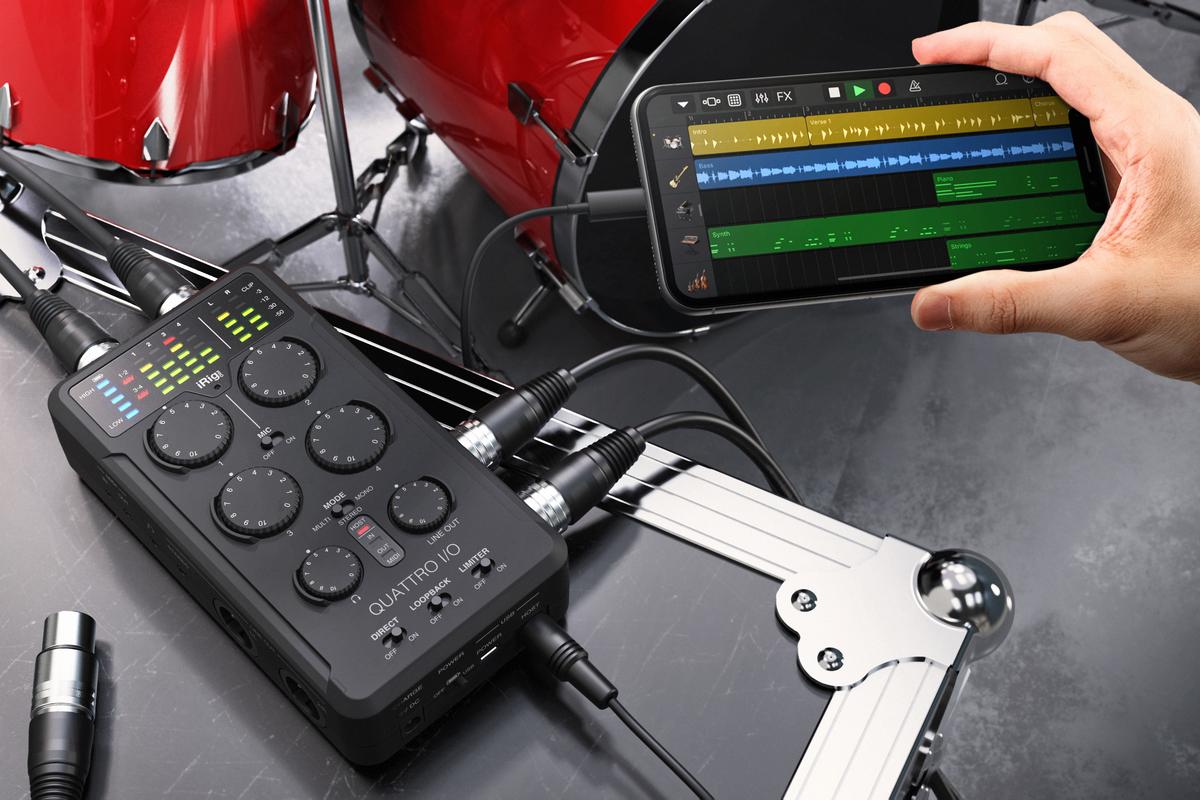
- Audio interface: Select an audio interface that is compatible with your computer and offers the features you require. Ensure that it has XLR input connectors for connecting the condenser microphone.
- XLR cable: You’ll need an XLR cable to connect the microphone to the audio interface. Make sure it is of good quality to avoid any potential signal loss or interference.
- Pop filter (optional): A pop filter helps minimize plosive sounds caused by bursts of air, such as the “p” and “b” sounds. It is recommended for vocal recordings to achieve cleaner and more professional results.
- Headphones: Having a pair of headphones allows you to monitor the audio in real-time and make any necessary adjustments during the recording process.
- Computer: Of course, you’ll need a computer or laptop to connect the audio interface and recording software. Ensure that it meets the system requirements of your chosen audio interface and software.
Once you have gathered all the necessary equipment, you’re ready to move on to the next step: connecting the audio interface to your computer.
Step 2: Connect the audio interface to the computer
Now that you have all the equipment ready, it’s time to connect the audio interface to your computer. Follow these steps to ensure a proper connection:
- Locate the USB or Thunderbolt cable that came with your audio interface. This cable will be used to connect the interface to your computer.
- Connect one end of the USB or Thunderbolt cable to the corresponding port on the back of the audio interface.
- Connect the other end of the cable to an available USB port or Thunderbolt port on your computer. Make sure the connection is secure.
- If your audio interface has an external power supply, plug it into a power outlet and connect it to the interface. Otherwise, proceed to the next step.
- Power on your computer.
- Power on your audio interface. Most interfaces have a power switch or button that you can toggle to turn them on.
- Wait for your computer to recognize the audio interface. Depending on your operating system, you may see a notification or a prompt asking you to install any necessary drivers. Follow the instructions to complete the installation.
- Once the audio interface is recognized by your computer, it is ready to be used for recording.
It’s important to consult the user manual that came with your audio interface for any specific instructions or troubleshooting tips related to the connection process. Different audio interfaces may have slightly different procedures, so always reference the manufacturer’s guidelines when in doubt.
With the audio interface connected and powered on, you’re one step closer to recording audio with your condenser microphone. The next step will guide you on how to connect the microphone to the audio interface.
Step 3: Power on the audio interface
Now that your audio interface is connected to your computer, it’s time to power it on. Follow these steps to ensure a successful power-up:
- Locate the power switch or button on your audio interface. It is typically located on the front or back panel.
- Toggle the power switch or press the power button to turn on the audio interface. Make sure the power indicator light or LED lights up, indicating that the device is receiving power.
- Wait for a moment to allow the audio interface to initialize. Some interfaces may have boot-up sequences or self-diagnostic procedures.
- Check the documentation or user manual for any specific instructions regarding the power-on process. Certain audio interfaces may require additional steps or settings adjustments.
- Once the audio interface is powered on and fully operational, you can move on to the next step of connecting your condenser microphone.
Remember to consult the user manual or documentation that came with your audio interface for any specific details or troubleshooting tips related to powering on the device. Different interfaces may have unique power requirements or special considerations, so it’s essential to follow the manufacturer’s guidelines.
With your audio interface powered on and connected to your computer, you’re ready to proceed to the next step of connecting your condenser microphone to the interface. This step will guide you through the process of making the physical connection between the microphone and the interface.
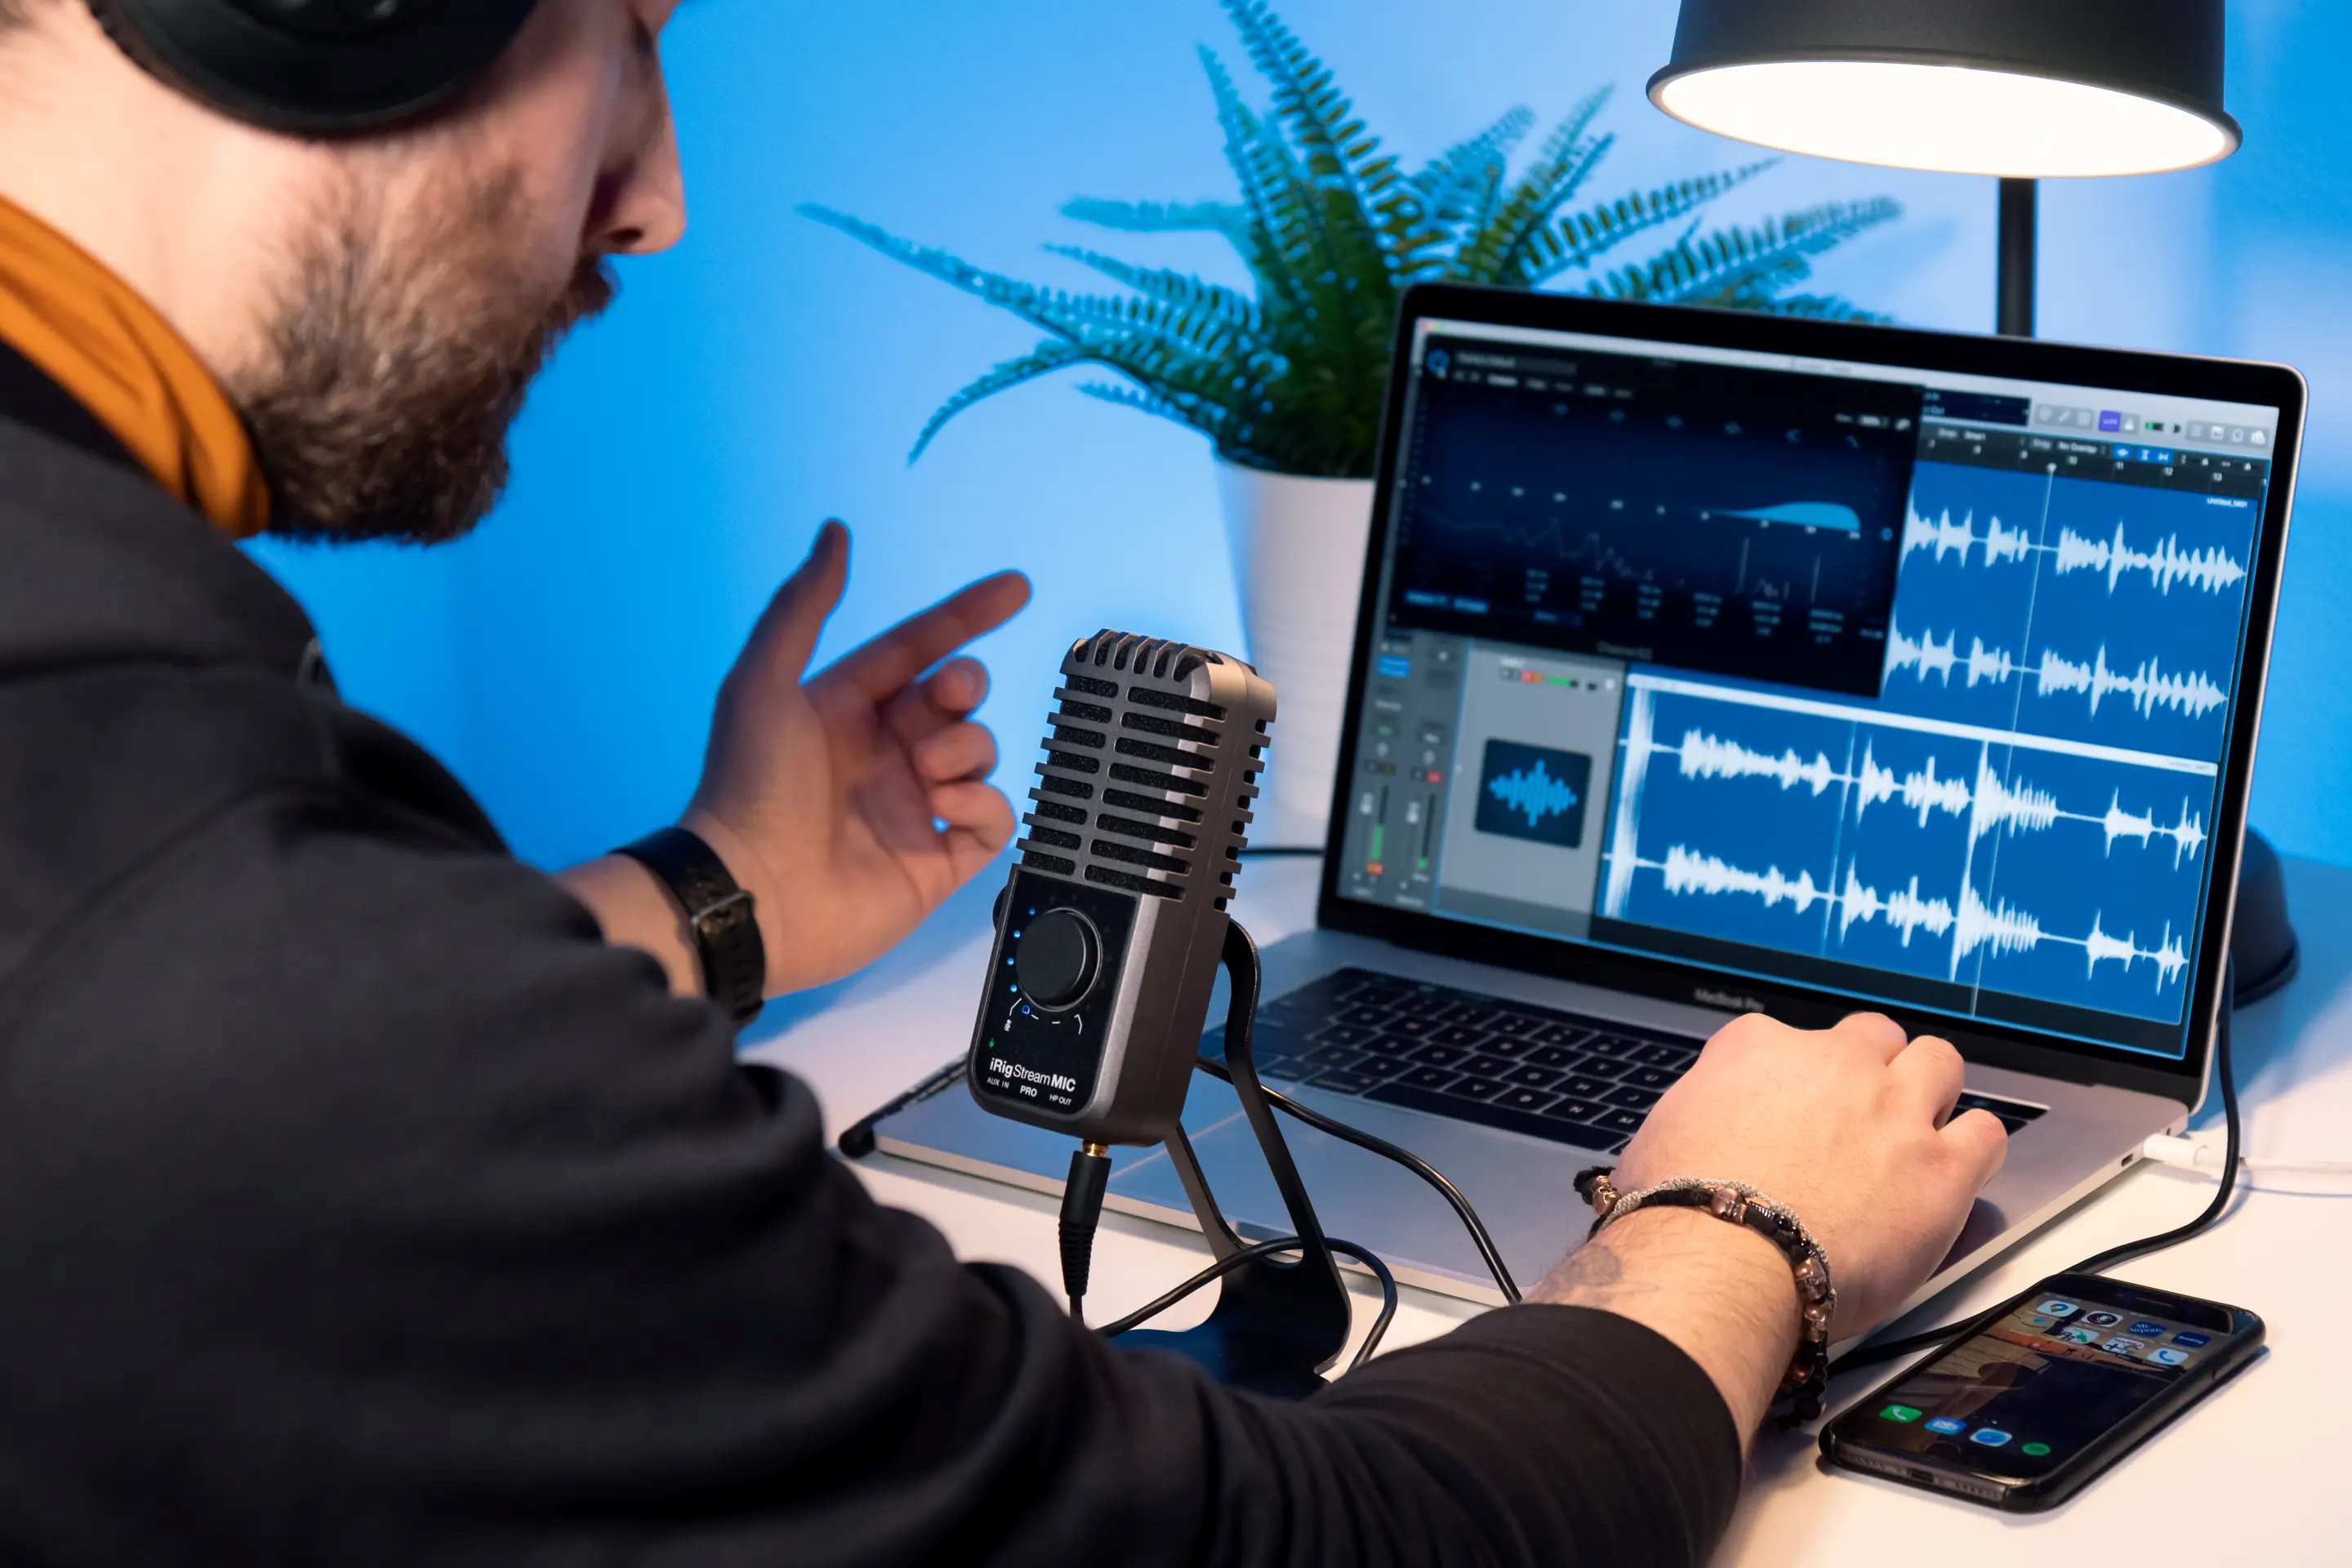
Step 4: Connect the condenser microphone to the audio interface
Now that your audio interface is powered on, it’s time to connect your condenser microphone. Follow these steps to ensure a proper connection:
- Locate the XLR input connectors on the audio interface. These connectors are typically located on the front or back panel.
- Take your XLR cable and connect one end to the XLR output on your condenser microphone. Ensure that it is securely plugged in.
- Connect the other end of the XLR cable to one of the XLR input connectors on the audio interface. Again, make sure the connection is secure.
- If your condenser microphone has a built-in shock mount or suspension system, attach it to the microphone stand. This helps isolate the microphone from any vibrations or handling noise.
- Position the microphone in front of the sound source, such as your vocals or instrument, at an appropriate distance and angle. Make any necessary adjustments to achieve the desired sound capture.
It’s important to handle the condenser microphone with care, as it is a sensitive piece of equipment. Avoid exposing it to any sudden impact or excessive vibrations that could affect its performance.
Additionally, if you are using a pop filter, you can attach it to the microphone stand between the microphone and the sound source. This will help reduce plosive sounds and improve the overall audio quality.
Once you have connected the condenser microphone to the audio interface, you’re ready to move on to the next step: adjusting the input gain.
Step 5: Adjust the input gain
After connecting your condenser microphone to the audio interface, it’s important to adjust the input gain to ensure optimal audio levels. The input gain determines the sensitivity of the microphone and affects the volume and clarity of the recorded sound. Follow these steps to adjust the input gain:
- Refer to the user manual or documentation of your audio interface to locate the input gain control. This control is typically a knob or a slider labeled “gain” or “input level.”
- Set the input gain control to its minimum or “zero” position.
- Open your recording software or digital audio workstation (DAW) on your computer.
- Create a new audio track and set it to receive input from the audio interface.
- Open the input gain meter or level indicator on your recording software. This meter displays the input signal level.
- Start speaking or performing into the microphone at normal volume.
- Gently increase the input gain on the audio interface while monitoring the input gain meter on your recording software.
- Gradually increase the gain until the input level reaches a peak level without clipping or distorting. It is essential to find the balance between a strong and clear signal without any distortion.
While adjusting the input gain, it’s important to be mindful of any potential background noise or room acoustics. Aim for a clean and noise-free signal by reducing the input gain if you notice any unwanted noise or distortion.
Remember to save the input gain settings on your audio interface or within your recording software for future use. This way, you can easily maintain the preferred settings for your microphone.
Once you have adjusted the input gain to your satisfaction, you’re ready to move on to the next step: setting up the recording software.
Step 6: Set up the recording software
Now that you have adjusted the input gain on your audio interface, it’s time to set up your recording software or digital audio workstation (DAW) to start capturing audio. Follow these steps to get your recording software ready:
- Open your recording software or DAW on your computer.
- Create a new audio track to record your sound.
- In the track settings or preferences, ensure that the input is set to receive audio from your audio interface. Select the corresponding input channel that is connected to your condenser microphone.
- Enable monitoring on the track so that you can hear the audio in real-time as you record. This helps you monitor the quality and adjust any necessary levels or settings.
- Check the recording settings of your software, such as the sample rate and bit depth. Ensure that they match the desired specifications for your recording. Common settings are 44.1 kHz for sample rate and 24-bit depth.
- Set the recording path or destination for your audio files. Choose a location on your computer where you want your recordings to be saved.
- Configure any additional settings specific to your recording needs, such as enabling effects, setting up a metronome, or adjusting playback preferences.
- Test the audio signal by speaking or performing into the microphone while monitoring the input levels on the recording software. Make sure the signal is clear and properly captured.
It’s important to explore the features and capabilities of your recording software to utilize its full potential. Familiarize yourself with the different options and tools available, as they can enhance your recording experience and allow for more creative possibilities.
Once you have set up your recording software, you’re ready to move on to the next step: testing the microphone connection.
Step 7: Test the microphone connection
Before you start recording, it’s crucial to test the microphone connection to ensure everything is functioning as expected. Follow these steps to test the microphone connection:
- Make sure your headphones are connected to the audio interface or your computer’s headphone output.
- In your recording software, arm the audio track for recording. This allows you to capture the audio signal from the microphone.
- Put on your headphones and enable monitoring on the track. This allows you to hear the audio signal in real-time as you speak or perform into the microphone.
- Speak or perform into the microphone at a normal volume. Monitor the input levels on the recording software to make sure the signal is strong and clear, without any distortion or clipping.
- Listen to the audio in your headphones and make any necessary adjustments to the microphone position or input gain if needed. Ensure that the sound is as desired and free from any unwanted noise or artifacts.
- Perform a quick test recording to check the quality of the audio capture. Playback the recording and listen carefully to ensure that it sounds as expected and meets your desired standards.
If you encounter any issues during the testing phase, such as a weak audio signal, distorted sound, or unexpected noise, double-check the connections between the microphone, audio interface, and computer. Confirm that the input gain and other settings are properly configured. Consult the user manual or documentation of your equipment for troubleshooting guidance.
Testing the microphone connection allows you to identify and address any potential issues before proceeding with your actual recording. By ensuring a clean and high-quality signal, you’ll be well-prepared for your recording session.
Once you have successfully tested the microphone connection and are satisfied with the audio quality, you’re ready to move on to the final step: starting the actual recording.
Step 8: Start recording audio
Now that you have tested the microphone connection and everything is set up correctly, it’s time to start recording your audio. Follow these steps to begin your recording session:
- Ensure that your headphones are connected and properly functioning.
- In your recording software, arm the audio track for recording.
- Position yourself in front of the microphone and prepare for your performance or recording.
- Press the record button in your recording software to start recording. Some software may offer a countdown before recording begins.
- Start speaking, singing, or playing your instrument into the microphone. Keep an eye on the input levels to make sure they are within the desired range.
- Monitor the recording progress and make any real-time adjustments to the microphone positioning or performance as needed.
- When you’re finished with your recording, press the stop button in your recording software to end the recording.
After you’ve completed the recording, take some time to listen back to the audio playback. Pay attention to your performance, the audio quality, and any potential issues or areas that may need improvement.
If you’re satisfied with the recording, save the file to a designated location on your computer for easy access in the future. If not, don’t hesitate to redo the recording until you achieve the desired result.
Remember to properly disconnect your equipment and power off the audio interface after finishing your recording session. Take care of your microphone, audio interface, and other equipment to ensure their longevity and optimal performance.
With these steps, you are now equipped with the knowledge to connect your condenser microphone to an audio interface and start recording audio. With practice and experience, you’ll be able to capture professional-quality sound for your music, podcasts, or other audio projects.
So go ahead, unleash your creativity, and create amazing recordings with your condenser microphone and audio interface setup!
Conclusion
Congratulations! You have successfully learned how to connect your condenser microphone to an audio interface and start recording high-quality audio. By following the steps outlined in this guide, you have gained the knowledge and confidence to set up your own recording studio at home.
A condenser microphone paired with an audio interface offers a powerful combination that allows you to capture detailed and professional sound. The condenser microphone’s sensitivity and the audio interface’s ability to convert analog signals to digital ensure accurate reproduction of your vocals or instruments.
Throughout this guide, we covered the essential steps, including gathering the necessary equipment, connecting the audio interface to your computer, powering on the audio interface, connecting the condenser microphone, adjusting the input gain, setting up the recording software, testing the microphone connection, and finally, starting your recording session.
Remember to handle your equipment with care and consult the user manuals or documentation provided by the manufacturers for any specific instructions or troubleshooting tips.
Now that you have the foundation, feel free to explore and experiment with different microphone placements, recording techniques, and software features to further enhance your recordings. The possibilities are endless when it comes to capturing and creating audio content.
Whether you are a musician, podcaster, vlogger, or content creator, having the ability to record professional-quality audio opens up a world of opportunities. Share your creativity, ideas, and talent with the world by utilizing the power of your condenser microphone and audio interface.
So, go ahead and let your voice be heard, your music be performed, and your vision be realized. Happy recording!