Home>Production & Technology>Audio Interface>How To Set Up Audio Interface Windows Sound

Audio Interface
How To Set Up Audio Interface Windows Sound
Published: February 5, 2024
Learn how to set up an audio interface on Windows and optimize your sound experience. Step-by-step guide for connecting and configuring your audio interface.
(Many of the links in this article redirect to a specific reviewed product. Your purchase of these products through affiliate links helps to generate commission for AudioLover.com, at no extra cost. Learn more)
Table of Contents
Introduction
Welcome to the world of audio interfaces and the ability to take your audio recordings to the next level. Whether you’re a musician, podcaster, or content creator, having a reliable and high-quality audio interface is essential for capturing crystal-clear sound and achieving professional-grade results.
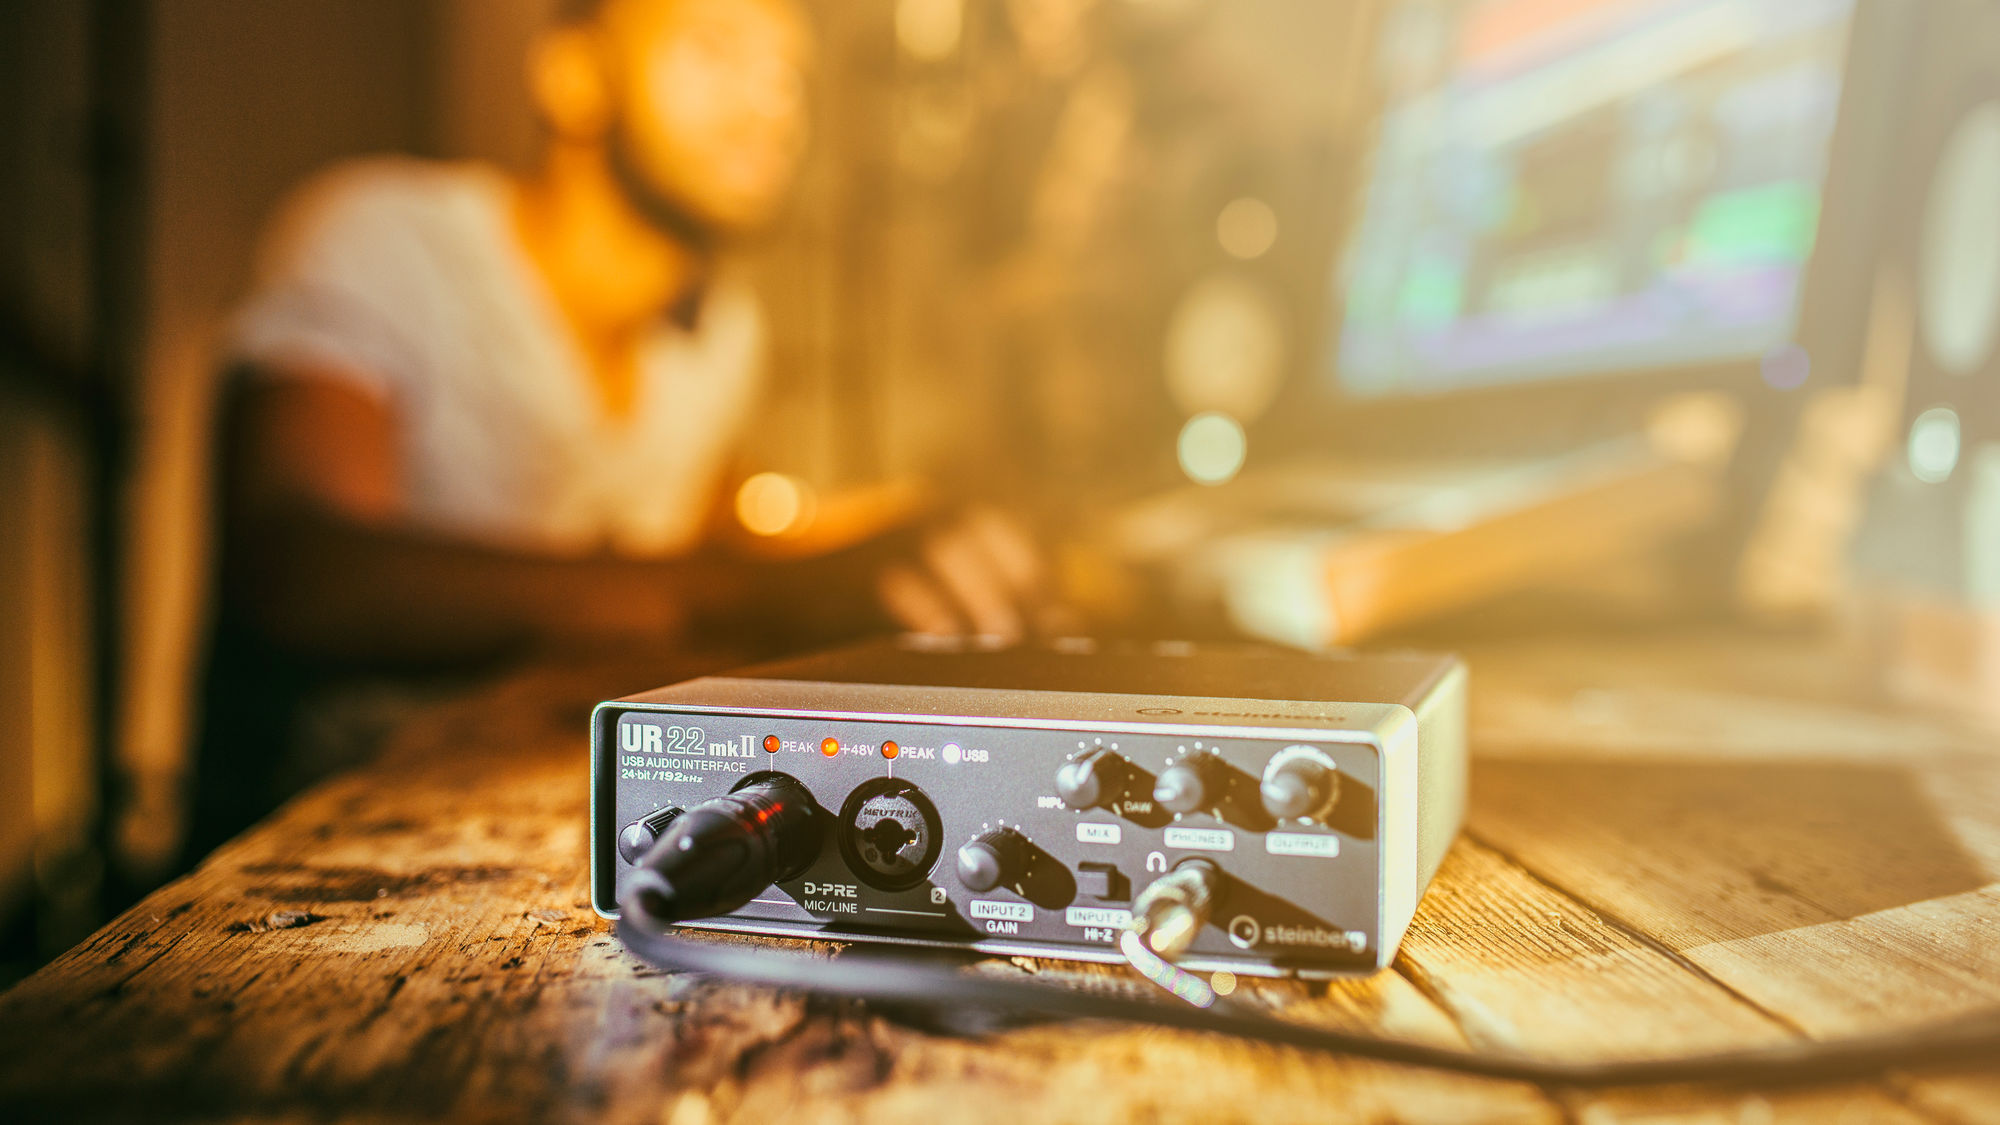
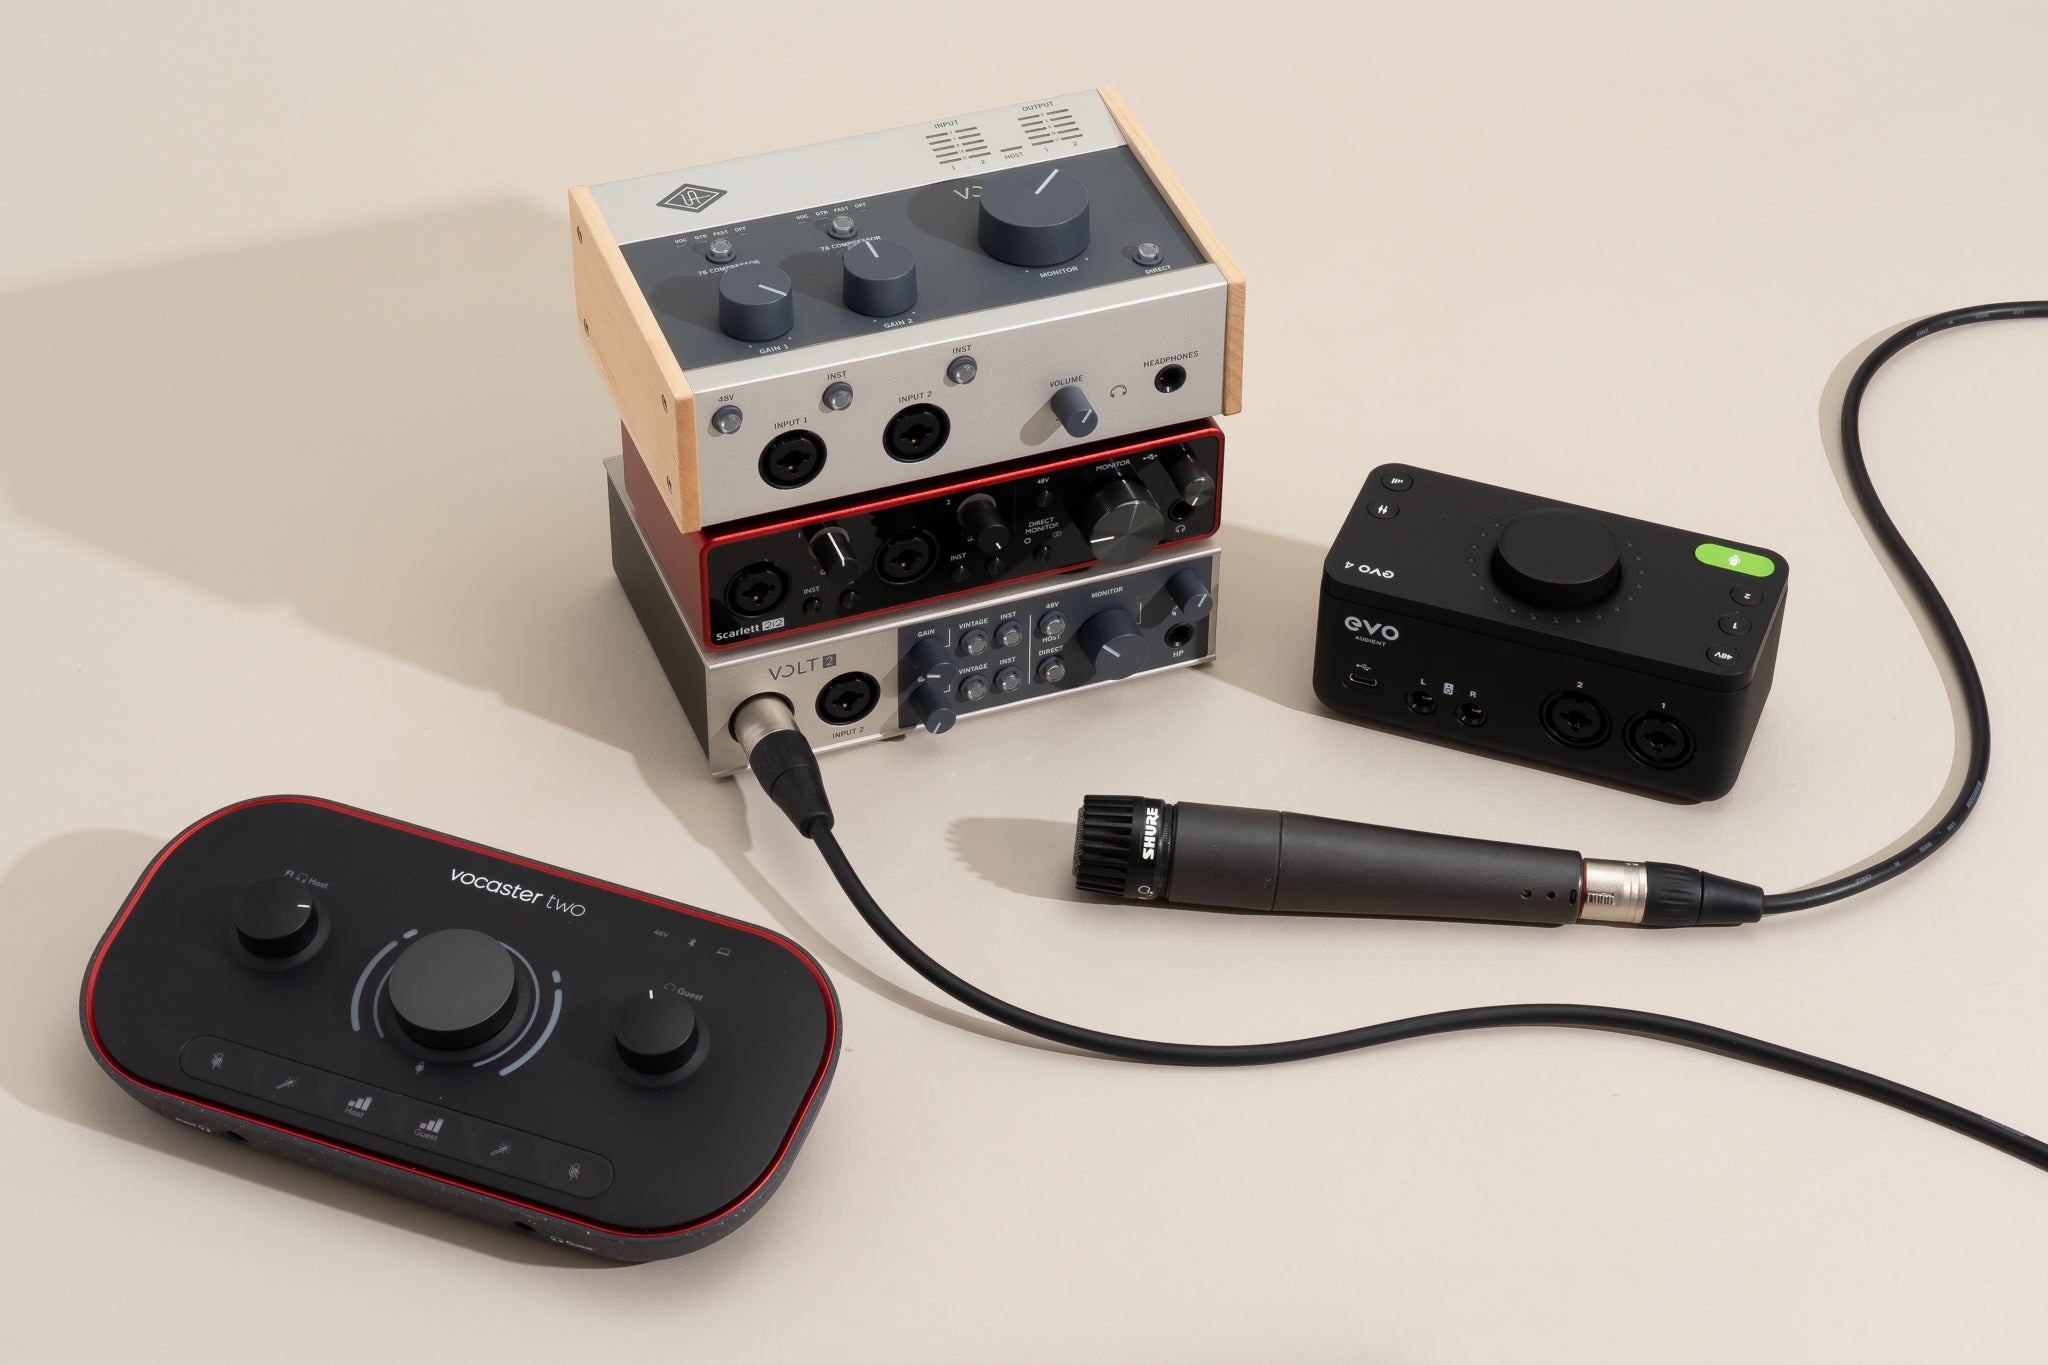
An audio interface is a hardware device that connects to your computer and allows you to record and playback audio. It serves as the intermediary between your instruments or microphones and your computer, ensuring that the audio signals are converted accurately and with minimal latency.
Setting up an audio interface on your Windows computer may seem like a daunting task, but fear not. In this guide, we will walk you through the process step by step, ensuring a seamless and hassle-free setup.
Before we dive into the technical details, it’s important to note that every audio interface is unique, and the setup process might vary slightly depending on the specific model you have. However, the general principles and steps outlined in this guide should apply to most audio interfaces.
So, whether you’re a beginner exploring the world of audio recording or a seasoned professional looking to optimize your setup, let’s get started on setting up your audio interface on Windows and unleashing the full potential of your sound recordings.
Step 1: Check Compatibility
Before delving into the setup process, it’s crucial to ensure that your audio interface is compatible with your Windows operating system. Compatibility issues can lead to frustrations and hinder the smooth functioning of your audio device.
The first step is to check the system requirements provided by the manufacturer of your audio interface. These requirements typically include the minimum version of Windows supported, processor speed, RAM, and available USB or Thunderbolt ports. Make sure your computer meets these requirements, as stated by the manufacturer, to ensure a seamless setup process.
It’s also essential to ensure that your Windows operating system is up to date. Installing the latest updates can help resolve compatibility issues and provide optimal performance for your audio interface. To check for updates, go to the Start menu, select “Settings,” then click on “Update & Security,” and finally click on “Check for updates.”
If your computer doesn’t meet the system requirements or your Windows version is outdated, you may need to upgrade your hardware or operating system. Contact the audio interface manufacturer or a Windows support professional for assistance in determining the most appropriate upgrade path for your setup.
Once you have verified compatibility, you’re ready to move on to the next step: installing the audio interface drivers.
Step 2: Install Audio Interface Drivers
Installing the proper drivers for your audio interface is crucial for its proper functioning and compatibility with your Windows operating system. The drivers act as the communication bridge between your audio interface and your computer, allowing them to work together seamlessly.
The first step in installing the drivers is to check the manufacturer’s website for the latest driver version specific to your audio interface model and your Windows operating system. Download the driver package and save it to a location on your computer that is easily accessible.
Next, locate the downloaded driver package and double-click on it to start the installation process. Follow the on-screen prompts to complete the installation. During the installation, you may be asked to connect your audio interface to your computer or restart your system. Make sure to follow these instructions accordingly.
Once the installation is complete, restart your computer if necessary. This ensures that the newly installed drivers are properly initialized and ready for use.
If you encounter any issues during the installation process or after the installation, refer to the manufacturer’s documentation or support resources for troubleshooting assistance. They may have troubleshooting guides or a support team that can help you resolve any driver-related problems.
With the audio interface drivers successfully installed, you’re ready to connect your audio interface to your computer, which we’ll cover in the next step.
Step 3: Connect Audio Interface to Computer
Now that you have installed the audio interface drivers, it’s time to connect your audio interface to your computer. This step ensures that the audio signals from your instruments or microphones can be captured and processed by your audio interface.
Start by locating the appropriate cables that came with your audio interface. Common connections include USB, Thunderbolt, or Firewire cables. Connect one end of the cable to the corresponding port on your audio interface and the other end to an available USB or Thunderbolt port on your computer.
The connection may vary depending on your specific audio interface model, so refer to the manufacturer’s documentation if you’re unsure which port to use or if any additional steps are required.
Once the cable is securely connected, power on your audio interface using the provided power source or by connecting it to your computer’s power supply, if applicable.
Windows will automatically detect the connected audio interface and start initializing it. Depending on your audio interface, you may need to wait a few moments for the drivers to finish loading and the device to be recognized by your system.
To verify that your audio interface is successfully connected and recognized by Windows, you can go to the “Device Manager” by right-clicking on the Windows Start menu, selecting “Device Manager,” and then expanding the “Sound, video, and game controllers” category. Your audio interface should be listed among the devices.
If you don’t see your audio interface listed or encounter any error messages, check the connections and ensure that the drivers were installed correctly. If the issue persists, refer to the manufacturer’s support resources for further assistance.
With your audio interface successfully connected, it’s time to move on to the next step: configuring the default playback and recording devices.
Step 4: Configure Default Playback and Recording Devices
After connecting your audio interface to your computer, it’s important to configure the default playback and recording devices in Windows. This step ensures that audio is routed correctly through your audio interface for playback and recording purposes.
To configure the default playback and recording devices, right-click on the speaker icon in the system tray of your Windows taskbar and select “Sounds” from the context menu. Alternatively, you can access the Sound settings by searching for “Sound” in the Windows Start menu.
In the Sound settings window, navigate to the “Playback” tab. Here, you will see a list of available audio playback devices. Locate your audio interface among the devices and right-click on it. Select “Set as Default Device” from the context menu. This will make your audio interface the default device for playback, ensuring that audio output is routed through it.
Next, navigate to the “Recording” tab in the Sound settings window. Similar to the Playback tab, you will see a list of available recording devices. Locate your audio interface among the devices and right-click on it. Select “Set as Default Device” from the context menu. This will make your audio interface the default device for recording, enabling it to capture audio input from your connected instruments or microphones.
It’s essential to ensure that both the playback and recording devices are correctly configured. This ensures that audio can flow seamlessly between your software applications and your audio interface, providing the best possible recording and listening experience.
If you’re using specific audio recording software, such as a Digital Audio Workstation (DAW), make sure to also check the software’s settings to ensure it is configured to use your audio interface for both playback and recording purposes.
With the default playback and recording devices properly configured, you’re now ready to make additional adjustments to optimize the performance of your audio interface, which we’ll cover in the next step.
Step 5: Adjust Sample Rate and Buffer Size
To optimize the performance and minimize latency of your audio interface, it’s important to adjust the sample rate and buffer size settings. These settings determine how quickly your audio interface processes audio signals and how much data it buffers before sending it to your computer.
To adjust the sample rate and buffer size, you will need to access the settings of your audio interface. The exact steps may vary depending on the manufacturer and model of your audio interface.
Start by locating the software or control panel provided by the manufacturer for your audio interface. This software should allow you to access the advanced settings and make adjustments to the sample rate and buffer size.
Typically, a higher sample rate results in better audio quality but may require more processing power from your computer. A lower buffer size decreases latency but may require more processing power as well.
It’s recommended to start with a sample rate of 44.1kHz or 48kHz, as these are standard sample rates for most audio recordings. As for the buffer size, a value around 128 samples is a good starting point. However, you may need to adjust these settings based on the capabilities of your computer and the specific requirements of your audio projects.
Make small adjustments to the sample rate and buffer size and test the audio performance to find the optimal settings for your setup. Keep in mind that different audio projects may have different requirements, so it may be necessary to adjust these settings accordingly for each project.
Once you’re satisfied with the sample rate and buffer size settings, save the changes in your audio interface’s software or control panel. Restart any audio applications or DAWs that you have open to ensure that they recognize the updated settings.
With the sample rate and buffer size adjusted, you’re now ready to test your audio interface and ensure it’s functioning correctly, which we’ll cover in the next step.
Step 6: Test Audio Interface
After setting up and configuring your audio interface, it’s crucial to test it to ensure that it is functioning correctly and capturing or playing back audio as expected. Testing your audio interface will help you identify any potential issues and make any necessary adjustments before diving into your audio recording or production projects.
Start by opening your preferred audio recording software or Digital Audio Workstation (DAW). Create a new project or open an existing one.
Set up a track for recording or playback and ensure that the input routing is set to your audio interface. If you’re unsure how to do this, consult the documentation or support resources for your specific software.
Now, connect an instrument or microphone to your audio interface and verify that the input signal is being detected by the software. You can do this by plucking a guitar string, singing into the microphone, or making any other sound that should produce an audio signal.
Once you see the input signal registering in your software, hit the record button and monitor the audio playback. Listen closely to ensure that the recorded audio sounds clear and accurate without any distortion, clipping, or unwanted noise.
If the audio quality is satisfactory, congratulations! Your audio interface is functioning correctly. You can proceed with your audio projects with confidence.
However, if you encounter any issues, such as low audio levels, distorted sound, or latency, there are a few troubleshooting steps you can take:
- Check your audio interface settings and verify that the correct input and output devices are selected.
- Adjust the input gain or volume levels on your audio interface to ensure the optimal signal strength.
- Experiment with different buffer sizes to minimize latency.
- Consider updating your audio interface drivers to the latest version, as newer drivers may resolve compatibility or performance issues.
- If the issues persist, consult the manufacturer’s documentation or support resources for further assistance.
By thoroughly testing your audio interface and troubleshooting any issues, you can ensure that you have a reliable and high-quality setup for your audio recording and production needs.
Step 7: Troubleshooting Tips
Even with careful setup and configuration, technical issues may still arise when working with an audio interface on Windows. In this step, we’ll cover some troubleshooting tips to help you resolve common problems and ensure the smooth operation of your audio interface.
1. Check Connections: Ensure that all cables connecting your audio interface to your computer are securely plugged in. Loose or faulty connections can cause audio dropouts or distorted signals.
2. Update Drivers: Keep your audio interface drivers up to date by regularly checking the manufacturer’s website for any available updates. Updated drivers can often resolve compatibility issues and improve performance.
3. Restart Your Computer: If you’re encountering issues with your audio interface, a simple restart of your computer can sometimes resolve the problem. Restarting clears temporary system files and resets any conflicting settings.
4. Adjust Buffer Size: If you’re experiencing excessive latency during recording or playback, try adjusting the buffer size in your audio interface settings. Increasing the buffer size can reduce latency but may require more processing power.
5. Disable Power Saving Settings: In some cases, power-saving settings on your computer may interfere with the performance of your audio interface. Disable any power-saving features that could potentially affect the USB or Thunderbolt ports.
6. Disconnect Other USB Devices: If you have multiple USB devices connected to your computer, disconnect any unnecessary devices. USB bandwidth limitations can sometimes cause issues, and reducing the number of connected devices can improve performance.
7. Test on Another Computer: If you’re still experiencing persistent issues, try connecting your audio interface to another computer. This will help determine whether the problem lies with your interface or with your specific computer configuration.
8. Contact Manufacturer Support: If all else fails, reach out to the manufacturer’s technical support team for assistance. They will have specialized knowledge and resources to help troubleshoot and resolve any issues specific to your audio interface model.
By following these troubleshooting tips and seeking appropriate support when needed, you can overcome common challenges and ensure that your audio interface operates smoothly and reliably.
Conclusion
Setting up an audio interface on your Windows computer is a crucial step in achieving professional-quality audio recordings. By following the steps outlined in this guide, you can ensure a smooth and hassle-free setup process.
We began by checking the compatibility of your audio interface with your Windows operating system, ensuring that your computer meets the necessary system requirements. We then moved on to installing the audio interface drivers, establishing the communication bridge between your audio interface and your computer.
Connecting the audio interface to your computer was the next step, ensuring that the audio signals can be captured and processed accurately. We then proceeded to configure the default playback and recording devices in Windows, making sure that audio is routed correctly through your audio interface.
In order to optimize the performance of your audio interface, we adjusted the sample rate and buffer size settings, ensuring minimal latency and optimal audio quality. By testing the audio interface, we could verify that it is functioning correctly and address any issues that may arise.
Finally, we provided troubleshooting tips to help you resolve common problems that you may encounter. These tips, such as checking connections, updating drivers, and adjusting settings, can help ensure the smooth and reliable operation of your audio interface.
Remember, every audio interface setup is unique, and some steps may vary depending on the specific model and software you are using. Refer to the manufacturer’s documentation and support resources for additional guidance and troubleshooting specific to your audio interface.
With your audio interface successfully set up, you’re now equipped to unleash the full potential of your sound recordings. Whether you’re a musician, podcaster, or content creator, enjoy the enhanced audio quality and flexibility that your audio interface brings to your creative projects. Happy recording!

