Home>Production & Technology>MP3>How To Compress MP3 File


MP3
How To Compress MP3 File
Modified: March 8, 2024
Learn how to compress MP3 files easily and efficiently with our step-by-step guide. Save storage space without compromising audio quality.
(Many of the links in this article redirect to a specific reviewed product. Your purchase of these products through affiliate links helps to generate commission for AudioLover.com, at no extra cost. Learn more)
Table of Contents
Introduction
In today’s digital world, where music consumption is increasingly shifting towards online platforms, the size of audio files has become a significant consideration. This is where MP3 compression comes into play. Compressing MP3 files allows for efficient storage and faster file transfers, making it easier to manage and enjoy your music collection.
MP3, short for MPEG-1 Audio Layer III, is a popular audio file format known for its ability to compress audio data while maintaining a high level of sound quality. The compression process reduces the file size by eliminating unnecessary or redundant audio data.
Whether you are an aspiring musician, a music enthusiast, or simply looking to free up storage space on your device, understanding how to compress MP3 files is essential. In this article, we will explore the ins and outs of MP3 compression, help you choose the right compression tool, guide you through the process of compressing MP3 files, and provide tips for efficient compression.
By the end of this article, you will have a solid understanding of MP3 compression and be equipped with the knowledge to effectively compress your MP3 files while maintaining the audio quality you desire. So, let’s dive in and discover how to optimize your music files without compromising on sound!
Understanding MP3 Compression
Before diving into the process of compressing MP3 files, it’s essential to understand how MP3 compression works and its impact on sound quality. MP3 compression employs a technique known as “lossy” compression, which means that some audio data is discarded during the compression process.
The human auditory system has a limited range of perception when it comes to audio frequencies and subtle nuances in sound. MP3 compression takes advantage of this by removing audio data that is deemed less crucial or imperceptible to the human ear. This selective removal of data enables significant reduction in file size while maintaining a relatively high level of audio quality.
When an MP3 file is created, the original audio is first analyzed, and any redundant or irrelevant data is eliminated. The algorithm then applies a process called perceptual encoding, which takes into account the psychoacoustic properties of human hearing. This process allows the encoding software to allocate more data to sounds that are more important while reducing the data for less significant sounds.
The level of compression achieved in an MP3 file is determined by the bit rate. The bit rate specifies the number of bits used to represent each second of audio data. A higher bit rate results in better audio quality but also larger file sizes, while a lower bit rate sacrifices some audio quality to achieve smaller file sizes.
It’s important to note that MP3 compression is a lossy process, meaning that some audio data is irreversibly discarded. Therefore, each time an MP3 file is compressed, there is a slight loss of audio quality. To minimize this loss, it is advisable to use a thoughtful approach when selecting the compression settings for your MP3 files.
Having a basic understanding of MP3 compression allows you to make informed decisions when it comes to choosing the right compression tools and settings for your specific needs. In the next section, we will explore the various options available for compressing MP3 files and help you select the most suitable compression tool.
Choosing the Right Compression Tool
When it comes to compressing MP3 files, having the right compression tool is crucial in achieving the desired balance between file size and audio quality. Fortunately, there are several reliable and user-friendly compression tools available that can help you meet your specific requirements. Here are some factors to consider when choosing the right compression tool:
1. User Interface: Look for a compression tool with an intuitive and user-friendly interface. The tool should provide clear instructions and options to customize the compression settings according to your preferences.
2. Compression Options: Check if the compression tool offers a range of compression options. This includes adjusting the bit rate, modifying the audio format (stereo or mono), and selecting the encoding method. Having these options allows for flexibility in tailoring the compression process to your specific needs.
3. Compatibility: Ensure that the compression tool is compatible with your operating system. Whether you are using Windows, macOS, or Linux, choose a tool that supports your platform to ensure seamless operation.
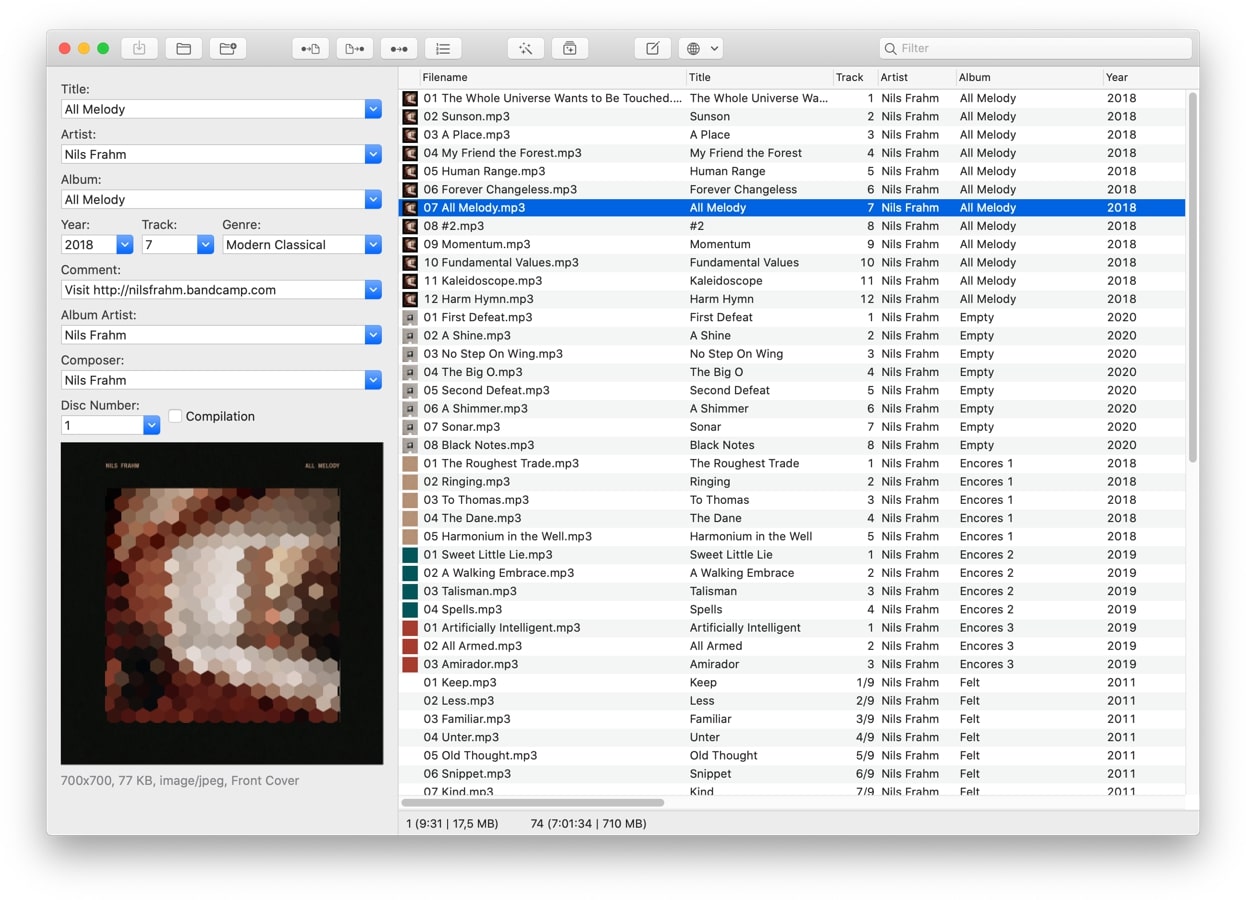
4. File Management: Consider whether the compression tool provides additional features to manage your MP3 files. This could include batch processing, organizing files into folders, or tagging the compressed files with relevant metadata.
5. Performance and Speed: Look for a compression tool that offers fast and efficient encoding without compromising on audio quality. Time is often a critical factor, especially when compressing large music libraries or multiple files simultaneously.
6. Reviews and Recommendations: Before finalizing your decision, read reviews and seek recommendations from trusted sources. This will give you insights into the performance, reliability, and overall user experience of different compression tools.
Some popular compression tools for MP3 files include LAME, iTunes, Audacity, and Winamp. Each tool has its own unique features and benefits, so it’s important to explore and experiment to find the one that suits your needs best.
Remember, choosing the right compression tool is crucial for achieving the desired results, so take the time to research and evaluate your options. Once you have selected the tool that works best for you, you can move on to the next step of compressing your MP3 files with confidence.
Compressing MP3 Files with [Tool Name]
Now that you have chosen the right compression tool, let’s delve into the process of compressing your MP3 files. While the specific steps may vary depending on the tool you have selected, the general process remains similar. Here’s a step-by-step guide on how to compress MP3 files using [Tool Name]:
1. Install and Launch the Tool: Begin by downloading and installing [Tool Name] from the official website. Once installed, launch the application to start compressing your MP3 files.
2. Import MP3 Files: Use the tool’s file manager or drag and drop feature to import the MP3 files you want to compress. [Tool Name] should provide you with options to import individual files or entire folders.
3. Select Compression Settings: Look for options related to compression settings. Typically, you will be able to adjust the bit rate, choose between stereo or mono, and select the desired encoding method. Experiment with different settings to find the optimal balance between file size and audio quality.
4. Preview and Verify Settings: Some compression tools may offer a preview feature that allows you to listen to a snippet of the compressed audio file. Use this feature to verify that the compression settings meet your expectations in terms of audio quality.
5. Set Output Destination: Choose the output destination for the compressed MP3 files. You can either overwrite the original files or create a new folder to store the compressed versions.
6. Start Compression: Once you have reviewed and verified the compression settings, initiate the compression process by clicking on the appropriate button or menu option. The tool will start compressing your MP3 files based on the selected settings.
7. Monitor Progress and Completion: Depending on the size and number of files being compressed, the process may take some time. Monitor the progress bar or any provided indicators to track the completion of the compression process.
8. Verify Output: Once the compression is complete, take a moment to verify the output files. Check the file size and listen to a sample of the compressed MP3 files to ensure that the audio quality meets your expectations.
By following these steps, you will be able to successfully compress your MP3 files using [Tool Name]. Take your time to experiment with different settings and find the compression setup that best suits your needs. Now that you have mastered the compression process, let’s explore some tips for achieving efficient compression in the next section.
Adjusting Compression Settings
When compressing MP3 files, the ability to adjust compression settings allows you to fine-tune the balance between file size and audio quality. Here are some important settings to consider and tips to optimize your compression process:
1. Bit Rate: The bit rate determines the amount of data used to represent each second of audio. Higher bit rates result in larger file sizes and better audio quality, while lower bit rates produce smaller files at the cost of audio fidelity. Adjust the bit rate according to your preference, keeping in mind the desired trade-off between file size and audio quality. It’s recommended to use a bit rate of 128 kbps for a good balance.
2. Stereo or Mono: Stereo audio provides a more immersive listening experience, but it also increases file size compared to mono audio. Consider using stereo for music files and mono for voice recordings or podcasts to reduce file size.
3. Encoding Method: Compression tools often offer different encoding methods, such as Constant Bit Rate (CBR) and Variable Bit Rate (VBR). CBR maintains a consistent bit rate throughout the entire audio file, while VBR dynamically allocates more bits to complex sections and fewer bits to simpler parts. VBR can provide better audio quality at lower bit rates. Experiment with both methods to find the one that suits your needs.
4. Frequency Range: Most compression tools allow you to adjust the frequency range to focus on specific audio frequencies, such as voice or music. This can help reduce file size while preserving the desired audio characteristics.
5. Lossless Compression: Some advanced compression tools offer options for lossless compression. Lossless compression algorithms reduce file size without sacrificing audio quality. If you prioritize audio fidelity over file size, consider using a lossless compression method.
6. Preview and Compare: Take advantage of any preview features available in the compression tool. Listen to samples of the compressed audio files to ensure that the chosen settings maintain satisfactory audio quality.
Remember, the ideal compression settings may vary depending on the specific audio content and your personal preferences. Take the time to experiment with different combinations of settings to find the best balance between file size and audio quality for your MP3 files.
It’s also worth noting that compressing MP3 files multiple times can lead to a cumulative loss of audio quality. Therefore, it’s advisable to save a backup of the original uncompressed files to avoid any degradation in sound over time.
By adjusting the compression settings according to your requirements and carefully evaluating the output, you can optimize your MP3 files for efficient storage and seamless playback without compromising on audio quality.
Tips for Efficient Compression
To ensure efficient compression of your MP3 files, consider implementing these tips and techniques:
1. Evaluate the Importance of Audio Quality: Determine the importance of audio quality for each specific file. Music tracks or professional recordings may require higher quality settings, while voice recordings or podcasts might be acceptable with lower quality settings. Tailor the compression settings accordingly to optimize file sizes without sacrificing audio integrity.
2. Organize and Batch Process Files: If you have a large collection of MP3 files, organize them into folders based on categories or albums. This will help you batch process files more efficiently and save time when compressing multiple files simultaneously.
3. Use Variable Bit Rate (VBR) Mode: Variable bit rate compression allocates bits dynamically according to the complexity of each section of the audio. Utilizing VBR can result in better audio quality at lower file sizes compared to constant bit rate (CBR).
4. Remove Unwanted Audio Segments: Before compressing the files, listen to the audio and remove any unwanted segments or silence. This can help reduce the overall file size without affecting the desired content.
5. Consider Metadata and Tagging: Ensure that the compressed MP3 files retain important metadata and tags. This information includes artist names, album titles, and track numbers, which can enhance organization and playback experiences across various devices and software.
6. Backup Original Files: To prevent any loss of audio quality over time, create backups of the original uncompressed files before compression. This ensures that you always have access to the highest quality versions if needed in the future.
7. Regularly Update Compression Tools: Keep your compression tools up to date to benefit from the latest advancements and bug fixes. This helps ensure optimal performance and compatibility with your operating system.
8. Test Compression Settings: When compressing a new batch of MP3 files, test different compression settings on a sample file to determine the ideal balance between file size and audio quality. This will help you fine-tune the settings before proceeding with the entire collection.
9. Regularly Monitor File Sizes: Take note of the file sizes of the compressed MP3 files for future reference. This will help you keep track of the efficiency of your compression process and adjust settings accordingly.
10. Ensure Sufficient Storage Space: As compressed MP3 files still require space on your storage device, make sure you have adequate storage capacity before compressing your entire music library.
By implementing these tips, you can achieve efficient compression of your MP3 files. However, it’s important to strike a balance between file size and audio quality that suits your needs and preferences. Regularly review and update your compression settings as your requirements change over time.
Benefits of Compressing MP3 Files
Compressing MP3 files offers numerous benefits, making it a valuable technique for managing and organizing your music collection. Here are some advantages of compressing your MP3 files:
1. Reduced Storage Space: One of the primary benefits of compressing MP3 files is the significant reduction in storage space. By removing unnecessary audio data, you can store more music on your devices or hard drives, allowing you to expand your music library without worrying about limited space.
2. Faster File Transfers: Compressed MP3 files have smaller sizes, which means they can be transferred or shared more quickly. Whether you want to send a music file via email or upload it to a cloud storage service, having compressed files streamlines the process, saving you time and bandwidth.
3. Enhanced Portability: Compressed MP3 files are more portable and convenient, especially when transferring music between devices. With smaller file sizes, you can transfer your music collection to portable music players, smartphones, or other devices with limited storage space more easily.
4. Improved Streaming: When streaming music online, compressed MP3 files allow for faster buffering and smoother playback, even with limited internet bandwidth. This ensures a seamless listening experience, particularly in areas with slower internet connections or when using mobile data.
5. Efficient Backup and Restoration: Compressed MP3 files can be more efficiently backed up and restored. The smaller file sizes make it easier to create backups of your music library, ensuring that your cherished songs are protected and can be restored quickly if necessary.
6. Reduced Bandwidth Usage: Compressed MP3 files require less bandwidth when streaming or downloading music online. This is particularly beneficial for users with limited internet bandwidth or those who pay for data usage, as it allows them to enjoy their music without exceeding their limits.
7. Easy Organization: Compressed MP3 files simplify the organization and management of your music collection. With smaller file sizes, you can easily create folders, playlists, and categories to sort your songs, making it easier to find and enjoy your favorite tracks.
8. Seamless Cross-Platform Compatibility: Compressed MP3 files have universal compatibility across various devices and software applications. Whether you’re using a Windows PC, Mac, Android, or iOS device, compressed MP3 files can be played on almost any media player or music streaming platform.
9. Eco-Friendly: Compressing MP3 files contributes to a more sustainable and eco-friendly approach to music storage. By reducing file sizes, you consume less storage space and require fewer physical storage devices, which helps minimize electronic waste and saves energy.
Overall, compressing MP3 files offers a multitude of benefits, including efficient storage, faster transfers, improved streaming, and better organization. Whether you’re a music enthusiast, a professional DJ, or simply someone who loves a clutter-free digital collection, compressing your MP3 files can greatly optimize your music experience.
Common Issues and Troubleshooting
While compressing MP3 files can be a straightforward process, you may encounter some common issues along the way. Here are a few potential problems and troubleshooting tips to help you overcome them:
1. Loss of Audio Quality: If you notice a significant loss in audio quality after compressing your MP3 files, it may be due to low compression settings or using a compression tool that doesn’t preserve audio fidelity. To address this, try using higher bit rates, experimenting with different encoding methods, or using a different compression tool known for maintaining the audio quality.
2. Compatibility Issues: Occasionally, some compressed MP3 files may not be compatible with specific media players or devices. This can result in playback issues or the files not being recognized at all. Ensure that the compression tool you’re using produces compatible MP3 files by checking their compatibility with different media players or updating your software if necessary.
3. Inconsistent Volume Levels: After compression, you may notice inconsistent volume levels between different MP3 files, resulting in some tracks playing louder or softer than others. Many compression tools offer volume normalization features that help maintain consistent volume levels. Try enabling this feature during compression or use a separate audio normalization tool to address the issue.
4. File Corruption: Occasionally, compressed MP3 files may become corrupted, resulting in playback errors or the inability to open the files. To prevent this, make sure to use reliable compression tools and maintain backups of your original uncompressed files. If a file becomes corrupted, try using file repair software or restoring from a backup to recover the lost data.
5. Error Messages or Slow Processing: If you encounter error messages or experience slow processing during compression, it could be due to insufficient system resources or conflicts with other software running simultaneously. Ensure that you have enough RAM and processing power available. Consider closing unnecessary programs or perform the compression process on a more capable computer if needed.
6. Large File Sizes Despite Compression: If you find that the compressed MP3 files still have large file sizes, it may be due to using high bit rates or not utilizing efficient compression settings. Try experimenting with lower bit rates or exploring different compression tools that offer more advanced compression algorithms to achieve smaller file sizes.
Remember to carefully review the settings and options provided by the compression tool you are using and refer to the tool’s documentation or online forums for troubleshooting specific issues. By being proactive and identifying potential issues, you can overcome them and ensure a smooth compression process for your MP3 files.
Conclusion
Compressing MP3 files is a valuable technique for managing and optimizing your music collection. By reducing file sizes while maintaining acceptable audio quality, you can enjoy the benefits of efficient storage, faster file transfers, and seamless playback across various devices and platforms.
In this article, we explored the process of compressing MP3 files, starting from understanding the fundamentals of MP3 compression to choosing the right compression tool and adjusting the settings for optimal results. We also provided tips for efficient compression and discussed common issues and troubleshooting techniques.
By implementing the tips and recommendations provided, you can achieve a balance between file size and audio quality that suits your needs. Remember to experiment with different compression settings and regularly evaluate the output to ensure the desired results.
Compressing MP3 files not only saves storage space but also enhances the portability, organization, and accessibility of your music library. Whether you’re a music enthusiast, a professional DJ, or simply someone looking to manage their audio files efficiently, the benefits of compressing MP3 files are undeniable.
However, it’s important to strike the right balance between compression and audio quality. Always consider the importance of audio fidelity for each specific file and make adjustments accordingly. As technology continues to advance, new compression techniques and tools may emerge, offering even greater efficiency and optimization for your MP3 files.
In conclusion, embrace the power of MP3 compression to make the most out of your music collection. By compressing your MP3 files intelligently, you can enjoy efficient storage, faster transfers, and a seamless listening experience while preserving the essence of your favorite songs. So go ahead, optimize your music library, and embark on a musical journey like never before!


