Home>Production & Technology>MP3>How To Convert Cassette Tape To MP3
MP3
How To Convert Cassette Tape To MP3
Modified: January 22, 2024
Learn how to convert your cassette tape collection to MP3 format easily and enjoy your favorite music on your digital devices.
(Many of the links in this article redirect to a specific reviewed product. Your purchase of these products through affiliate links helps to generate commission for AudioLover.com, at no extra cost. Learn more)
Table of Contents
- Introduction
- Step 1: Gather the necessary equipment
- Step 2: Set up your cassette player
- Step 3: Connect your cassette player to your computer
- Step 4: Install and configure audio recording software
- Step 5: Begin recording
- Step 6: Monitor and adjust recording levels
- Step 7: Split recordings into separate tracks
- Step 8: Save recordings as MP3 files
- Step 9: Edit and enhance the MP3 files
- Step 10: Organize and store your digital music collection
- Conclusion
Introduction
In the era of digital music, cassettes may seem like relics of the past. However, many music enthusiasts still have treasured collections of cassette tapes that they would love to listen to again. The good news is that it is possible to convert those beloved cassette tapes into digital MP3 files, preserving the music for years to come.
Converting cassette tapes to MP3 format not only allows you to listen to your favorite music on modern devices like smartphones and MP3 players, but it also helps to future-proof your music collection. With the advancement of technology, cassette players are becoming harder to find and maintain. By converting your cassette tapes to MP3, you can ensure that you have a digital backup and can easily access your music anytime, anywhere.
In this article, we will guide you through the step-by-step process of converting cassette tapes to MP3. From setting up your cassette player to saving the recordings as MP3 files, we’ll cover all the necessary steps to transform your analog music into digital format. So, dust off those old cassette tapes, grab your computer, and let’s get started on preserving your music collection!
Step 1: Gather the necessary equipment
Before you can start converting your cassette tapes to MP3, you’ll need to gather the following equipment:
- Cassette player: You’ll need a cassette player to play the tapes. You can use a traditional cassette player, a portable cassette player, or even a boombox with a cassette player. Make sure the player is in good working condition and has a functioning playback mechanism.
- Computer: You’ll need a computer with a USB port to transfer the audio from the cassette player to your computer. Both Windows and Mac computers are suitable for this task.
- Audio cables: You’ll need audio cables to connect the cassette player to your computer. The type of cables you need will depend on the audio output options of your cassette player. Common options include RCA cables or a 3.5mm audio cable.
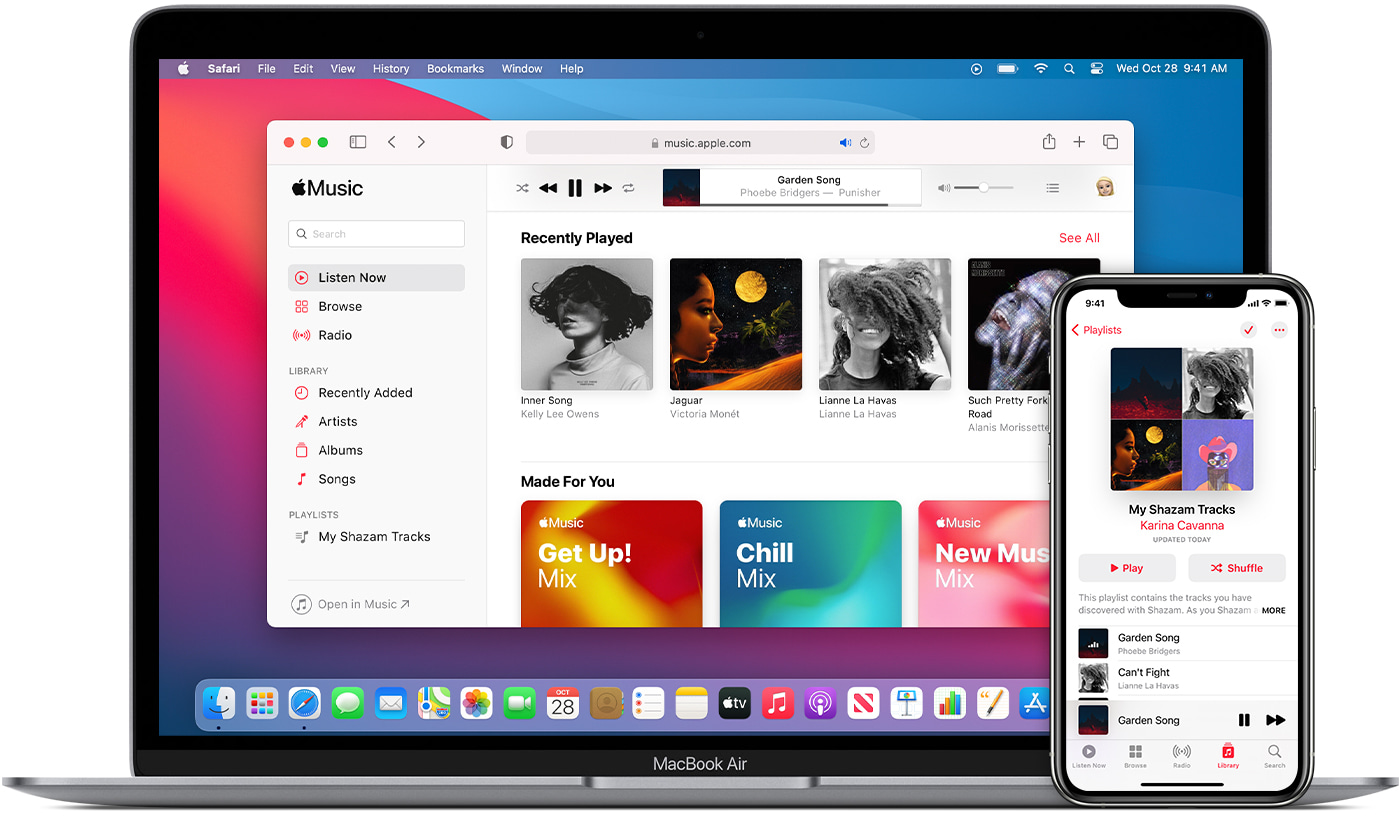
- Audio recording software: To capture the audio from the cassette tapes, you’ll need audio recording software on your computer. There are many options available, both free and paid. Some popular choices include Audacity, Adobe Audition, and GarageBand (for Mac users).
- Headphones: While not essential, having a good pair of headphones can help you monitor the audio quality while recording and make adjustments if needed.
Once you have gathered the necessary equipment, you’ll be ready to move on to the next steps of the conversion process. Make sure all the cables are connected properly and your cassette player is plugged into a power source. With everything set up, you’re now ready to start converting your cassette tapes to MP3!
Step 2: Set up your cassette player
Setting up your cassette player correctly is crucial to ensure a smooth and successful conversion process. Follow these steps to set up your cassette player:
- Clean the cassette player: Before using the cassette player, it’s important to clean it properly. Dust and dirt can affect the audio quality and interfere with the playback. Use a soft cloth or cotton swab to gently clean the tape heads, pinch rollers, and capstan. You can also use a cleaning cassette if available.
- Check the playback mechanism: Ensure that the playback mechanism of your cassette player is functioning properly. Press play and listen for any distorted or muffled sound. If you notice any issues, such as speed fluctuations or excessive noise, try cleaning the playback mechanism again or consider using a different cassette player.
- Test a cassette: Insert a cassette tape into the player and listen to a few minutes of the playback. Make sure the volume is set appropriately and that the sound is clear and free from any abnormalities. This step ensures that the cassette player is working correctly before you proceed with the recording process.
By properly setting up your cassette player, you can minimize any potential audio problems and ensure the best possible sound quality during the conversion process. Take the time to clean and test your cassette player to avoid any unnecessary issues or frustrations later on.
Step 3: Connect your cassette player to your computer
Once you’ve set up your cassette player, it’s time to connect it to your computer. Follow these steps to establish the connection:
- Identify the audio output on your cassette player: Look for the audio output options on your cassette player. This can be RCA outputs, a headphone jack, or a line-out port. Choose the option that best matches the available input ports on your computer.
- Choose the appropriate audio cable: Depending on the audio output of your cassette player, you’ll need to connect it to your computer using the appropriate audio cable. If your cassette player has RCA outputs, you’ll need an RCA-to-3.5mm audio cable. If your cassette player has a headphone jack, you’ll need a 3.5mm audio cable.
- Connect the cassette player to your computer: Plug one end of the audio cable into the audio output on your cassette player. Then, plug the other end of the cable into the corresponding audio input on your computer. For most computers, this will be the line-in or microphone input port.
- Configure the audio settings on your computer: Once the cassette player is connected, you’ll need to configure the audio settings on your computer. Go to the audio settings in your computer’s control panel or system preferences and make sure the correct input source is selected. Adjust the input volume or gain levels as needed to ensure optimal recording quality.
Connecting your cassette player to your computer allows the audio from the cassette tapes to be transferred to your computer for recording. Take care to choose the appropriate audio cable and ensure a secure connection between the cassette player and the computer. With the connection established, you’re now ready to proceed with the next steps of the conversion process.
Step 4: Install and configure audio recording software
To convert your cassette tapes to MP3, you’ll need to install and configure audio recording software on your computer. Follow these steps to get started:
- Choose audio recording software: There are various audio recording software options available, both free and paid. Popular choices include Audacity, Adobe Audition, and GarageBand (for Mac users). Choose the software that suits your needs and download and install it onto your computer.
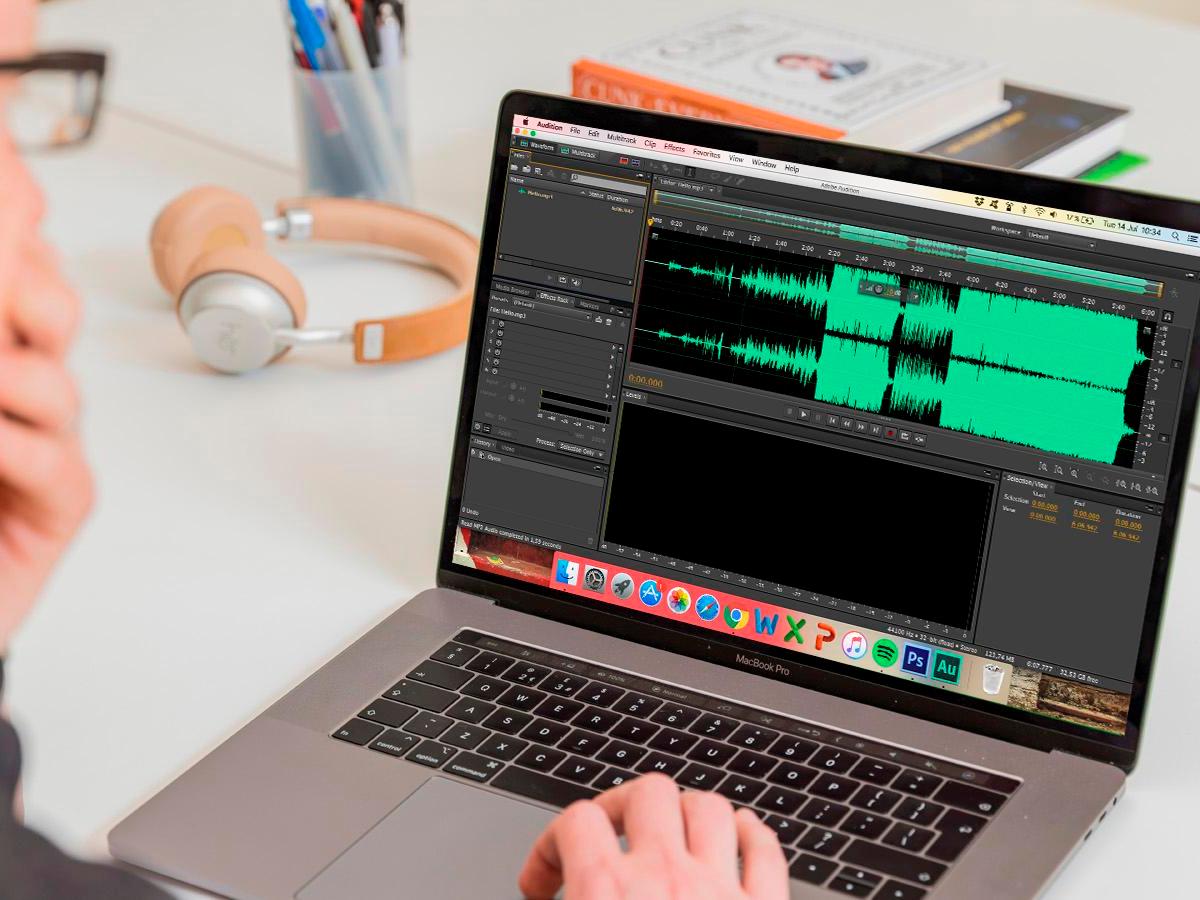
- Open the audio recording software: Once the software is installed, open it on your computer. You should see a user-friendly interface with various tools and settings for recording and editing audio.
- Select the input source: In the audio recording software, look for the input settings or preferences. Choose the appropriate input source that corresponds to the audio input you connected your cassette player to (e.g., line-in or microphone).
- Configure the recording settings: Set up the recording settings according to your preferences. Choose the desired audio quality, such as the sample rate and bit depth. Higher quality settings will produce better audio, but keep in mind that they will result in larger file sizes.
- Test the recording: Before starting the actual recording, do a quick test to ensure everything is working correctly. Press the record button in the audio recording software and play a few seconds of the cassette tape. Monitor the audio levels to ensure that the recording is not too loud or too soft. Make any necessary adjustments to the input volume or gain levels accordingly.
Installing and configuring the audio recording software is an essential step in the cassette tape to MP3 conversion process. Take the time to familiarize yourself with the software’s interface and settings to ensure the best possible recording quality. With the software properly installed and configured, you’re now ready to move on to the next steps of the conversion process.
Step 5: Begin recording
Now that you have your audio recording software set up and configured, it’s time to start the recording process. Follow these steps to begin recording your cassette tapes:
- Place the cassette tape into the cassette player: Insert the cassette tape that you wish to convert into the cassette player. Make sure it is positioned correctly and that the tape is properly aligned.
- Set the cassette player to playback mode: Set the cassette player to playback mode, allowing the tape to start moving. Check that the tape is playing smoothly and that there are no issues with speed or sound quality. Before starting the recording, listen to a few seconds of the tape to ensure that everything is working as expected.
- Start the recording in the audio recording software: In the audio recording software, find the record button or the option to start a new recording. Click on it to initiate the recording process. The software will begin capturing the audio from your cassette player’s output and saving it as a digital file on your computer.
- Monitor the recording: While the recording is in progress, keep an eye on the audio levels in the recording software. Make sure the levels are not too high (causing distortion) or too low (resulting in a weak and unclear recording). Adjust the input volume or gain levels as necessary to achieve optimal recording quality.
- Monitor the cassette playback: As the recording is running, also keep an ear on the cassette playback. Listen for any issues, such as excessive noise, dropouts, or audio artifacts. If you encounter any problems, pause the recording and investigate the cause before continuing.
- Continue recording for the duration of the cassette tape: Let the recording continue until the entire cassette tape has been captured. Pay attention to any track breaks or gaps between songs, as these can be helpful during the editing process to split the recordings into separate tracks.
By following these steps, you can successfully begin the recording process and capture the audio from your cassette tapes. Take your time and ensure that the recording is running smoothly and that the audio quality is satisfactory. Once the recording is complete, you can move on to the next step of the conversion process.
Step 6: Monitor and adjust recording levels
Monitoring and adjusting the recording levels is a critical step in the cassette tape to MP3 conversion process. It ensures that the recorded audio is not too loud or too soft, leading to a high-quality and balanced recording. Follow these steps to effectively monitor and adjust the recording levels:
- Keep an eye on the audio levels: While the recording is in progress, closely monitor the audio levels in your recording software. The levels are typically represented by visual indicators, such as a meter or waveform display. Ensure that the levels are within an optimal range, avoiding any clipping or distortion.
- Avoid clipping: Clipping occurs when the audio levels are too high, resulting in distorted and harsh sounds. If you notice that the levels are consistently peaking and hitting the maximum range, adjust the input volume or gain levels on your audio recording software or cassette player. Aim for a smooth and balanced waveform without any clipping.
- Prevent low-volume recordings: On the other hand, if the audio levels are consistently low and barely reaching halfway on the meter or waveform display, the recording may sound weak and unclear. If this is the case, you may need to adjust the input volume or gain levels to increase the recording volume. However, be cautious not to raise the levels too high, as that can lead to clipping.
- Use headphones for accurate monitoring: To ensure precise monitoring and adjustments, it is recommended to use headphones while recording. Headphones allow you to hear the audio in detail, including any background noise or hiss that may be present in the cassette tape. This helps in making informed decisions regarding the recording levels and overall audio quality.
- Make adjustments as needed: Continuously monitor the recording levels throughout the recording process. If you notice any fluctuations or inconsistencies in the audio levels, be prepared to make real-time adjustments to ensure a consistent and optimal recording. This may involve tweaking the input volume, gain settings, or even adjusting the playback volume on your cassette player.
By monitoring and adjusting the recording levels, you can achieve a high-quality and well-balanced recording of your cassette tapes. Remember to keep an eye on the visual indicators, avoid clipping, and use headphones for accurate monitoring. With proper adjustments, you’ll be one step closer to preserving your cassette tape collection as MP3 files.
Step 7: Split recordings into separate tracks
After recording your cassette tape, you’ll likely have one continuous audio file representing the entire recording. To make your MP3 files more manageable and organized, it’s essential to split the recording into separate tracks, each corresponding to a different song or section. Follow these steps to split your recordings:
- Identify track breaks: Listen to the recorded audio and identify any clear breaks or pauses between songs. These could be moments of silence, instrumental interludes, or other indicators that denote the transition from one track to another.
- Set markers or cue points: In your audio recording software, locate the markers or cue points feature. Use this tool to set markers at the identified track breaks. This will help you navigate through the recorded audio and make precise cuts at the desired positions.
- Select and cut each track: Starting from the beginning, select the audio portion between two markers corresponding to a specific track. Once selected, use the cut or split function in your audio recording software to separate that portion from the main recording. Repeat this process for each track, moving sequentially through the markers.
- Refine track boundaries: After cutting each track, listen to the beginnings and endings of the segments to ensure that they flow seamlessly. Adjust the cut points if necessary, fine-tuning the track boundaries to eliminate any abrupt starts or finishes.
- Name and save each track: As you split the recordings, assign appropriate names to each track based on the song title or section it represents. After naming the tracks, save them individually as separate MP3 files. Make sure to save them in a designated folder to keep your digital music collection organized.
By splitting your recordings into separate tracks, you can easily navigate through your music collection and enjoy individual songs without the need to manually forward or rewind through longer recordings. This step also allows you to add metadata, such as artist names and album titles, to each track, making it easier to organize and search for specific songs in your digital library.
Step 8: Save recordings as MP3 files
Once you have split your cassette tape recordings into separate tracks, it’s time to save them as MP3 files. Follow these steps to convert and save your recordings in MP3 format:
- Select the individual track: Open the first track that you want to save as an MP3 file in your audio recording software. Ensure that the track is selected and ready for export.
- Export to MP3: Look for the export or save function in your audio recording software. It may be named something like “Export as MP3” or “Save as MP3.” Click on this option to initiate the conversion process.
- Set MP3 encoding parameters: In the export/save dialog box, you’ll have the opportunity to customize the MP3 encoding parameters. These parameters include bit rate, sample rate, and quality settings. Adjust these settings according to your preferences or choose the default settings for a good balance between file size and audio quality.
- Choose the destination folder: Select the folder where you want to save the MP3 file. Create a dedicated folder for your converted cassette tape tracks, or choose an existing folder in your music library.
- Provide track information: Before finalizing the MP3 export, you may have the option to provide track information, such as the artist name, album, and track title. Fill in these details to ensure your MP3 files are properly tagged and organized.
- Repeat for each track: Repeat the exporting process for each track, one at a time, until you have converted and saved all your cassette tape recordings as individual MP3 files.
By saving your recordings as MP3 files, you ensure compatibility with various music players, devices, and platforms. MP3 is a widely supported audio format that offers good audio quality with manageable file sizes. Enjoy the flexibility and convenience of your digital music collection as you can now easily copy, share, and playback your converted cassette tape tracks in MP3 format!
Step 9: Edit and enhance the MP3 files
After saving your cassette tape recordings as MP3 files, you have the option to further edit and enhance them to improve the overall listening experience. Follow these steps to edit and enhance your MP3 files:
- Trim any unwanted portions: Open each MP3 file in an audio editing software program such as Audacity. Listen to the track and identify any unwanted portions, such as gaps, hisses or background noise. Use the editing tools to trim those portions and create a clean and seamless listening experience.
- Adjust the audio levels: Use the volume normalization or equalization tools in your audio editing software to adjust the audio levels of your MP3 files. This can help balance the volume and make sure all tracks have a consistent and pleasant listening experience.
- Apply audio effects: Experiment with audio effects like reverb, echo, or equalization to enhance the overall sound of your MP3 files. These effects can add depth or richness to the audio, depending on your preference and the genre of music.
- Add metadata: Ensure that your MP3 files have accurate and complete metadata, including track titles, album names, artists, and genres. This information is essential for easy organization and navigation of your digital music library.
- Create playlists: Use your preferred media player or music management software to create playlists by grouping similar tracks together. Organizing your MP3 files into playlists allows for convenient playback and better overall organization of your music collection.
- Backup your MP3 files: It’s always a good idea to create backups of your MP3 files on external hard drives, cloud storage, or other backup solutions. This ensures that you can easily restore your music collection in case of any unfortunate data loss situations.
By editing and enhancing your MP3 files, you can customize your listening experience and ensure that your converted cassette tape tracks sound the way you want them to. Whether it’s removing unwanted sections, adjusting audio levels, or adding effects, take the time to fine-tune your MP3 files and make them even more enjoyable to listen to.
Step 10: Organize and store your digital music collection
Now that you have successfully converted your cassette tapes to MP3 files and made any necessary edits, it’s time to organize and store your digital music collection. Follow these steps to ensure your collection is well-organized and easily accessible:
- Create a dedicated folder: Start by creating a dedicated folder on your computer’s hard drive or an external storage device specifically for your digital music collection. This will serve as the main directory for storing all your MP3 files.
- Organize by artist or album: Within your main music folder, create subfolders to organize your MP3 files. One common approach is to organize them by artist name or by album. This makes it easy to browse and locate specific songs or albums.
- Ensure consistent file naming: To maintain consistency in your music collection, make sure to use a consistent file naming scheme for your MP3 files. This could include the artist’s name, track number, and song title, for example.
- Add album artwork: Enhance the visual appeal of your digital music collection by adding album artwork to your MP3 files. Search for high-quality album art online and save the images to include them in the corresponding folders or embed them within the MP3 files themselves.
- Use a media player or music management software: Utilize a media player or music management software to import and organize your MP3 files. These tools often provide features such as automatic metadata retrieval, playlist creation, and music library organization options.
- Backup your music collection: Back up your digital music collection regularly to minimize the risk of data loss. Store copies of your MP3 files on external hard drives, cloud storage services, or other backup solutions to ensure you can easily recover your music in case of any unforeseen events.
- Synchronize and stream your music: If you have multiple devices, consider synchronizing your digital music collection across them. This allows you to enjoy your music on different devices while maintaining a consistent music library. You can also explore streaming services that let you access your music collection from any device with an internet connection.
By organizing and storing your digital music collection effectively, you’ll be able to navigate and enjoy your converted cassette tape tracks with ease. Taking the time to structure your music library and implement proper backup strategies ensures that your music is secure and accessible for years to come.
Conclusion
Congratulations! You have successfully learned how to convert cassette tapes to MP3 format, preserving your cherished music collection and bringing it into the digital age. By following the step-by-step process outlined in this guide, you have transformed your beloved cassette tapes into digital files that can be enjoyed on modern devices and easily shared with others.
Converting cassette tapes to MP3 not only allows you to relive the nostalgia of your favorite music but also helps to future-proof your collection. With cassette players becoming increasingly harder to find and maintain, having a digital backup ensures that you can enjoy your music for years to come.
Throughout the conversion process, you have learned how to gather the necessary equipment, set up your cassette player, connect it to your computer, install and configure audio recording software, and begin the recording process. You have also learned how to monitor and adjust recording levels, split recordings into separate tracks, save them as MP3 files, and edit and enhance the sound quality.
Remember to organize and store your digital music collection in a way that suits your preferences. Creating dedicated folders, organizing by artist or album, adding album artwork, and using media players or music management software can all contribute to a seamless and enjoyable music listening experience.
Lastly, don’t forget to regularly back up your music collection to avoid any potential loss of your precious MP3 files. External hard drives, cloud storage, or other backup solutions provide peace of mind, ensuring that your music library is always protected.
Now that you have transformed your cassette tapes into digital MP3 files and organized your music collection, it’s time to sit back, relax, and enjoy the nostalgic tunes or discover new sounds. Explore your digital music library, create playlists, and share your favorite tracks with friends and family. The joy of your music collection is now more accessible than ever before.