Home>Production & Technology>Sound>How To Hook Up Surround Sound To TV
Sound
How To Hook Up Surround Sound To TV
Modified: January 22, 2024
Learn how to hook up surround sound to your TV and enhance your audio experience. Find step-by-step instructions and expert tips to ensure perfect sound quality.
(Many of the links in this article redirect to a specific reviewed product. Your purchase of these products through affiliate links helps to generate commission for AudioLover.com, at no extra cost. Learn more)
Table of Contents
Introduction
Are you ready to take your TV viewing experience to the next level? Adding a surround sound system to your TV setup can bring the cinema-like audio experience right into your living room. Whether you enjoy watching movies, playing video games, or even just listening to music, a surround sound system can greatly enhance the immersion and audio quality.
But how do you go about hooking up a surround sound system to your TV? It may seem like a daunting task, especially if you’re not familiar with audio equipment. However, with the right equipment and a bit of know-how, you can easily set up your own surround sound system.
In this article, we’ll guide you through the step-by-step process of hooking up a surround sound system to your TV. We’ll cover everything from checking compatibility and gathering the necessary equipment to connecting the speakers and configuring audio settings. By following these steps, you’ll be able to enjoy an immersive audio experience in no time.
Before we dive into the practical steps, let’s quickly discuss the importance of checking compatibility…
Step 1: Check the Compatibility
Before you begin setting up your surround sound system, it’s crucial to check the compatibility between your TV and the audio equipment you plan to use. This step will ensure that you have the necessary connections and capabilities to create a seamless audio experience.
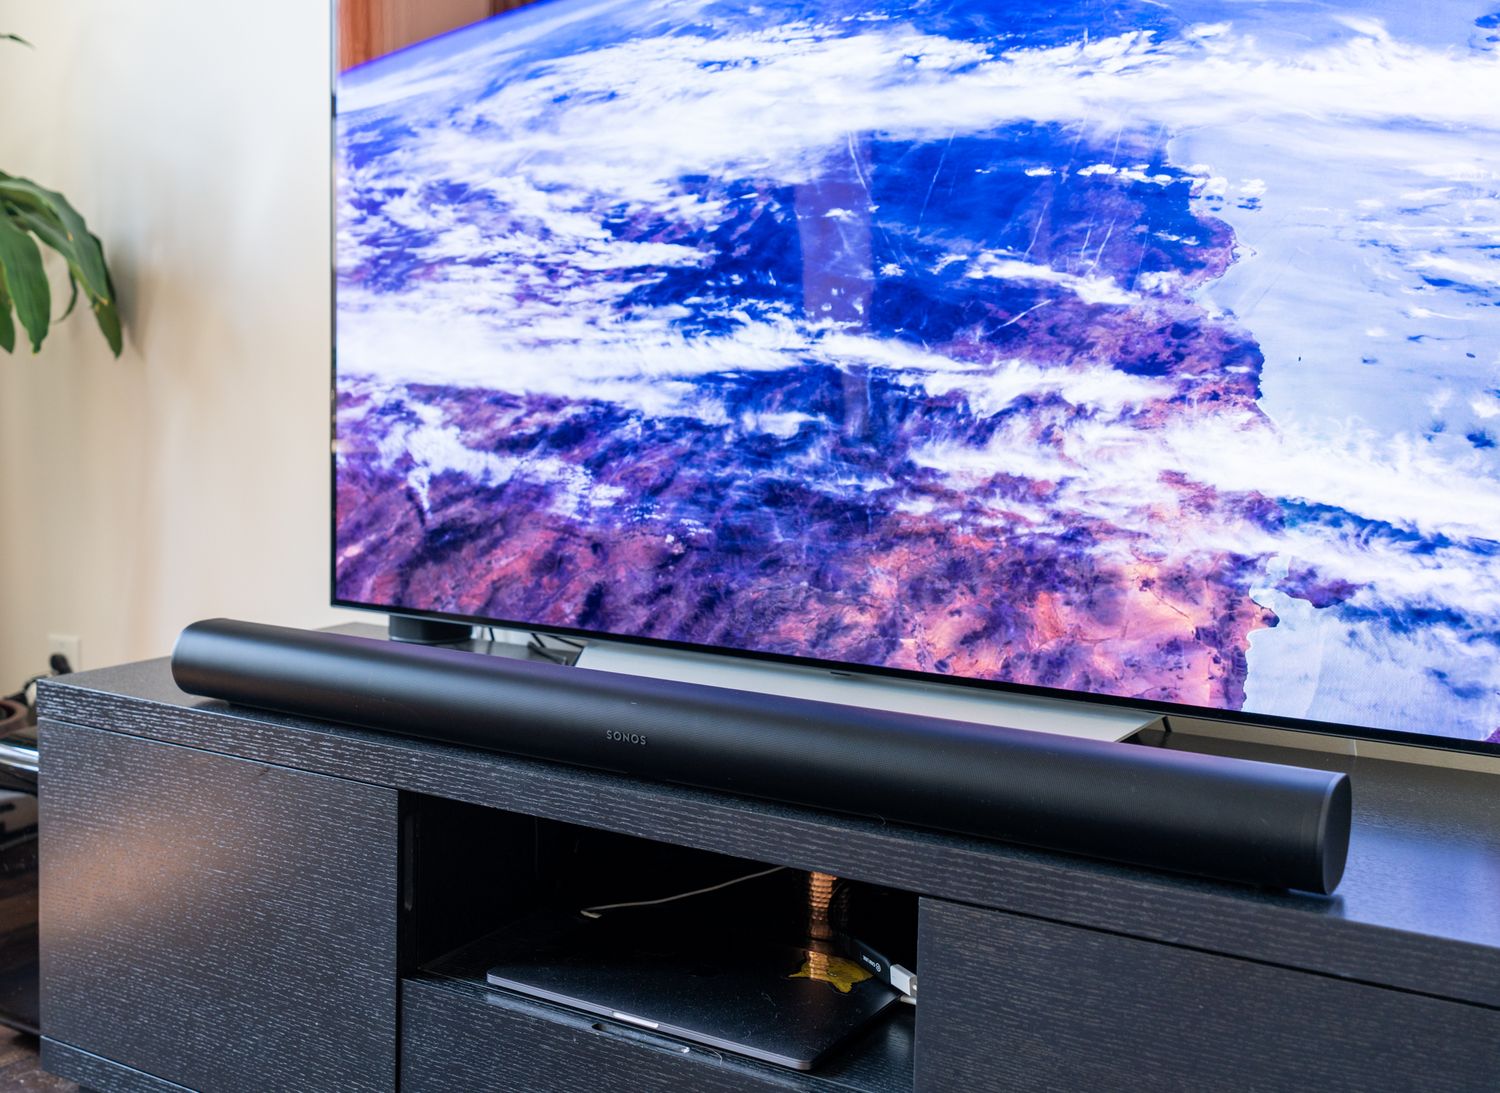
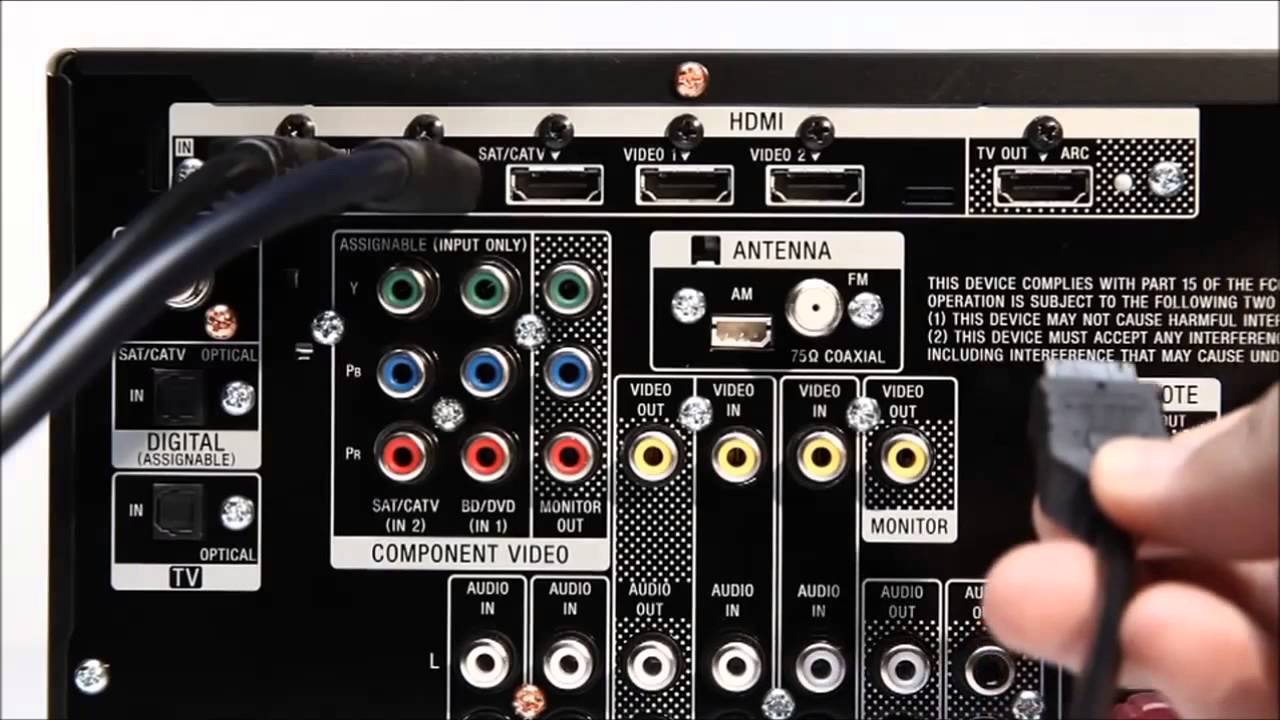
First, take a look at your TV’s specifications. Check if it has an HDMI ARC (Audio Return Channel) port. This port allows audio to be sent from the TV back to the audio receiver, eliminating the need for an additional optical or coaxial cable. If your TV has an HDMI ARC port, it will simplify the setup process.
If your TV doesn’t have an HDMI ARC port, don’t worry. You can still connect your audio receiver using an optical or coaxial cable. Just make sure your receiver has the corresponding input port to match the cable you choose.
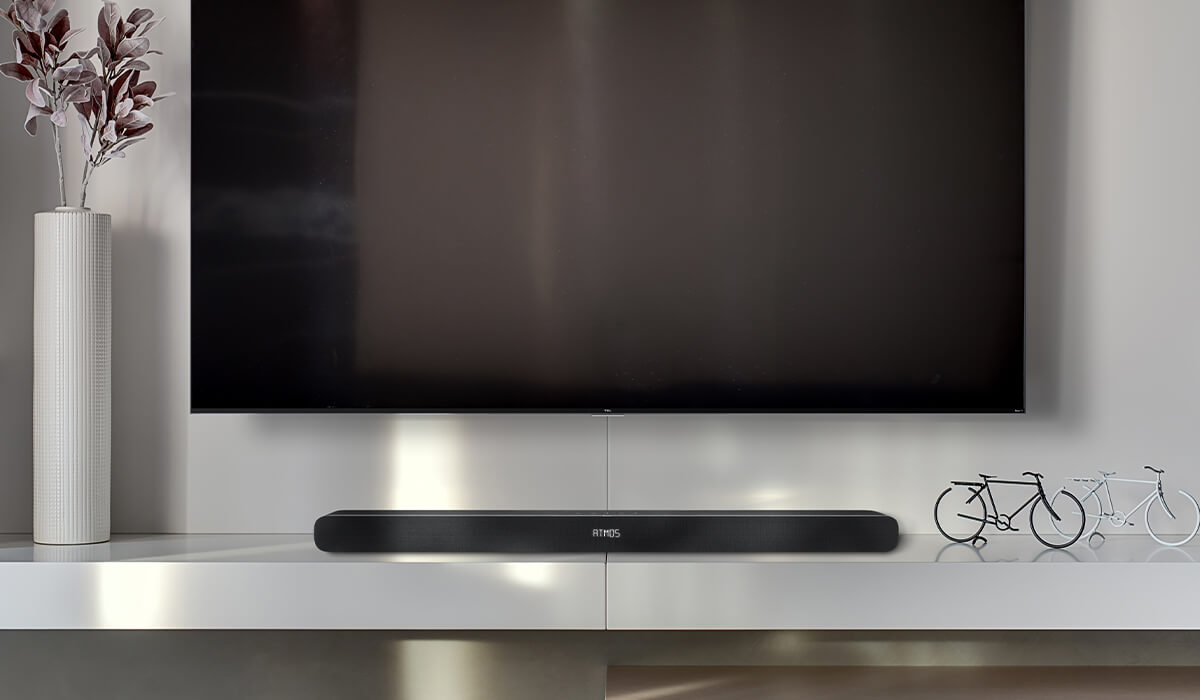
Next, consider the type of surround sound system you want to use. There are several options available, including 5.1, 7.1, and Dolby Atmos systems. Each system has different speaker configurations, so ensure that your TV supports the number of speakers you plan to set up.
Additionally, check if your TV supports the audio formats you want to use with your surround sound system. Common audio formats include Dolby Digital and DTS. Look for these formats in the audio settings or consult your TV’s user manual for more information.
Lastly, it’s important to check the power requirements of your audio equipment. Make sure you have enough power outlets available near your TV setup to plug in the audio receiver and any powered speakers or subwoofers.
By verifying the compatibility between your TV and surround sound system, you can ensure a smooth setup process and avoid any compatibility issues or limitations.
Step 2: Gather the Necessary Equipment
Once you have confirmed the compatibility between your TV and surround sound system, it’s time to gather the necessary equipment. Here are the key components you will need:
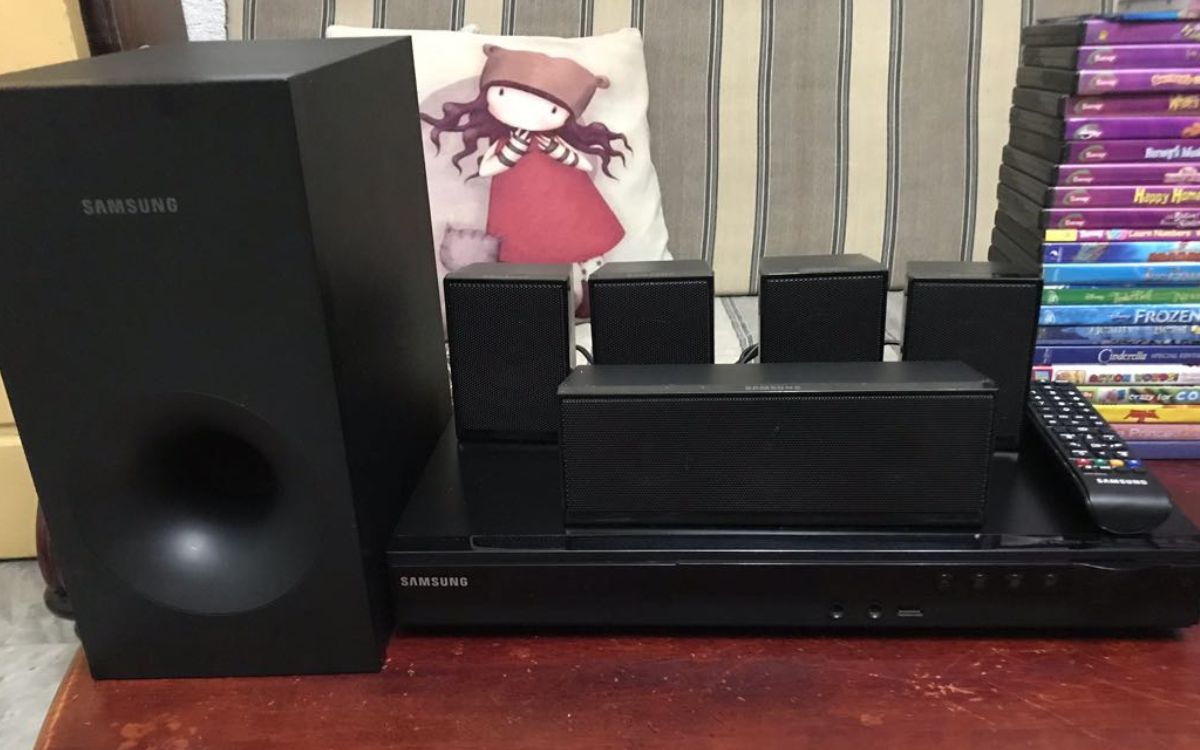
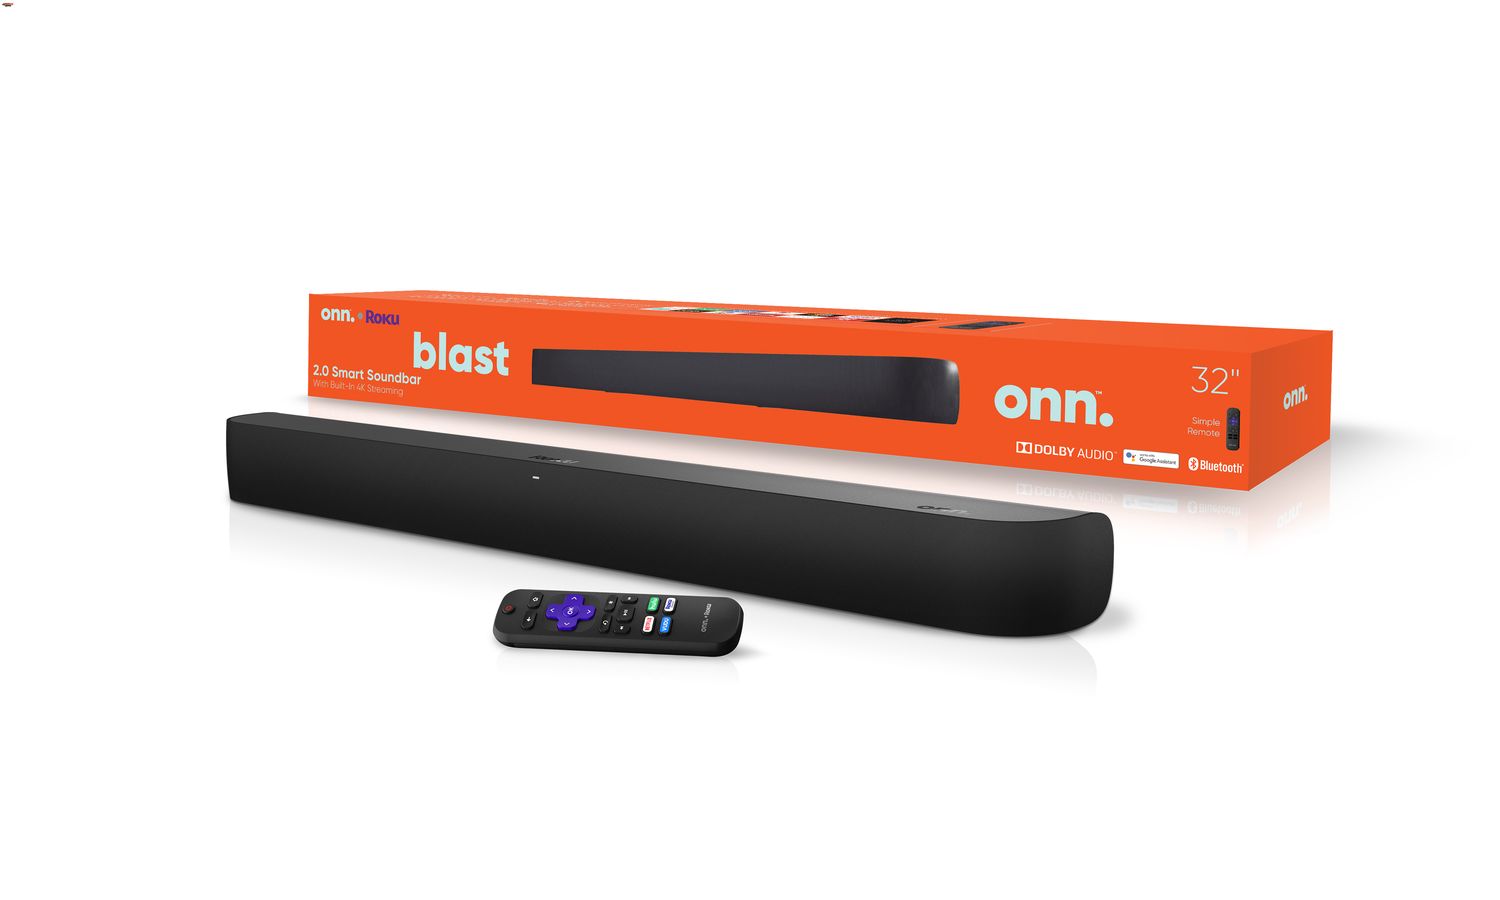
- Audio Receiver: This is the central hub of your surround sound system. It acts as the amplifier for the audio signals and provides the necessary connections for your speakers.
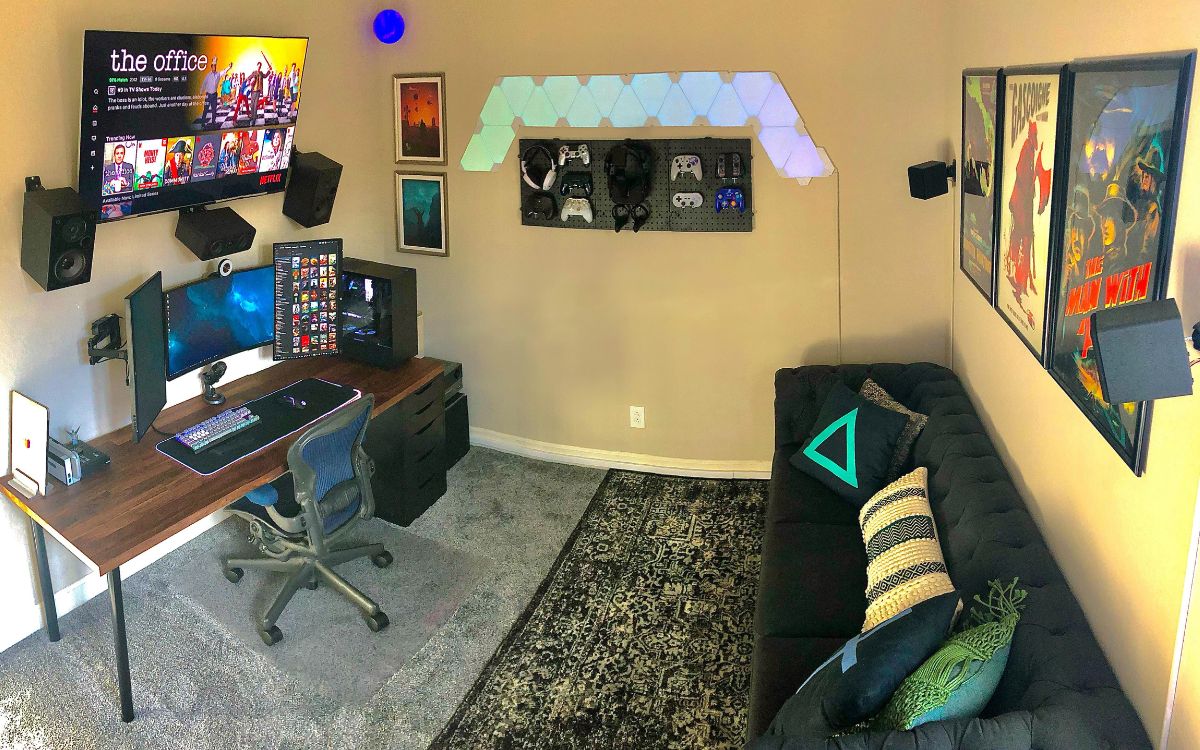
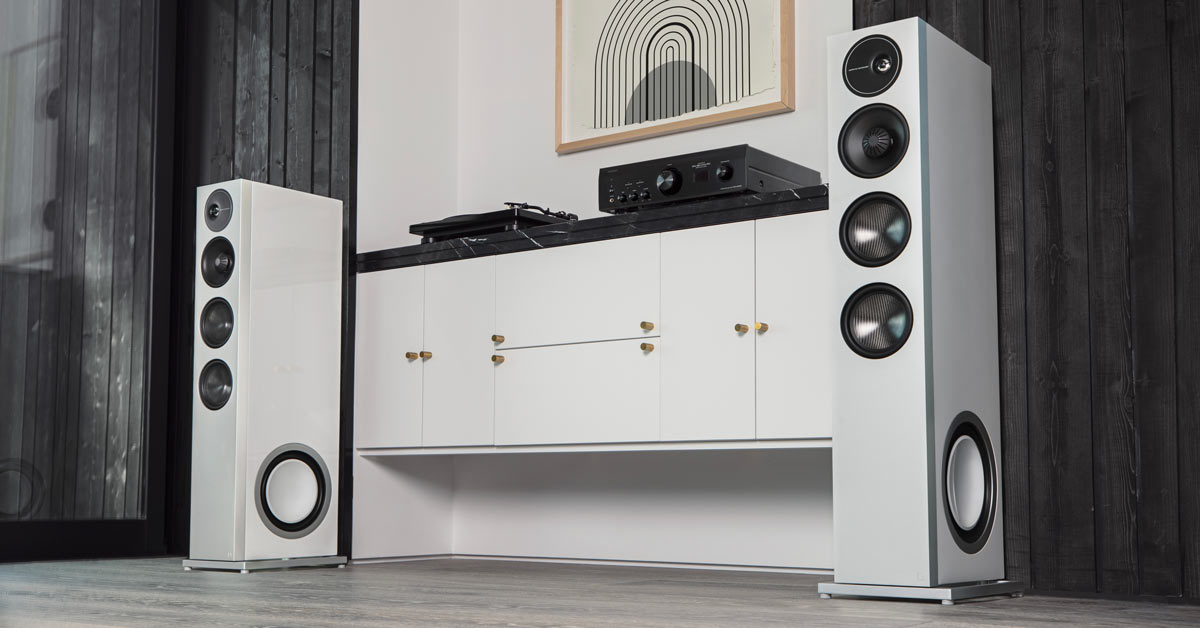
- Speakers: The number and type of speakers will depend on your chosen surround sound configuration. Common setups include front speakers, center channel speaker, surround speakers, and a subwoofer for enhanced bass.
- Cables: Depending on the connections available on your TV and audio receiver, you may need HDMI cables, optical cables, or coaxial cables to establish the audio connection.
- TV Stand or Wall Mount: Ensure that you have a suitable stand or wall mount to position your TV and speakers optimally for the best audio experience.
Before purchasing the equipment, it’s worth doing a bit of research to find the right brands and models that fit your budget and audio preferences. Look for reputable audio brands known for their quality and reliability.
Once you have gathered all the necessary equipment, double-check that you have all the required cables and accessories. It’s also a good idea to read the user manuals for each component to familiarize yourself with the setup process and any specific instructions for your particular equipment.
By ensuring you have all the necessary equipment and cables, you’ll be well-prepared to move on to the next steps of the setup process. Now, let’s proceed to placing the speakers in the optimal positions…
Step 3: Place the Speakers
The placement of your speakers plays a crucial role in creating an immersive surround sound experience. Each speaker in your setup has a specific purpose and location, so it’s important to position them correctly for optimal audio performance. Here’s a general guide for speaker placement:
- Front Speakers: These are typically your main left and right speakers. Place them on either side of your TV, angled towards the listening area. Ensure that they are at ear level or slightly above for the best sound projection.
- Center Channel Speaker: This speaker is responsible for dialogue and should be placed directly above or below the TV, at ear level. It’s important that it is centered and aligned with the front speakers.
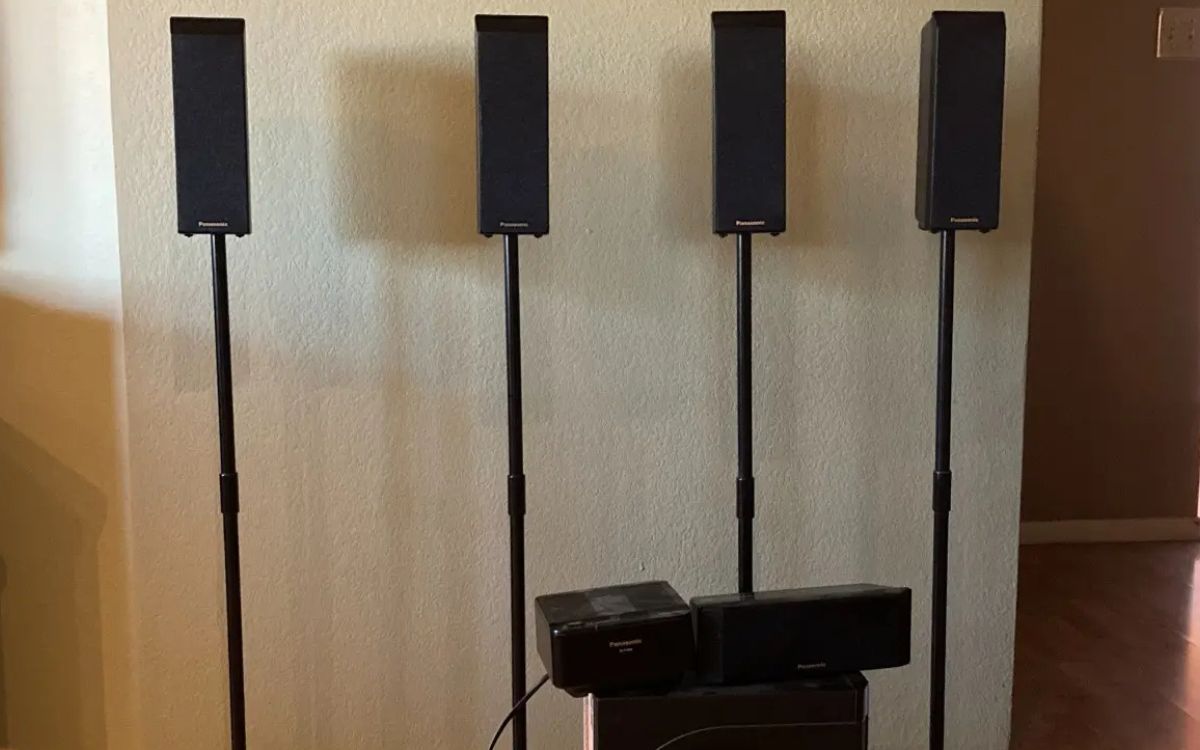
- Surround Speakers: These speakers create the surround sound effect and should be positioned to the sides or slightly behind the listening area. Aim to have them at ear level or slightly above. If you have a 7.1 surround sound system, you will also have extra rear surround speakers to position behind the listening area.
- Subwoofer: The subwoofer creates deep bass sounds and can be placed anywhere in the room, as bass frequencies are non-directional. Experiment with different locations to find the spot that provides the best bass response.
Keep in mind that the layout and size of your room may impact speaker placement. Try to maintain a balanced and symmetrical arrangement if possible. You can also make use of speaker stands or wall mounts to position the speakers at the desired height and angle.
Once you have placed the speakers, it’s essential to properly secure their connections and ensure that they are all functioning correctly. Now, let’s move on to connecting the audio receiver to the TV.
Step 4: Connect the Audio Receiver to the TV
Now that you have positioned the speakers in the optimal locations, it’s time to connect the audio receiver to your TV. This connection will allow the audio signals from your TV to be processed and amplified by the receiver, providing the surround sound experience.
Here’s how you can connect the audio receiver to your TV:
- Locate the audio output ports on your TV: Look for the HDMI ARC, optical, or coaxial output ports on the back or side of your TV. If using the HDMI ARC method, make sure to connect the HDMI cable to the ARC-enabled HDMI port on your TV.
- Connect the audio output of your TV to the input of the audio receiver: Depending on the available ports on your audio receiver, use the appropriate cable to connect the TV’s audio output port to the receiver’s corresponding input port. If using an HDMI ARC connection, connect one end of the HDMI cable to the TV and the other end to the HDMI ARC input on the receiver.
- Power on both the TV and the audio receiver: Ensure that both devices are powered on and set to the correct input sources. Most modern TVs can automatically detect the audio receiver and switch to the appropriate audio output.
- Configure the audio settings on your TV: Access the audio settings menu on your TV and select the appropriate audio output mode. If using HDMI ARC, make sure to enable the ARC function in the TV’s settings. You may also need to adjust the volume settings to ensure a balanced audio output.
Once the audio receiver is connected to the TV and the settings are configured correctly, you should be able to hear the audio from your TV through the speakers connected to the audio receiver. However, we still need to connect the speakers to the audio receiver, which we will cover in the next step.
Step 5: Connect the Speakers to the Audio Receiver
With the audio receiver successfully connected to your TV, it’s time to connect the speakers to your receiver. This step will ensure that the audio signals are properly distributed and amplified by the speakers to create a surround sound experience.
Here’s how you can connect the speakers to the audio receiver:
- Identify the speaker terminals: Take a look at the back of your audio receiver and locate the speaker terminals. Usually, each speaker terminal is labeled with the corresponding speaker channel (e.g., Front Left, Front Right, Center, Surround, etc.).
- Prepare the speaker wires: Cut the speaker wires to the required length, ensuring that you have enough length to connect each speaker to the audio receiver. Strip a small portion of insulation from the ends of the speaker wires to expose the bare wire.
- Connect the wires to the speaker terminals: For each speaker, match the positive (+) and negative (-) terminals on the speaker with the corresponding terminals on the audio receiver. Insert the bare wire ends into the corresponding terminals, making sure to tighten the terminals to secure the connection. Repeat this process for each speaker.
- Double-check the connections: Once all the speakers are connected, double-check the connections to ensure they are secure and there are no loose wires that could cause audio issues. This will help ensure that each speaker is receiving the appropriate audio signals.
It’s important to note that some speakers may have alternative connection options, such as banana plugs or binding posts. If this is the case, follow the specific instructions provided with your speakers to connect them to the audio receiver.
Once all the speakers are connected and the connections are secure, you’re one step closer to enjoying the immersive surround sound experience. However, the setup process isn’t complete just yet. In the next step, we’ll guide you through the process of configuring the audio settings to optimize the sound output.
Step 6: Configure the Audio Settings
Now that you have connected the speakers to your audio receiver, it’s time to configure the audio settings to optimize the sound output. By adjusting these settings, you can ensure that the surround sound system is calibrated to deliver the best audio experience possible.
Here are the key settings you should consider adjusting:
- Speaker Configuration: Access the audio settings menu on your audio receiver and select the appropriate speaker configuration. This will depend on the number of speakers in your setup (e.g., 5.1, 7.1, Dolby Atmos). Make sure to set the configuration to match your speaker layout.
- Channel Levels: Adjust the individual channel levels to ensure a balanced sound output. This allows you to fine-tune the volume of each speaker to match your listening preferences. Start with the front speakers, followed by the center channel, surround speakers, and the subwoofer.
- Audio Modes: Many audio receivers offer different audio modes, such as movie mode, music mode, or gaming mode. These modes apply specific audio processing settings to enhance the audio experience based on the content being played. Experiment with different modes to find the one that suits your preferences for each type of media.
- Room Correction: Some audio receivers have built-in room correction features that help optimize the audio performance based on the unique acoustics of your room. Follow the instructions provided by your audio receiver to run the room correction setup, which may involve using a microphone to measure sound reflections and adjust the audio output accordingly.
- Bass Management: Adjust the bass management settings to control how low-frequency sounds are distributed between the subwoofer and the other speakers. This ensures a balanced and cohesive sound output across all frequencies.
It’s important to familiarize yourself with the audio receiver’s user manual to understand the specific settings and options available. This will allow you to take full advantage of the features and customize the sound output to your liking.
Once you have configured the audio settings, it’s time to test your surround sound system and make any necessary adjustments. Let’s move on to the final step.
Step 7: Test the Surround Sound System
After setting up and configuring your surround sound system, it’s important to test the system to ensure everything is working correctly. Testing allows you to identify any issues and make any necessary adjustments before fully enjoying your surround sound experience.
Here’s how you can test your surround sound system:
- Play a surround sound test video or audio: Look for specific surround sound test content, such as a test video or audio file, that is designed to test each speaker individually. These files are typically available online and can help you confirm that the audio is correctly distributed across the speakers.
- Listen for a balanced sound: Pay attention to the audio output and ensure that each speaker is producing sound and is calibrated to the correct volume level. The dialogue should come from the center channel speaker, while surround effects should come from the appropriate surround speakers. The subwoofer should also provide deep and balanced bass.
- Make adjustments as needed: If you notice any issues during the testing phase, such as one speaker being too quiet or too loud, adjust the channel levels on your audio receiver to achieve a balanced sound output. You may also need to revisit the speaker positioning to optimize the audio performance.
- Experiment with different media: Test your surround sound system with different types of media, such as movies, TV shows, video games, and music. This will give you a better understanding of how the system performs across different audio formats and genres.
Keep in mind that the testing process may require some trial and error to find the perfect balance and settings for your preferences. It’s also worth noting that different media sources may have varying audio quality and surround sound capabilities, so the experience may vary depending on what you’re watching or listening to.
By thoroughly testing your surround sound system, you can ensure that it is fully optimized and ready for an immersive audio experience. Now, sit back, relax, and enjoy the stunning audio quality and enveloping soundstage of your new surround sound system!
Conclusion
Setting up a surround sound system can elevate your TV viewing experience by immersing you in high-quality audio. While it may seem daunting at first, following the step-by-step process outlined in this guide can make the setup process manageable and rewarding.
By checking the compatibility between your TV and audio equipment, gathering the necessary equipment, positioning the speakers correctly, connecting the audio receiver to the TV, and configuring the audio settings, you can create an impressive surround sound system in your own home. Additionally, thoroughly testing the system and making any necessary adjustments ensures that you achieve the best audio performance.
Remember to consult the user manuals for your specific audio equipment for detailed instructions and recommendations. Each setup may vary slightly, and it’s important to follow the manufacturer’s guidelines for optimal performance.
Now, it’s time to sit back, relax, and enjoy the immersive audio experience that your surround sound system provides. Whether you’re streaming your favorite movies, playing video games, or simply listening to music, you can enjoy a theater-like sound experience from the comfort of your own living room.
With the right equipment, proper positioning, and a little bit of fine-tuning, your surround sound system will transport you into a world of captivating audio that complements the visuals on your TV. So, grab the popcorn, dim the lights, and immerse yourself in the incredible soundscapes of your new surround sound system.