Home>Production & Technology>Sound Bar>How To Hook Up A Sanyo Sound Bar
Sound Bar
How To Hook Up A Sanyo Sound Bar
Published: December 25, 2023
Learn how to easily hook up a Sanyo Sound Bar and enhance your audio experience. Find out the steps and tips to connect your Sound Bar for optimal sound quality.
(Many of the links in this article redirect to a specific reviewed product. Your purchase of these products through affiliate links helps to generate commission for AudioLover.com, at no extra cost. Learn more)
Table of Contents
Introduction
Welcome to the world of immersive audio experience with the Sanyo sound bar! If you’re looking for a simple and effective way to enhance your TV’s sound quality, a sound bar is the perfect solution. Sanyo, a reputable brand known for its cutting-edge audio technology, offers a range of sound bars designed to deliver impressive sound performance.
In this article, we’ll guide you through the process of hooking up a Sanyo sound bar to your TV. Whether you’re a tech-savvy individual or new to audio equipment, we’ve got you covered. By following our step-by-step instructions, you’ll be able to enjoy a cinematic audio experience within minutes.
Before we dive into the setup process, let’s take a moment to understand the importance of a sound bar. The built-in speakers on most TVs are notorious for their lackluster sound quality. They simply do not deliver the depth and clarity that modern audio formats, such as Dolby Atmos, demand. That’s where a sound bar comes in. These sleek and compact devices house multiple speakers in a single unit, providing an immersive audio experience without the need for additional speakers or amplifiers.
When it comes to Sanyo sound bars, you can expect exceptional sound quality, sleek design, and convenient features. Sanyo sound bars typically offer various connection options, including HDMI ARC, optical audio, and Bluetooth, allowing you to connect to your TV in the most suitable way for your setup. Additionally, many Sanyo sound bars come with built-in subwoofers, further enhancing your audio experience by providing deep and powerful bass.
Now that we’ve established the benefits and features of Sanyo sound bars, let’s jump into the setup process. Unpack your sound bar, find the perfect placement, and prepare to elevate your sound experience to new heights!
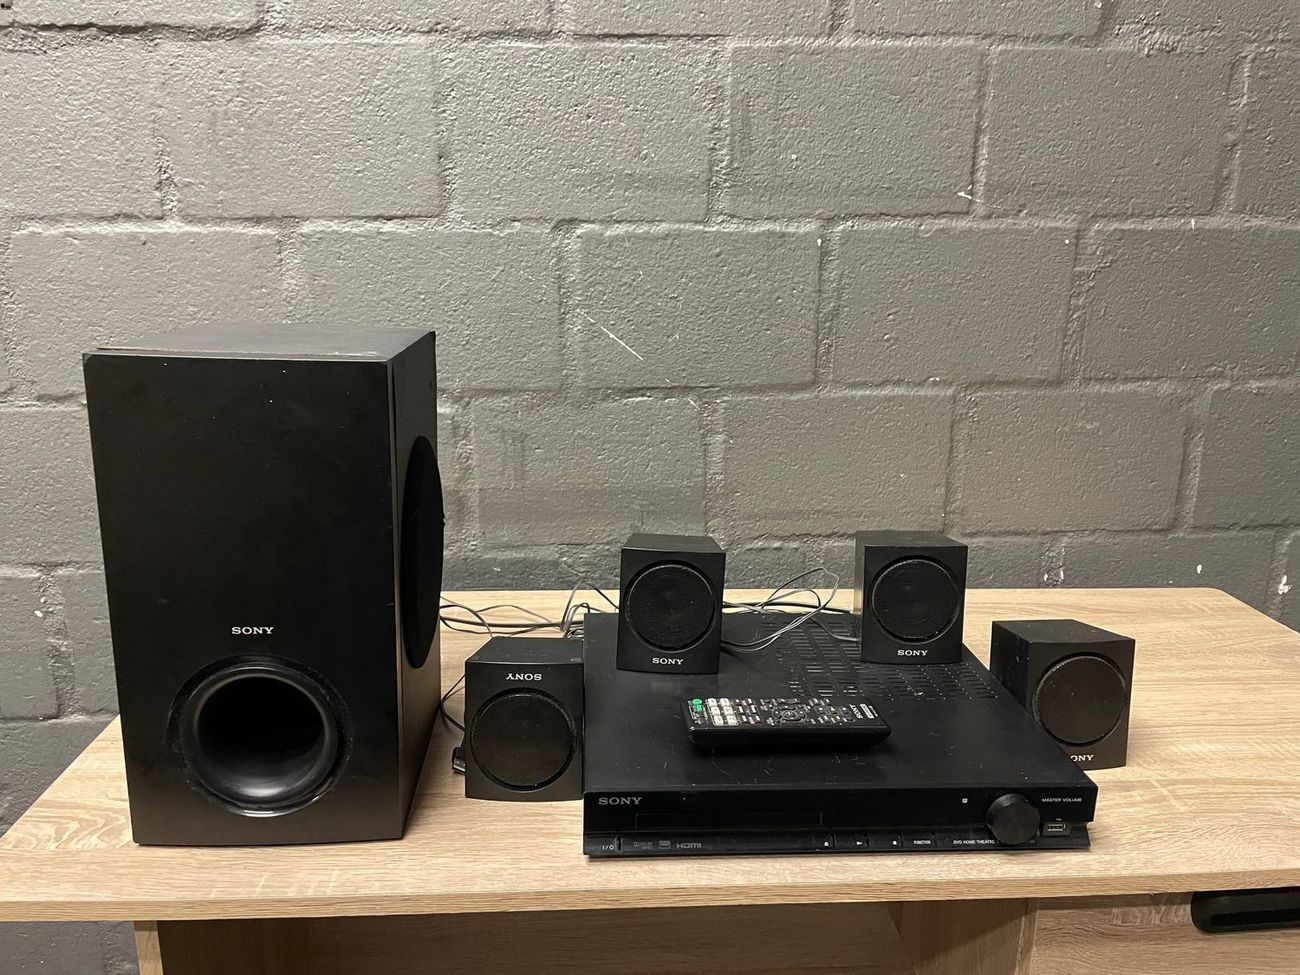
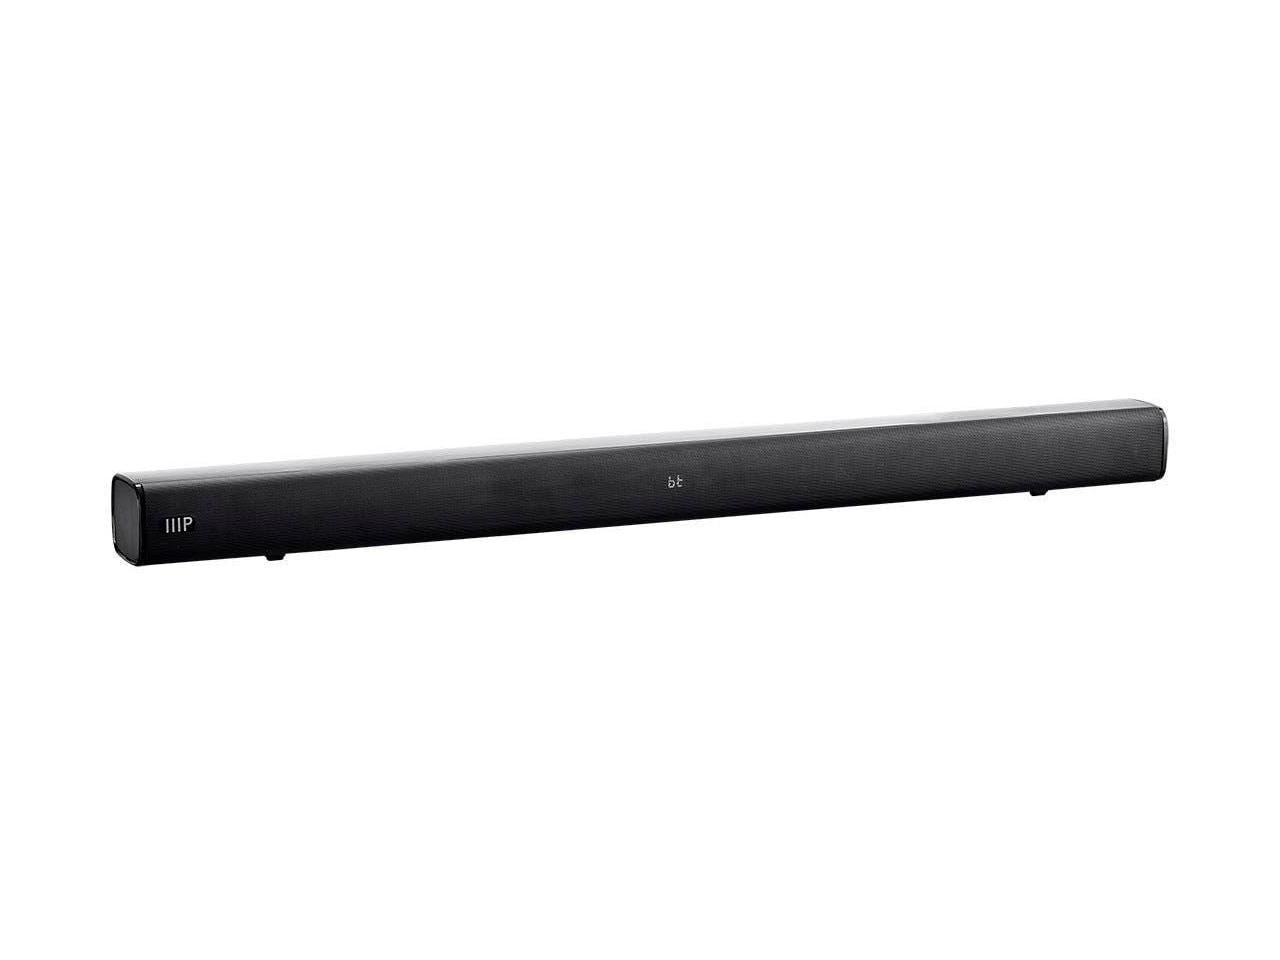
Step 1: Unpack and inspect the Sanyo sound bar
The first step in setting up your Sanyo sound bar is to unpack and inspect the contents of the package. Carefully remove the sound bar from the box and check that all the necessary components are included. The specific contents may vary depending on the model, but generally, you can expect to find:
- The Sanyo sound bar unit
- A remote control
- Power cables
- Audio cables (HDMI ARC, optical, etc.)
- Mounting brackets (if applicable)
- Instruction manual and warranty card
Take a moment to inspect the sound bar for any visible damage. Look for any dents, scratches, or broken parts. If you notice any issues, contact the retailer or Sanyo customer support for assistance.
Next, familiarize yourself with the various buttons and ports on the sound bar. This will make the setup process smoother. On the sound bar unit, you’ll typically find buttons such as power, volume up/down, input selection, and mode selection. Additionally, there will be ports for connecting the audio cables and power supply.
If your model includes a subwoofer, ensure that it is also in good condition and that you have all the necessary cables to connect it to the sound bar. Some Sanyo sound bar models come with a wireless subwoofer, which eliminates the need for additional cables.
By carefully unpacking and inspecting your Sanyo sound bar, you can ensure that everything is in proper working order before moving on to the next steps. If you encounter any issues or have questions, refer to the instruction manual or reach out to Sanyo customer support for assistance.
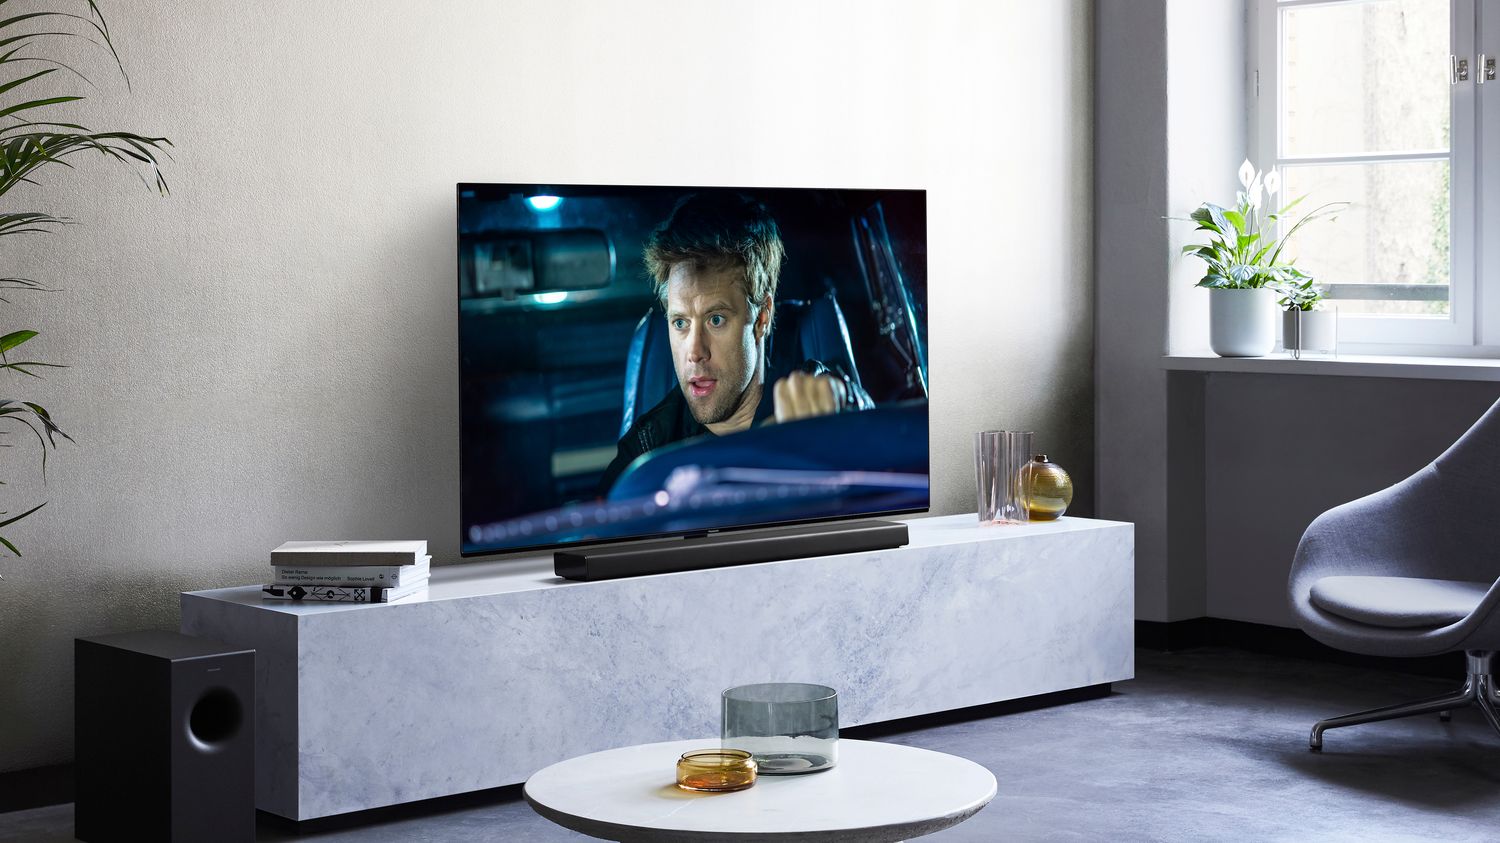
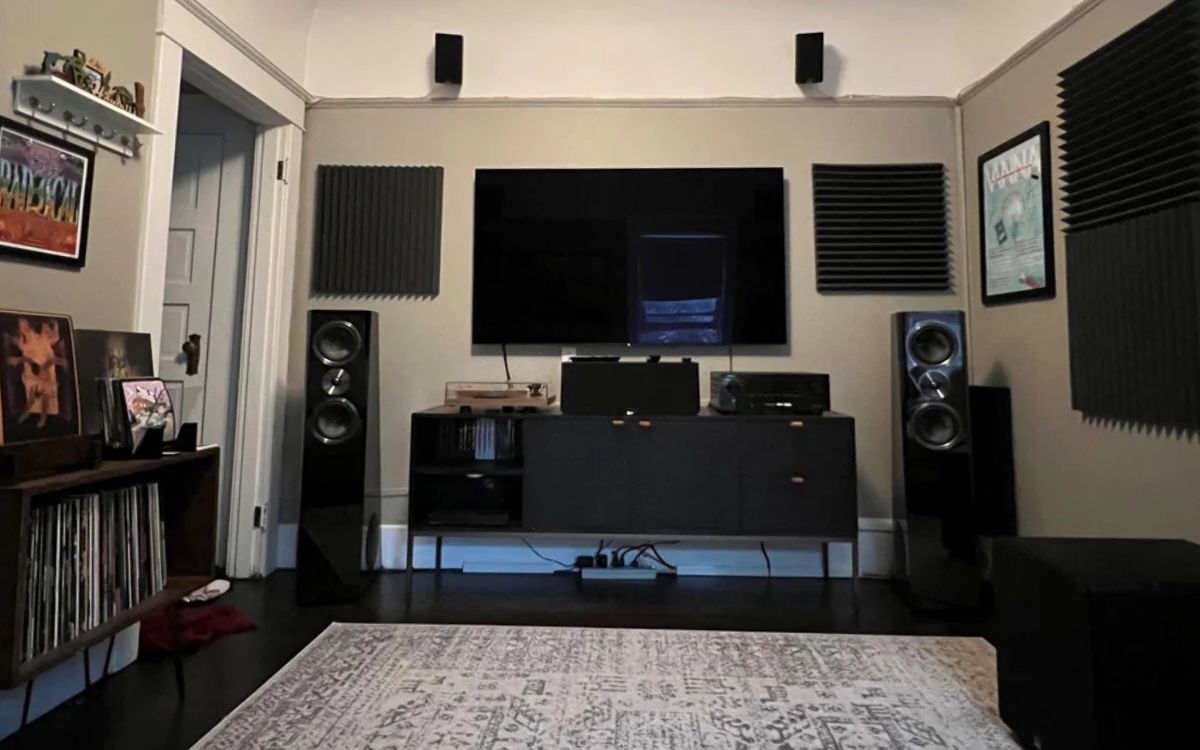
Step 2: Placement of the sound bar
Now that you have unpacked and inspected your Sanyo sound bar, it’s time to find the optimal placement for it in your home entertainment setup. The placement of the sound bar can greatly impact the audio experience, so it’s crucial to consider a few factors when deciding where to place it.
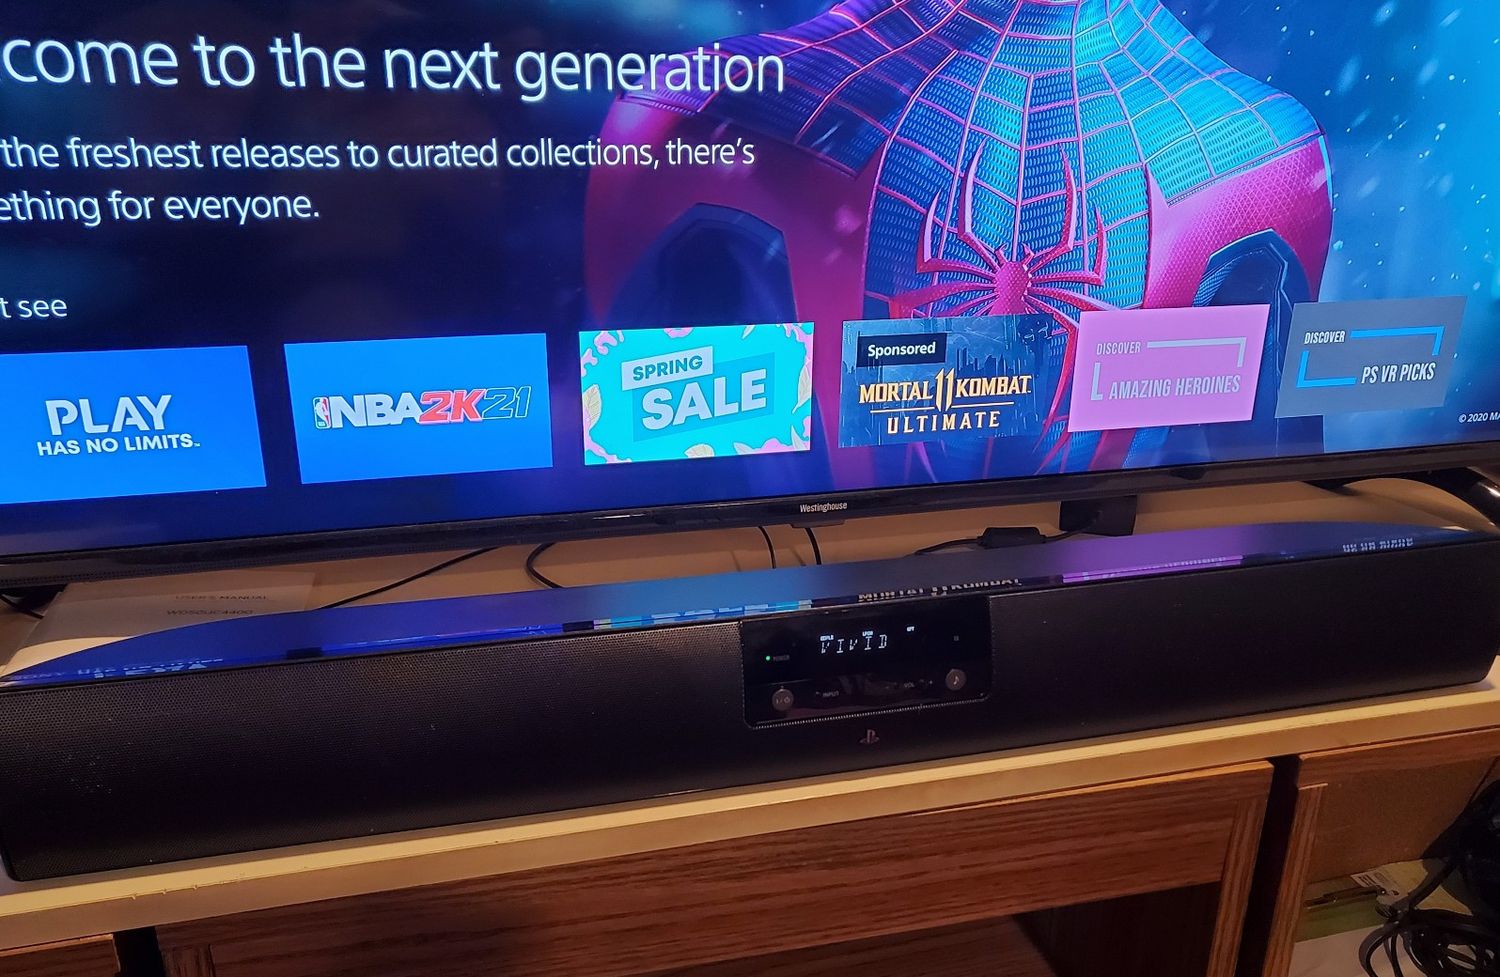
First and foremost, ensure that there is enough space near your TV to accommodate the sound bar. Most sound bars are designed to sit either in front of the TV or can be wall-mounted below or above the TV. The advantage of placing the sound bar in front of the TV is that it can project sound directly towards you, resulting in better audio clarity. However, if you prefer a sleeker look or have limited space, wall mounting is a great option.
When placing the sound bar in front of the TV, make sure that it doesn’t obstruct the TV screen or any infrared receivers on the TV or other devices. Ensure there is sufficient clearance for the sound bar to breathe and disperse sound properly.
If you decide to wall-mount the sound bar, refer to the instruction manual for specific mounting guidelines and hardware requirements. Make sure to follow the instructions carefully to ensure a secure and stable installation.
Additionally, consider the height at which you mount the sound bar. Ideally, it should be positioned at ear level for the best listening experience. This will help ensure that the sound is directed towards the listener and not dispersed upwards or downwards.
Lastly, take note of the available connectivity options on both your TV and the sound bar. Ensure that the sound bar and TV are compatible in terms of connectivity. This will make it easier to connect the sound bar without any compatibility issues.
Once you have determined the placement of the sound bar, clean the area where it will be positioned. Make sure to remove any dust or debris that may affect the performance and aesthetics of the sound bar.
By paying attention to the placement of your Sanyo sound bar, you can optimize the audio experience and create a visually pleasing setup that seamlessly integrates with your existing home entertainment system.
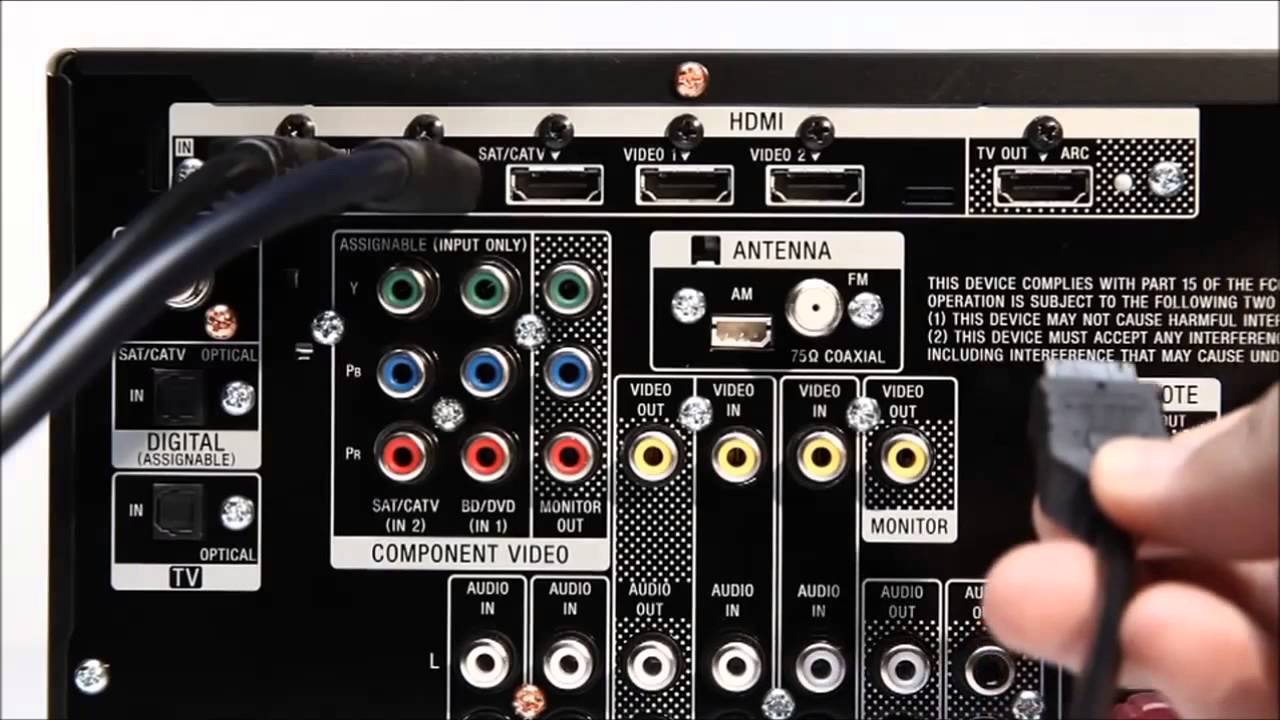
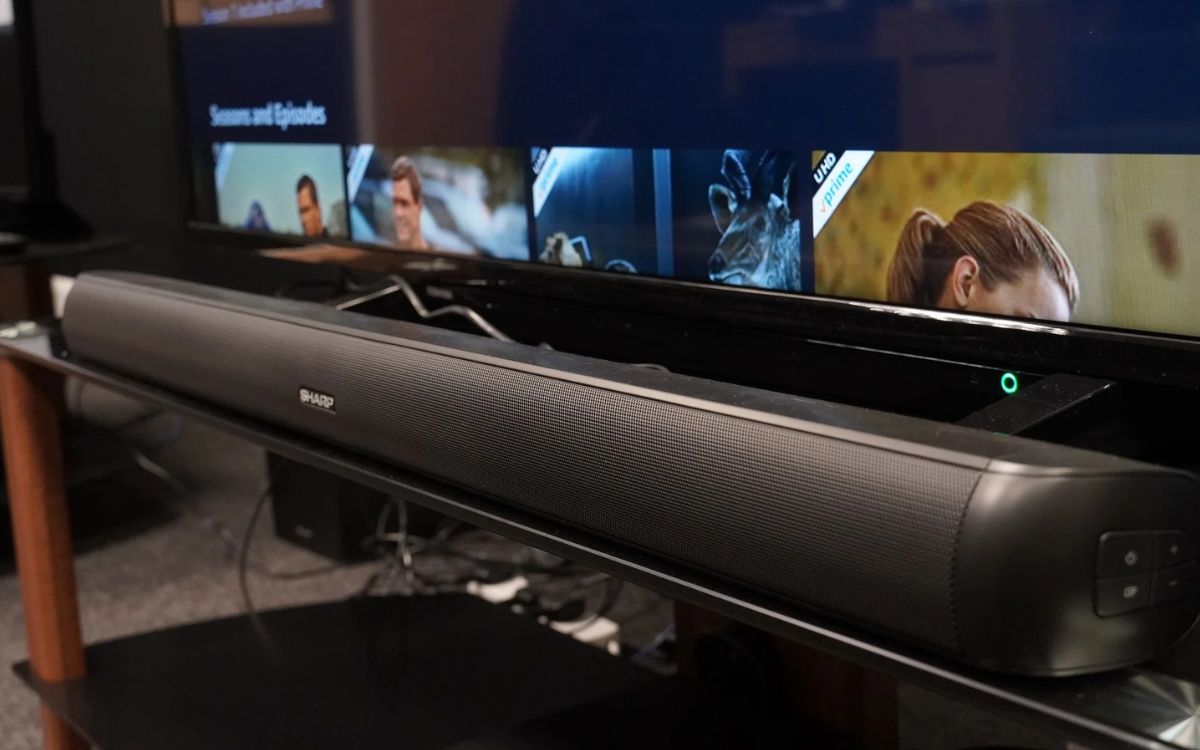
Step 3: Connecting the sound bar to the TV
Now that you have determined the ideal placement for your Sanyo sound bar, it’s time to connect it to your TV. The method of connection may vary depending on the model of your sound bar and the available ports on your TV, but here are the general steps to follow:
- Identify the available audio output port on your TV. Common options include HDMI ARC (Audio Return Channel), optical audio, or a 3.5mm headphone jack.
- If you have opted for the HDMI ARC connection, locate the HDMI ARC port on your TV and ensure that it is enabled in the TV’s settings. Connect one end of the HDMI cable to the HDMI ARC port on the TV and the other end to the HDMI ARC input on the sound bar.
- If your TV does not support HDMI ARC, you can use an optical audio cable. Connect one end of the optical cable to the optical audio output port on the TV and the other end to the optical audio input on the sound bar. Make sure to remove any protective caps from the cable before connecting.
- If your TV only has a 3.5mm headphone jack, you can use a 3.5mm to RCA adapter cable. Insert the 3.5mm plug into the headphone jack on the TV and connect the RCA plugs to the corresponding audio inputs on the sound bar.
- Once the connections are made, ensure that the sound bar is set to the correct input source. This can usually be done using the remote control or the buttons on the sound bar itself. Select the input source that corresponds to the connection you made in the previous step (e.g., HDMI ARC, optical, or AUX).
Once the sound bar is correctly connected to the TV, you may need to adjust the audio settings on the TV. Go to the TV’s audio settings menu and select the audio output option that corresponds to the connected sound bar. This ensures that the TV’s audio is routed to the sound bar for an optimal audio experience.
At this point, you can also connect other audio sources, such as a Blu-ray player or a gaming console, to the sound bar using the available ports (HDMI, optical, etc.). This allows you to enjoy enhanced sound quality for all your entertainment devices.
Now that you have successfully connected the sound bar to your TV, it’s time to move on to the next step and power on the sound bar.
Step 4: Connecting additional devices
In addition to connecting your Sanyo sound bar to your TV, you may want to connect other devices for an enhanced audio experience. This step will guide you through the process of connecting additional devices, such as gaming consoles, Blu-ray players, or streaming devices, to your sound bar.
Here are the general steps to follow:
- Identify the available input ports on your sound bar. Common options include HDMI, optical audio, or an AUX input.
- For devices that have HDMI output, such as a gaming console or Blu-ray player, use an HDMI cable to connect the device to your sound bar. Insert one end of the HDMI cable into the HDMI output port on the device and the other end into an available HDMI input port on the sound bar.
- If your device only has an optical audio output, use an optical audio cable to connect it to the sound bar. Insert one end of the optical cable into the optical audio output port on the device and the other end into an available optical audio input port on the sound bar.
- For devices with a 3.5mm headphone output, such as a smartphone or laptop, use a 3.5mm to RCA adapter cable. Connect the 3.5mm plug to the device’s headphone output and the RCA plugs to an available AUX input on the sound bar.
Once the connections are made, select the corresponding input source on the sound bar to switch to the connected device. You can do this using the remote control or the buttons on the sound bar.
It’s important to note that some sound bars support Bluetooth connectivity. If you have a device with Bluetooth capability, you can pair it with the sound bar wirelessly. Simply enable Bluetooth on both the sound bar and the device, search for the sound bar in Bluetooth settings, and pair them together.
The ability to connect additional devices to your sound bar allows you to enjoy high-quality audio from various sources without the need for multiple speakers or complicated setups.
Now that you have successfully connected your Sanyo sound bar to your TV and other devices, it’s time to move on to the final step and power on the sound bar.
Step 5: Powering on and testing the sound bar
Now that you’ve completed all the necessary connections, it’s time to power on your Sanyo sound bar and test it to ensure everything is working as expected. Follow these steps to get started:
- Plug in the power cable of the sound bar into a power outlet or a surge protector. Ensure that the power source is easily accessible and offers a stable power supply.
- Power on the sound bar either using the power button on the sound bar itself or the remote control. Most sound bars have a clear indicator light that will illuminate when it is powered on.
- Now, turn on your TV and any connected devices, such as gaming consoles or Blu-ray players.
- Using the TV’s remote control or menu options, navigate to the audio settings to ensure that the audio output is set to “External” or “Audio System” to route the sound to the sound bar instead of the TV’s built-in speakers.
- Play a test sound or watch a movie or TV show to check the audio output. Listen carefully for any distortions, imbalances, or lack of sound from any speakers or subwoofers connected to the sound bar.
If you encounter any issues with the sound or find that the audio is not synchronized with the video, double-check the connections and settings. Make sure the cables are securely plugged in and that the correct input source is selected on the sound bar.
If you have a wireless subwoofer, check its connectivity and make sure it is powered on. Some sound bars may require you to manually pair the subwoofer with the sound bar. Refer to the instruction manual for specific instructions on how to do this.
It’s also worth exploring the sound bar’s settings and features. Many Sanyo sound bars offer various sound modes, equalizer settings, and other audio enhancements that can be adjusted to suit your preferences and the content you are consuming.
Once you are satisfied with the audio quality and everything is functioning properly, sit back, relax, and enjoy a theater-like audio experience from your Sanyo sound bar.
Congratulations! You have successfully set up and tested your Sanyo sound bar. Get ready to immerse yourself in rich, high-quality sound that will enhance your movie nights, gaming sessions, and TV viewing experiences.
Conclusion
Setting up and hooking up a Sanyo sound bar to your TV is a straightforward process that can greatly enhance your audio experience. By following the steps outlined in this guide, you can enjoy immersive sound quality and a cinematic feel right in the comfort of your own home.
In this article, we first discussed the benefits of using a sound bar, highlighting the superior sound quality and convenience they offer compared to standard TV speakers. We then delved into the unpacking and inspection process, ensuring that you have all the necessary components and that the sound bar is in pristine condition.
We then moved on to the placement of the sound bar, emphasizing the importance of finding the optimal position that complements your TV setup while considering factors such as clearance, visibility, and audio projection.
The subsequent section covered the crucial step of connecting the sound bar to your TV, providing various options such as HDMI ARC, optical audio, and 3.5mm headphone jacks. We emphasized the importance of selecting the correct input source on the sound bar to ensure proper audio playback.
Furthermore, we explained how to connect additional devices, such as gaming consoles and Blu-ray players, to your sound bar for a comprehensive sound system. We also touched upon the possibility of using Bluetooth connectivity to pair compatible devices wirelessly.
Finally, we concluded with the step of powering on and testing the sound bar. We highlighted the importance of proper power supply, ensuring the correct audio output selection on your TV, and evaluating audio performance to address any potential issues or adjustments that may be necessary.
With the setup complete and the sound bar seamlessly integrated into your entertainment system, get ready to enjoy a truly immersive audio experience. Whether you’re watching movies, playing games, or listening to music, the Sanyo sound bar will elevate your audio quality and transport you to a whole new level of entertainment.
Remember, if you encounter any difficulties during the setup process or have any questions, refer to the instruction manual or reach out to Sanyo customer support for assistance. They will be happy to guide you through any troubleshooting steps or provide clarification.
Now, sit back, relax, and immerse yourself in the rich, dynamic sound that only a Sanyo sound bar can provide. Get ready to redefine your audio experience and bring your favorite content to life with the power and clarity of Sanyo technology.