Home>Production & Technology>Surround Sound>How To Hook Up Surround Sound To Sharp TV
Surround Sound
How To Hook Up Surround Sound To Sharp TV
Modified: January 22, 2024
Learn how to easily connect and set up surround sound to your Sharp TV. Enhance your viewing experience with immersive audio. Step-by-step guide included.
(Many of the links in this article redirect to a specific reviewed product. Your purchase of these products through affiliate links helps to generate commission for AudioLover.com, at no extra cost. Learn more)
Table of Contents
- Introduction
- Step 1: Gather the Necessary Equipment
- Step 2: Identify the Audio Output Options on Your Sharp TV
- Step 3: Choose the Type of Surround Sound System
- Step 4: Connect the Surround Sound Receiver to the TV
- Step 5: Set Up the Surround Sound System
- Step 6: Adjust Audio Settings on Your Sharp TV
- Step 7: Test the Surround Sound System
- Conclusion
Introduction
Welcome to the ultimate guide on how to hook up surround sound to your Sharp TV! Surround sound brings a whole new level of audio immersion to your entertainment experience, allowing you to fully enjoy movies, TV shows, and gaming with enhanced sound quality and directional audio. Whether you’re a cinephile or a gaming enthusiast, setting up a surround sound system with your Sharp TV will transform the way you enjoy your favorite content.
Sharp TVs are known for their cutting-edge technology and exceptional picture quality, and pairing them with a surround sound system will take your home theater setup to the next level. By following a few simple steps, you can easily connect your Sharp TV to a surround sound system and create a cinematic audio experience in the comfort of your own home.
In this comprehensive guide, we’ll walk you through the process of hooking up surround sound to your Sharp TV, from gathering the necessary equipment to adjusting the audio settings. Whether you’re a tech-savvy individual or a beginner in the world of audio systems, we’ve got you covered. Let’s get started!
Step 1: Gather the Necessary Equipment
Before you begin setting up your surround sound system with your Sharp TV, it’s important to gather all the necessary equipment. Here’s a list of items you’ll need:
- Sharp TV: Ensure you have a compatible Sharp TV with audio output options to connect to the surround sound system.
- Surround Sound Receiver: This is the central hub of your surround sound system that receives audio signals from your TV and distributes them to the speakers.
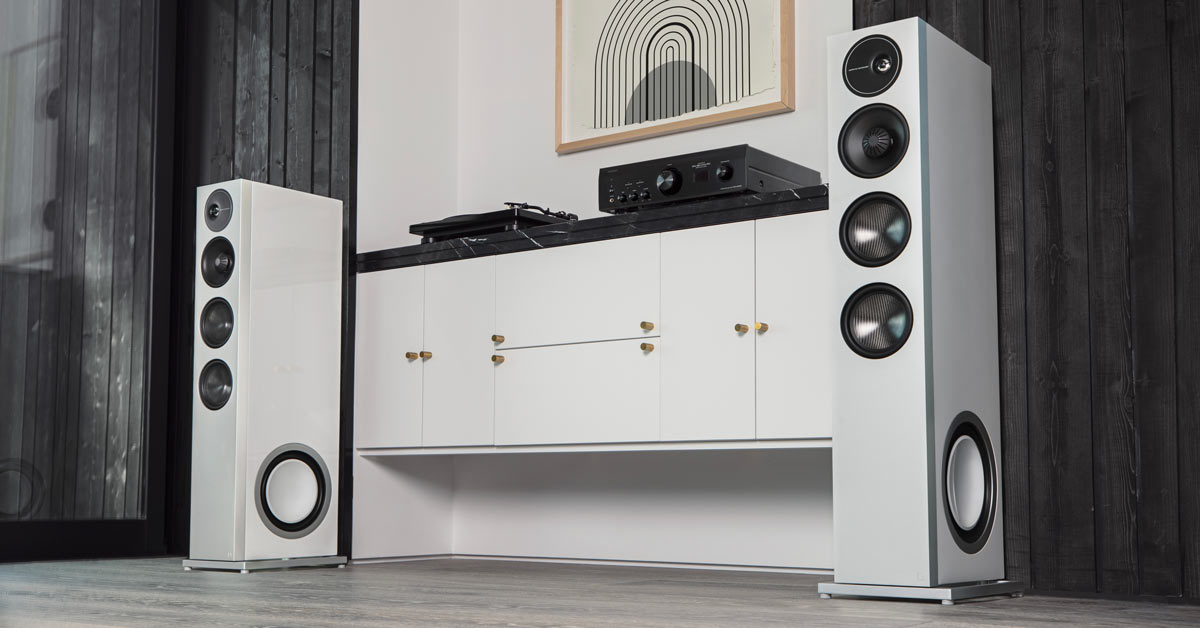
- Speakers: Depending on your preference and space, you can choose from different types of speakers, such as front speakers, rear speakers, center channel speaker, and subwoofer.
- Audio Cables: You’ll need various audio cables to connect your TV to the surround sound receiver. HDMI cables, optical cables, and RCA cables are commonly used for this purpose.
- Remote Control: Make sure you have the remote control for your Sharp TV and surround sound receiver, as you’ll need to access and adjust audio settings.
- Power Cables: Ensure you have power cables for your TV, surround sound receiver, and speakers to provide the necessary power supply.
It’s important to ensure that all the equipment you gather is compatible with each other and meets your specific audio requirements. Take into consideration the size of your room, your audio preferences, and your budget when selecting the speakers and surround sound receiver.
Once you have gathered all the necessary equipment, you’re ready to move on to the next step: identifying the audio output options on your Sharp TV. Let’s dive in!
Step 2: Identify the Audio Output Options on Your Sharp TV
Before you can connect your sharp TV to a surround sound system, you’ll need to identify the available audio output options on your TV. The audio output options can vary depending on the model and year of your Sharp TV. Here are some common audio output options to look for:
- HDMI ARC (Audio Return Channel): Many modern Sharp TVs are equipped with an HDMI ARC port. This port allows for two-way communication between your TV and the surround sound receiver, enabling audio to be sent from the TV to the receiver and vice versa. Look for an HDMI port labeled “ARC” on your TV.
- Optical Audio Output: Another common audio output option is the optical audio output. This port uses a fiber optic cable to transmit digital audio signals from your TV to the surround sound receiver. It provides a high-quality audio connection and is commonly found on both older and newer Sharp TV models.
- Headphone Jack: Some Sharp TVs may have a headphone jack that can be used as an audio output option. This option is useful if your surround sound receiver has a corresponding audio input that can be connected to the headphone jack using an appropriate cable.
- RCA Output: RCA outputs, also known as composite outputs, are color-coded analog audio outputs that are commonly found on older Sharp TV models. These outputs are connected to the surround sound receiver using RCA cables.
Once you have identified the audio output options on your Sharp TV, you can move on to the next step of choosing the type of surround sound system that suits your needs. This will determine the type of connections you need to make between your TV and the surround sound receiver. Let’s move on to step 3!
Step 3: Choose the Type of Surround Sound System
Now that you have identified the audio output options on your Sharp TV, it’s time to decide on the type of surround sound system that best fits your needs. There are a few different options to consider, each with its own advantages and considerations:
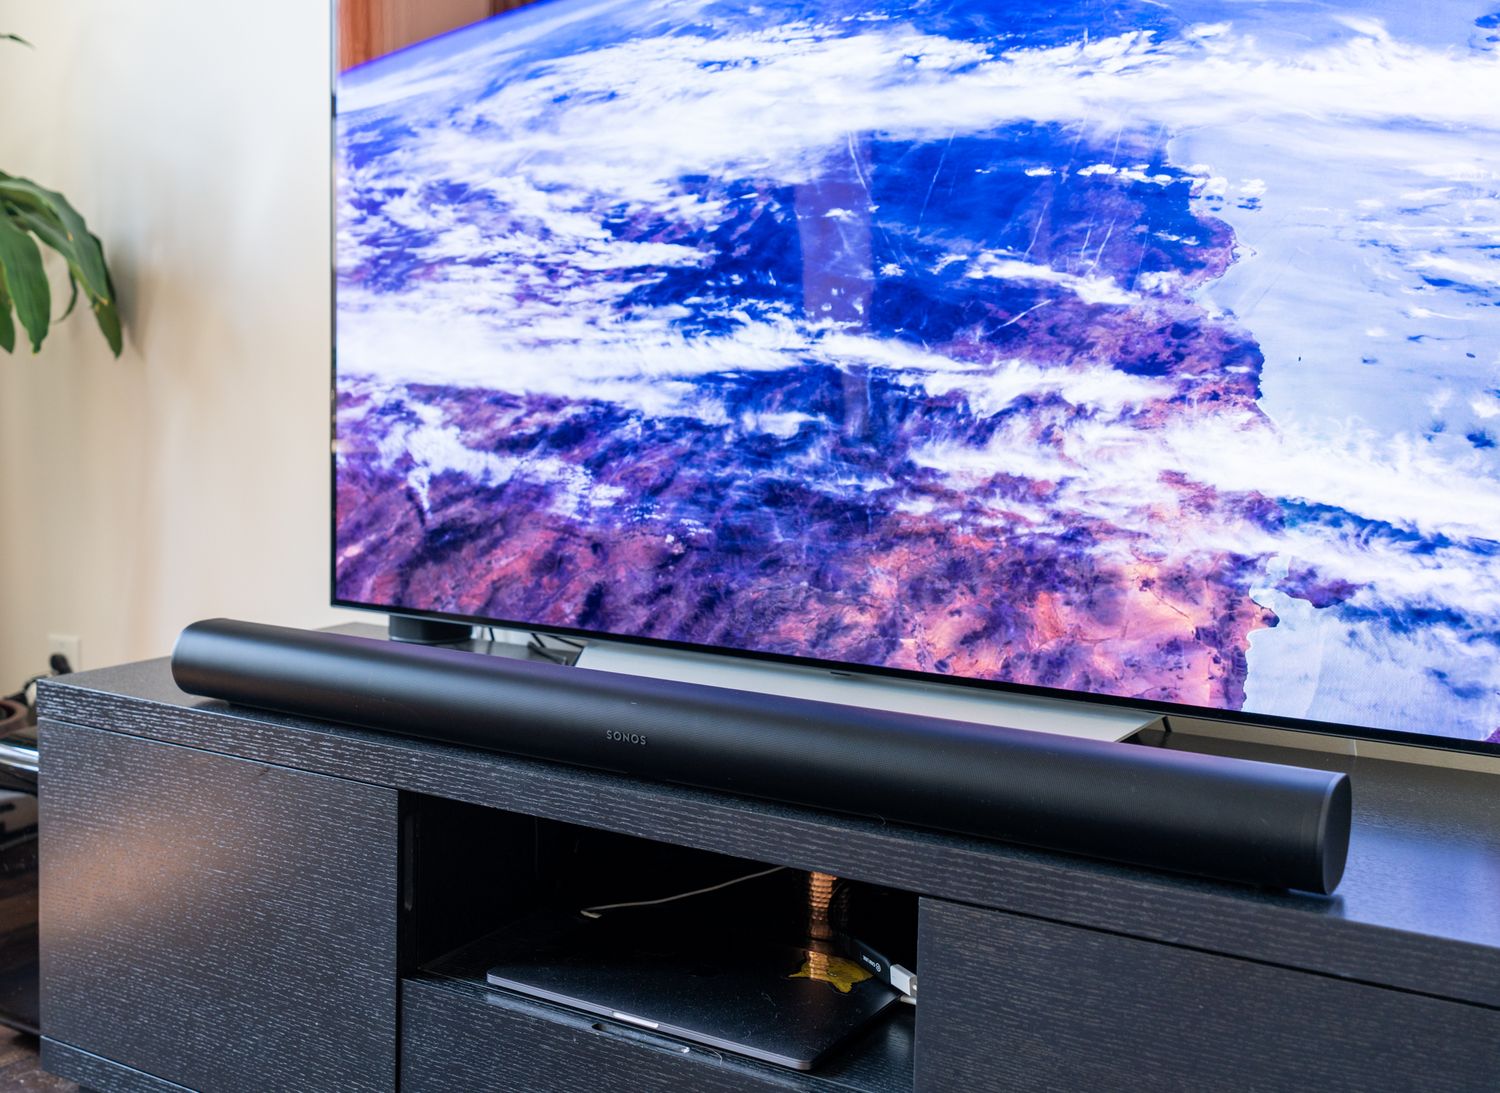
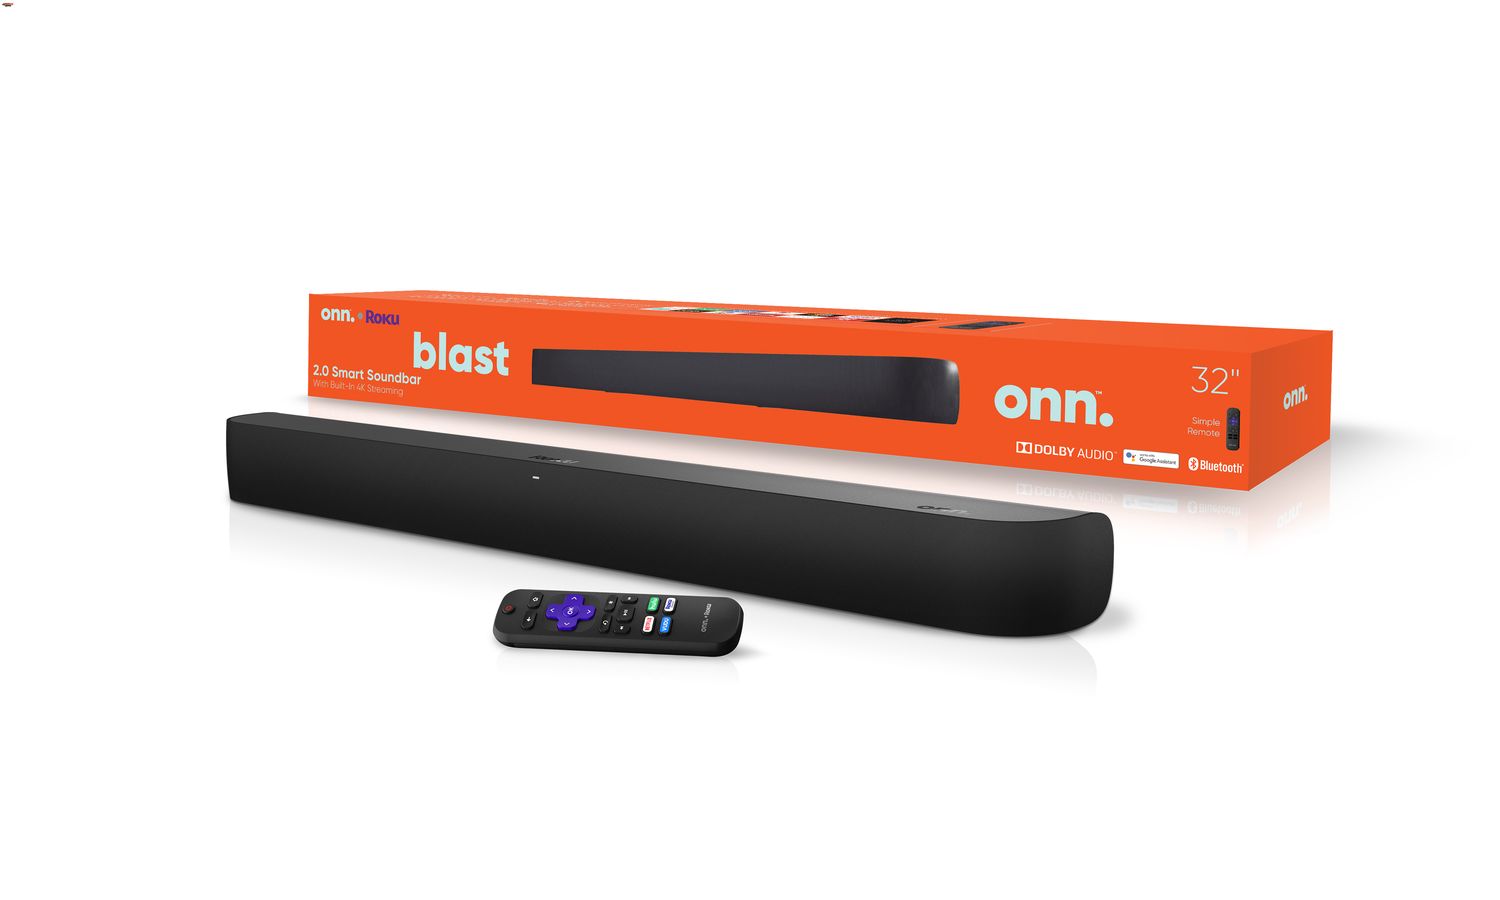
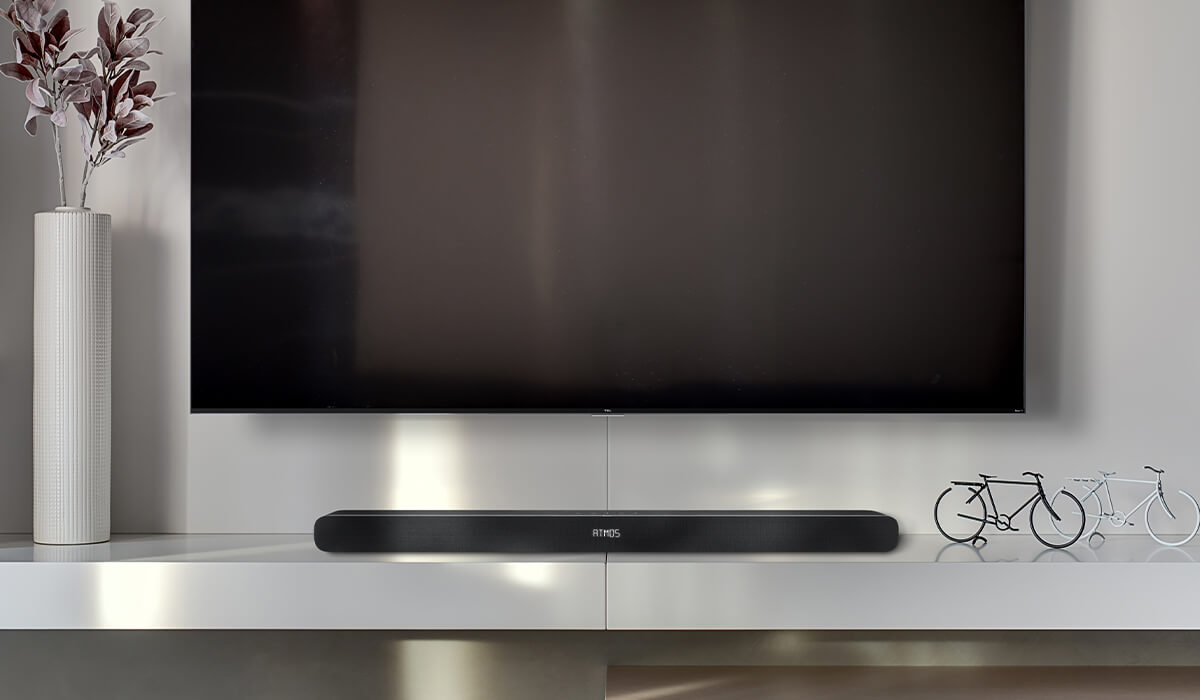
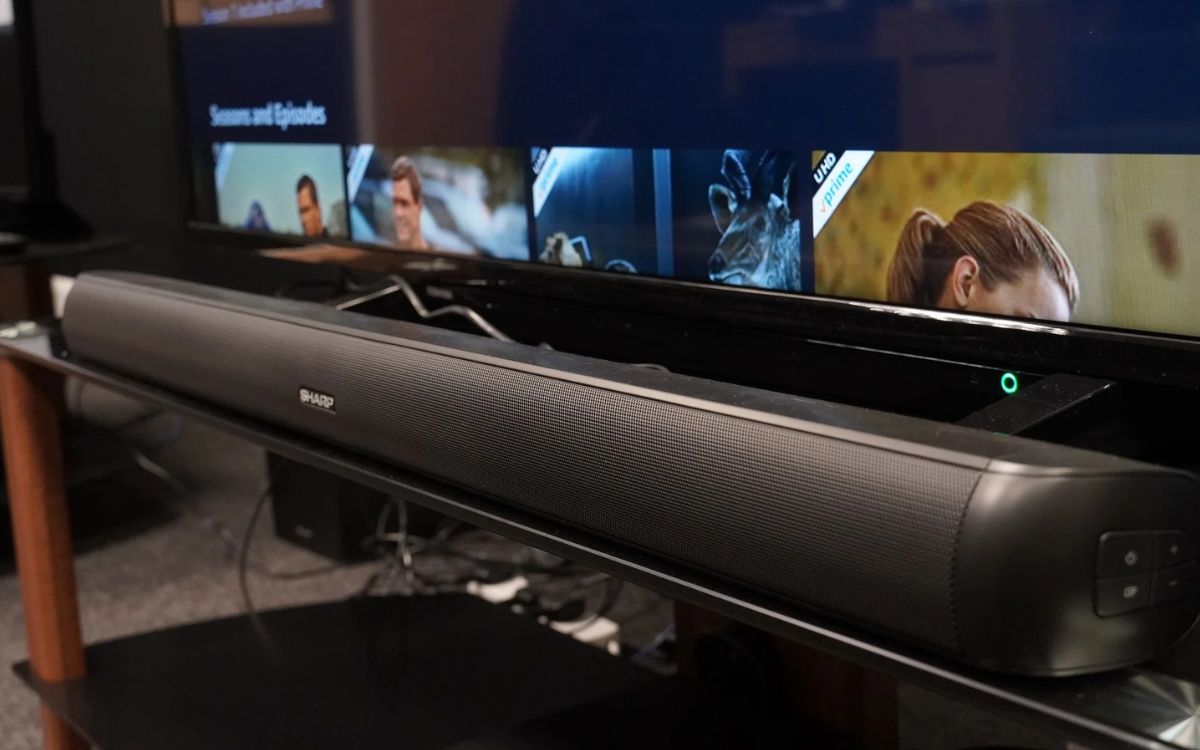
- Soundbar: A soundbar is a slim and compact speaker system that can be placed in front of or below your TV. It typically includes multiple speakers and a subwoofer for enhanced audio. Soundbars are a popular choice for those who want to improve their TV’s audio without the complexity of a traditional surround sound system.
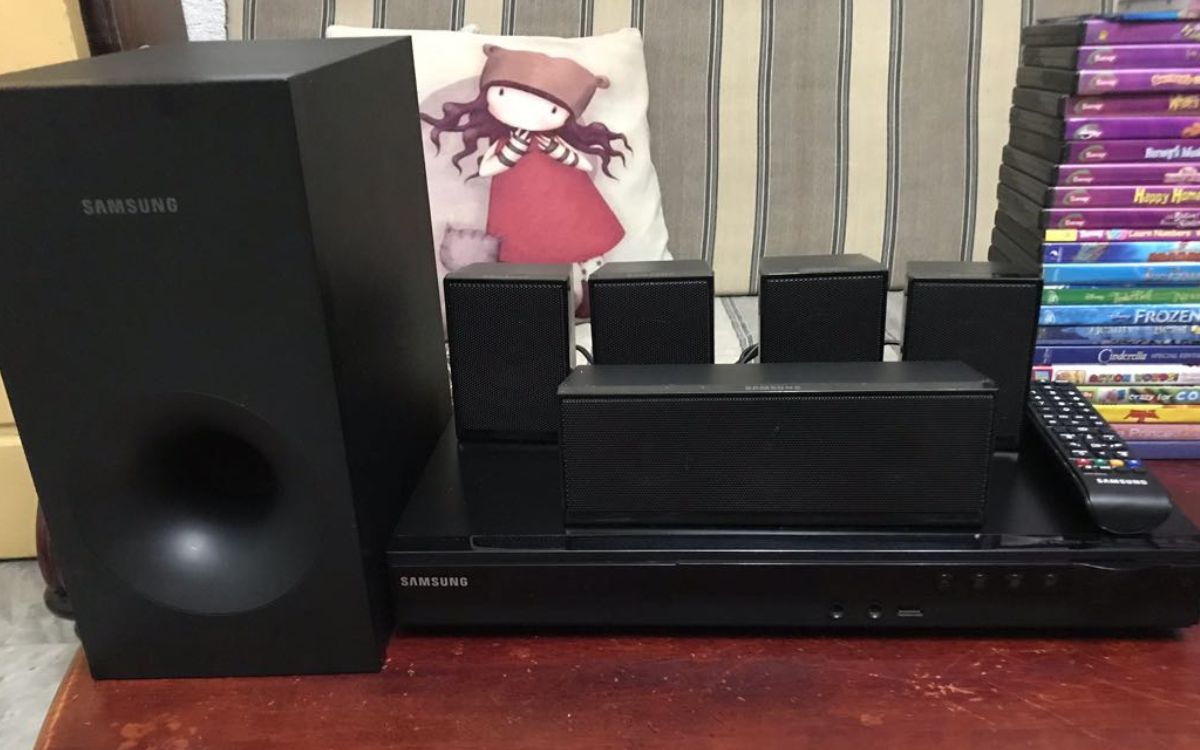
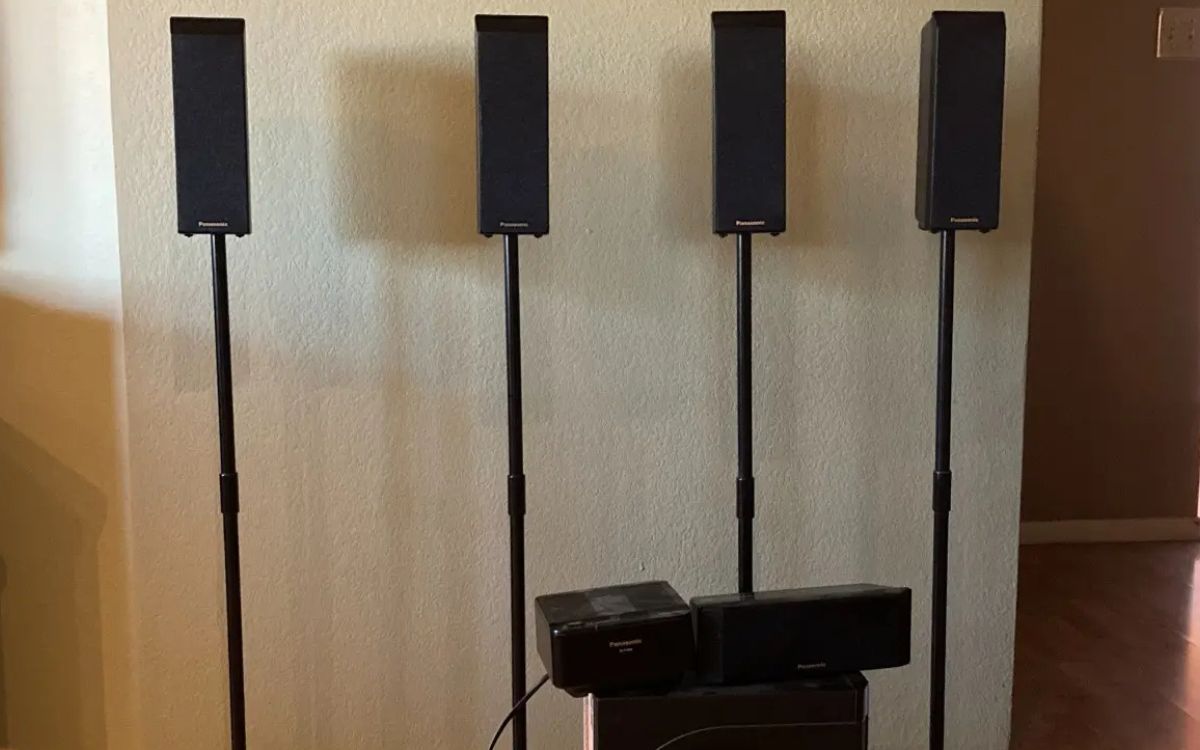
- 5.1 Surround Sound: A 5.1 surround sound system consists of five speakers and a subwoofer. The five speakers are usually positioned around the room to create a more immersive audio experience. This type of system is ideal for medium-sized rooms and provides a balanced surround sound experience.
- 7.1 Surround Sound: A 7.1 surround sound system offers a more immersive audio experience than a 5.1 system by adding two additional surround speakers. This type of system is recommended for larger rooms where you want to create a more cinematic experience.
- Dolby Atmos: Dolby Atmos is an advanced audio technology that adds height and overhead channels to the surround sound setup, providing a three-dimensional audio experience. This type of system is ideal for those who want the ultimate immersive audio experience.
Consider your room size, budget, and personal preferences when choosing the type of surround sound system. Additionally, ensure that the surround sound system you choose is compatible with the audio output options on your Sharp TV.
Once you have selected the type of surround sound system, you can move on to the next step: connecting the surround sound receiver to your Sharp TV. This will allow you to transmit audio signals from your TV to the surround sound system. Let’s continue to step 4!
Step 4: Connect the Surround Sound Receiver to the TV
Now that you have chosen the type of surround sound system that suits your needs, it’s time to connect the surround sound receiver to your Sharp TV. The connection process will depend on the audio output options available on your TV and the input options on your surround sound receiver. Here are the common ways to make the connection:
- HDMI ARC Connection: If your Sharp TV and surround sound receiver both have HDMI ARC ports, this is the simplest and recommended method. Simply connect an HDMI cable from the HDMI ARC port on the TV to the HDMI ARC port on the receiver. This allows for both audio and video signals to pass through a single cable.
- Optical Audio Connection: If your TV has an optical audio output, you can connect an optical audio cable from the TV to the corresponding input on the surround sound receiver. Ensure that you align the connectors correctly and tighten them securely.
- RCA Connection: For older TVs and surround sound receivers without HDMI or optical audio ports, you can use RCA cables. Connect the red and white RCA cables from the audio output jacks on the TV to the corresponding input jacks on the surround sound receiver. Make sure to match the colors correctly.
Once you have made the necessary audio connections, ensure that all the cables are securely connected. Verify that the surround sound receiver and the TV are powered on and set to the appropriate input source. This will allow the TV audio to be transmitted through the surround sound system.
With the connections in place, you can move on to the next step of setting up the surround sound system. This entails placing the speakers in the correct positions and configuring the audio settings. Let’s proceed to step 5!
Step 5: Set Up the Surround Sound System
With the connections between your Sharp TV and surround sound receiver established, it’s time to set up the surround sound system. This step involves positioning the speakers correctly and configuring the audio settings to ensure optimal sound quality. Here’s how to go about it:
- Speaker Placement: Refer to the user manual of your surround sound system to determine the recommended speaker placement. Generally, the front speakers should be positioned on either side of the TV, facing the viewers. The center channel speaker should be placed directly above or below the TV. The rear speakers should be placed behind the viewers, preferably at ear level. The subwoofer can be placed anywhere in the room to provide the deep bass effects.
- Wiring: Carefully route and hide the speaker wires to maintain a neat and tidy appearance. Avoid tangling the wires or placing them near potential sources of interference, such as power cables or electronic devices.
- Audio Calibration: Most surround sound systems offer built-in audio calibration tools. Follow the instructions in the user manual to calibrate the speakers and optimize the sound settings. This will ensure that the audio output is balanced and aligned with your room’s acoustics.
- Testing: Play some audio or video content on your Sharp TV and test the different speakers to ensure they are functioning correctly. Adjust the volume levels and speaker balance according to your preference. Make any necessary fine-tuning adjustments to optimize the surround sound experience.
Take your time to experiment with the speaker placement and audio settings until you achieve the desired audio performance. Remember that each room is unique, and slight adjustments may be required to achieve the best sound quality.
With your surround sound system successfully set up, you’re ready to move on to the next step: adjusting the audio settings on your Sharp TV to ensure compatibility with the surround sound system. Let’s proceed to step 6!
Step 6: Adjust Audio Settings on Your Sharp TV
Now that the surround sound system is set up, it’s important to adjust the audio settings on your Sharp TV to ensure compatibility and optimal performance. This step will help ensure that the audio from your TV is correctly transmitted to the surround sound system. Follow these steps to adjust the audio settings:
- Access the Audio Settings: Using your Sharp TV remote, navigate to the settings menu. Look for the audio or sound settings options.
- Select the Audio Output: Choose the audio output option that corresponds to the connection you made between the TV and the surround sound system. If you connected via HDMI ARC, select the ARC option. If you used an optical cable, select the optical audio output.
- Choose the Audio Format: Depending on your surround sound system’s capabilities, you may need to select the appropriate audio format. Common options include Dolby Digital, DTS, or PCM. Refer to your surround sound system’s manual for guidance on which audio format to choose.
- Adjust the Sound Settings: Explore the sound settings menu on your Sharp TV to customize the audio according to your preference. You may have options to adjust the equalizer, sound mode, surround sound effect, or dialogue enhancer. Fine-tune these settings to achieve the desired sound quality.
- Test the Audio: Play various types of audio content, such as movies, music, or games, to ensure that the audio is correctly outputted through the surround sound system. Pay attention to the clarity, volume, and balance of the sound.
It’s important to note that the availability and names of specific audio settings may vary depending on your Sharp TV model. Refer to the user manual or the manufacturer’s website for detailed instructions specific to your TV.
With the audio settings adjusted, you’re almost ready to fully enjoy the immersive surround sound experience. The final step is to test the surround sound system and ensure that everything is working properly. Let’s move on to step 7!
Step 7: Test the Surround Sound System
Now that you have completed the setup of your surround sound system with your Sharp TV, it’s time to test it and ensure that everything is functioning as expected. Testing allows you to verify that the audio is properly distributed among the speakers and that the surround sound effect is working correctly. Follow these steps to test your surround sound system:
- Choose a Test Source: Select a test source that is specifically designed to showcase the capabilities of a surround sound system. This can be a Blu-ray movie with a dedicated surround sound audio track or a test video from a streaming service that is specifically designed to test your audio system.
- Check Speaker Placement: Confirm that all the speakers are correctly positioned and facing the appropriate direction. This is crucial for achieving an immersive sound experience. Make any adjustments if necessary.
- Play the Test Source: Play the test source on your Sharp TV and make sure the audio is being outputted through the surround sound system. Pay close attention to the different speakers and verify that the sound is properly balanced between them.
- Test Surround Sound Effects: Observe the surround sound effects as the test source plays. Sounds should move fluidly from speaker to speaker, creating a sense of depth and immersion. Listen for directional cues and ensure that the rear speakers are contributing to the surround sound experience.
- Adjust as Needed: If you notice any issues with the audio, such as unbalanced sound, distorted audio, or improper surround sound effects, make the necessary adjustments. Refer to your surround sound system’s manual for troubleshooting tips or consult online forums for assistance if needed.
Testing your surround sound system will give you the opportunity to fine-tune the audio settings and ensure that you’re getting the best audio experience possible. Once you are satisfied with the results, sit back, relax, and enjoy your favorite movies, TV shows, and games with immersive surround sound.
Congratulations! You have successfully hooked up your Sharp TV to a surround sound system. With the completion of this final step, you now have a fully functional home theater setup that will elevate your entertainment experience to new heights.
Remember, if you ever need to make changes or adjustments to your setup, refer back to this guide or consult the user manuals for your specific devices. Enjoy the incredible sound quality and immersive experience that surround sound brings to your home entertainment!
Conclusion
Congratulations on successfully setting up your surround sound system with your Sharp TV! With the right equipment, proper connections, and careful adjustments, you can now enjoy a truly immersive audio experience in the comfort of your own home. Your movies, TV shows, and games will come to life with enhanced sound quality, directional audio, and a new level of immersion.
Throughout this guide, we discussed the essential steps to connect your Sharp TV to a surround sound system. We covered everything from gathering the necessary equipment to testing the surround sound setup. By following these steps, you were able to identify the audio output options on your Sharp TV, choose the right type of surround sound system, connect the surround sound receiver to your TV, set up the system, adjust audio settings, and perform a thorough sound test.
Remember that each step plays a crucial role in achieving the best audio performance. Take the time to position the speakers correctly, calibrate the audio settings, and fine-tune the surround sound experience to match your preferences and room acoustics. Continually explore the capabilities of your surround sound system and experiment with different audio sources to fully appreciate the immersive and dynamic sound it can deliver.
Should you ever need to troubleshoot or make changes to your setup, refer back to this guide or consult the user manuals for your specific devices. Additionally, online forums and customer support can be great resources for additional guidance.
Now, sit back, relax, and enjoy the stunning visuals and rich sound that your Sharp TV and surround sound system provide. Get ready to be captivated by the beauty and realism of your favorite movies and games. With your new setup, every viewing experience will be elevated to a whole new level of audio brilliance and immersion.
Thank you for using this guide, and we hope you have an incredible time enjoying your surround sound system with your Sharp TV!