Home>Production & Technology>Sound Bar>How To Connect Sound Bar To Fire Stick

Sound Bar
How To Connect Sound Bar To Fire Stick
Published: December 25, 2023
Learn how to easily connect a sound bar to your Fire Stick for a more immersive audio experience. Enhance your home entertainment with the powerful sound of a sound bar.
(Many of the links in this article redirect to a specific reviewed product. Your purchase of these products through affiliate links helps to generate commission for AudioLover.com, at no extra cost. Learn more)
Table of Contents
Introduction
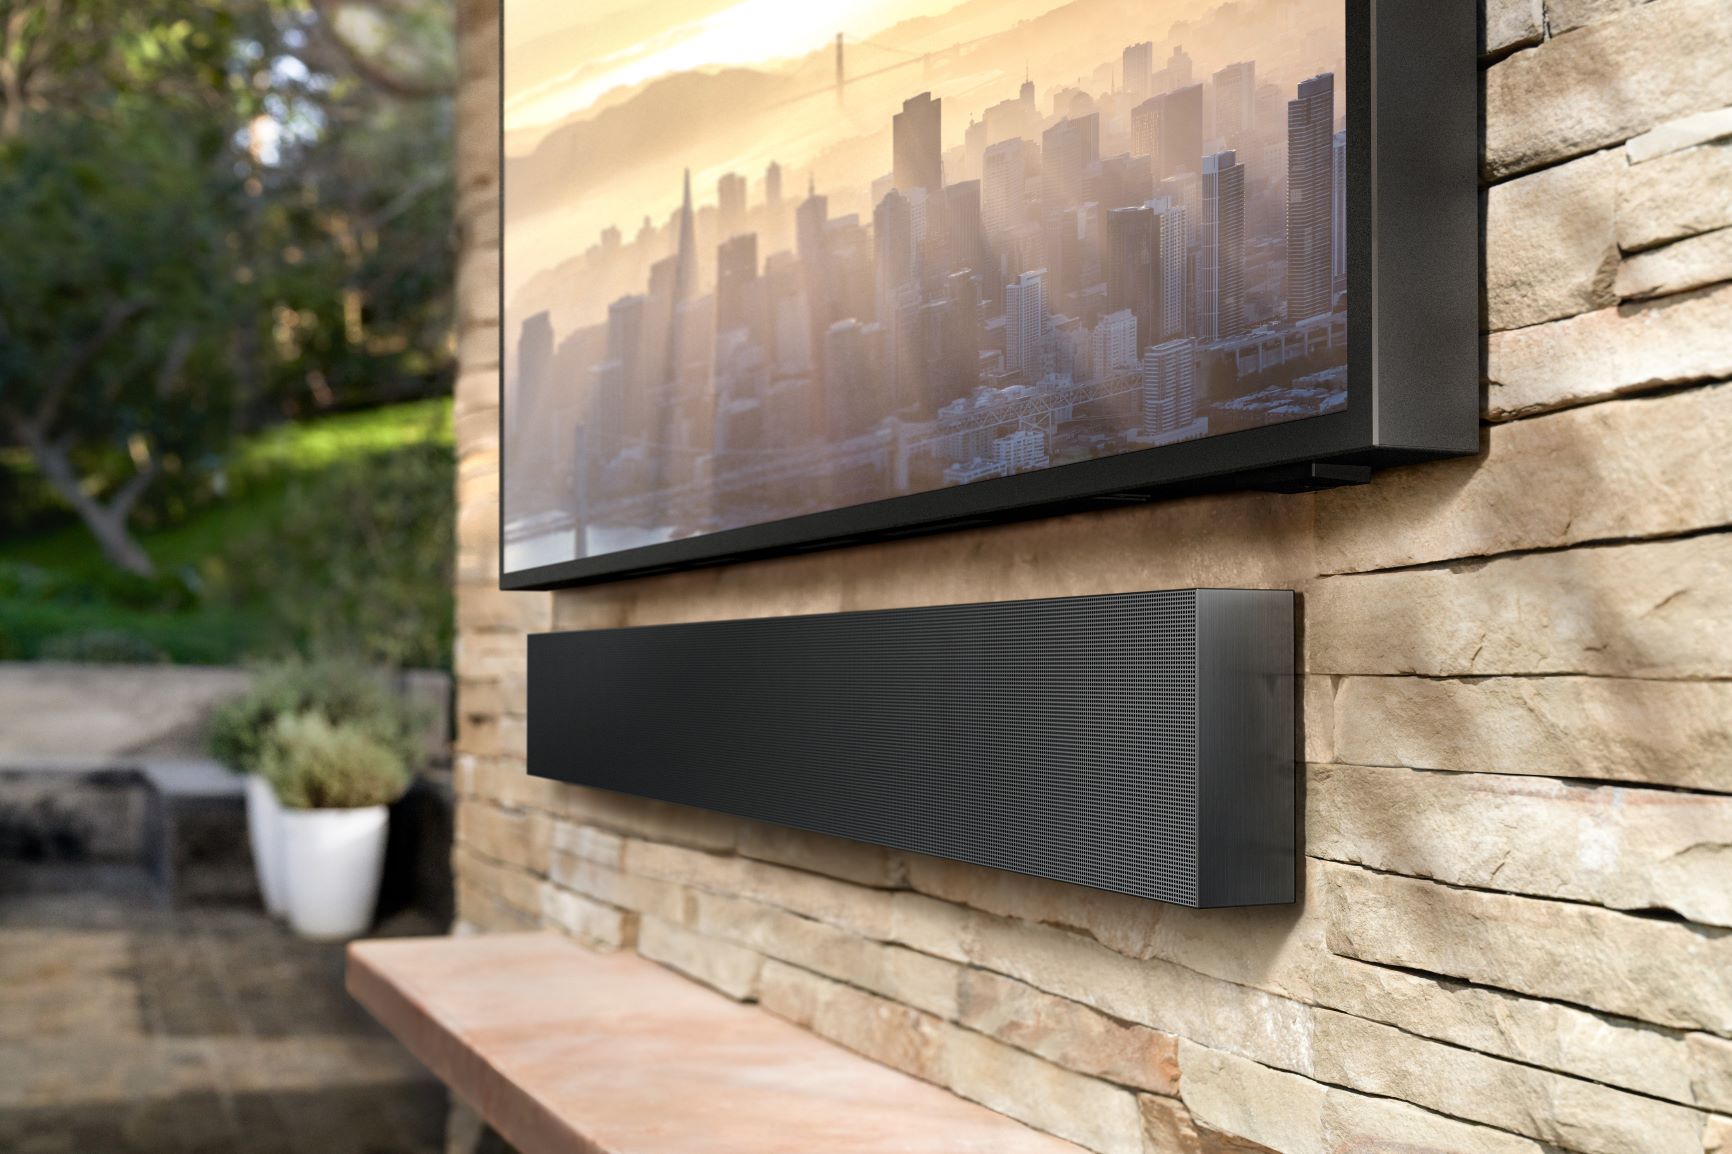
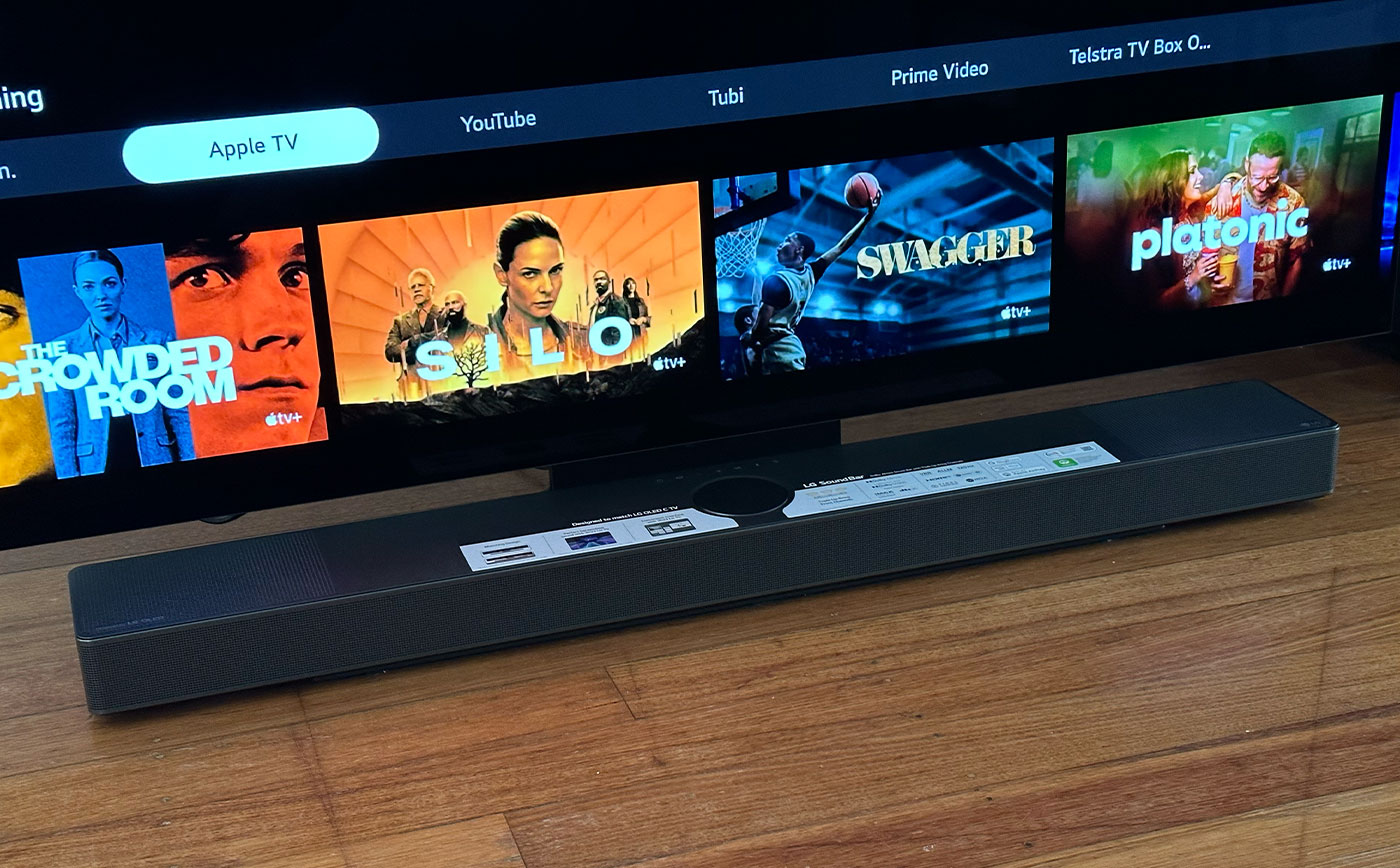
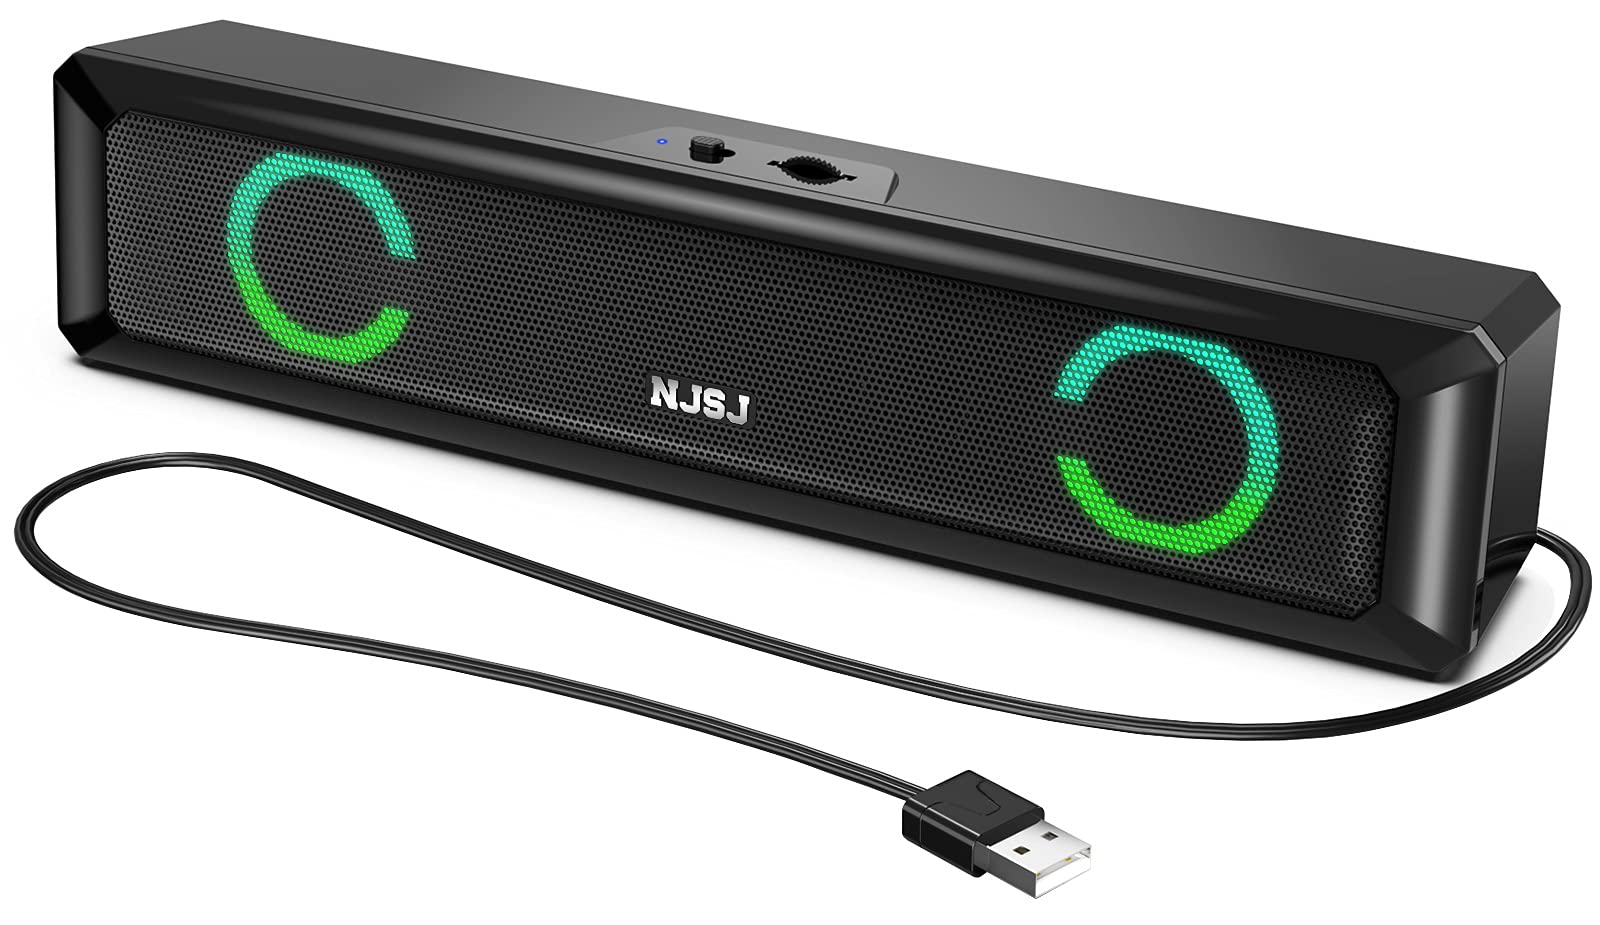
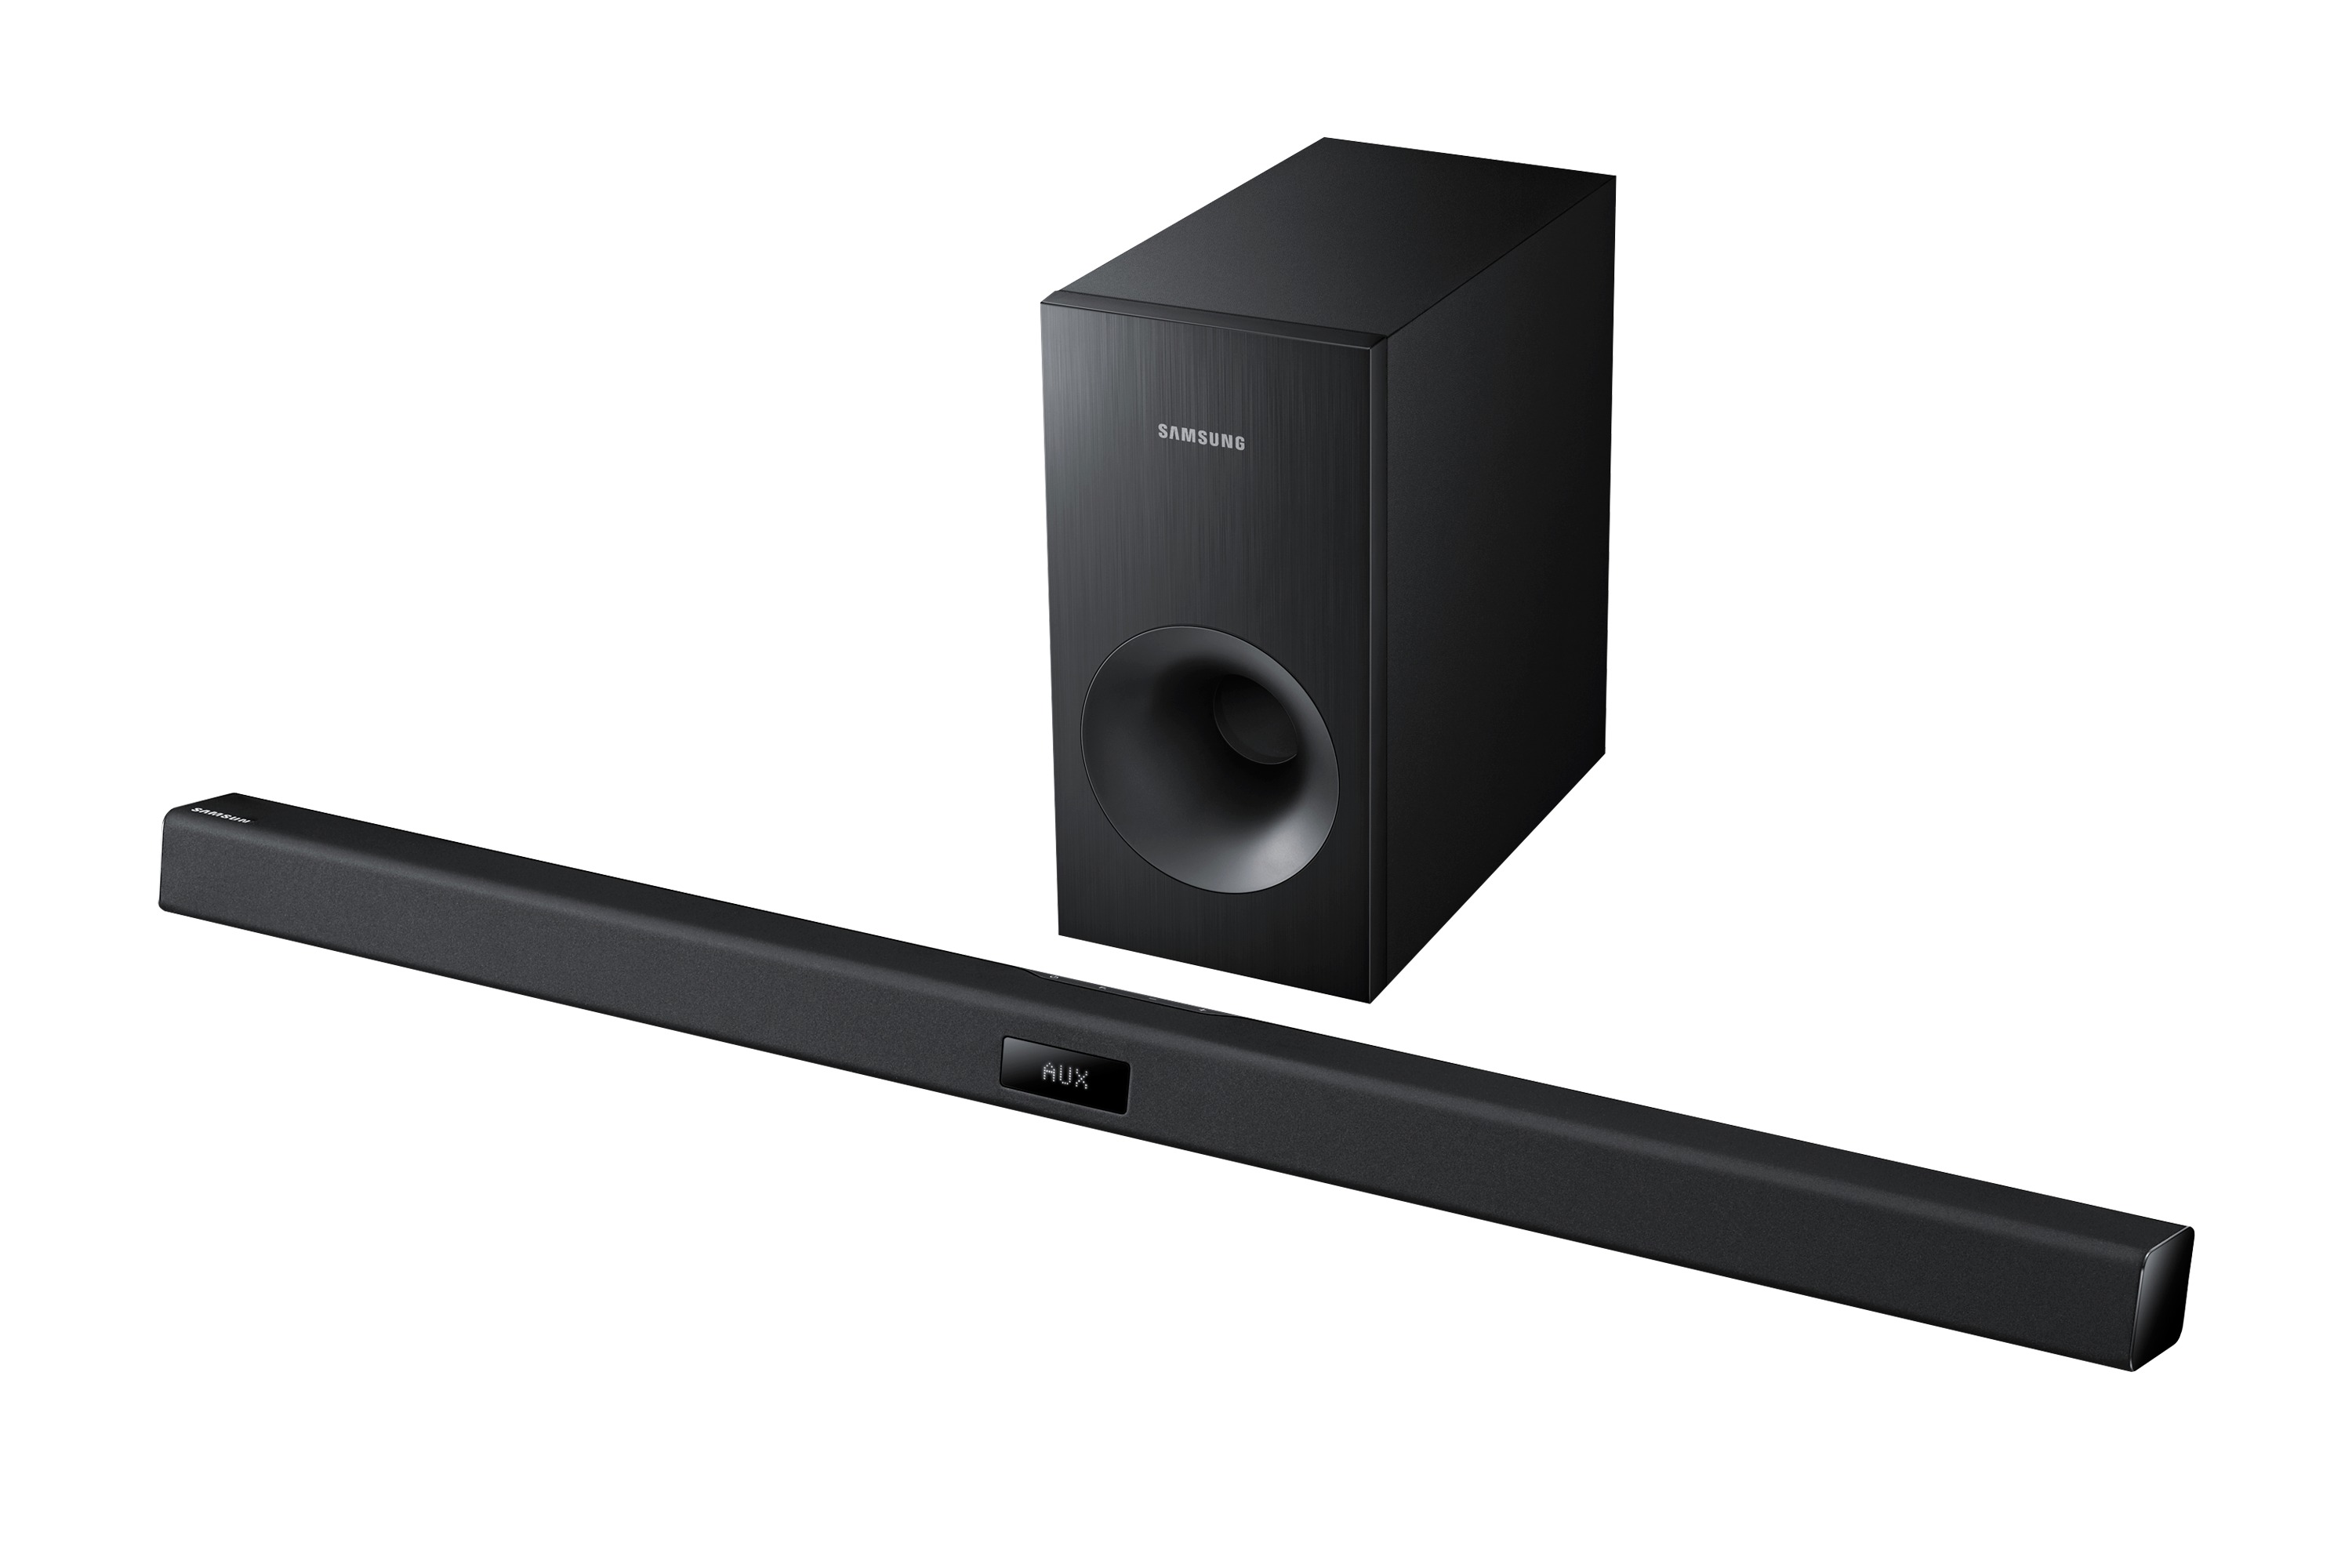
Welcome to the world of immersive audio with sound bars! A sound bar is a compact and sleek audio device that enhances your TV’s audio output, providing a cinematic experience right in the comfort of your living room. Whether you love watching movies, playing games, or listening to music, a sound bar can take your audio experience to another level.
In this article, we will guide you through the process of connecting a sound bar to your Fire Stick. The Fire Stick is a popular streaming device that allows you to access a wide range of entertainment options directly on your TV. By combining the power of the Fire Stick and a sound bar, you can enjoy crystal-clear audio and a truly immersive viewing experience.
But before we dive into the steps, let’s quickly go over the equipment you’ll need for this setup. First and foremost, you’ll need a sound bar with the necessary audio inputs and outputs. Most modern sound bars come with HDMI connectivity, which is ideal for connecting to a Fire Stick. You’ll also need an HDMI cable to connect the sound bar to the TV. Additionally, make sure you have your Fire Stick and TV remote handy, as you’ll need them during the setup process.
Now that we have a clear understanding of what we need, let’s move on to the step-by-step process of connecting your sound bar to the Fire Stick. By the end of this article, you’ll be able to enjoy an immersive audio experience that will truly elevate your entertainment sessions. So, let’s get started!
Step 1: Gather the necessary equipment
Before we begin the setup process, it’s important to ensure that you have all the necessary equipment at hand. Here’s a checklist of what you’ll need:
- A sound bar with HDMI connectivity: Look for a sound bar that has HDMI input and output ports. This will allow you to connect it to the Fire Stick using an HDMI cable.
- An HDMI cable: You’ll need an HDMI cable to connect the sound bar to your TV. Make sure the cable is long enough to reach from your TV to the sound bar.
- A Fire Stick: Ensure that you have a Fire Stick device, along with its power adapter and remote.
- The TV remote: Keep your TV remote handy, as you’ll need it during the setup process.
Once you have gathered all the necessary equipment, you’re ready to proceed to the next step. Having everything prepared beforehand will ensure a smooth and hassle-free setup process.
It’s worth mentioning that if your sound bar doesn’t have HDMI connectivity, you can still connect it to your TV using an optical audio cable or a 3.5mm auxiliary cable. However, for the purpose of this guide, we will focus on connecting the sound bar and Fire Stick using an HDMI cable.
Now that you have all the equipment ready, let’s move on to the next step: connecting the sound bar to your TV.
Step 2: Connect the sound bar to the TV
Now that you have gathered all the necessary equipment, it’s time to connect the sound bar to your TV. Follow these steps:
- Locate the HDMI input on your TV: Look for the HDMI input port on the back of your TV. It is usually labeled as “HDMI IN” or with an HDMI logo.
- Connect one end of the HDMI cable to the HDMI output port on the sound bar: Take one end of the HDMI cable and insert it into the HDMI output port on the sound bar. Make sure the cable is securely connected.
- Connect the other end of the HDMI cable to the HDMI input on the TV: Take the other end of the HDMI cable and plug it into the HDMI input port on your TV.
- Ensure the sound bar and TV are turned off: Before proceeding, make sure both the sound bar and TV are turned off. This will prevent any unwanted interference during the setup process.
- Power on the sound bar and TV: Turn on the sound bar and TV using their respective power buttons or remotes.
Once you have followed these steps, your sound bar should be connected to your TV via the HDMI cable. This allows the audio output from the TV to be transmitted to the sound bar, enhancing your audio experience.
It’s important to note that depending on the model and brand of your sound bar and TV, the placement of the HDMI ports may vary. Refer to the user manuals of both devices for specific instructions if you encounter any difficulties.
Now that the sound bar is connected to the TV, let’s move on to the next step: configuring the Fire Stick settings.
Step 3: Configure the Fire Stick settings
Before we can proceed with connecting the Fire Stick to the sound bar, we need to configure some settings on the Fire Stick. Follow these steps:
- Insert the Fire Stick into an available HDMI port on your TV: Locate an available HDMI port on your TV and insert the Fire Stick device into it.
- Connect the USB power cable to the Fire Stick: Attach the USB power cable to the Fire Stick, and plug the other end into a power source. This will provide power to the Fire Stick.
- Turn on the TV and select the HDMI input: Power on your TV and use the remote to select the HDMI input that corresponds to the port where the Fire Stick is connected.
- Follow the on-screen prompts to set up the Fire Stick: Once the Fire Stick is connected and the HDMI input is selected, you will see the Fire Stick setup screen on your TV. Follow the on-screen prompts to complete the initial setup process. This may include choosing your preferred language, connecting to Wi-Fi, and signing in with your Amazon account.
- Adjust the audio settings: During the setup process, you will have the option to adjust the audio settings. Make sure to select the appropriate audio output option that corresponds to the sound bar. This will ensure that the audio is properly routed to the sound bar instead of the TV speakers.
By configuring the Fire Stick settings, you are ensuring that the audio is routed through the HDMI connection to the sound bar, enabling you to enjoy the enhanced audio experience it provides.
Once you have completed the Fire Stick setup process and adjusted the audio settings, you’re ready to move on to the final step: connecting the Fire Stick to the sound bar.
Step 4: Connect the Fire Stick to the sound bar
Now that you have configured the Fire Stick settings, it’s time to connect it to the sound bar. Follow these steps:
- Locate the HDMI input on the sound bar: Look for the HDMI input port on the sound bar. It is usually labeled as “HDMI IN” or with an HDMI logo.
- Connect the other end of the HDMI cable to the HDMI input on the sound bar: Take the other end of the HDMI cable that is connected to the Fire Stick and plug it into the HDMI input port on the sound bar.
- Ensure the sound bar is powered on: Make sure the sound bar is turned on using its remote or power button.
- Select the appropriate input source on the sound bar: Use the sound bar remote or button to select the HDMI input source that corresponds to the port you connected the Fire Stick to.
Once you have completed these steps, the Fire Stick will be connected to the sound bar via the HDMI cable. This means that the audio signal from the Fire Stick will now be transmitted to the sound bar, allowing you to enjoy enhanced sound quality.
It’s important to note that some sound bars may have multiple HDMI input ports. If that’s the case, make sure to select the correct HDMI input source that corresponds to the port you connected the Fire Stick to.
Now that the Fire Stick is successfully connected to the sound bar, let’s move on to the final step: adjusting the audio settings.
Step 5: Adjust the audio settings
With the Fire Stick connected to the sound bar, it’s time to adjust the audio settings to ensure optimal sound quality. Follow these steps:
- Access the Fire Stick settings menu: Use the Fire Stick remote to navigate to the Home screen and select the “Settings” option from the top menu.
- Select “Display & Sounds” from the settings menu: Within the settings menu, select “Display & Sounds” to access the audio settings.
- Choose “Audio Output” option: Within the “Display & Sounds” menu, select the “Audio Output” option.
- Select the sound bar as the audio output device: From the available options, choose the sound bar as the desired audio output device. This setting will ensure that the audio is routed to the sound bar rather than the TV speakers.
- Adjust the sound bar settings: Depending on the model of your sound bar, you may have additional audio settings to fine-tune the sound. You can customize settings such as the equalizer, surround sound mode, or volume levels to suit your preferences.
By adjusting the audio settings, you can optimize the sound output and tailor it to your liking. This will enhance your audio experience and allow you to fully enjoy the immersive sound quality provided by the sound bar.
Once you have adjusted the audio settings to your preference, you’re all set! You can now sit back, relax, and enjoy your favorite movies, TV shows, and music with enhanced sound quality through the connected sound bar.
Remember, if you ever need to make changes to the audio settings or switch back to the TV speakers, you can always revisit the Fire Stick settings menu and make the necessary adjustments.
That concludes our step-by-step guide on how to connect a sound bar to the Fire Stick. By following these instructions, you can seamlessly integrate the sound bar into your entertainment setup and enjoy an immersive audio experience like never before.
We hope you found this guide helpful and that it has enhanced your home theater setup. Now, grab some popcorn, sit back, and enjoy an incredible audio experience with your newly connected sound bar and Fire Stick!
Conclusion
Connecting a sound bar to your Fire Stick can greatly enhance your audio experience and elevate your home entertainment sessions. By following the step-by-step process outlined in this guide, you can seamlessly integrate the sound bar into your setup and enjoy immersive sound quality.
We started by gathering the necessary equipment, including a sound bar with HDMI connectivity, an HDMI cable, the Fire Stick, and the TV remote. Ensuring you have all the equipment ready beforehand makes the setup process smooth and hassle-free.
Next, we connected the sound bar to the TV using the HDMI cable, allowing the audio output from the TV to be transmitted to the sound bar. This establishes the foundation for the enhanced audio experience.
After that, we configured the Fire Stick settings, adjusting the audio output to ensure that it is routed through the HDMI connection to the sound bar rather than the TV speakers. This step is crucial in optimizing the audio quality.
Once the Fire Stick settings were in place, we connected the Fire Stick to the sound bar using another HDMI cable, allowing the audio signal from the Fire Stick to be sent directly to the sound bar.
Finally, we adjusted the audio settings on the Fire Stick to fine-tune the sound quality and suit your preferences. Customizing settings such as the equalizer, surround sound mode, or volume levels can greatly enhance your overall audio experience.
With the sound bar successfully connected to the Fire Stick and the audio settings adjusted, you can now sit back, relax, and enjoy your favorite movies, TV shows, and music with immersive sound quality.
We hope this guide has been helpful in assisting you in connecting your sound bar to your Fire Stick. Now, you can create a cinematic experience right in the comfort of your own home and indulge in a world of rich, immersive audio.
So grab your remote, settle into your favorite spot on the couch, and let your newly connected sound bar and Fire Stick take your entertainment to new heights. Enjoy!

