Home>Production & Technology>Stereo>How To Wire An After-Market Stereo In RV
Stereo
How To Wire An After-Market Stereo In RV
Modified: January 22, 2024
Learn how to wire an after-market stereo in your RV with our step-by-step guide. Enhance your road trip experience and enjoy crystal-clear sound.
(Many of the links in this article redirect to a specific reviewed product. Your purchase of these products through affiliate links helps to generate commission for AudioLover.com, at no extra cost. Learn more)
Table of Contents
- Introduction
- Step 1: Gather the necessary tools and materials
- Step 2: Disconnect the negative battery terminal
- Step 3: Remove the old stereo
- Step 4: Prepare the wiring harness
- Step 5: Connect the wiring harness to the new stereo
- Step 6: Connect the wiring harness to the RV’s wiring
- Step 7: Test the stereo and make necessary adjustments
- Step 8: Secure the new stereo in place
- Step 9: Reconnect the negative battery terminal
- Conclusion
Introduction
Welcome to the world of RVing, where road trips and adventures await! One of the essential components of any RV is the stereo system. It provides entertainment on long drives, sets the mood for camping nights, and adds to the overall ambiance of the vehicle. However, if you’re not satisfied with the factory-installed stereo, or if you want to upgrade to a newer model with advanced features, you may need to wire an after-market stereo in your RV.
Wiring an after-market stereo in your RV may seem like a daunting task, especially if you’re not familiar with electrical work. But fear not, because in this article, we will guide you through the process step by step, ensuring that you can enjoy your favorite tunes on the road.
Before we dive into the details, it’s important to note that safety should be a top priority. Disconnecting the battery and following proper electrical procedures will minimize the risk of accidents or damage to your RV’s electrical system. If you feel uncomfortable or unsure at any point during the process, it’s always a good idea to consult a professional.
In the following steps, we will cover everything you need to know about wiring an after-market stereo in your RV, from gathering the necessary tools and materials to securing the new stereo in place. So, let’s get started on this exciting DIY project!
Step 1: Gather the necessary tools and materials
Before you begin the process of wiring an after-market stereo in your RV, you’ll need to ensure that you have all the necessary tools and materials at hand. Here’s a checklist to help you gather everything you need:
- Wire strippers: These are essential for stripping the insulation off the wires.
- Crimping tool: Used to securely connect the wires together.
- Electrical tape: Helps insulate and protect the wire connections.
- Wire connectors: These are used to join wires together, ensuring a secure and reliable connection.
- Trim removal tools: Necessary for removing panels and trim pieces without causing damage.
- Phillips and flathead screwdrivers: These will come in handy for removing screws and accessing the stereo unit.
- RV stereo wiring harness adapter: This allows you to connect the wiring from the RV to the after-market stereo without having to splice any wires.
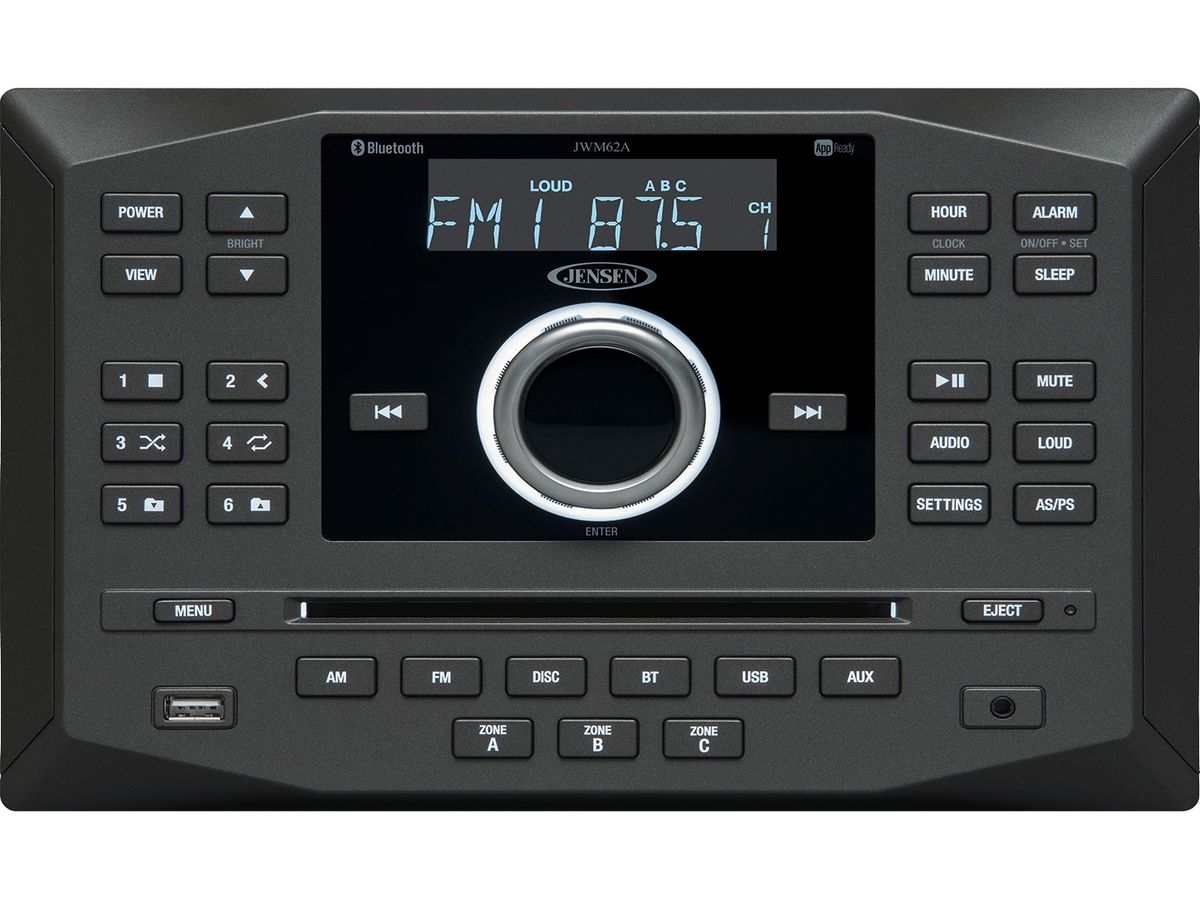
- New after-market stereo: Make sure to choose a stereo that is compatible with your RV’s electrical system and has the features you desire.
Additionally, you may want to have a multimeter on hand to test the electrical connections and ensure everything is working as it should.
Once you have gathered all the necessary tools and materials, ensure that you have a clear workspace in your RV. It’s also a good idea to read through the installation instructions provided with the after-market stereo to familiarize yourself with the process before getting started.
Now that you have everything prepared, you’re ready to move on to the next step: disconnecting the negative battery terminal.
Step 2: Disconnect the negative battery terminal
Before starting any electrical work, it is important to disconnect the negative battery terminal to ensure your safety and prevent any damage to the electrical components of your RV. Here’s how to do it:
- Locate the battery compartment in your RV. It is usually located in the engine compartment, under a seat, or in an exterior compartment.
- Identify the negative terminal, which is usually marked with a minus (-) sign.
- Using a wrench or pliers, loosen the nut that secures the negative cable to the battery terminal.
- Carefully remove the negative cable from the terminal and set it aside. Make sure it does not come into contact with any metal surfaces or the positive terminal.
- Once the negative cable is disconnected, wrap it with electrical tape to prevent accidental reconnection during the installation process.
By disconnecting the negative battery terminal, you eliminate the risk of electrical shock and minimize the chance of short circuits while working on the stereo wiring. It is a crucial safety measure that should not be overlooked.
Now that you’ve successfully disconnected the negative battery terminal, you’re ready to move on to the next step: removing the old stereo from your RV.
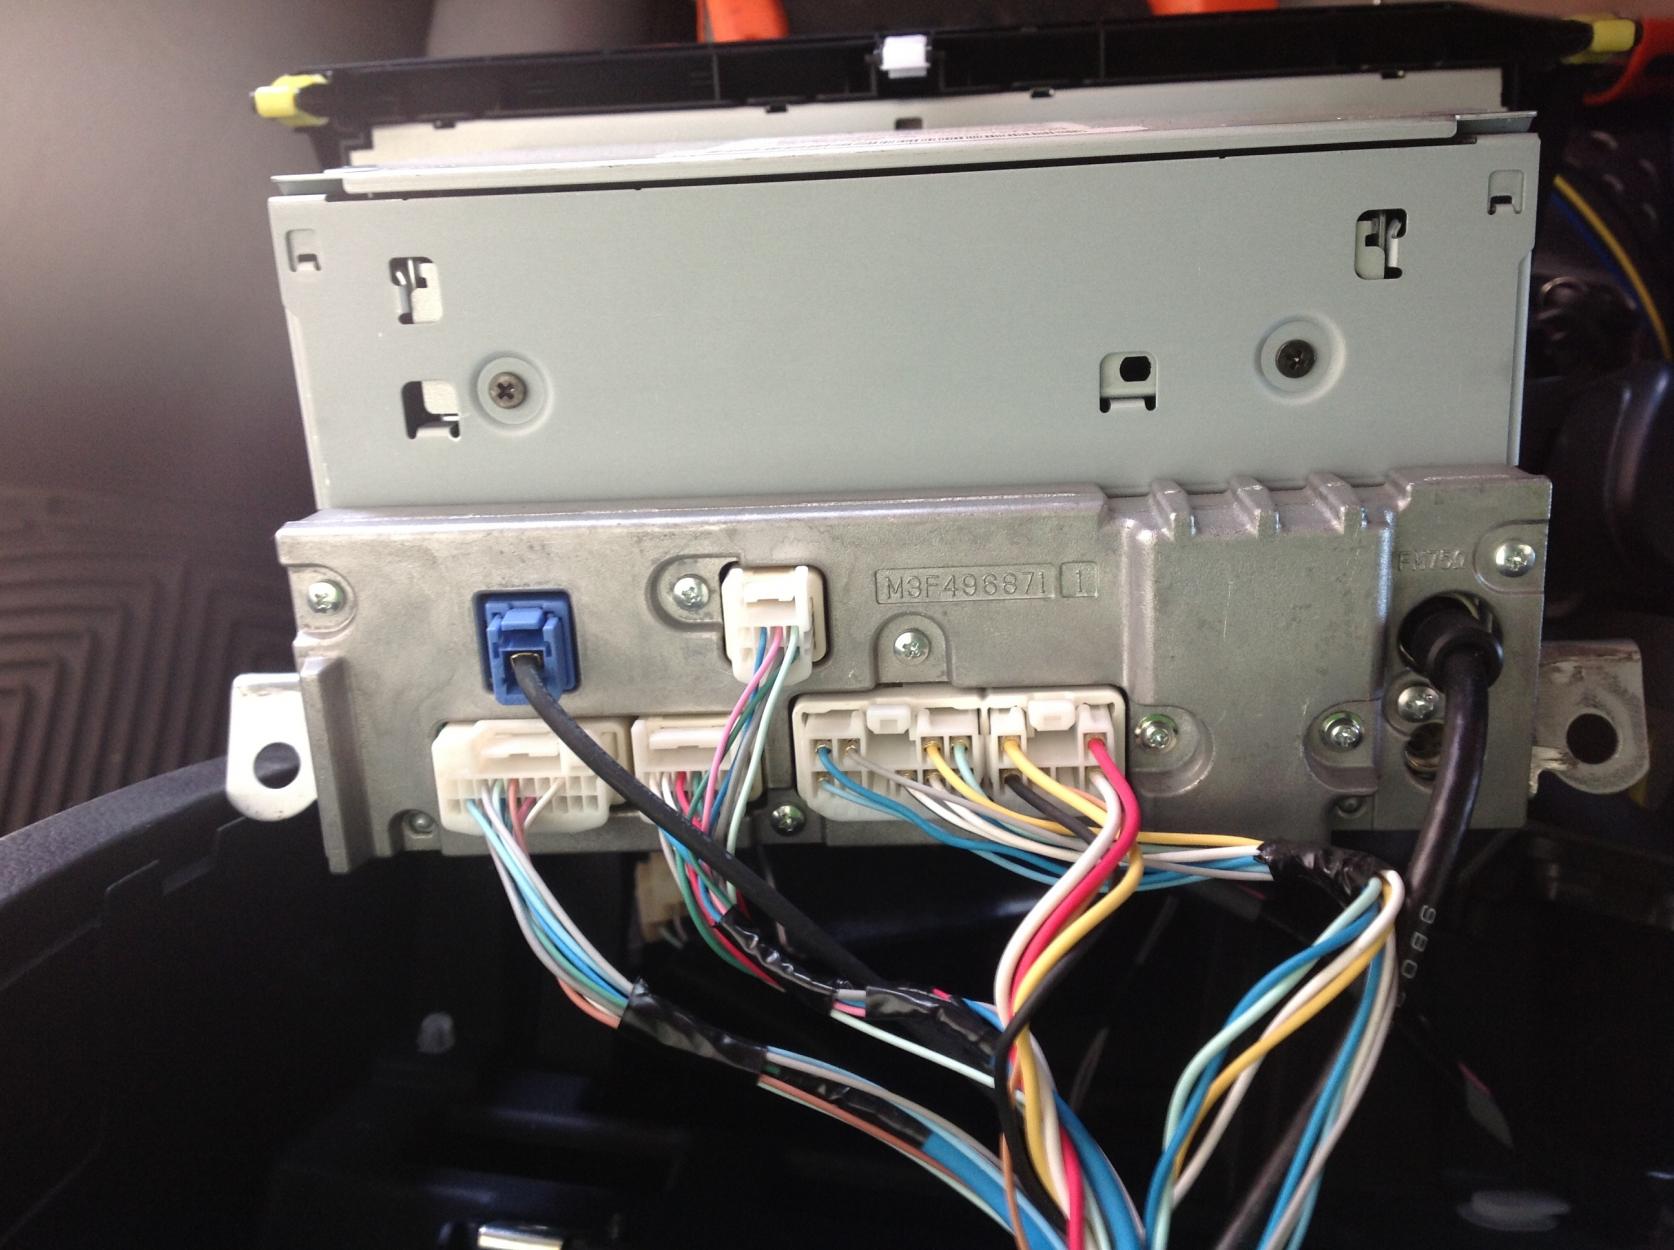
Step 3: Remove the old stereo
Now that the negative battery terminal is disconnected, you can proceed with removing the old stereo unit from your RV. Follow these steps to remove the old stereo:
- Start by locating the stereo unit in your RV. It is typically found in the dashboard area or in a designated compartment.
- Use the appropriate tools, such as a Phillips or flathead screwdriver, to remove any screws or bolts securing the stereo unit in place. Set these aside in a safe location for later use.
- Gently pull the stereo unit out of its housing. Be careful not to force it or damage any surrounding panels or components.
- If there are any wiring connectors attached to the back of the stereo, disconnect them by pressing the release tabs and gently pulling them apart. Take note of which cables are connected to which connectors to ensure a smooth installation of the new stereo.
- Once the old stereo is removed, inspect the wiring harness and connectors for any signs of damage or wear. If necessary, replace any damaged components before proceeding.
Removing the old stereo is a relatively straightforward process, but it’s essential to handle it with care to avoid any damage to the RV’s interior or the stereo unit itself. Take your time and be cautious during this step.
Now that the old stereo is out of the way, you’re ready to prepare the wiring harness for the installation of the new after-market stereo in your RV.
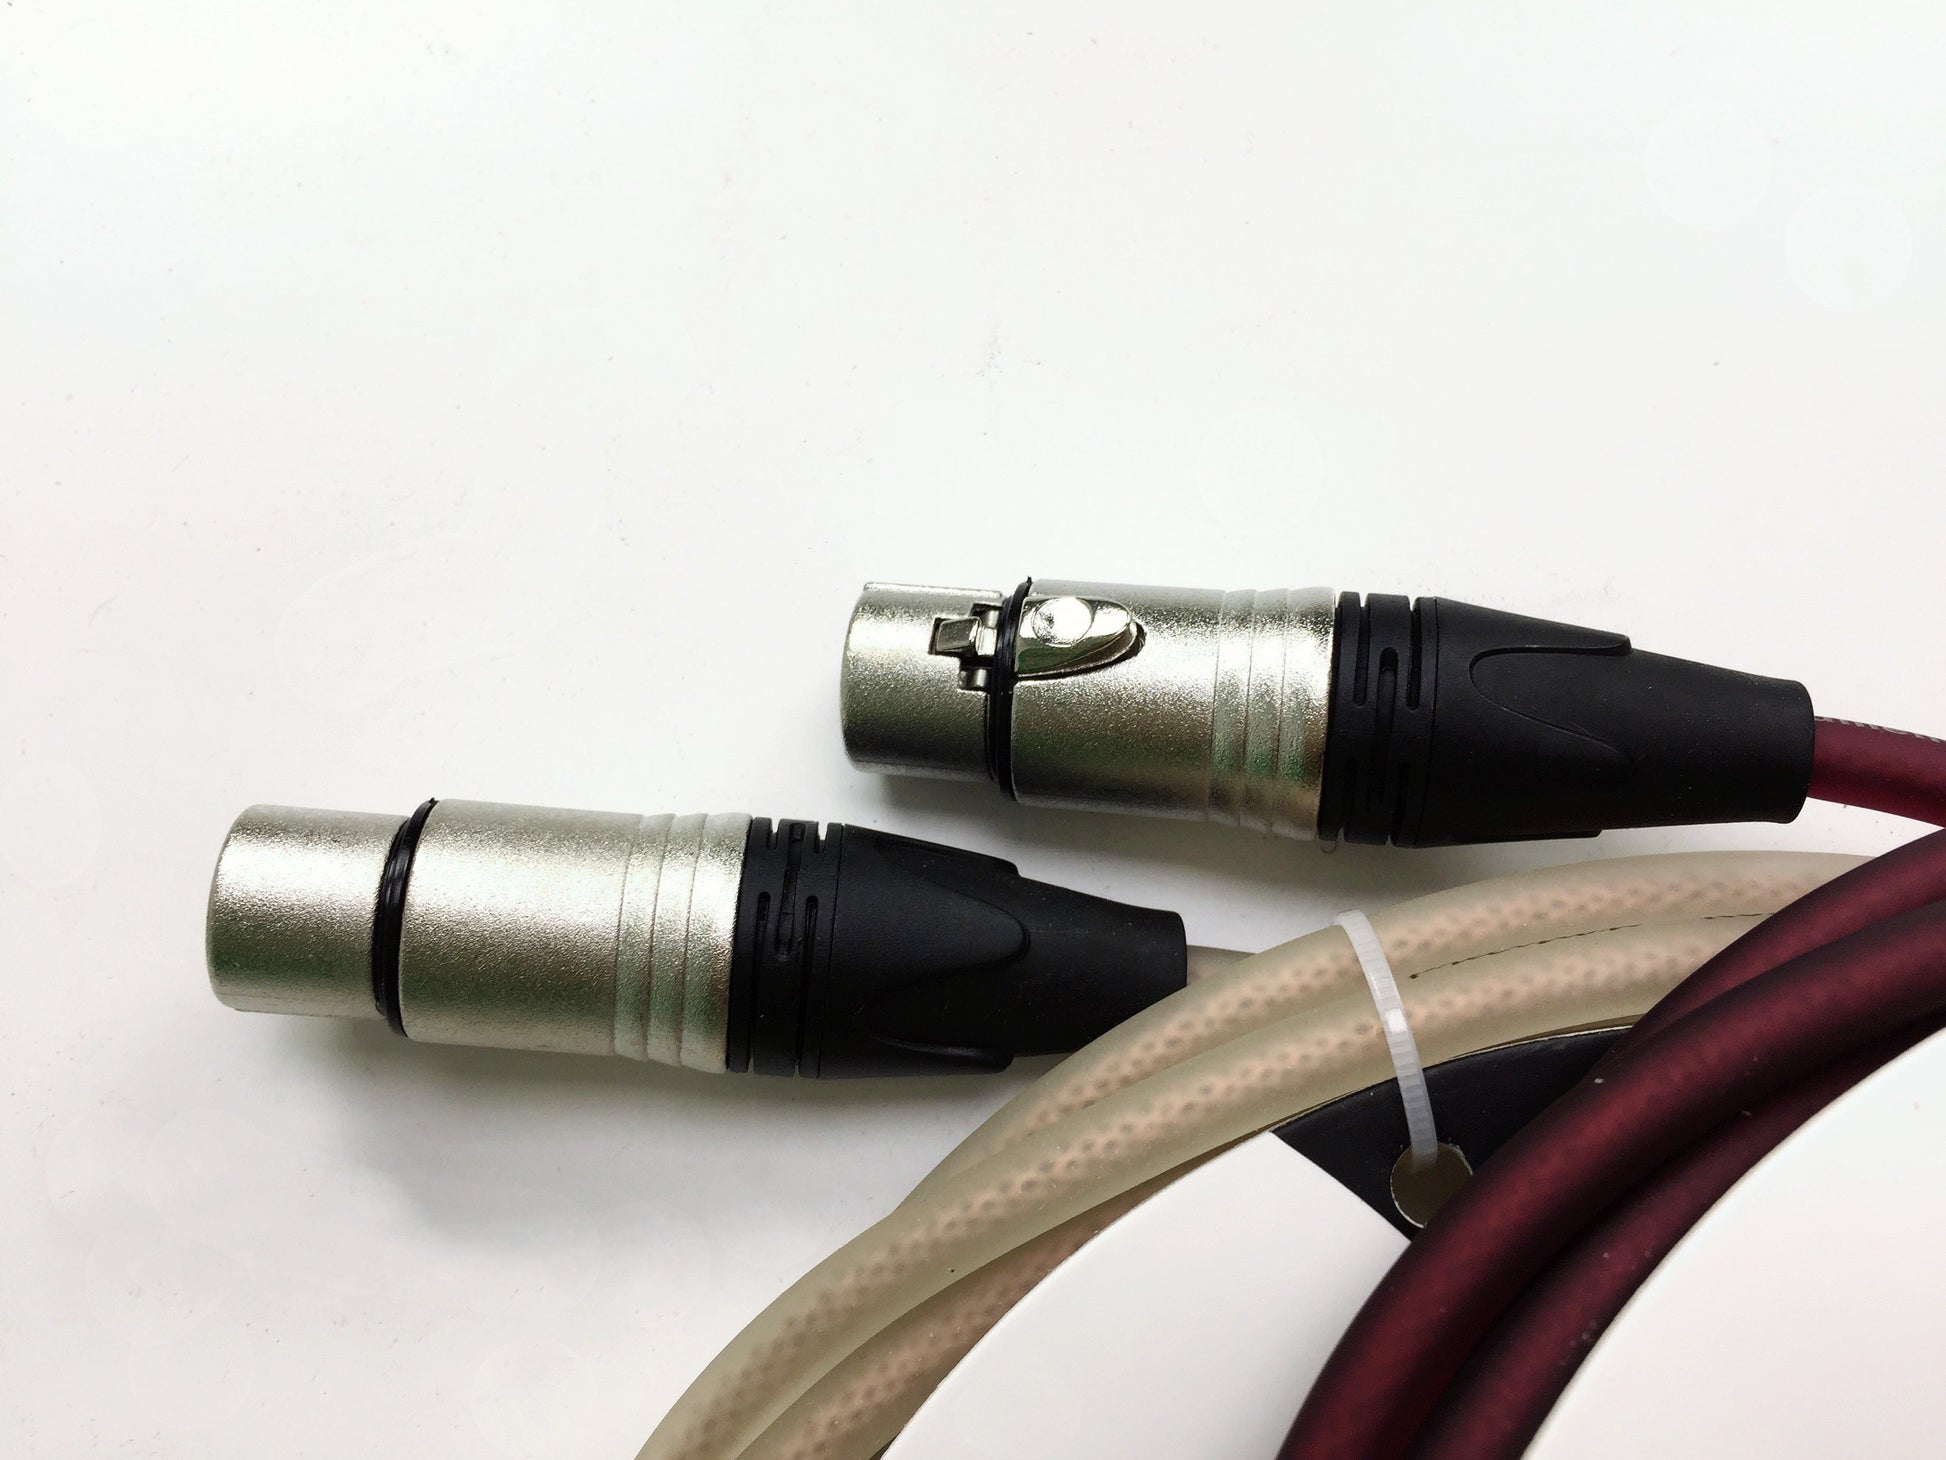
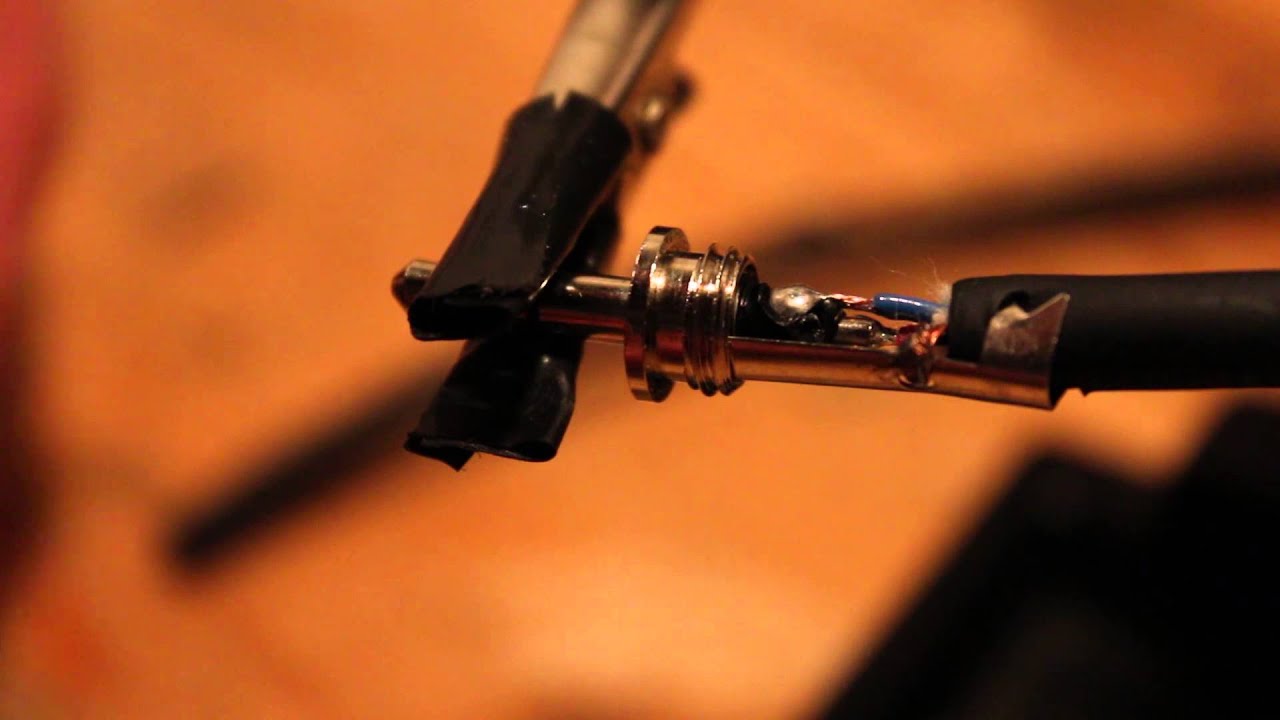
Step 4: Prepare the wiring harness
Preparing the wiring harness is a crucial step in wiring an after-market stereo in your RV. The wiring harness acts as a bridge between the RV’s electrical system and the new stereo, ensuring a proper connection. Follow these steps to prepare the wiring harness:
- Start by ensuring that the wiring harness adapter fits the connectors on your new after-market stereo. If it does not match, you may need to purchase an additional adapter or consult the stereo’s user manual for compatible wiring harness options.
- If the wiring harness adapter matches the stereo’s connectors, connect them together. Ensure a secure and snug fit to prevent loose connections. Refer to the adapters and stereo’s user manual for specific instructions if needed.
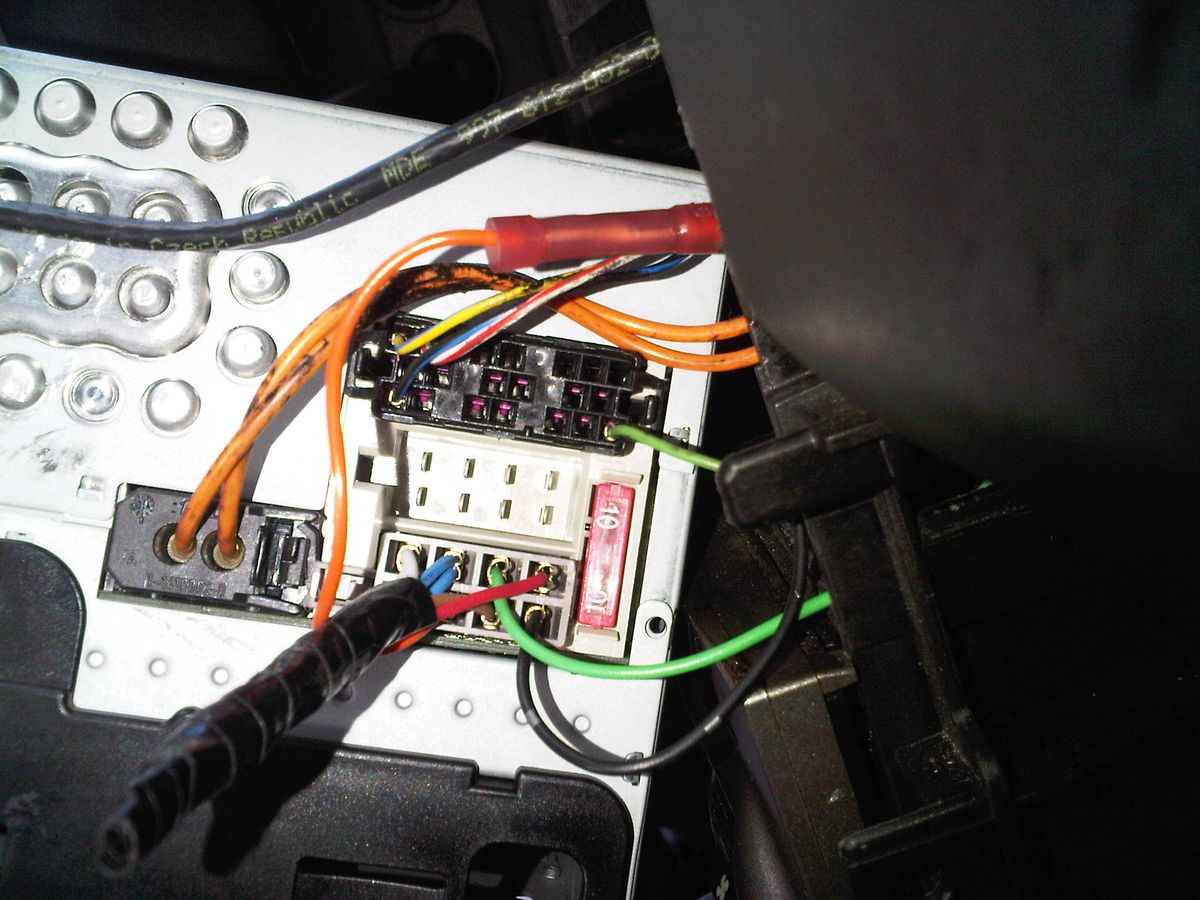
- Once the harness adapter is connected to the new stereo, you can move on to the RV’s wiring. Locate the RV’s wiring harness, which should be near the dashboard or where the old stereo unit was located.
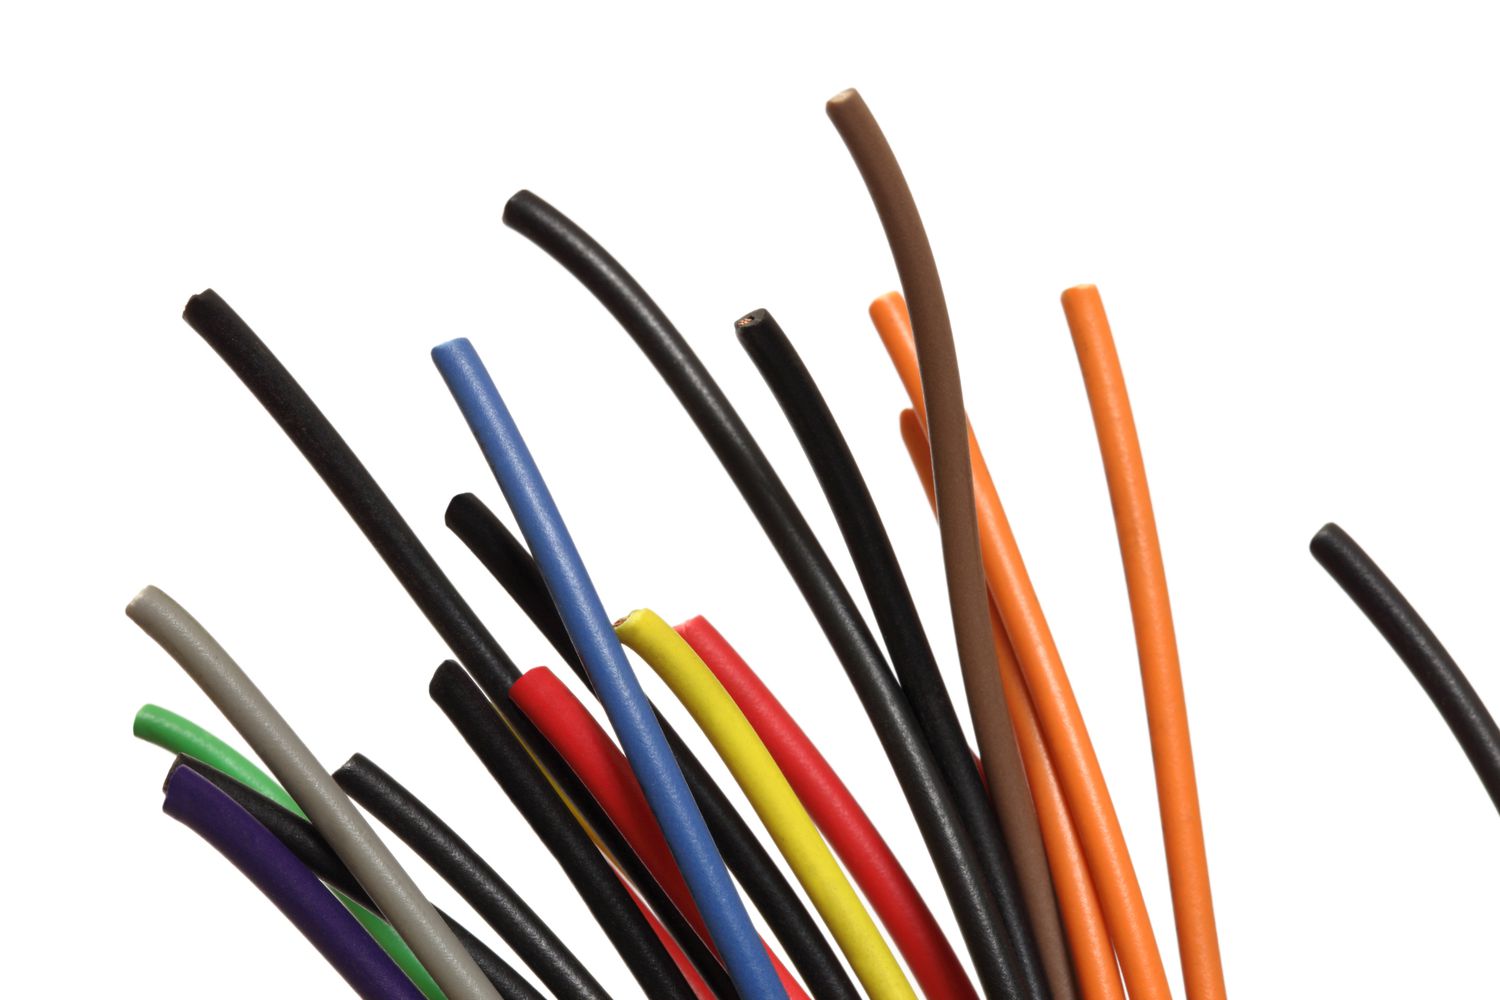
- Identify the corresponding connectors on the RV’s wiring harness that match the ones on the wiring harness adapter. These connectors usually have labels or color coding to indicate their function.
- Connect the RV’s wiring harness to the wiring harness adapter, ensuring that the connectors match and securely click into place.
Preparing the wiring harness is an essential step to ensure a smooth installation of the after-market stereo in your RV. Properly connecting the wiring harness adapter to both the stereo and the RV’s wiring will help prevent any electrical issues during use.
Now that the wiring harness is prepared, you are ready to move on to the next step: connecting the wiring harness to the new stereo.
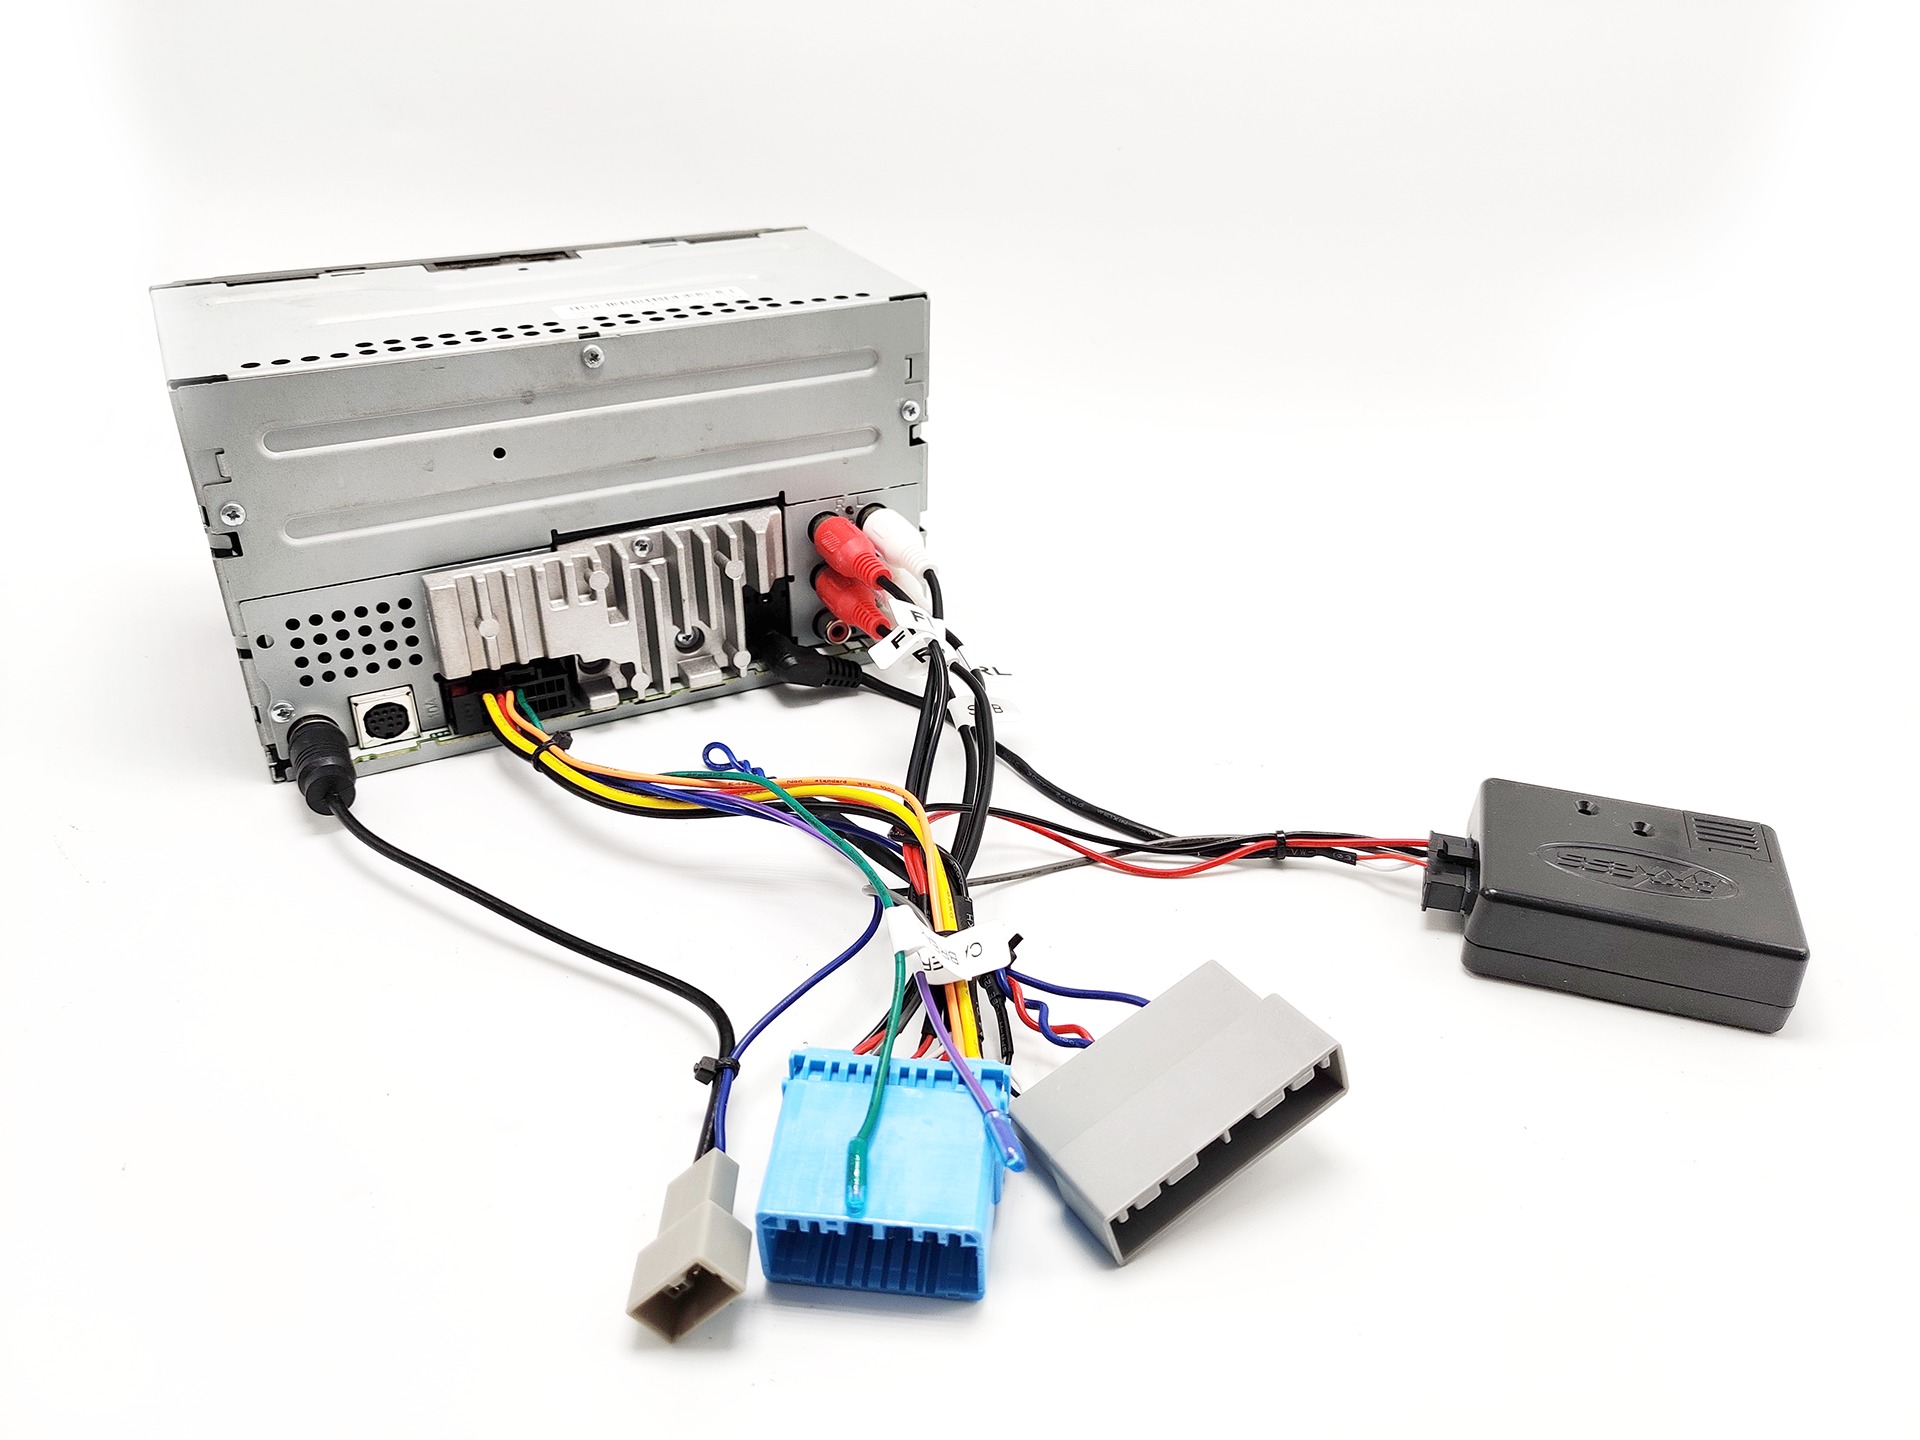
Step 5: Connect the wiring harness to the new stereo
Now that the wiring harness is prepared, it’s time to connect it to the new after-market stereo. Follow these steps to ensure a proper and secure connection:
- Locate the wiring harness connector at the back of the new stereo. It may be labeled or color-coded to match the corresponding connectors on the wiring harness adapter.
- Align the connectors of the wiring harness adapter with those on the back of the stereo. Ensure they are properly lined up and securely fit together.
- Gently push the connectors together until they click into place. This indicates a secure and stable connection.
- Give the wiring harness a slight tug to ensure that it is firmly attached to the stereo. If it comes loose, disconnect and reconnect the connectors to ensure a proper fit.
It’s crucial to double-check the connection between the wiring harness and the stereo to avoid any loose connections that may cause issues with the audio system or other features. Taking the time to ensure a secure connection will save you from troubleshooting down the road.
Once the wiring harness is connected to the new stereo, you’re ready to move on to the next step and connect the wiring harness to the RV’s wiring.
Step 6: Connect the wiring harness to the RV’s wiring
With the wiring harness connected to the new stereo, it’s time to connect it to the RV’s wiring. Follow these steps to ensure a proper and secure connection:
- Locate the wiring harness connector from the RV that matches the connectors on the wiring harness adapter.
- Align the connectors of the RV’s wiring harness with those on the wiring harness adapter. Make sure they are properly lined up and securely fit together.
- Gently push the connectors together until they click into place. This indicates a secure and stable connection.
- Give the wiring harness a slight tug to ensure it is firmly attached to the RV’s wiring. If it comes loose, disconnect and reconnect the connectors to ensure a proper fit.
It’s important to ensure a solid connection between the wiring harness and the RV’s wiring to ensure proper functionality of the stereo system. A loose connection can result in audio issues or other electrical problems.
Once the connections between the wiring harness and the RV’s wiring are secure, it’s a good idea to test the stereo and make sure everything is working as expected. This will help you identify any issues that may need to be addressed before moving on.
Now that the wiring harness is connected to the RV’s wiring, you’re ready to move on to the next step: testing the stereo and making necessary adjustments.
Step 7: Test the stereo and make necessary adjustments
After connecting the wiring harness and ensuring a secure connection, it’s time to test the stereo and make any necessary adjustments. Follow these steps to ensure everything is in working order:
- Reconnect the negative battery terminal that you disconnected earlier. Tighten the nut to secure the negative cable to the battery terminal.
- Switch on the RV’s electrical system and power up the stereo.
- Test the functionality of the stereo by adjusting the volume, testing different audio sources (e.g., radio, CD, Bluetooth, auxiliary input), and checking other features such as equalizer settings and display options.
- Check that the speakers are functioning correctly by playing audio from each stereo output and ensuring proper sound balance.
- If you notice any issues or if the sound quality is not satisfactory, double-check the wiring connections to ensure they are secure and properly connected.
- Ensure that all buttons, knobs, and controls on the stereo are functioning as expected.
If everything is working correctly, congratulations! You have successfully wired an after-market stereo in your RV. However, if you encounter any issues during testing, review the installation process, consult the stereo’s user manual, or seek professional assistance if needed.
During the testing phase, take the time to adjust the stereo settings to your preferences. Explore different audio sources and experiment with the equalizer settings to achieve the desired sound quality and audio experience.
Once you are satisfied with the performance of the stereo and have made any necessary adjustments, you’re ready to move on to securing the new stereo in place.
Step 8: Secure the new stereo in place
With the new stereo tested and functioning properly, it’s time to secure it in place to ensure it stays securely mounted during your RV adventures. Follow these steps to securely install the new stereo:
- Align the new stereo with the opening or designated compartment where the old stereo was located.
- If necessary, use the screws or bolts that were removed earlier to secure the stereo into place. Ensure that the stereo is positioned correctly and level.
- Tighten the screws or bolts just enough to keep the stereo securely mounted, but be careful not to overtighten and risk damaging the unit or the RV’s interior.
- If your stereo has removable faceplates or detachable control panels, make sure they are properly attached and secured.
- Double-check that the stereo is mounted securely and does not move or rattle when the RV is in motion.
By properly securing the new stereo in place, you minimize the risk of it getting damaged or dislodged during travel. This ensures a more enjoyable and stable audio experience during your RV adventures.
Once the new stereo is securely mounted, take a final moment to inspect the surrounding area and ensure that no screws or panels were inadvertently left loose or unsecured during the installation process.
Congratulations! You have successfully wired an after-market stereo and securely installed it in your RV. Your new stereo is now ready to provide you with hours of entertainment and enhance your RVing experience.
Before wrapping up your installation project, one final step remains: reconnecting the negative battery terminal.
Step 9: Reconnect the negative battery terminal
Now that the new stereo is securely installed, it’s time to reconnect the negative battery terminal that was disconnected earlier. Follow these steps to safely reconnect the negative battery terminal:
- Locate the negative battery terminal in the battery compartment of your RV.
- Take the negative cable end and position it over the battery terminal.
- Ensure that the cable end is clean and free from any dirt, corrosion, or debris.
- Align the negative cable end with the negative terminal on the battery.
- Carefully lower the negative cable onto the terminal, making sure it is positioned correctly.
- Tighten the nut on the negative terminal to secure the cable in place. Use a wrench or pliers to ensure it is tight, but be careful not to overtighten.
By reconnecting the negative battery terminal, you restore power to your RV’s electrical system and ensure that the new stereo has power to operate.
Once the negative battery terminal is securely reconnected, you can turn on the RV’s electrical system and test the new stereo to ensure it is functioning properly. Check all the features, buttons, and settings to ensure they are working as expected.
Congratulations! You have successfully wired an after-market stereo in your RV and completed the installation process. Now you can sit back, enjoy your favorite music or radio stations, and take your RV adventures to the next level of entertainment.
Remember to keep the stereo instruction manual and any additional documentation in a safe place for future reference. If you encounter any issues or have questions about the stereo’s operation, consult the manual or contact the manufacturer for assistance.
Enjoy your new stereo and happy travels!
Conclusion
Wiring an after-market stereo in your RV may seem like a daunting task, but with the right tools, materials, and guidance, it can be a rewarding DIY project. Throughout this article, we have provided step-by-step instructions on how to wire an after-market stereo in your RV, from gathering the necessary tools to securing the new stereo in place.
By following each step carefully, you can enjoy the benefits of a new and upgraded stereo system in your RV. From enhanced audio quality to advanced features like Bluetooth connectivity and USB ports, the new stereo will elevate your on-the-road entertainment experience.
Remember to prioritize safety throughout the installation process. Disconnecting the negative battery terminal and being cautious while working with electrical connections will ensure your safety and prevent any damage to your RV’s electrical system.
Additionally, take the time to test the stereo, adjust the settings to your preferences, and ensure that everything is working correctly. This will help you identify and address any issues before hitting the road.
Now that you have completed the installation and connection of the new stereo, reconnect the negative battery terminal and enjoy your favorite tunes as you embark on your RV adventures.
We hope this guide has been helpful in assisting you with wiring an after-market stereo in your RV. May your journeys be filled with joy, relaxation, and great music!