Home>Devices & Equipment>Music Box>How To Make A Snow Globe Music Box

Music Box
How To Make A Snow Globe Music Box
Published: January 11, 2024
Learn how to create a charming snow globe music box with our step-by-step guide. Bring your love for music boxes and winter wonderlands together!
(Many of the links in this article redirect to a specific reviewed product. Your purchase of these products through affiliate links helps to generate commission for AudioLover.com, at no extra cost. Learn more)
Table of Contents
Introduction
Music boxes have captivated people’s hearts for centuries with their enchanting melodies and mesmerizing movements. But what if you could take the magic of a music box and combine it with the whimsy of a snow globe? The result would be a truly enchanting creation – a snow globe music box.
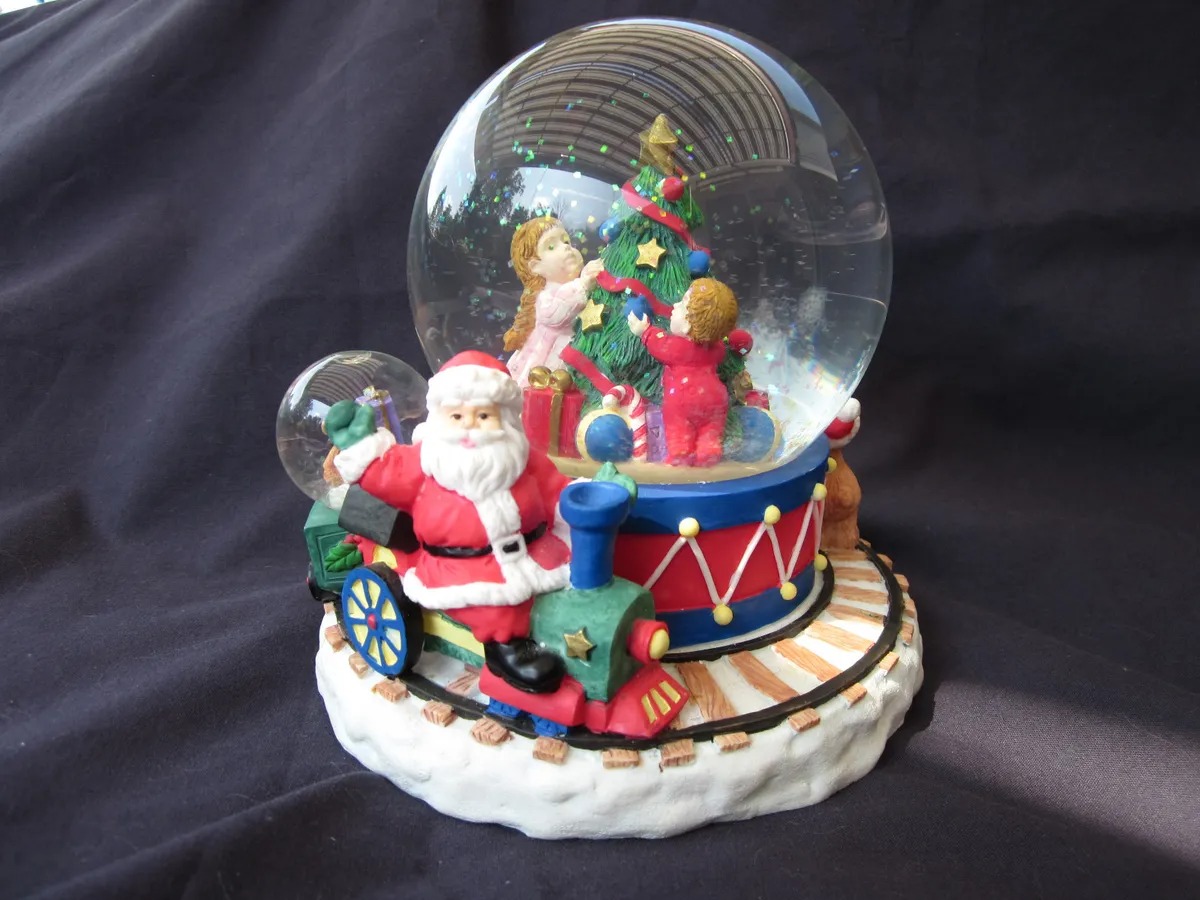
A snow globe music box is a delightful DIY project that allows you to create a unique and personalized decorative piece. Not only will it fill your space with beautiful melodies, but it will also transport you into a mini winter wonderland with its swirling snow, charming figurines, and sparkling scenery.
In this article, we will guide you through the step-by-step process of making your very own snow globe music box. From choosing the perfect glass jar to adding the finishing touches, we’ll cover all the essential details and provide helpful tips along the way.
So, whether you are an arts and crafts enthusiast or simply looking for a creative way to add some magic to your home decor, get ready to embark on a delightful adventure as we dive into the world of snow globe music boxes.
Materials Needed
Creating a snow globe music box requires a few essential materials. Here’s a list of what you’ll need to get started:
- A glass jar with a tight-sealing lid: Choose a jar that is clear and free of any cracks or chips. Make sure the lid fits securely to prevent any leaks.
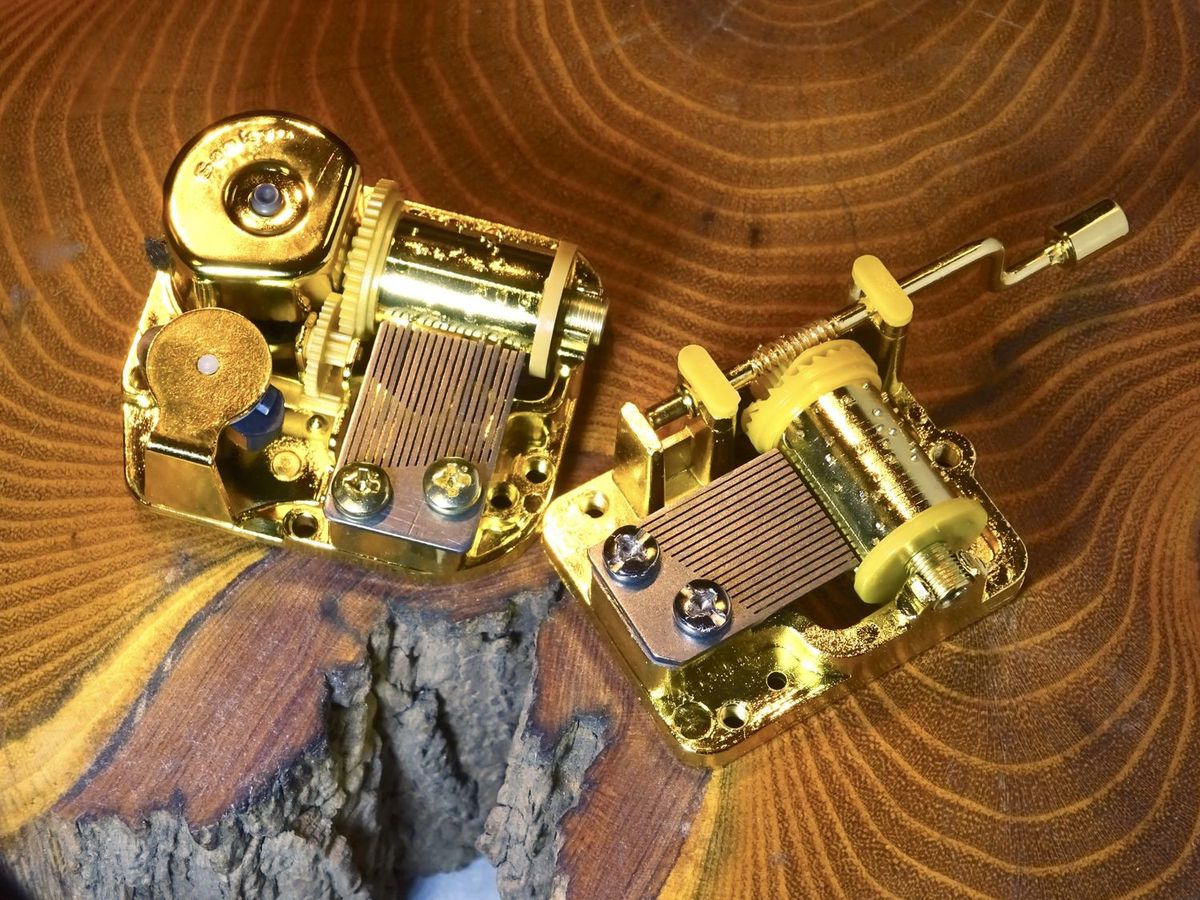
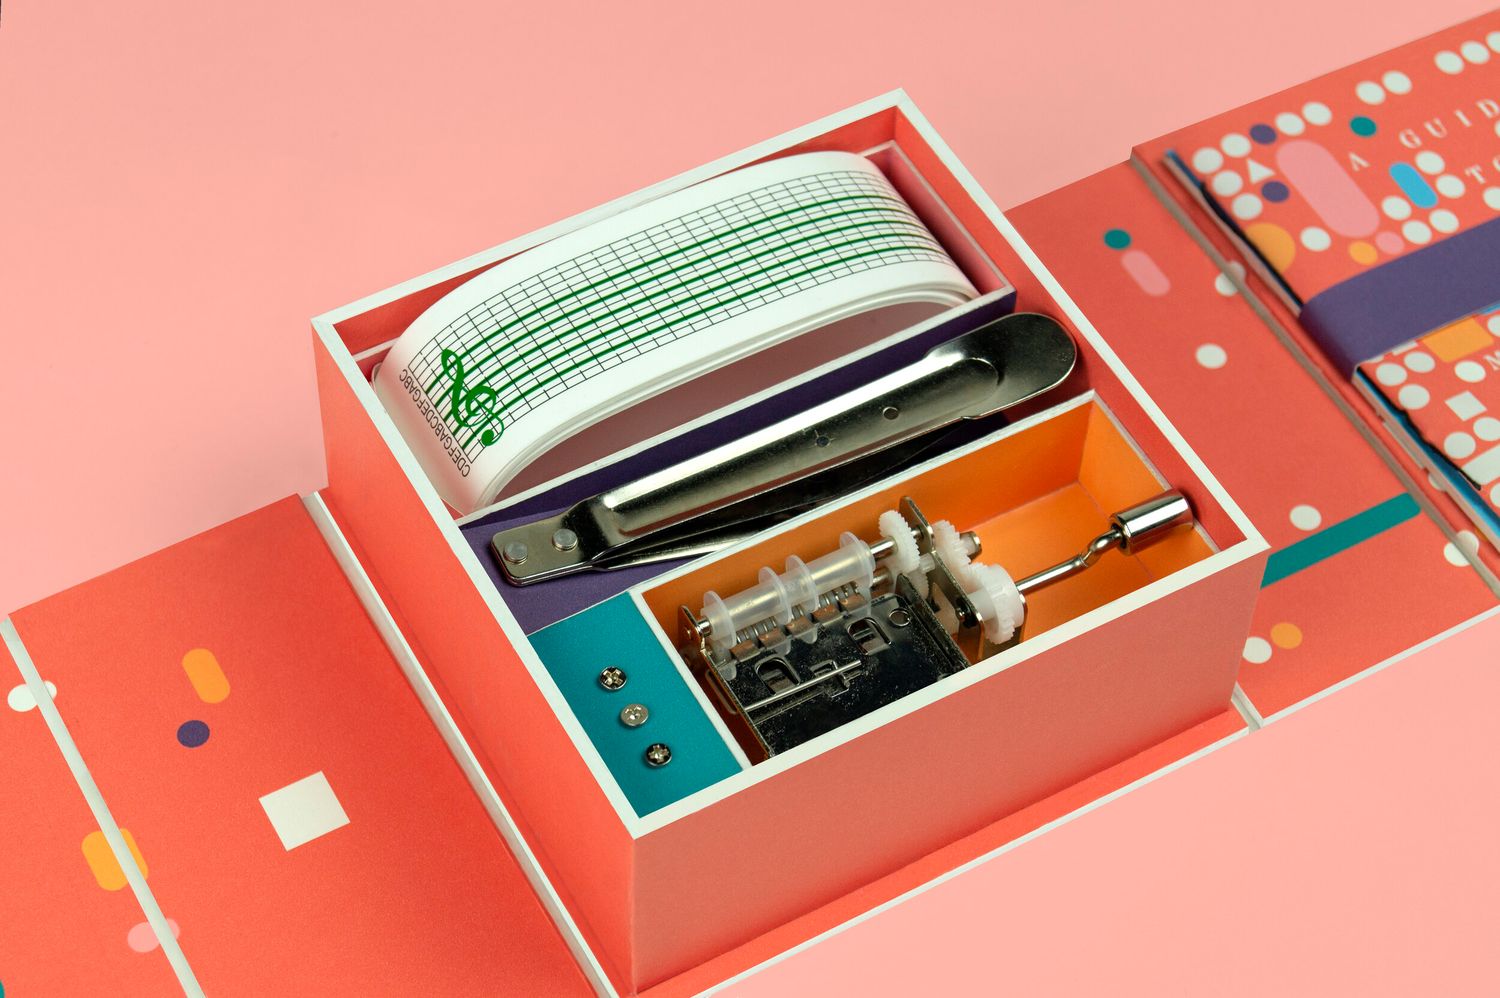
- A music box mechanism: You can find these online or at your local craft store. Look for one that is small enough to fit inside the jar and has a winding key or a pull string.
- A plastic or ceramic figurine: Find a whimsical figurine that fits the theme of your snow globe. It could be a snowman, a Christmas tree, or any other winter-related object.
- Glitter or faux snow: This will create the illusion of falling snow inside your snow globe. Choose a color that complements your figurine and add as much or as little as you like.
- Clear-drying epoxy or waterproof sealant: This will be used to secure the figurine and music box mechanism in place and to create a watertight seal to prevent any leakage.
- Waterproof glue: You’ll need this to attach small decorations or accessories to the figurine or the inside of the jar. Make sure the glue is specifically designed for glass surfaces.
- A drill with a small bit (optional): If you want to add a decorative base or stand for your snow globe, you may need to drill holes in the base of the jar and the figurine.
Additionally, you may want to gather some extra materials to add personal touches to your snow globe music box. These could include ribbon, miniature trees, small ornaments, or anything else that sparks your creativity and fits your desired theme.
Now that you have all the necessary materials, it’s time to dive into the step-by-step process of creating your snow globe music box.
Step 1: Choosing a Glass Jar
The first step in creating your snow globe music box is to choose the perfect glass jar. The jar will serve as the main container for your snow globe, so it’s important to select one that is both visually appealing and practical.
When choosing a glass jar, consider the size and shape that you prefer. It should be large enough to accommodate your chosen figurine and have enough room for the swirling snow and glitter. A wide-mouthed jar is usually easier to work with, as it provides ample space for arranging the scene inside.
Additionally, ensure that the glass jar is free of any cracks or chips. Imperfections can compromise the integrity of your snow globe and may lead to leakage. It’s also important to select a jar with a tight-sealing lid to prevent any water or snow from escaping.
If you want to add a decorative base or stand for your snow globe, consider choosing a jar with a flat bottom. This will make it easier to attach the base and provide stability to your creation.
Another option to consider is whether you want a jar with a smooth or textured surface. Smooth glass allows for a clear view of the interior, making the snow globe more visually striking. On the other hand, a textured or frosted glass can add a touch of elegance and uniqueness to your creation.
Keep in mind that you don’t have to limit yourself to traditional glass jars. Get creative! You can repurpose jars such as pickle jars, mason jars, or even vintage containers to give your snow globe a nostalgic feel.
Now that you’ve chosen the perfect glass jar, you’re ready to move on to the next step – preparing the base of your snow globe music box.
Step 2: Preparing the Base
In order to create a stable and attractive base for your snow globe music box, you’ll need to prepare the foundation. This step will ensure that your figurine and decorations are securely attached and provide a solid structure for your snow globe.
Here’s how to prepare a base for your snow globe music box:
- Choose a base material: You can use a wooden or plastic base to create a sturdy foundation. Alternatively, you can construct a base using polymer clay or epoxy resin if you’re feeling crafty.
- Measure and shape the base: Take the measurements of your glass jar and decide on the size and shape of your base. Cut or shape the chosen material accordingly, keeping in mind that it should be slightly larger than the diameter of the jar’s opening.
- Attach the figurine: Using a waterproof adhesive, securely attach the figurine to the center of the base. Make sure it is positioned upright and balanced. If necessary, you can drill a small hole in the bottom of the figurine and insert a wire or rod for added stability.
- Create a focal point (optional): If you want to add an additional focal point to your base, such as a miniature tree or a small accessory, position and attach it near the figurine using waterproof glue.
- Paint or decorate the base (optional): If desired, you can paint or decorate the base to match the theme of your snow globe. Use acrylic paints, glitter, or any other decorative materials that suit your style.
By following these steps, you’ll have a well-prepared base for your snow globe music box. This will provide a stable and visually appealing foundation for the magical scene you’re about to create.
Next, we’ll move on to adding the music box mechanism.
Step 3: Adding the Music Box Mechanism
Now that you have prepared the base for your snow globe music box, it’s time to add the music box mechanism. This step will bring the enchanting melodies to life and make your creation truly magical.
Here’s what you need to do to add the music box mechanism:
- Measure and mark the placement: Place the glass jar upside down on the base and mark the exact spot where the music box mechanism will be placed. Ensure that it is centered and positioned in a way that allows the winding key or pull string to be easily accessed.
- Make a hole (if needed): If the music box mechanism requires a hole to be drilled on the base or the lid of the jar, carefully drill the appropriate size hole using a small drill bit. Take caution while doing this to avoid damaging the materials.
- Attach the music box mechanism: Using a waterproof adhesive or epoxy, affix the music box mechanism to the marked spot on the base. Make sure it is securely attached and aligned properly.
- Test the music: Before proceeding further, test the music box mechanism to ensure that it plays the desired melody correctly. If needed, adjust the position or alignment of the mechanism until you are satisfied with the sound.
Adding the music box mechanism will bring a delightful element of sound to your snow globe music box. It will create a sense of nostalgia and enhance the overall experience of enjoying the enchanting scene.
Next, we will move on to the exciting step of creating the snowy scene inside the glass jar.
Step 4: Creating the Snowy Scene
Now that you have the base and music box mechanism in place, it’s time to create the snowy scene inside your snow globe music box. This step allows you to bring your imagination to life and design a winter wonderland right inside the glass jar.
Here’s how you can create the snowy scene:
- Add water: Fill the glass jar with distilled water, leaving a small gap at the top to allow for the displacement of water when you insert the figurine and other elements. Ensure that the water level is not too high to prevent overflowing when you seal the jar.
- Add glitter or faux snow: Pour a desired amount of glitter or faux snow into the water. Experiment with different colors and sizes to achieve the look you desire. Watch as the glitter or snow cascades and swirls when the globe is shaken.
- Insert the figurine: Carefully lower the prepared base and attached figurine into the jar, ensuring that it is submerged in the water. Position it upright and centered as per your preference.
- Position other elements (optional): If you have additional decorative elements such as miniature trees, small ornaments, or props, position them inside the jar using waterproof glue. Arrange them in a way that enhances the overall scene.
As you create your snowy scene, take the time to adjust and arrange the elements until you are satisfied with the look and feel of your winter wonderland. Remember to be gentle and cautious to avoid disturbing the water or dislodging any components.
Once you have achieved the desired snowy scene, it’s time to seal the jar to prevent any leaks and ensure the longevity of your snow globe music box.
Step 5: Sealing the Jar
Now that you have created your snowy scene inside the glass jar, it’s important to seal it properly to prevent any leaks or water damage. Sealing the jar will ensure that your snow globe music box can be enjoyed for years to come.
Here’s how you can seal the jar:
- Ensure a clean and dry jar: Make sure the jar’s rim and lid are clean and free from any debris. Wipe them with a dry cloth to ensure a proper seal.
- Apply waterproof sealant: Using a waterproof sealant or clear-drying epoxy, carefully apply a thin layer around the rim of the jar. This will create a watertight seal and prevent leakage.
- Secure the lid: Place the lid on the jar and press it firmly onto the sealant. Ensure that it is centered and aligned properly.
- Allow the sealant to dry: Follow the manufacturer’s instructions for the sealant or epoxy you are using. Give it enough time to dry completely to ensure a strong seal.
It’s important to note that some glass jars may come with a rubber gasket or silicone seal to provide an airtight and watertight seal. If your jar has one, make sure it is in good condition and properly positioned before securing the lid.
Once the jar is sealed, gently shake it to make sure there are no leaks or loose components. If you notice any leaks, immediately remove the lid, dry the area, and reapply sealant to fix the issue. It’s crucial to address any leaks to avoid water damage to your snow globe music box.
Now that your snow globe jar is properly sealed, it’s time for the exciting part – adding decorative touches to enhance its beauty and charm.
Step 6: Adding Decorations
With the jar sealed and your snowy scene securely in place, it’s time to add the finishing touches to your snow globe music box by incorporating decorative elements. These decorations will not only add visual appeal but also personalize your creation to reflect your own unique style and theme.
Here are some ideas for adding decorations to your snow globe music box:
- Ribbon or twine: Wrap a ribbon or twine around the neck of the jar for an elegant touch. You can choose a color that complements your theme or opt for a festive ribbon during special occasions.
- Miniature trees or props: Add miniature trees, tiny figurines, or props to enhance the scenery. These can include miniature houses, animals, people, or even vehicles. Arrange them strategically to create depth and interest within your snow globe.
- Small ornaments or trinkets: Attach small ornaments or trinkets to the base or inside the jar using waterproof glue. These can be little bells, snowflakes, stars, or any other themed decorations that suit your aesthetic.
- Personalized elements: Incorporate personal touches, such as small photographs or mementos, to make your snow globe music box even more meaningful. You can glue these items onto the base or inside the jar to create a sentimental keepsake.
- Glow-in-the-dark elements: Consider adding glow-in-the-dark elements, such as stars or figurines, to create a magical effect when the lights are off. It will add an extra element of wonder and make your snow globe truly captivating.
Remember to be mindful of the size and weight of the decorations you add to ensure they don’t overcrowd the jar or cause any imbalance. The goal is to enhance the overall aesthetic while maintaining the stability and functionality of your snow globe music box.
Feel free to get creative and experiment with different decorations and arrangements until you achieve the desired look. Once you’re satisfied with the decorations, it’s time for the final step – testing and adding any final touches.
Step 7: Testing and Final Touches
Congratulations! You’re almost done creating your snow globe music box. Now, it’s time to test the functionality and make any final adjustments or additions to perfect your creation.
Here’s what you need to do for testing and final touches:
- Test the music box: Wind up the music box mechanism or pull the string to ensure that it plays the desired melody smoothly. Listen to the music and make sure it aligns with the ambiance you envisioned for your snow globe music box.
- Check for leaks or condensation: Shake the snow globe gently and observe if there are any leaks or condensation inside the jar. If you notice any issues, carefully remove the lid, dry the affected area, and address the problem by resealing or adjusting the components.
- Add water-resistant decorations (optional): If you want to enhance the visual appeal of your snow globe further, consider adding water-resistant decorations like small beads, sequins, or small floating objects. These additional touches can create more depth and add sparkle to the scene.
- Clean the jar: Use a soft cloth or sponge to clean the exterior of the jar, removing any fingerprints, smudges, or stains. This will ensure that your snow globe music box looks pristine and ready to be displayed.
- Secure the lid (optional): If desired, you can seal the lid using a small amount of clear-drying epoxy or waterproof sealant to ensure that it does not accidentally open.
Take your time during this step to make any necessary adjustments and ensure that your snow globe music box meets your expectations. Once you’re satisfied with the functionality, appearance, and overall quality, your creation is complete and ready to be showcased or gifted to bring joy and enchantment to those who experience it.
Now that you’ve successfully followed the steps to create your very own snow globe music box, you can proudly display it as a beautiful piece of decor or give it as a thoughtful gift to someone special.
Enjoy the magical melodies and the captivating swirling snow whenever you look at your snow globe music box. And remember, you can always create more snow globe music boxes and explore different themes and variations to further delve into the enchanting world of DIY crafts.
Happy crafting!
Conclusion
Creating a snow globe music box is a wonderful and fulfilling DIY project that combines the charm of a traditional music box with the whimsy of a snow globe. Throughout this guide, we have explored the step-by-step process of making your very own snow globe music box, from choosing the perfect glass jar to adding the final decorative touches.
By following the outlined steps, you have learned how to select a suitable glass jar, create a stable base, incorporate a music box mechanism, design a snowy scene, seal the jar to prevent leaks, add decorative elements, and test the final product. The result is a unique and personalized snow globe music box that brings joy and enchantment to any space.
This creative project allows you to express your imagination and style, whether it’s through the choice of figurines, the arrangement of scenery, or the addition of personal touches. Every snow globe music box is a reflection of its creator, making it a heartfelt and meaningful gift or a cherished piece of decor.
It’s important to note that while we have provided a comprehensive guideline, you can always add your own twist and explore variations to suit your preferences. Feel free to experiment with different figurines, decorations, or even music box melodies to make your snow globe music box truly unique.
Whether you create a snow globe music box for yourself or as a gift, it is sure to bring delight and fascination to anyone who encounters it. As you wind up the music box and watch the snow swirl around the miniature scene, be transported to a magical world of winter wonder.
So, gather the materials, unleash your creativity, and embark on the journey of crafting your own snow globe music box. Let the melodies and swirling snow inspire a sense of awe and create cherished memories for years to come.
Happy crafting and may the magic of the snow globe music box fill your heart with joy!

