Home>Production & Technology>Audio Interface>How To Connect Bass To Audio Interface

Audio Interface
How To Connect Bass To Audio Interface
Modified: February 15, 2024
Learn how to connect your bass guitar to an audio interface for high-quality recording and sound. Enhance your audio production with this essential tool.
(Many of the links in this article redirect to a specific reviewed product. Your purchase of these products through affiliate links helps to generate commission for AudioLover.com, at no extra cost. Learn more)
Table of Contents
Introduction
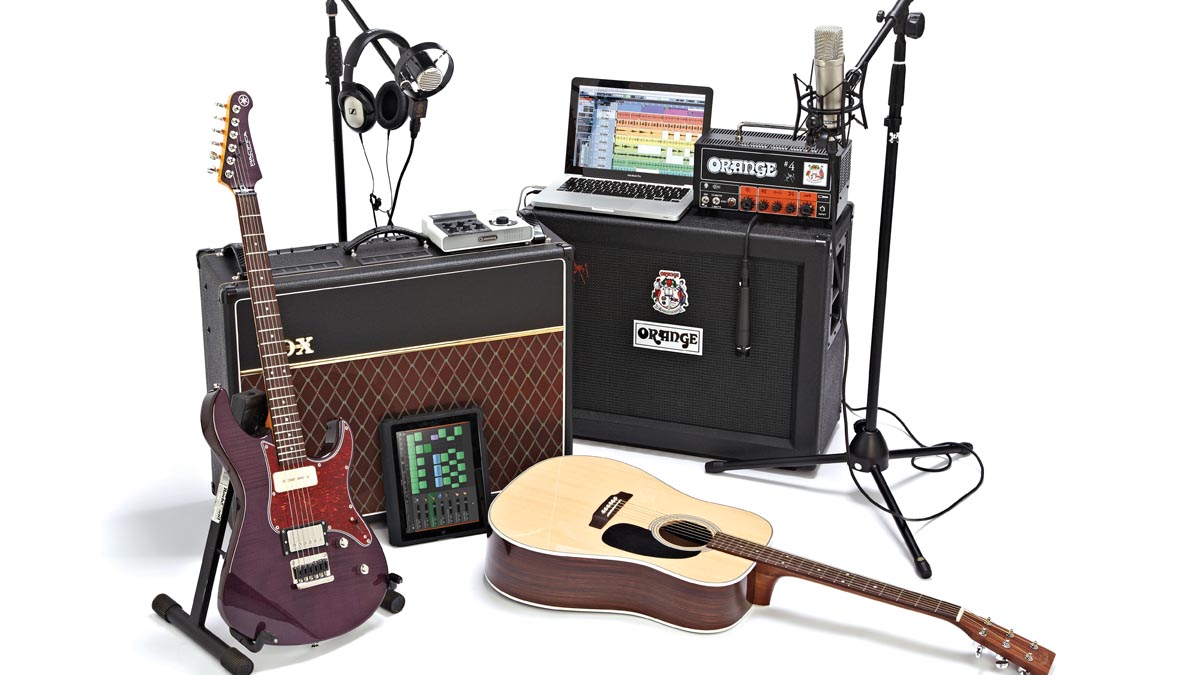
Welcome to the world of audio interfaces and the exciting possibilities they offer for connecting your bass guitar to your computer or recording setup. Whether you’re a beginner or an experienced musician, having a reliable audio interface can greatly enhance your sound quality and recording capabilities.
An audio interface is a hardware device that allows you to connect your musical instruments, such as a bass guitar, to your computer or recording system. It acts as a bridge between the analog world of your instrument and the digital realm of your computer, converting the audio signal from your bass into a format that can be processed and recorded digitally.
By using an audio interface, you can bypass the limitations of your computer’s built-in sound card and achieve professional-grade audio quality. The interface also provides additional features like multiple inputs and outputs, headphone monitoring, MIDI connectivity, and preamps for microphones. These features make it an essential tool for home recording studios, musicians, and podcasters.
In this article, we’ll dive deep into the world of audio interfaces specifically for bass guitars. We’ll explore the different types of interfaces available, provide guidance on choosing the right one for your needs, and offer step-by-step instructions on how to connect your bass guitar to the audio interface for optimal sound quality.
Whether you’re recording your bass tracks, experimenting with software-based effects and amp simulations, or live streaming your performances, understanding audio interfaces and how to connect your bass guitar to them is crucial. Let’s begin by laying the foundation and understanding the basics of audio interfaces.
Understanding the Basics
Before diving into the world of audio interfaces for bass guitars, it’s important to have a basic understanding of how audio interfaces work and the key components involved.
At its core, an audio interface is responsible for converting analog audio signals from your instrument into digital data that can be processed and recorded by your computer. It does this through a process called analog-to-digital conversion (ADC). The digital data can then be manipulated, mixed, and played back with software on your computer.
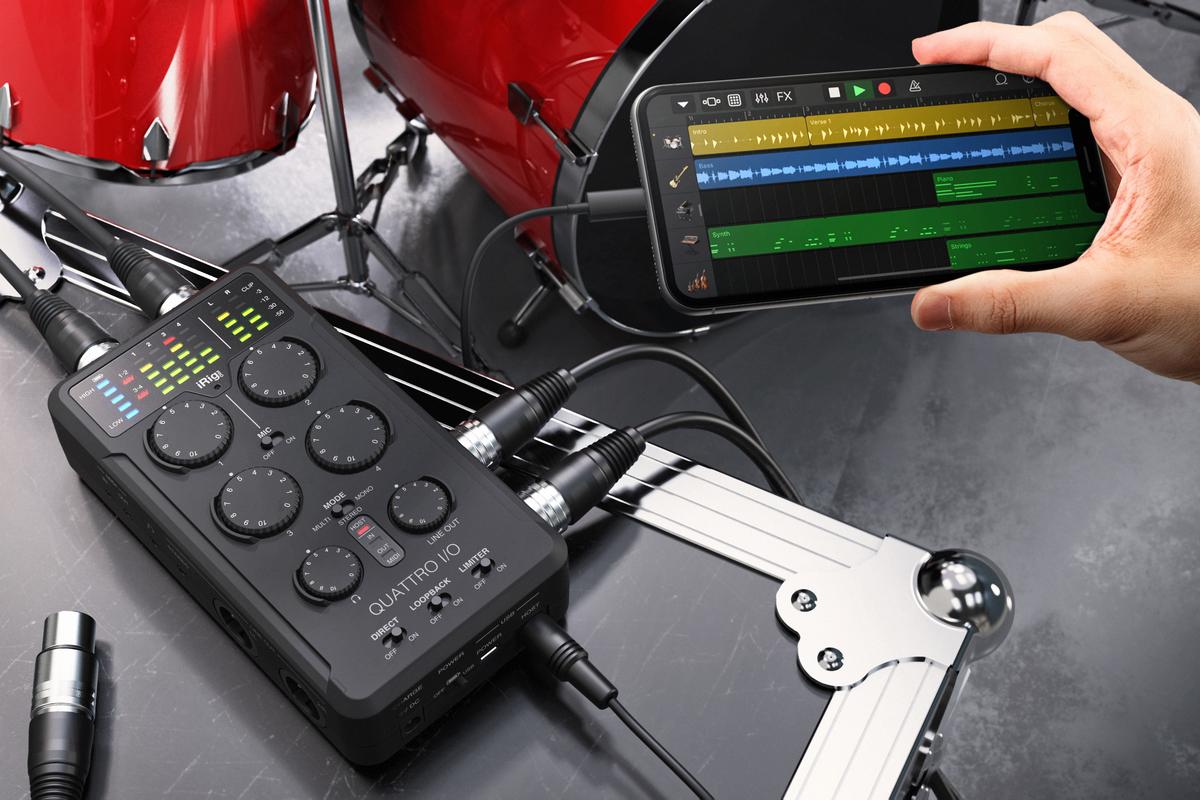
One of the main factors to consider when choosing an audio interface for your bass guitar is the number of input and output channels it offers. The number of inputs determines how many instruments or microphones you can connect simultaneously, while the number of outputs determines how many speakers or headphones you can connect for monitoring and playback.
Another important consideration is the sample rate and bit depth of the audio interface. The sample rate determines the number of samples taken per second, while the bit depth determines the resolution of each sample. Higher sample rates and bit depths generally result in better audio quality, but they also require more processing power and storage space.
Most audio interfaces offer a range of connectivity options, such as USB, Thunderbolt, or FireWire. USB is the most common and widely supported option, making it a popular choice for most home recording setups. However, if you require faster data transfer speeds or lower latency, you may want to consider interfaces with Thunderbolt or FireWire connectivity.
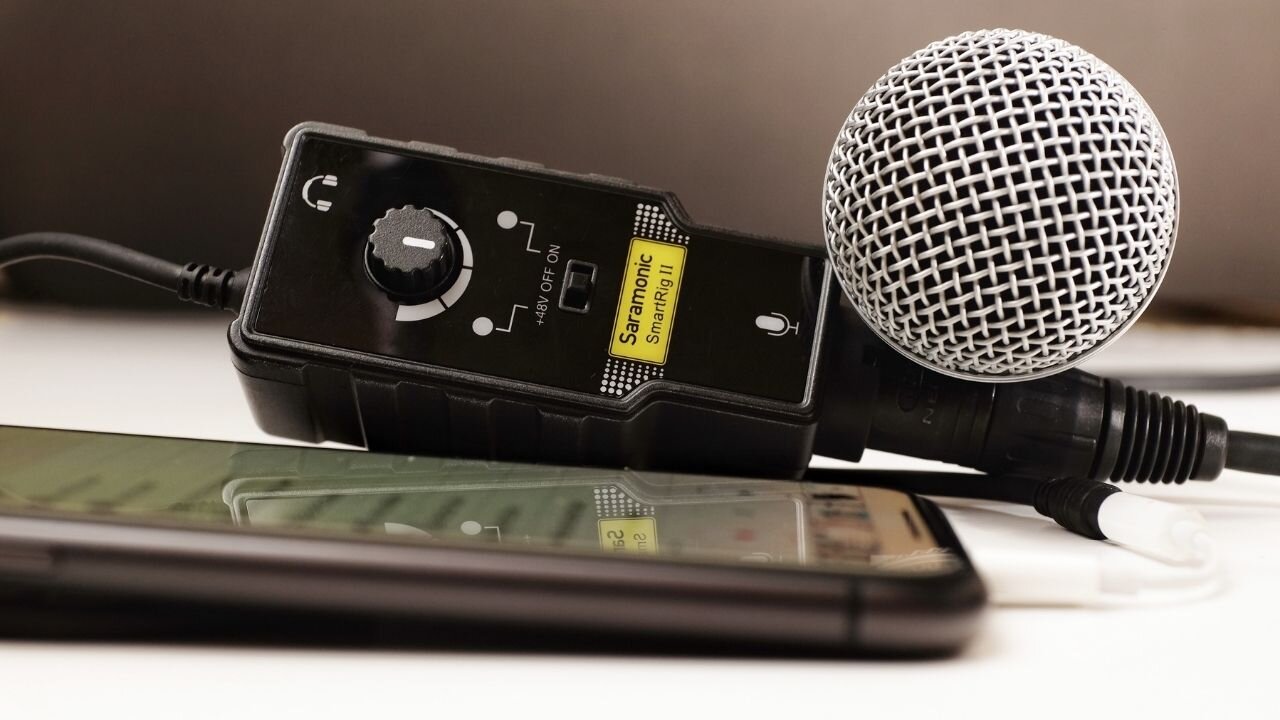
Preamps are another important component of audio interfaces, especially if you’re planning on recording vocals or using condenser microphones. Preamps amplify the weak signals from microphones and instruments to a level that is suitable for recording or processing. Good quality preamps can significantly improve the sound quality and clarity of your recordings.
Lastly, many audio interfaces come bundled with digital audio workstation (DAW) software or have integration with popular recording software. This can simplify your workflow and provide you with additional features and effects to enhance your recordings.
Now that we have a solid understanding of the basics of audio interfaces, let’s explore the different types of interfaces available for bass guitars.
Types of Audio Interfaces
When it comes to audio interfaces, there are several types to choose from, each catering to different needs and preferences. Let’s take a closer look at the most common types of audio interfaces you’ll come across for connecting your bass guitar.
- USB Audio Interfaces: USB audio interfaces are the most popular and widely used option due to their simplicity and compatibility. They connect to your computer via a USB port and are typically bus-powered, meaning they draw power from the computer itself. USB interfaces are suitable for most home recording setups and offer a good balance between affordability and performance.
- Thunderbolt Audio Interfaces: Thunderbolt interfaces offer faster data transfer speeds and lower latency compared to USB interfaces. They are particularly popular among professional musicians and recording engineers who require high-performance setups. Thunderbolt interfaces are often used in combination with external hard drives and other peripherals that require high-speed data transfer.
- PCIe Audio Interfaces: PCIe interfaces are designed to be installed directly into the expansion slots of your computer’s motherboard. They offer even faster data transfer speeds and lower latency compared to both USB and Thunderbolt interfaces. PCIe interfaces are commonly used in professional recording studios and offer the highest level of performance and stability.
- FireWire Audio Interfaces: FireWire interfaces were popular in the past, but their usage has decreased with the rise of USB and Thunderbolt interfaces. However, if you have an older computer with FireWire ports or need to connect to legacy equipment, FireWire interfaces can still be a viable option.
- Audio Interface with DSP: Some audio interfaces come with built-in digital signal processing (DSP) capabilities. DSP allows you to run effects, amp simulations, and other processing tasks directly on the interface without putting a heavy load on your computer’s processor. This can be beneficial if you rely heavily on software-based effects and processing.
When choosing an audio interface for your bass guitar, consider factors such as the number of inputs and outputs you require, the type of connectivity you prefer, the importance of low latency, and whether or not you need built-in DSP capabilities. Keep in mind your budget and the specific requirements of your recording setup.
Now that we’ve explored the different types of audio interfaces available for bass guitars, let’s delve into the process of choosing the right one for your specific needs.
Choosing the Right Audio Interface for Bass
Choosing the right audio interface for your bass guitar is crucial to ensure optimal sound quality and to meet your specific recording needs. Here are a few factors to consider when making your selection:
- Number of Inputs and Outputs: Determine how many instruments, microphones, and speakers or headphones you plan to connect to your audio interface. Make sure the interface has enough input and output channels to meet your requirements. If you plan on recording multiple instruments simultaneously, look for interfaces with multiple inputs.
- Sample Rate and Bit Depth: Consider the sample rate and bit depth supported by the audio interface. Higher sample rates and bit depths generally result in higher audio quality, but they also require more processing power and storage space. Choose an interface that supports the sample rate and bit depth you intend to work with.
- Connectivity Options: Determine which type of connectivity suits your needs. USB interfaces are the most common and widely supported, making them a good choice for most home recording setups. Thunderbolt and PCIe interfaces offer faster data transfer speeds and lower latency, but they may require compatible ports and hardware. Consider the compatibility of your computer and other devices.
- Preamp Quality: If you plan on using microphones or recording vocals, pay attention to the quality of the preamps on the audio interface. Good preamps can significantly enhance the clarity and detail of your recordings. Look for interfaces with high-quality preamps, or consider purchasing a separate external preamp if necessary.
- Budget: Set a budget for your audio interface purchase. Audio interfaces come in a wide range of prices, so it’s important to find one that meets your needs without breaking the bank. Consider your recording goals and the level of features and quality you require.
Additionally, reading reviews and doing research on different audio interfaces can be helpful in making an informed decision. Look for feedback from bass players and fellow musicians who have experience with the interfaces you’re considering.
Remember, the key is to find a balance between your needs, budget, and the features offered by the audio interface. By considering these factors, you’ll be able to select an audio interface that is well-suited to your bass guitar recording requirements.
Now that we’ve covered the considerations for choosing an audio interface, let’s move on to the next step of setting up your bass guitar and connecting it to the audio interface for optimal performance.
Setting Up Your Bass and Audio Interface
Setting up your bass guitar and audio interface correctly is crucial to achieving the best sound quality and performance. Follow these steps to ensure a smooth setup:
- Prepare Your Bass Guitar: Before connecting your bass guitar to the audio interface, ensure that it is in proper playing condition. Check for any loose connections, clean the strings, and tune your bass guitar to the desired pitch.
- Connect the Audio Interface to Your Computer: Depending on the type of connection your audio interface supports, connect it to your computer using the appropriate cable (e.g., USB, Thunderbolt, or FireWire). Make sure that both the audio interface and your computer are powered on.
- Install the Required Drivers: If your audio interface requires drivers to function properly, install them following the manufacturer’s instructions. Drivers act as a communication bridge between the interface and your computer’s operating system.
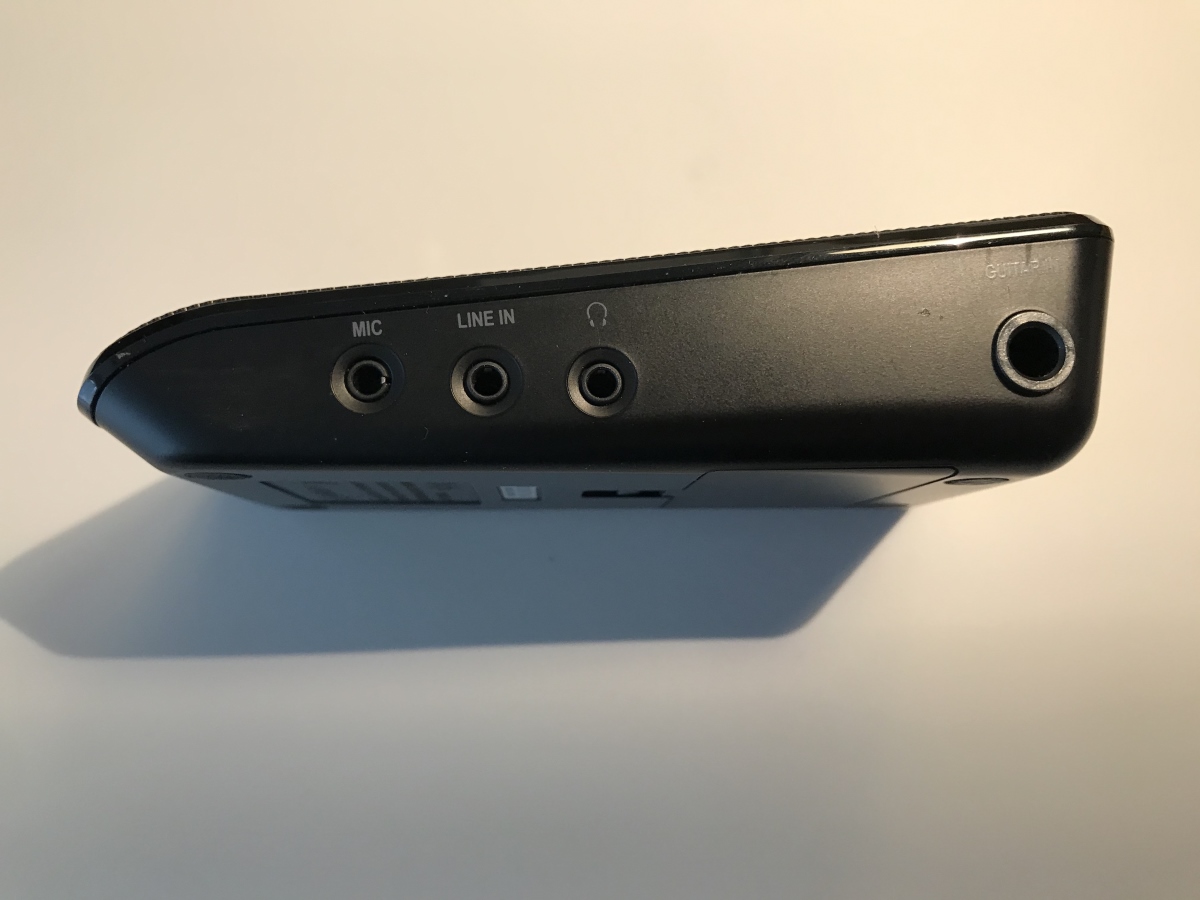
- Connect Your Bass Guitar: Use a suitable instrument cable to connect your bass guitar to the input of the audio interface. Most audio interfaces have dedicated 1/4″ input jacks specifically designed for instruments. Plug one end of the cable into the output jack of your bass guitar and the other end into the input jack of the audio interface.
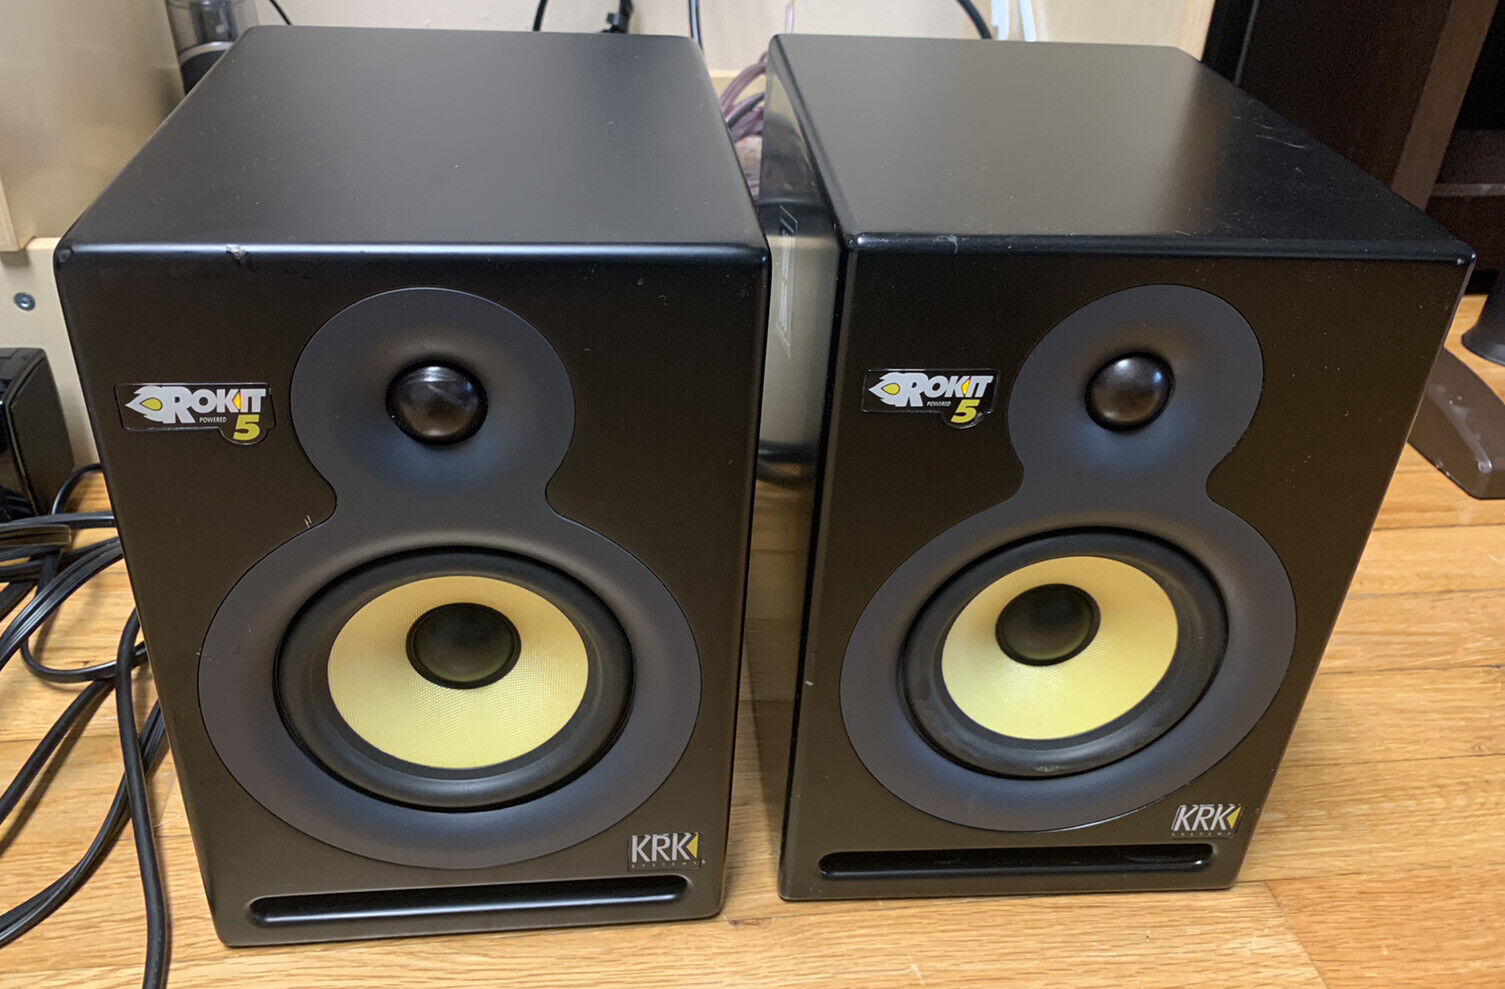
- Monitoring and Playback: Connect your headphones or speakers to the audio interface’s headphone or line output. This will allow you to monitor your bass guitar while recording or playing back your recordings.
- Adjust the Input Levels: Use the gain or input level controls on the audio interface to adjust the input level for your bass guitar. Start with a lower level and gradually increase it until you achieve the desired signal without any distortion or clipping. Refer to the interface’s manual for specific instructions on adjusting input levels.
- Set Up Recording Software: Launch your preferred recording software, also known as a digital audio workstation (DAW). Ensure that the audio interface is selected as the input and output device in the software’s settings. This will allow the DAW to receive and process the audio signal from your bass guitar through the audio interface.
- Test and Calibrate: To ensure that everything is working correctly, play your bass guitar and monitor the sound through your headphones or speakers. Make any necessary adjustments to the input levels or settings on both the audio interface and recording software until you achieve the desired sound quality.
By following these steps, you’ll have your bass guitar connected to your audio interface and ready to record or play with improved sound quality and flexibility.
In the next section, we’ll discuss how to connect your bass guitar to the audio interface using the appropriate cables and connections.
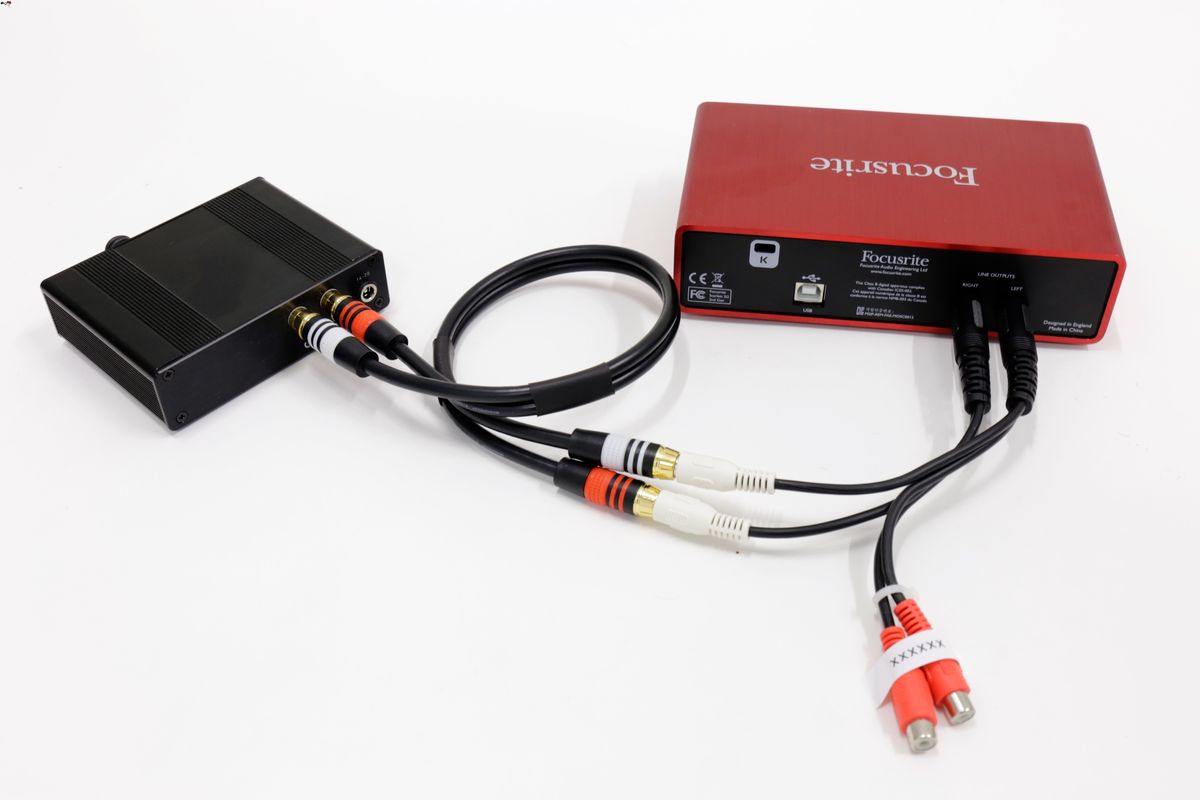
Connecting Your Bass to the Audio Interface
Connecting your bass guitar to the audio interface is a straightforward process. Here’s how you can do it:
- Choose the Right Cable: Select a high-quality instrument cable with a 1/4″ mono jack on both ends. This type of cable is commonly used for connecting bass guitars and other instruments to audio interfaces.
- Locate the Input Jack: On your audio interface, locate the input jack labeled for instruments or high-impedance inputs. This is usually marked with a guitar symbol or the word “instrument.” It may also be color-coded, typically in green.
- Plug in the Cable: Take one end of the instrument cable and insert it into the output jack of your bass guitar. This is typically located on the bottom or side of the bass. Make sure the cable is securely inserted.
- Connect to the Audio Interface: Take the other end of the instrument cable and insert it into the input jack of the audio interface. Ensure a secure connection to prevent any signal loss or unwanted noise.
- Adjust the Input Level: Use the gain or input level controls on the audio interface to adjust the input level for your bass guitar. Start with a low level and gradually increase it while playing your bass. Monitor the signal on the interface’s level meter and adjust it until it reaches an optimal level without clipping or distortion.
- Test the Connection: Once your bass guitar is connected to the audio interface, play your instrument and monitor the sound through your headphones or speakers connected to the audio interface. Listen for any unwanted noise, hum, or distortion. If you encounter any issues, double-check the connections and adjust the input levels accordingly.
Remember, the quality of the cables you use and the connections you make can have an impact on the sound quality and reliability of your setup. It’s important to use high-quality cables and ensure secure connections for the best results.
Now that your bass guitar is successfully connected to the audio interface, you can begin recording, producing, or practicing with improved sound quality and flexibility.
In case you encounter any issues along the way, the next section will provide troubleshooting tips to help you resolve common problems.
Adjusting the Input Levels
Adjusting the input levels on your audio interface is crucial to ensure optimal sound quality and prevent distortion or clipping. Here are the steps to adjust the input levels:
- Start with a Low Level: Begin by setting the input level on your audio interface to a low setting. This prevents any sudden loud sounds from causing distortion or clipping.
- Play Your Bass Guitar: Start playing your bass guitar at a normal playing volume. This will give you an idea of the average signal level that your interface is receiving.
- Monitor the Input Signal: Keep an eye on the input level meter on your audio interface. This meter displays the level of the incoming signal in real-time. Adjust the input level until the meter hovers around the middle range, avoiding any peaks that go into the red zone.
- Listen for Distortion or Clipping: As you play your bass, listen carefully for any distortion or clipping in the sound. Distortion occurs when the input signal is too high and exceeds the capabilities of the audio interface, resulting in a distorted or fuzzy sound. If you hear distortion, reduce the input level until the distortion disappears.
- Avoid Over-Amplifying: While it might be tempting to increase the input level to achieve a louder signal, be cautious of over-amplifying. Too high of a level can lead to an artificial and exaggerated sound. It’s important to find the right balance where the input level is sufficient for capturing the dynamics of your bass guitar without causing distortion.
- Make Adjustments as Needed: Depending on your playing style and the sound you want to achieve, you may need to fine-tune the input level. Experiment with different settings and listen attentively to find the optimal input level for your specific bass guitar and playing style.
Remember that finding the right input level is a matter of trial and error. Trust your ears and make adjustments based on what sounds best to you. Additionally, keep in mind that different recording applications and software may have their own input level controls, so familiarize yourself with the options available in your chosen software.
By properly adjusting the input levels on your audio interface, you’ll ensure that your bass guitar recordings are clean, balanced, and free from unwanted distortion.
Now that you’ve successfully adjusted the input levels, it’s time to troubleshoot any potential issues that may arise. Let’s explore some common troubleshooting tips in the next section.
Troubleshooting Tips
Even with careful setup and adjustments, you may still encounter some issues when connecting your bass guitar to an audio interface. Here are some troubleshooting tips to help you resolve common problems:
- No Sound: If you’re not getting any sound from your bass guitar, double-check the cable connections. Ensure that the instrument cable is securely plugged into both the output jack of your bass guitar and the input jack of the audio interface. Also, verify that the input gain or level is set appropriately on the audio interface.
- Distortion or Clipping: If you’re hearing distortion or clipping in your recordings, try reducing the input gain or level on the audio interface. This will prevent the signal from being too strong and exceeding the capabilities of the interface. Additionally, make sure that your bass guitar’s volume knob is not set too high.
- Unwanted Noise: If you’re experiencing unwanted noise, such as humming or buzzing, it could be due to a grounding issue or interference. Try using a different power outlet or using a power conditioner to minimize electrical interference. Additionally, ensuring that your cables are in good condition and properly shielding can help reduce noise.
- Latency: Latency is the delay between playing a note on your bass guitar and hearing it through your headphones or speakers. If you’re experiencing noticeable latency, check your audio interface’s settings for buffer size or latency settings. Adjusting these settings can help reduce latency. Using a lower buffer size may reduce latency, but it may also put more strain on your computer’s processor.
- Software Compatibility: If you’re having trouble getting your audio interface to work with your recording software, ensure that you have the latest drivers installed for your specific interface. Additionally, check that the software is properly configured to recognize and utilize your audio interface as the input and output device.
- Testing with Different Equipment: If you have access to alternative cables, instruments, or audio interfaces, try swapping them out to identify if the issue lies with any particular component. This can help you pinpoint the source of the problem and determine if it’s a faulty cable, instrument, or audio interface.
Remember, troubleshooting audio issues can sometimes require a bit of patience and experimentation. If you’re unable to resolve the problem on your own, don’t hesitate to reach out to the manufacturer’s support or consult with experienced professionals who can provide further assistance.
With these troubleshooting tips, you’ll be able to diagnose and resolve common issues that may arise when connecting your bass guitar to an audio interface.
Finally, let’s conclude with some final thoughts on the importance of audio interfaces for bass guitars.
Final Thoughts
Audio interfaces have revolutionized the way musicians, producers, and recording enthusiasts connect their bass guitars to their computers or recording setups. The ability to capture the purest sound of your bass and translate it into a digital format opens up endless possibilities for recording, producing, and experimenting with your music.
When choosing an audio interface for your bass guitar, consider your specific needs, budget, and recording setup. Select an interface that offers the right number of inputs and outputs, supports your desired sample rates and bit depths, and provides the connectivity options that suit your setup.
Remember to pay attention to the quality of the preamps, adjust the input levels correctly, and troubleshoot any issues that may arise during the setup process. By taking the time to properly connect your bass to the audio interface and adjust the levels, you’ll ensure the best sound quality and avoid common pitfalls like distortion and unwanted noise.
Whether you’re a beginner exploring the world of recording or an experienced musician looking to elevate your sound, integrating an audio interface into your bass guitar setup is a game-changer. It enables you to capture the nuances and intricacies of your playing, unleash your creativity with software-based effects and amp simulations, and produce high-quality recordings that truly represent your sound.
If you’re passionate about music production, home recording, or live performances, investing in a reliable audio interface is essential. It opens up a world of possibilities, empowering you to unleash your creativity, collaborate with others, and share your music with the world.
So, take the time to explore different audio interfaces, experiment with different setups, and unleash your artistic potential. Embrace the power of the audio interface, and enjoy the journey of capturing and creating music with your bass guitar.