Home>Production & Technology>Audio Interface>How To Connect Audio Interface To IPhone
Audio Interface
How To Connect Audio Interface To IPhone
Published: October 27, 2023
Learn how to easily connect an audio interface to your iPhone and enhance your audio recording and production capabilities. Follow our step-by-step guide to connect your iPhone with an audio interface for professional-quality sound.
(Many of the links in this article redirect to a specific reviewed product. Your purchase of these products through affiliate links helps to generate commission for AudioLover.com, at no extra cost. Learn more)
Table of Contents
Introduction
An audio interface is a crucial piece of equipment for musicians, podcasters, and audio enthusiasts who want to achieve professional sound quality. It allows you to connect external microphones, instruments, and other audio devices to your computer or mobile device for recording, mixing, and playback.
While audio interfaces are commonly used with computers, many people wonder if it’s possible to connect an audio interface to an iPhone. The good news is that it is indeed possible, thanks to the advancements in technology and the availability of versatile audio interfaces on the market.
In this article, we will guide you through the process of connecting an audio interface to your iPhone, enabling you to unlock a whole new level of audio recording and processing capabilities on a portable device. We will walk you through the necessary steps, equipment needed, and even offer troubleshooting tips to ensure a seamless connection.
So, if you are ready to take your iPhone audio recording to the next level, let’s dive in and learn how to connect an audio interface to an iPhone.
Step 1: Checking Compatibility
Before you begin the process of connecting an audio interface to your iPhone, it’s important to ensure compatibility between the two devices. Not all audio interfaces are compatible with iPhones, so it’s crucial to check the specifications and requirements to avoid any compatibility issues.
Here are a few factors to consider when checking compatibility:
- iPhone model: Ensure that your iPhone model supports external audio devices. Most newer iPhone models, starting from the iPhone 7 and later, have a Lightning port that can be used for audio input.
- iOS version: Check if your iPhone is running on the latest iOS version. Sometimes, older iOS versions might have limitations or restrictions when using external audio devices.
- Audio interface compatibility: Verify that the audio interface you have or plan to purchase is specifically designed to work with iPhones. Look for information on the manufacturer’s website or product specifications to ensure compatibility.
Additionally, it’s worth mentioning that some audio interfaces require external power, which might not be available when connected to an iPhone. Make sure to check if your audio interface is bus-powered, which means it draws power directly from the iPhone’s Lightning port.
By performing these compatibility checks, you can ensure a smoother experience when connecting your audio interface to the iPhone and minimize any potential issues or frustrations.
Step 2: Gathering the Necessary Equipment
Once you have confirmed the compatibility between your iPhone and the audio interface, it’s time to gather the necessary equipment. Here’s what you’ll need:
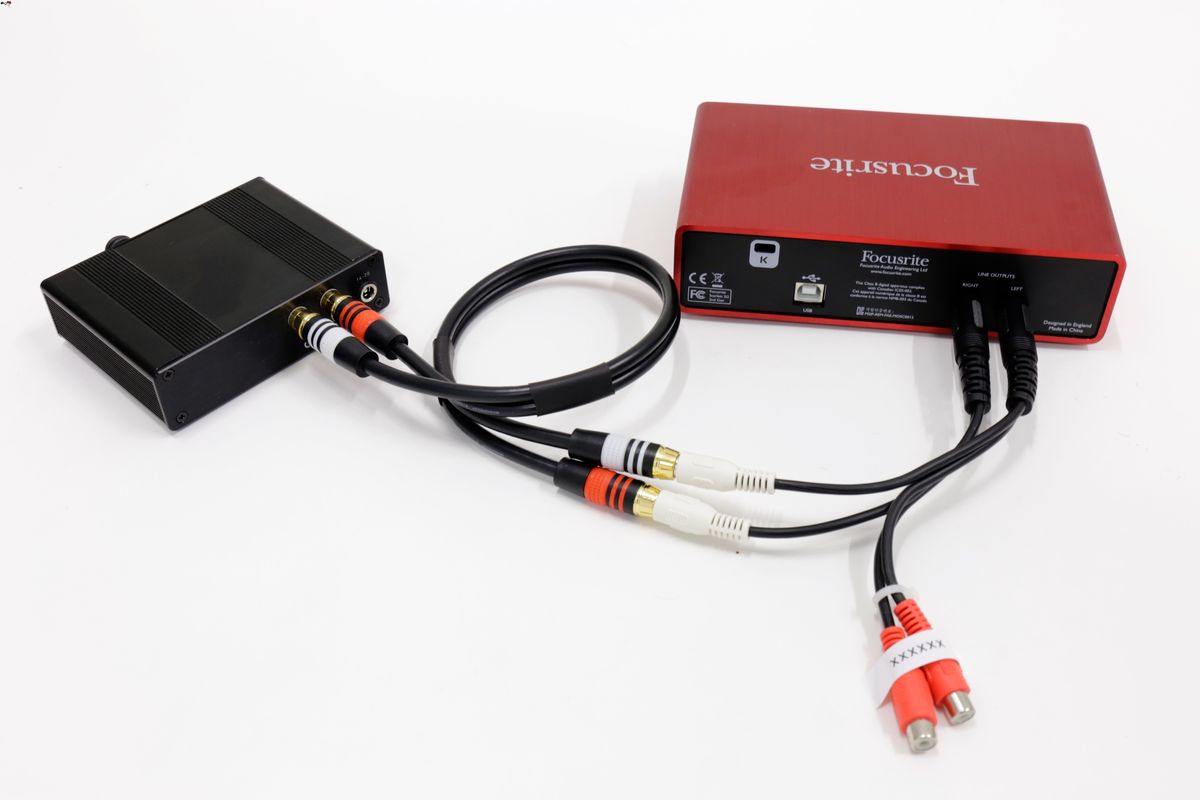
- Audio Interface: Choose an audio interface that is compatible with your iPhone. Look for one that has a Lightning connector or offers a Lightning to USB adapter. Consider factors such as the number of inputs/outputs you require, the audio quality, and any specific features you need for your recording or mixing needs.
- Lightning to USB adapter: If your audio interface uses a USB connector instead of a Lightning connector, ensure you have a Lightning to USB adapter. This adapter allows you to connect your iPhone to the audio interface with a standard USB cable.
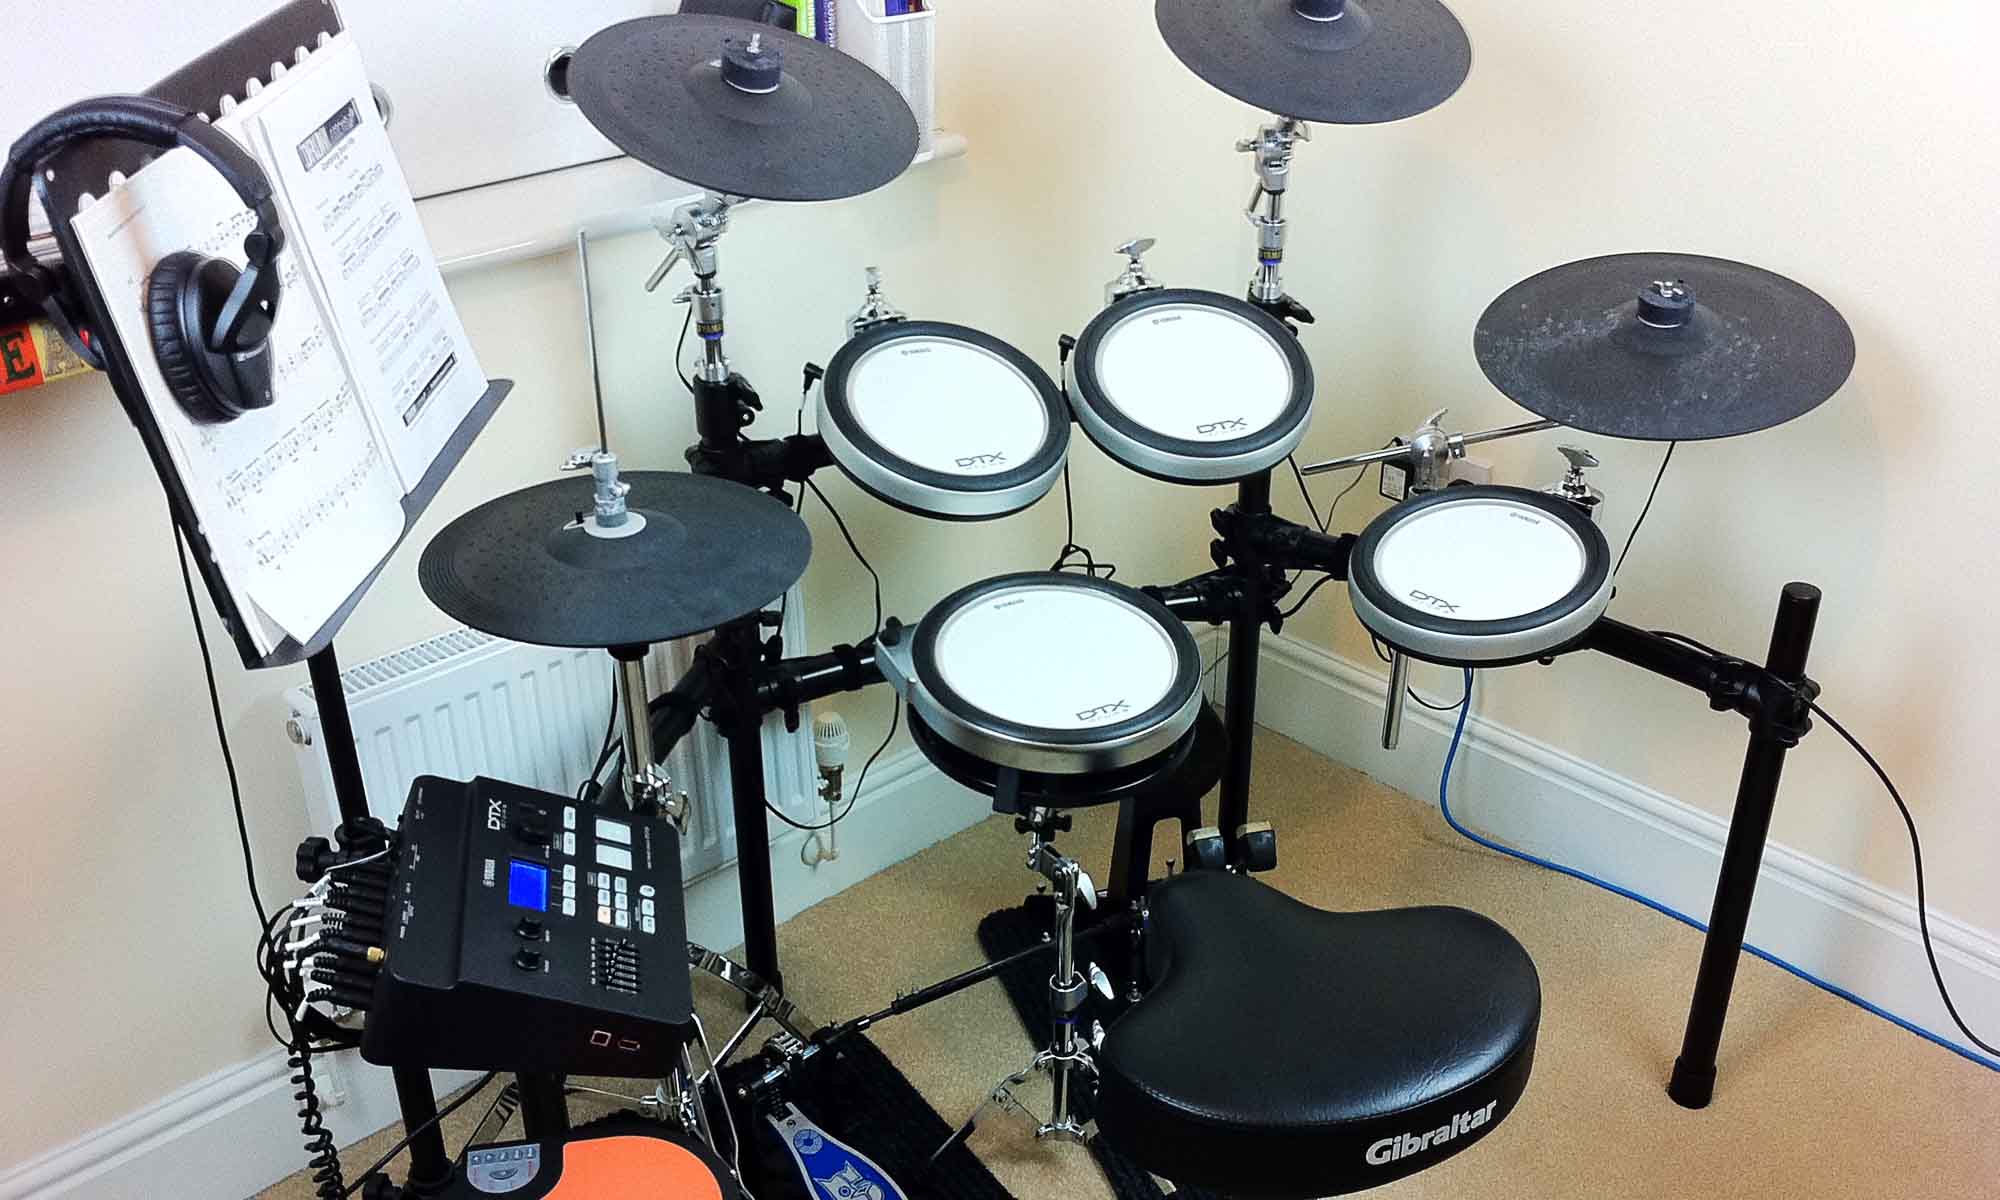
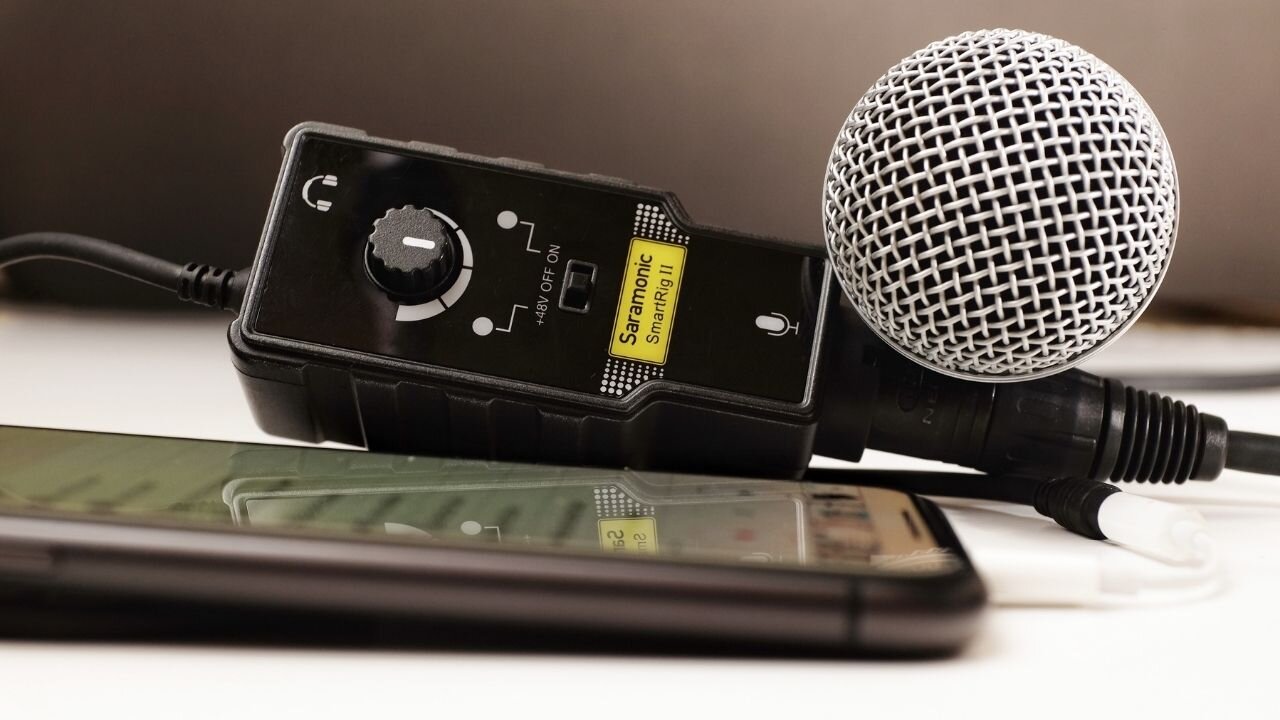
- Microphones/Instruments: Depending on your audio recording setup, you may need microphones and/or instruments to connect to your audio interface. Choose the appropriate microphones or instruments based on your recording requirements.
- Cables: Ensure that you have all the necessary cables to connect your microphones or instruments to the audio interface. This may include XLR cables, instrument cables, or other audio cables depending on the devices you are using.
- Headphones: Use a pair of quality headphones to monitor your audio while recording or mixing. This will help you ensure accurate sound reproduction and make any necessary adjustments during the recording process.
It’s essential to invest in quality equipment to achieve the best audio results. The audio interface acts as the bridge between your iPhone and the external audio devices, so choosing reliable and suitable equipment will greatly impact the quality of your recordings.
Once you have gathered all the necessary equipment, you’re ready to move on to the next step: connecting the audio interface to your iPhone.
Step 3: Connecting the Audio Interface to the iPhone
Now that you have your audio interface and all the required equipment, it’s time to connect the audio interface to your iPhone. Follow these steps:
- Ensure that your iPhone is turned off.
- Plug your Lightning to USB adapter into the Lightning port on your iPhone.
- Connect the USB end of your Lightning to USB adapter to the USB port on your audio interface.
- If your audio interface requires external power, make sure it is properly connected to a power source.
- Turn on your iPhone.
Once the connection is established, your iPhone should recognize the audio interface as the audio input/output device. This allows you to use the audio interface for tasks such as recording vocals, playing virtual instruments, or monitoring audio playback with better sound quality.
It’s essential to ensure that all the connections are secure and properly plugged in to avoid any audio dropout or disruptions during your recording or mixing sessions.
Note: If you are using an audio interface with a Lightning connector directly, without the need for a Lightning to USB adapter, simply connect the audio interface directly to the Lightning port on your iPhone to establish the connection.
With the audio interface connected to your iPhone, you can now move on to the next step: configuring the audio settings on your iPhone.
Step 4: Configuring Audio Settings on the iPhone
After connecting the audio interface to your iPhone, it’s important to configure the audio settings to ensure optimal performance. Follow these steps to configure the audio settings:
- Open the Settings app on your iPhone.
- Scroll down and tap on “Bluetooth & Audio Devices” or “Bluetooth & Other Devices”.
- Under the Audio Devices section, you should see your connected audio interface listed. Tap on it.
- Make sure that the audio input and output settings are correctly set according to your recording or playback needs.
- If your audio interface has multiple inputs or outputs, select the appropriate ones for your recording/mixing tasks.
- Adjust the volume settings as desired.
Configuring the audio settings on your iPhone allows you to control various parameters, such as input gain, monitoring levels, and routing options. Take some time to explore the settings and familiarize yourself with the available options. This will enable you to customize the audio setup to suit your specific recording or mixing requirements.
It’s worth noting that the process of configuring audio settings may vary slightly depending on the iOS version and the specific audio interface you are using. If you encounter any difficulties or have trouble finding certain settings, refer to the user manual or documentation provided by the audio interface manufacturer.
Once you have configured the audio settings on your iPhone, you’re ready to move on to the next step: testing the connection and ensuring everything is functioning correctly.
Step 5: Testing the Connection
After connecting the audio interface to your iPhone and configuring the audio settings, it’s crucial to test the connection to ensure everything is functioning correctly. Follow these steps to test the connection:
- Launch a recording or audio app on your iPhone.
- Select the input source within the app and choose the audio interface as the input device.
- Start recording or playing audio and monitor the output through your headphones or speakers connected to the audio interface.
- Speak or play an instrument into the connected microphone or instrument to verify that the audio is being recorded and played back successfully.
- Check for any issues such as low audio levels, distortion, latency, or abnormal noise. If there are any problems, double-check your connections and audio settings.
Testing the connection is vital to ensure that the audio interface is working correctly with your iPhone. It allows you to verify that sound is being captured and played back accurately, without any quality or technical issues.
If you encounter any problems during the testing phase, try the following troubleshooting tips:
- Restart your iPhone and the audio interface.
- Ensure that all cables are securely plugged in and free from any damage.
- Update your iPhone’s iOS version to the latest release.
- Check for any firmware or driver updates for your audio interface.
- Refer to the user manual or contact the manufacturer’s support for specific troubleshooting steps.
By thoroughly testing the connection and addressing any potential issues early on, you can ensure a smooth and successful recording or playback experience with your audio interface and iPhone.
Now that you have tested the connection and everything is working as expected, you’re ready to unleash your creativity and explore the world of professional audio recording and processing on your iPhone.
Troubleshooting Tips
While connecting an audio interface to your iPhone can open up new possibilities for audio recording and processing, technical issues may sometimes arise. Here are some troubleshooting tips to help you address common problems:
- Check the cables: Ensure that all cables are properly connected and in good condition. Faulty or loose cables can result in audio dropouts or connectivity issues.
- Restart your devices: Sometimes, a simple restart can resolve software glitches or conflicts. Turn off your iPhone and audio interface, wait a few seconds, and then turn them back on.
- Update your software: Keep your iPhone’s iOS version up to date, as well as any firmware or driver updates for your audio interface. Software updates often include bug fixes and improvements that can enhance compatibility.
- Check for app compatibility: Some audio apps may not fully support external audio devices. Verify that the app you’re using is compatible with the audio interface and has the necessary settings for input/output routing.
- Inspect power requirements: If your audio interface requires external power, ensure it is properly connected to a reliable power source. Insufficient power can cause instability or poor audio performance.
- Adjust audio settings: Double-check the audio settings on your iPhone and within your recording or audio app. Ensure that the input and output settings are correctly configured for your audio interface.
- Try a different USB/Lightning port: If you’re using a USB adapter, try connecting it to a different port on your iPhone. Similarly, if you’re using a Lightning connector, try using a different Lightning port to rule out any port-related issues.
- Reset audio settings: If you’re still facing issues, you can try resetting the audio settings on your iPhone. Go to Settings > General > Reset > Reset All Settings. Note that this will reset all your device settings, not just audio.
- Contact technical support: If none of the above troubleshooting tips resolve the issue, reach out to the technical support team of your audio interface manufacturer or consult online forums for additional assistance.
Remember, troubleshooting steps may vary slightly depending on the specific audio interface and iOS version you are using. It’s always a good idea to consult the user manual or contact the manufacturer’s support for tailored troubleshooting guidance.
By following these troubleshooting tips, you can overcome common obstacles and ensure a reliable and efficient connection between your audio interface and iPhone.
Conclusion
Connecting an audio interface to your iPhone opens up a whole new world of audio recording and processing possibilities. With the right equipment and proper configuration, you can achieve professional sound quality on a portable device. By following the steps outlined in this guide, you can connect your audio interface to your iPhone and unleash your creativity.
Remember to check the compatibility between your iPhone and the audio interface before proceeding. Gather all the necessary equipment, ensuring that you have the appropriate cables and adapters. Connect the audio interface to your iPhone using the Lightning to USB adapter or directly with a Lightning connector.
Configure the audio settings on your iPhone to optimize performance and customize your recording or playback preferences. Test the connection by launching a recording or audio app, selecting the audio interface as the input device, and verifying that sound is being captured and played back successfully.
If you encounter any issues, don’t worry. Troubleshooting tips such as checking cables, updating software, and adjusting settings can help you overcome common challenges. Remember to reach out to technical support if needed.
With your audio interface connected to your iPhone, you can embark on a creative journey of high-quality audio recording, mixing, and playback. Whether you’re a musician, podcaster, or audio enthusiast, this setup allows you to take your audio production to new heights.
So, grab your iPhone, connect your audio interface, and let your creativity soar with professional audio quality at your fingertips!