Home>Production & Technology>Audio Interface>How To Use Adat On Audio Interface

Audio Interface
How To Use Adat On Audio Interface
Modified: March 7, 2024
Learn how to use Adat on your audio interface to expand your recording capabilities. Enhance your audio production with this comprehensive guide on using Adat with your Audio Interface.
(Many of the links in this article redirect to a specific reviewed product. Your purchase of these products through affiliate links helps to generate commission for AudioLover.com, at no extra cost. Learn more)
Table of Contents
Introduction
In the world of audio recording and production, having a reliable and versatile audio interface is crucial. An audio interface acts as the bridge between your computer and the rest of your recording setup, allowing you to capture high-quality audio and connect various devices such as microphones, instruments, and headphones. One of the key features to consider when selecting an audio interface is its compatibility with different digital audio formats, such as ADAT (Alesis Digital Audio Tape).
ADAT is a widely used digital audio interface that facilitates the transfer of multiple audio channels between devices. It was originally developed by Alesis in the early 1990s and quickly gained popularity among professionals and home studio owners alike. With the increasing demand for higher track counts and flexibility in audio production, understanding how to use ADAT on an audio interface can greatly expand your recording capabilities.
In this article, we will explore what an audio interface is, delve into the world of ADAT, and provide a step-by-step guide on how to use ADAT on your audio interface. We will also offer troubleshooting tips for common issues that may arise during the process. Whether you are a seasoned veteran or a beginner in audio recording, mastering the use of ADAT can take your recordings to the next level.
What is an audio interface?
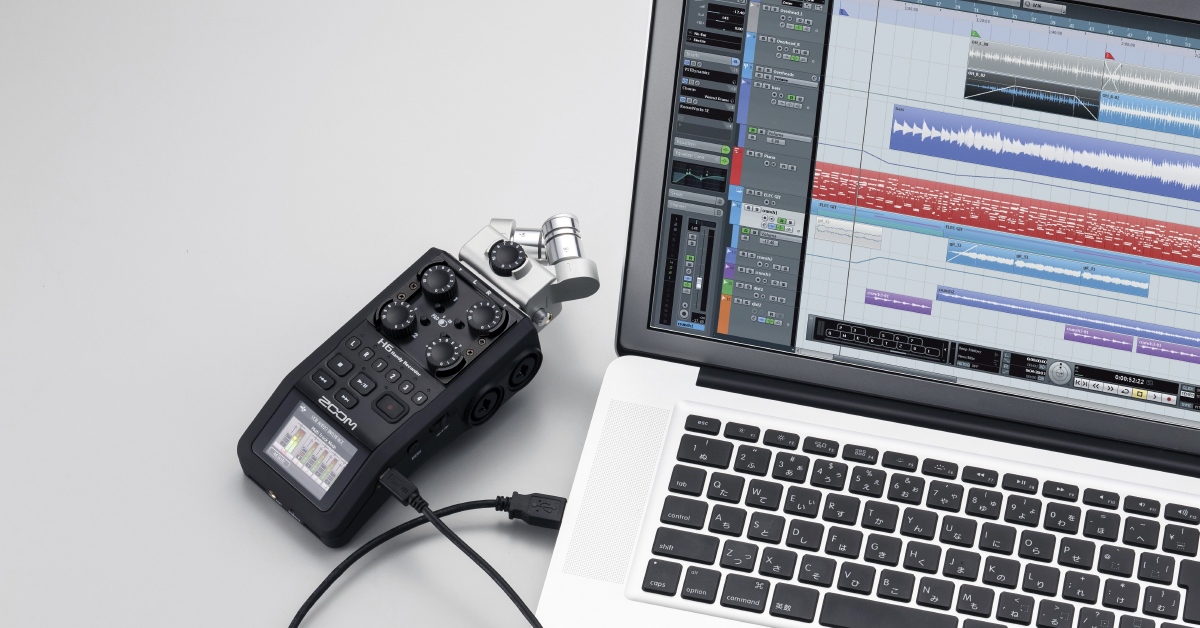
An audio interface is a device that allows you to connect audio sources, such as microphones and instruments, to your computer for recording and playback purposes. It serves as the intermediary between your analog audio equipment and the digital realm of your computer.
Audio interfaces come in a variety of shapes and sizes, including USB, Thunderbolt, and FireWire connections. They typically have inputs for connecting microphones, instruments, and line-level sources, as well as outputs for connecting monitors and headphones. Some higher-end audio interfaces also offer additional features like built-in preamps, DSP processing, and digital connectivity options.
The primary purpose of an audio interface is to convert analog audio signals into digital data that can be processed by your computer’s software. It ensures that the audio signals are captured with high fidelity, minimal latency, and without any noise or interference.
Audio interfaces also provide essential features for recording, such as phantom power for condenser microphones, gain control for adjusting input levels, and monitoring options for listening to your recordings in real-time. Additionally, they often offer multiple inputs and outputs, allowing you to record and playback multiple audio channels simultaneously.
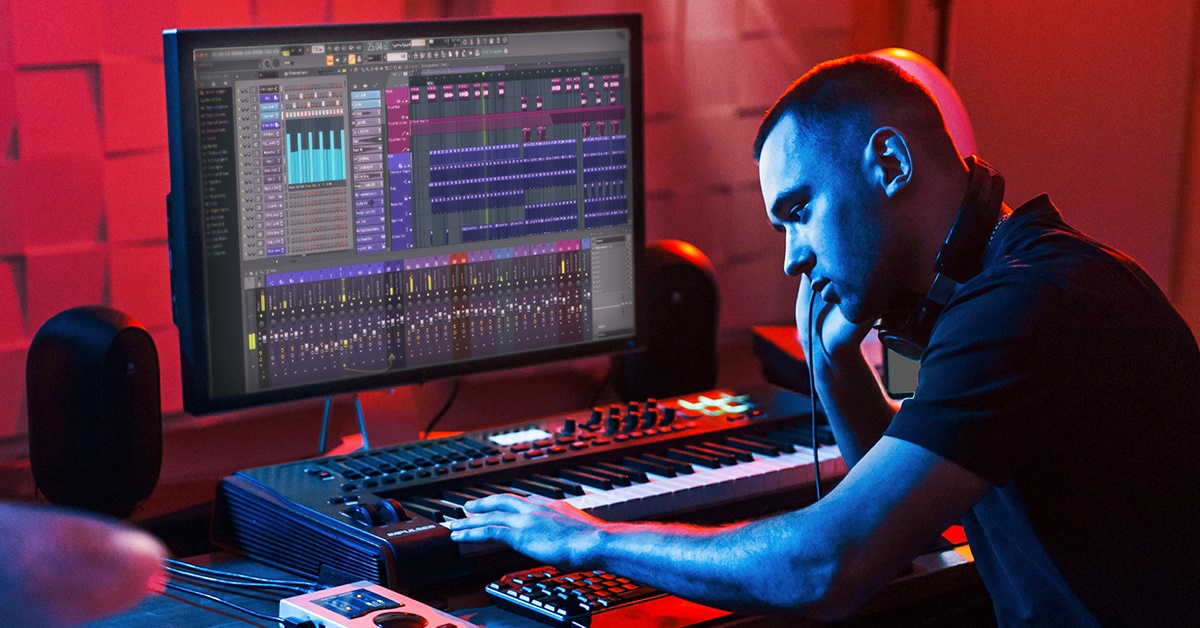
Whether you are a musician, podcaster, or sound engineer, an audio interface is an essential tool for achieving professional-quality recordings. It allows you to harness the power of your computer and recording software while maintaining the integrity of your audio sources.
What is ADAT?
ADAT, which stands for Alesis Digital Audio Tape, is a digital audio interface format that was introduced by Alesis in the early 1990s. It was designed to address the need for a reliable and affordable way to transfer multiple audio channels between devices.
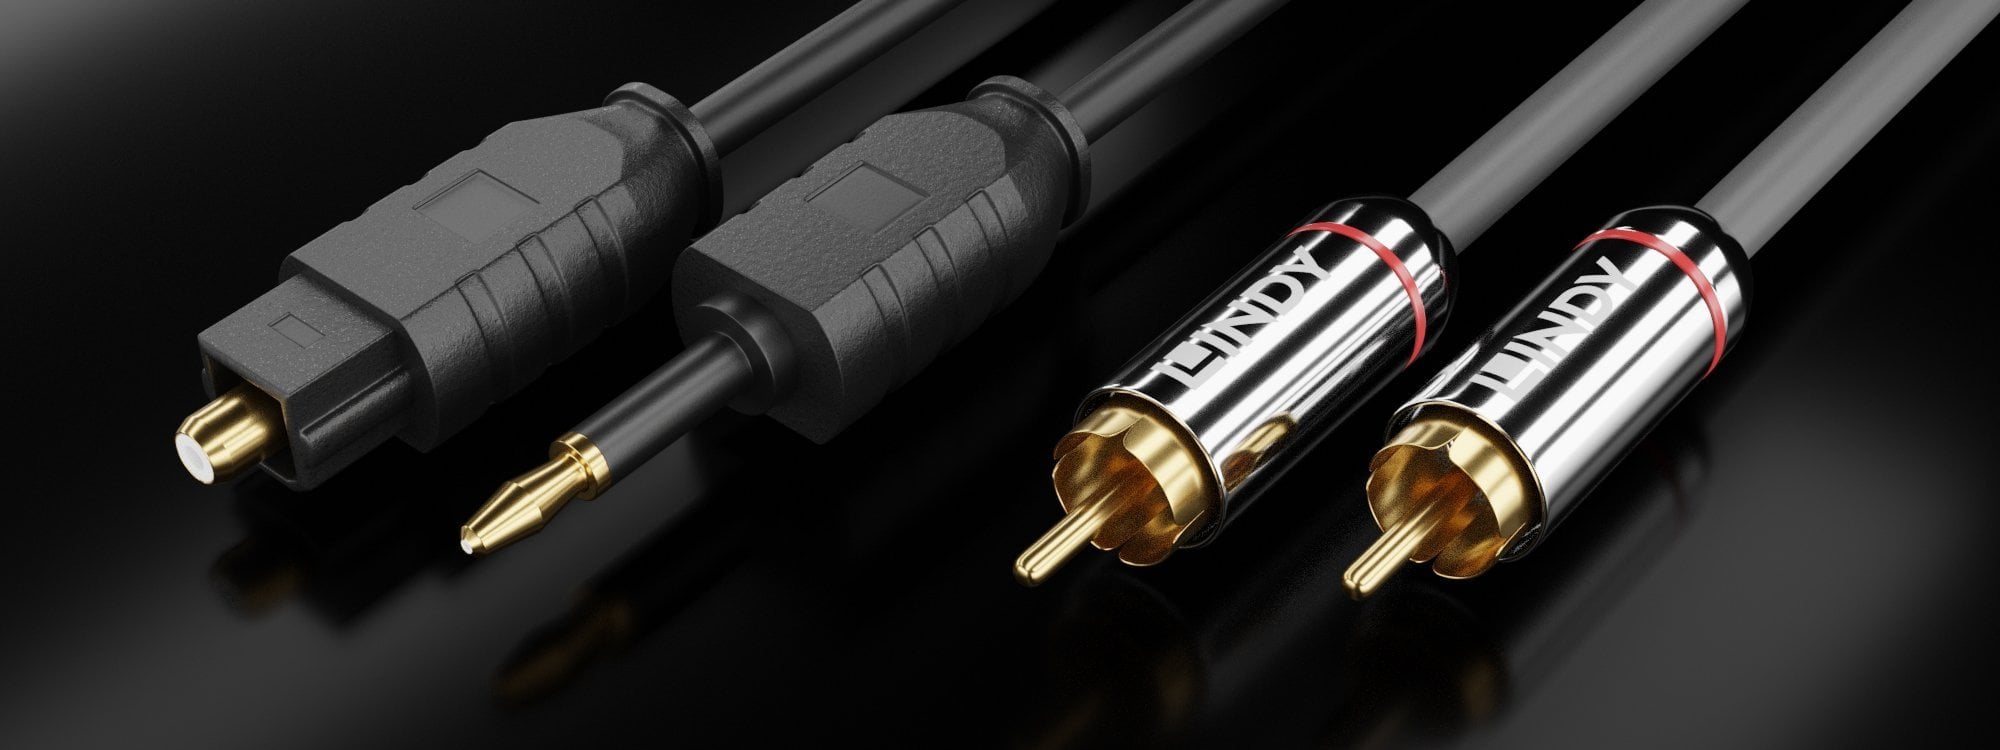
At its core, ADAT utilizes a lightpipe connection, also known as an optical interface, to transmit up to eight channels of uncompressed digital audio. Each ADAT channel carries a 24-bit audio signal at a sample rate of 44.1 kHz or 48 kHz. When multiple ADAT devices are connected together, they can be used to expand the number of available audio inputs and outputs.
ADAT quickly gained popularity due to its ability to provide high-quality audio transfer with minimal latency and signal degradation. It became a staple in professional recording studios, allowing recording engineers to easily integrate multiple devices such as digital mixers, audio interfaces, and effects processors.
In addition to its primary function of audio transfer, ADAT also supports features such as sample rate synchronization and clock distribution. This allows multiple ADAT devices to be synchronized together, ensuring that all audio channels are perfectly aligned, and eliminating any timing issues that could occur when using multiple devices in a recording setup.
ADAT is a versatile and flexible interface format that continues to be widely used today. It is commonly found in audio interfaces, digital mixers, and standalone ADAT recorders. It offers an affordable and efficient solution for increasing the number of available audio channels and expanding the capabilities of your recording setup.
Understanding ADAT on an audio interface
ADAT is a powerful feature that can greatly expand the input and output options of your audio interface. By utilizing the ADAT interface, you can connect external devices, such as preamps or digital mixers, to your audio interface, effectively increasing the number of available audio channels.
Most audio interfaces that support ADAT will have both ADAT inputs and outputs. The inputs allow you to receive audio signals from external devices, while the outputs allow you to send audio signals to those devices. Depending on the model of your audio interface, you may have one or multiple ADAT optical connectors.
When using ADAT, it’s important to consider the sample rate and channel count. ADAT supports up to eight channels of audio at a time, and the sample rate can be either 44.1 kHz or 48 kHz. Make sure that the sample rate settings of your audio interface and external devices are properly configured to match each other.
To take full advantage of ADAT, you’ll need to have compatible external devices that also support ADAT connectivity. For example, you can connect a multi-channel microphone preamp with ADAT outputs to your audio interface’s ADAT inputs, allowing you to capture additional microphone signals simultaneously. Similarly, you can connect an ADAT-compatible digital mixer to your audio interface to expand the number of available mixer channels for recording and monitoring.
It’s worth noting that while ADAT is a commonly used interface for audio expansion, it does have limitations. The maximum channel count is eight, and it does not support higher sample rates like 88.2 kHz or 96 kHz. If you require more channels or higher sample rates, you may need to consider other interface options such as S/PDIF or Thunderbolt.
Overall, ADAT provides a practical and cost-effective solution for expanding the capabilities of your audio interface. It allows you to connect additional devices and greatly increases the flexibility of your recording and mixing setup. Understanding how ADAT works on your specific audio interface will enable you to take full advantage of its potential and achieve the best results in your audio production.
Step-by-step guide on using ADAT on an audio interface
Using ADAT on your audio interface opens up a world of possibilities for expanding your recording capabilities. Whether you want to connect external preamps, digital mixers, or other ADAT-compatible devices, here is a step-by-step guide to help you make the most of ADAT:
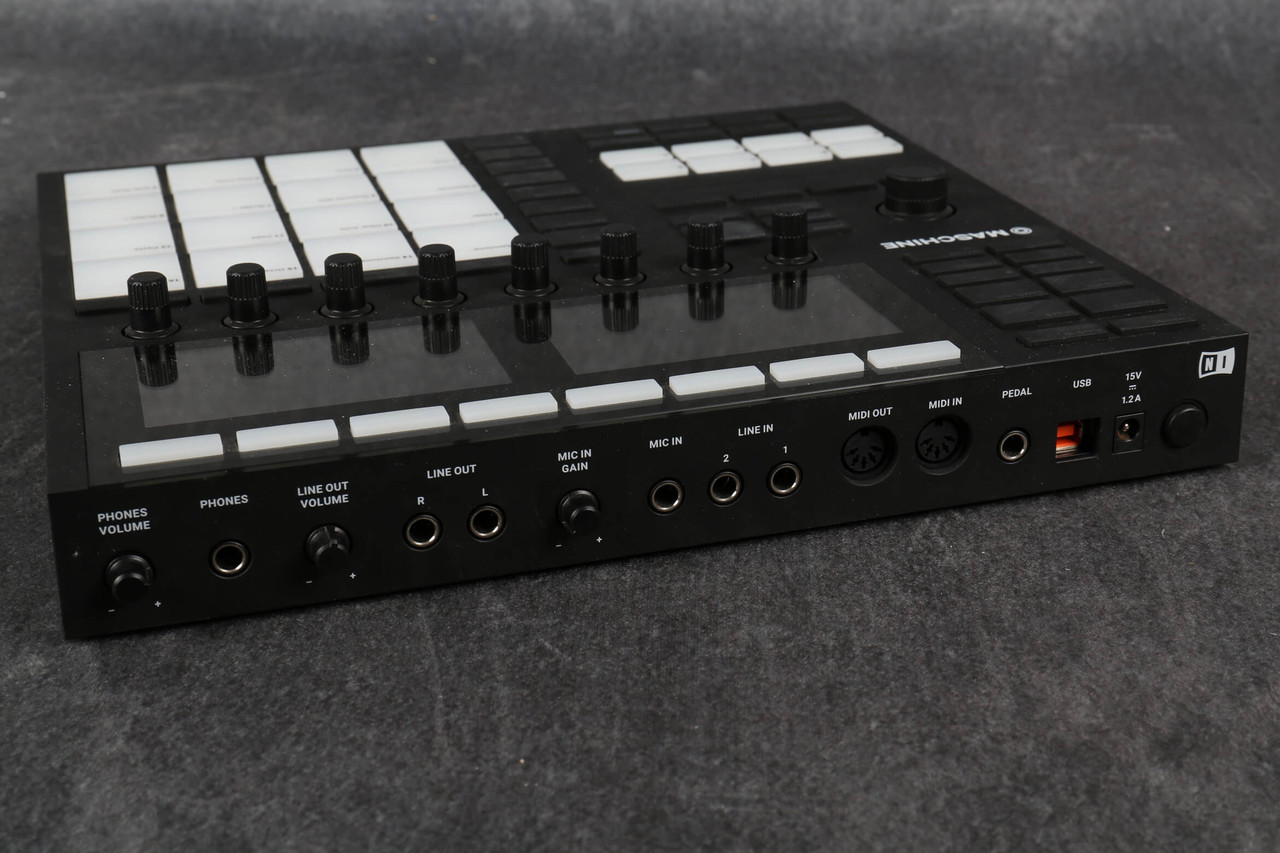
- Ensure that your audio interface supports ADAT. Check the specifications or product manual to confirm that your audio interface has ADAT input and output ports.
- Identify the ADAT connectors on your audio interface. These connectors may be labeled as “ADAT,” “S/PDIF,” or “Optical.”
- Connect the ADAT output of your external device, such as a preamp or digital mixer, to the ADAT input on your audio interface using an optical cable.
- Configure the sample rate settings. Make sure that the sample rate settings of your audio interface and the connected external device are set to the same value, either 44.1 kHz or 48 kHz.
- Set the clock source. In your audio interface’s control panel or software, select the appropriate clock source for ADAT. This can be internal (from your audio interface) or external (from the connected device).
- Set the input and output routing. In your audio interface software or DAW (Digital Audio Workstation), configure the input and output routing to utilize the ADAT channels. This may involve selecting the ADAT inputs for recording, or assigning the ADAT outputs for playback and monitoring.
- Adjust the input levels. Use the gain controls on your external device or the preamp section of your audio interface to set the input levels for the connected ADAT channels.
- Monitor and record. With your ADAT setup properly configured, you can now monitor and record audio using the connected external device. Make sure to enable the appropriate ADAT channels in your recording software or DAW.
- Monitor the audio. Use your audio interface’s monitoring options to listen to the playback of the recorded audio. This can include routing the ADAT channels to your headphones or studio monitors.
By following these steps, you can successfully use ADAT on your audio interface and take advantage of the expanded audio input and output options it provides. Remember to refer to the user manual of your specific audio interface for any additional instructions or settings that may apply.
Troubleshooting common issues with ADAT on an audio interface
While using ADAT on your audio interface can greatly enhance your recording setup, there are a few common issues that may arise. Here are some troubleshooting tips to help you overcome these challenges:
- No audio signal: If you’re not receiving any audio signal from your connected ADAT device, double-check the cable connections. Ensure that the optical cable is securely plugged into the ADAT input/output ports of both the audio interface and the external device. Also, make sure that the ADAT channels are properly enabled in your audio interface’s software or DAW.
- Incorrect sample rate: If you’re experiencing distortion or audio artifacts, it may be due to mismatched sample rates. Verify that both the audio interface and the connected device are set to the same sample rate (either 44.1 kHz or 48 kHz).
- Incompatible device: Ensure that your external device is compatible with ADAT and that it supports the same sample rate as your audio interface. Check the device’s user manual or specifications to confirm its compatibility with ADAT.
- Clock synchronization issues: If you’re encountering synchronization problems between your audio interface and the connected ADAT device, check the clock settings. Ensure that both devices are set to the same clock source (internal or external) to avoid timing discrepancies. In some cases, using an external word clock generator may help improve synchronization.
- Channel configuration: If you’re not getting the desired audio channels through ADAT, check the input and output routing settings in your audio interface’s software or DAW. Ensure that the ADAT channels are properly assigned for recording and playback.
- Driver and firmware updates: Keeping your audio interface’s drivers and firmware up to date is crucial for optimal performance. Check the manufacturer’s website regularly for any available driver or firmware updates, as they may address compatibility issues or provide additional functionality.
If you’re still encountering issues after performing the troubleshooting steps mentioned above, it’s recommended to consult the user manual of your audio interface or contact the manufacturer’s support team for further assistance. They will have specific knowledge about your audio interface and can provide targeted solutions to resolve any ADAT-related problems.
By troubleshooting these common issues, you can ensure a smooth and efficient experience when using ADAT on your audio interface, enabling you to make the most of this powerful feature in your recording setup.
Conclusion
In conclusion, ADAT is a valuable feature that can significantly expand the capabilities of your audio interface. By utilizing ADAT, you can connect external devices such as preamps, digital mixers, and more, allowing you to record and playback multiple audio channels simultaneously. Understanding how to use ADAT on your audio interface opens up a world of possibilities for your recording and production workflow.
Throughout this article, we’ve explored what an audio interface is and how ADAT works as a digital audio interface format. We’ve provided a step-by-step guide on using ADAT, from connecting the devices to configuring sample rates and routing. We’ve also discussed common troubleshooting tips to help you overcome any issues you may encounter.
By utilizing ADAT, you can expand your audio interface’s input and output options, ultimately improving your recording flexibility and enabling you to achieve professional-quality results. Whether you’re a musician, producer, podcaster, or sound engineer, mastering ADAT on your audio interface can enhance your creative process and take your audio production to the next level.
Remember to refer to the user manual of your specific audio interface for any additional instructions or settings that may apply. Additionally, don’t hesitate to reach out to the manufacturer’s support team if you need further assistance or encounter any challenges along the way.
Incorporating ADAT into your audio interface setup is a valuable investment that can greatly benefit your recording endeavors. So, why wait? Start exploring the powerful features of ADAT and unlock the full potential of your audio interface today!