Home>Production & Technology>Audio Interface>How To Use Audio Interface With Zoom
Audio Interface
How To Use Audio Interface With Zoom
Modified: February 19, 2024
Learn how to use an audio interface with Zoom to enhance the audio quality of your virtual meetings. Get step-by-step instructions and improve your audio experience.
(Many of the links in this article redirect to a specific reviewed product. Your purchase of these products through affiliate links helps to generate commission for AudioLover.com, at no extra cost. Learn more)
Table of Contents
Introduction
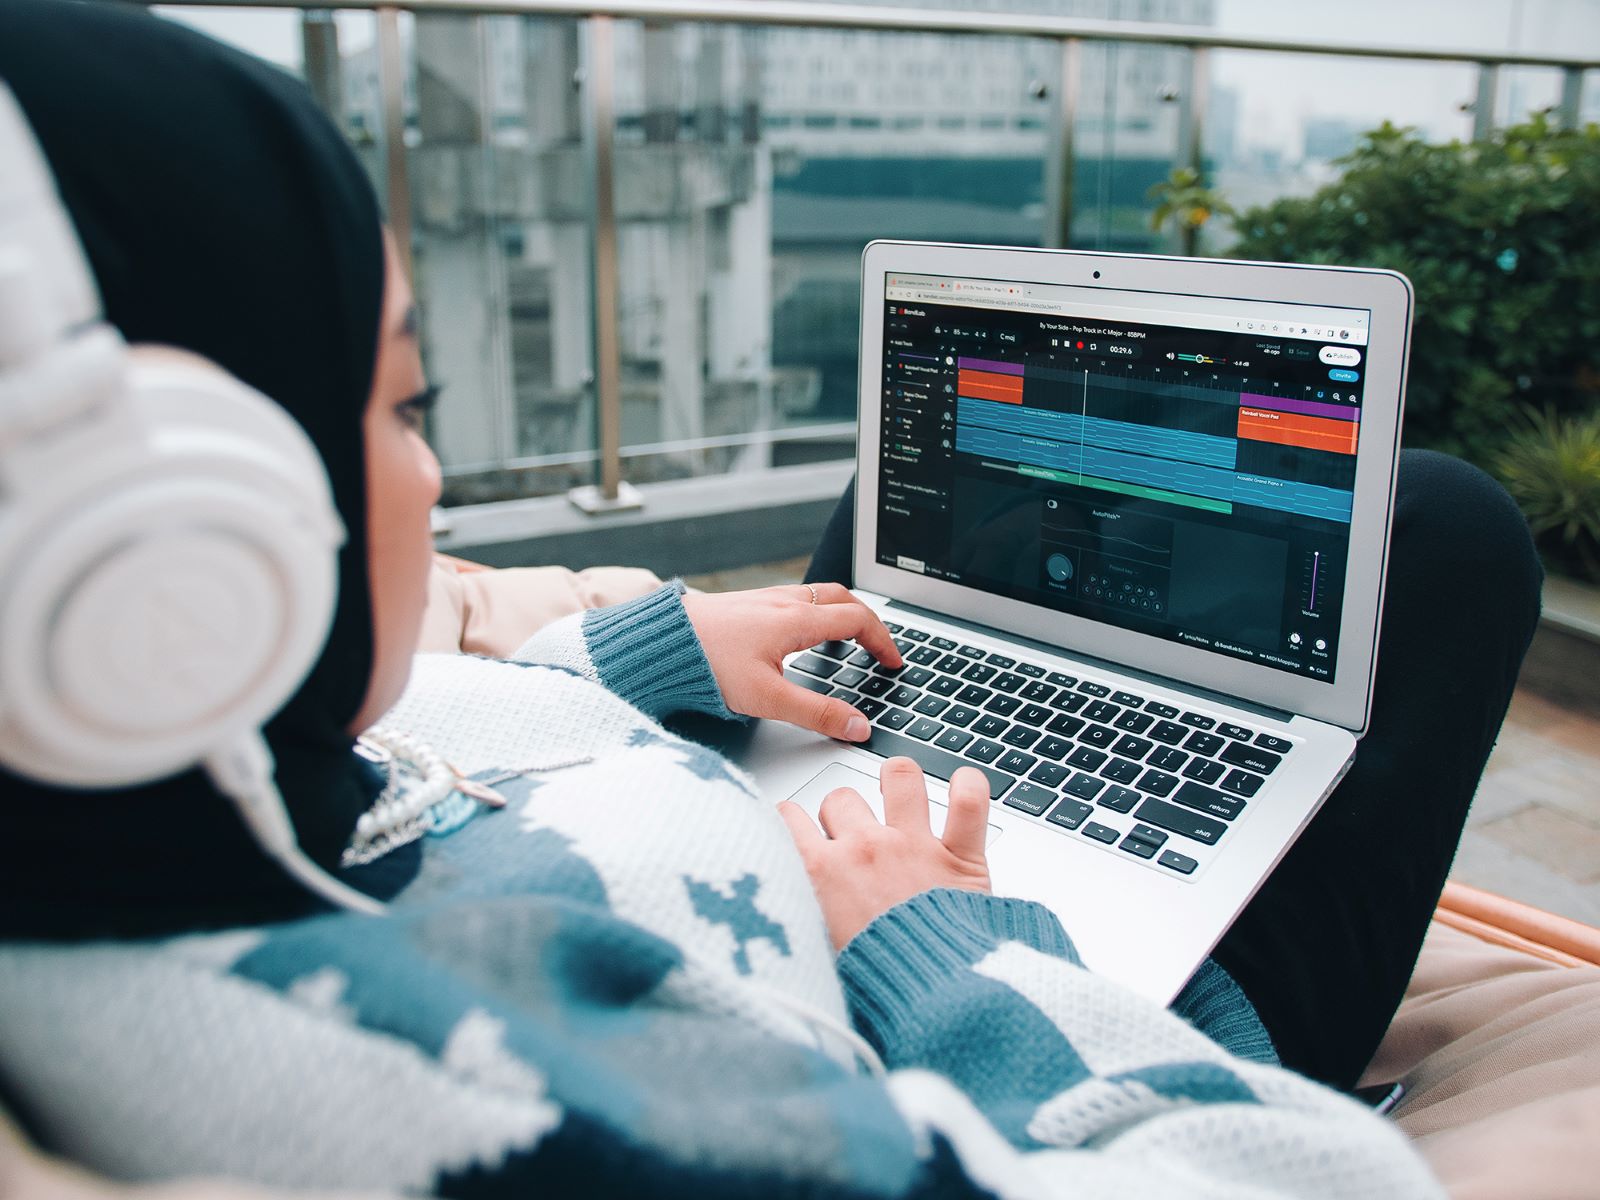
Welcome to the world of online communication and collaboration! With the rise of remote work and virtual meetings, having a reliable and high-quality audio setup is essential. Whether you are conducting business meetings, attending online classes, or hosting webinars, having a professional audio interface can greatly enhance your Zoom experience.
Zoom has quickly become one of the most popular video conferencing platforms, offering seamless communication across different devices and operating systems. While the built-in microphones and speakers on your computer or headset may be sufficient for casual calls, they often fall short when it comes to delivering crystal-clear audio for professional purposes.
That’s where an audio interface comes in. An audio interface is a hardware device that connects to your computer, enabling you to capture and playback high-quality audio. It serves as a bridge between your microphone, instruments, or other audio sources and your computer, ensuring that the audio signals are properly converted and optimized for recording or live streaming.
If you want to take your Zoom calls to the next level and achieve professional-grade audio quality, using an audio interface is the way to go. In this article, we will dive into the world of audio interfaces and explore how they can enhance your Zoom experience. We will discuss the benefits of using an audio interface, guide you in choosing the right one, and provide step-by-step instructions on setting it up for seamless integration with Zoom. So, let’s get started!
What is an Audio Interface?
An audio interface is a hardware device that connects to your computer and allows you to record and playback audio signals with superior quality and precision. It acts as a bridge between your audio sources, such as microphones, instruments, or external sound modules, and your computer.
While your computer or mobile device may have a built-in audio input/output, they are often limited in terms of sound quality and functionality. An audio interface, on the other hand, provides professional-grade audio conversion, low-latency monitoring, and a range of input and output options.
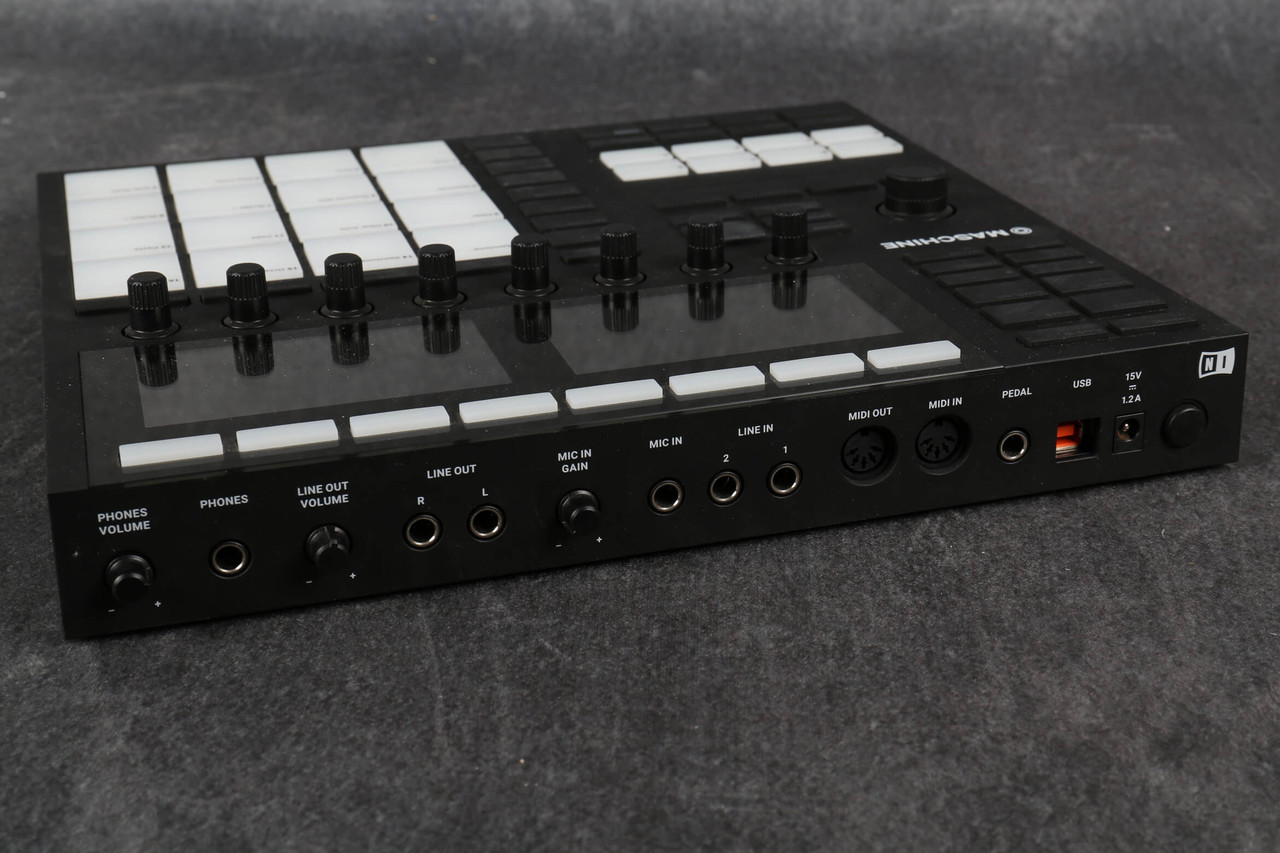
Audio interfaces come in various shapes and sizes, ranging from compact USB interfaces for solo musicians and podcasters to advanced rack-mounted units for professional recording studios. They typically feature multiple inputs and outputs, preamps, digital converters, and control knobs for adjusting levels and mix settings.
One of the key benefits of using an audio interface is its ability to produce high-quality sound recordings. Audio interfaces use superior analog-to-digital and digital-to-analog converters to capture and reproduce audio with exceptional accuracy and clarity. This is especially important for musicians, podcasters, and content creators who require pristine sound quality for their recordings.
Additionally, audio interfaces often include built-in preamps, which provide gain control and phantom power to condenser microphones. Preamps are crucial for capturing clean and amplified audio signals from microphones, ensuring that the recorded sound is free from unwanted noise or distortion.
Another advantage of using an audio interface is the ability to achieve low-latency monitoring. Latency refers to the delay between the audio input and its output, which can cause timing issues when recording vocals or playing virtual instruments. Audio interfaces offer direct monitoring capabilities, allowing you to hear your input signals in real-time without any noticeable delay.
Furthermore, audio interfaces provide a wide range of input and output options, allowing you to connect multiple microphones, instruments, headphones, and speakers simultaneously. This versatility is particularly useful for podcasters, bands, and audio engineers who need to accommodate different audio sources and monitor setups.
In summary, an audio interface is an essential tool for anyone seeking professional-grade audio quality and flexibility. It serves as the backbone of your audio setup, ensuring that your sound recordings and live streams are clear, accurate, and free from technical limitations. Whether you are a musician, podcaster, content creator, or simply someone who values high-quality audio, an audio interface is a game-changer.
Benefits of Using an Audio Interface with Zoom
When it comes to online meetings, webinars, or virtual conferences, audio quality plays a crucial role in effective communication. Using an audio interface with Zoom can bring a myriad of benefits that enhance the overall experience for both presenters and participants. Let’s explore some of these advantages:
- Improved Audio Clarity: One of the primary benefits of using an audio interface with Zoom is the significantly improved audio clarity it offers. The built-in microphones on laptops or webcams may produce subpar audio quality, with background noise and echo. An audio interface enables you to connect a high-quality microphone, resulting in clear and crisp sound for seamless communication.
- Enhanced Sound Balance: With an audio interface, you have more control over the sound balance during Zoom calls. You can fine-tune the levels and adjust the input gain to ensure that your voice or instrument is properly balanced within the meeting. This is especially important for presenters, musicians, or anyone who wants to deliver a professional and polished audio performance.
- Reduced Latency: Using an audio interface can minimize latency issues during Zoom calls. Latency, or the delay between audio input and output, can be distracting and disrupt the flow of conversation. Audio interfaces often offer low-latency monitoring, allowing you to hear yourself and others in real-time without noticeable delays.
- Multiple Input Options: Audio interfaces provide multiple input options, allowing you to connect different audio sources simultaneously. This is particularly useful for panel discussions, interviews, or group collaborations. You can connect microphones, instruments, or audio playback devices, accommodating various participants and expanding the audio capabilities of your Zoom setup.
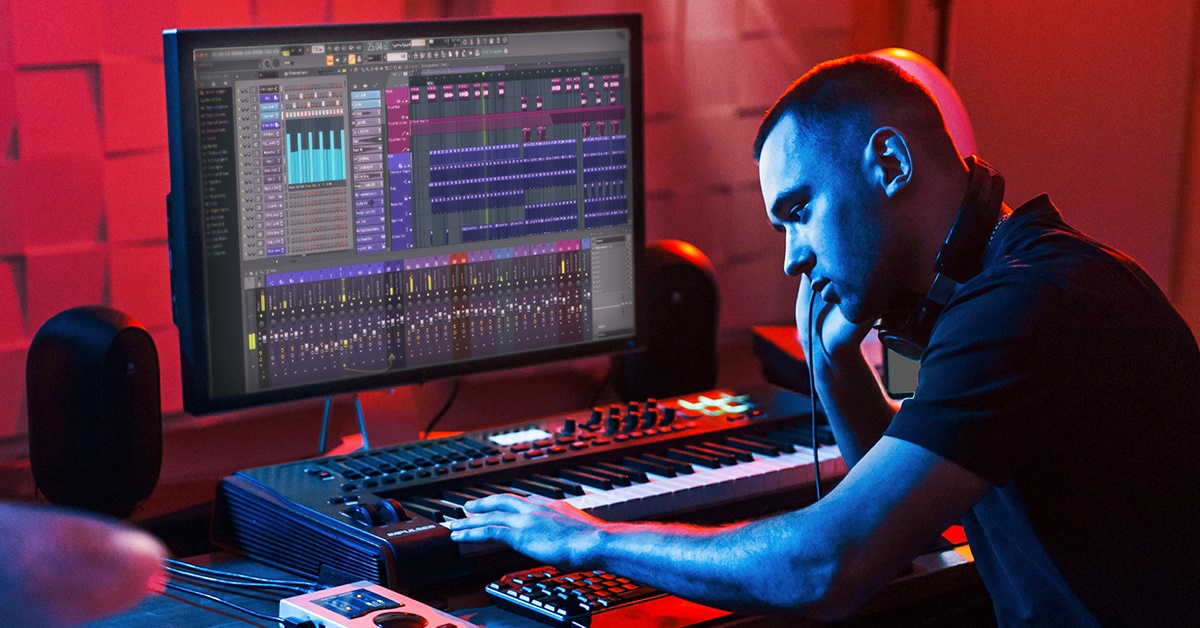
- Flexibility and Versatility: An audio interface opens up a world of possibilities in terms of audio devices and configurations. You can use condenser or dynamic microphones, integrate MIDI controllers, or connect instruments directly to the interface. This flexibility allows you to customize your audio setup to match your specific needs and preferences.
- Professional Recording Quality: If you need to record your Zoom sessions for later use, an audio interface ensures professional-grade recording quality. The high-quality analog-to-digital converters capture audio accurately, resulting in pristine recordings that can be used for podcasts, webinars, or multimedia content without the need for additional post-processing.
By utilizing an audio interface with Zoom, you can significantly enhance the audio experience, creating a more professional and engaging environment for everyone involved. Whether you are hosting virtual meetings, teaching online classes, or delivering presentations, the improved audio clarity and control provided by an audio interface can make a world of difference.
Choosing the Right Audio Interface for Zoom Calls
When selecting an audio interface for use with Zoom calls, it’s essential to consider your specific needs and the capabilities of the interface. Here are some factors to consider when choosing the right audio interface:
- Compatibility: Ensure that the audio interface you choose is compatible with your computer’s operating system. Most modern audio interfaces are compatible with both Mac and Windows systems, but it’s always wise to double-check before making a purchase.
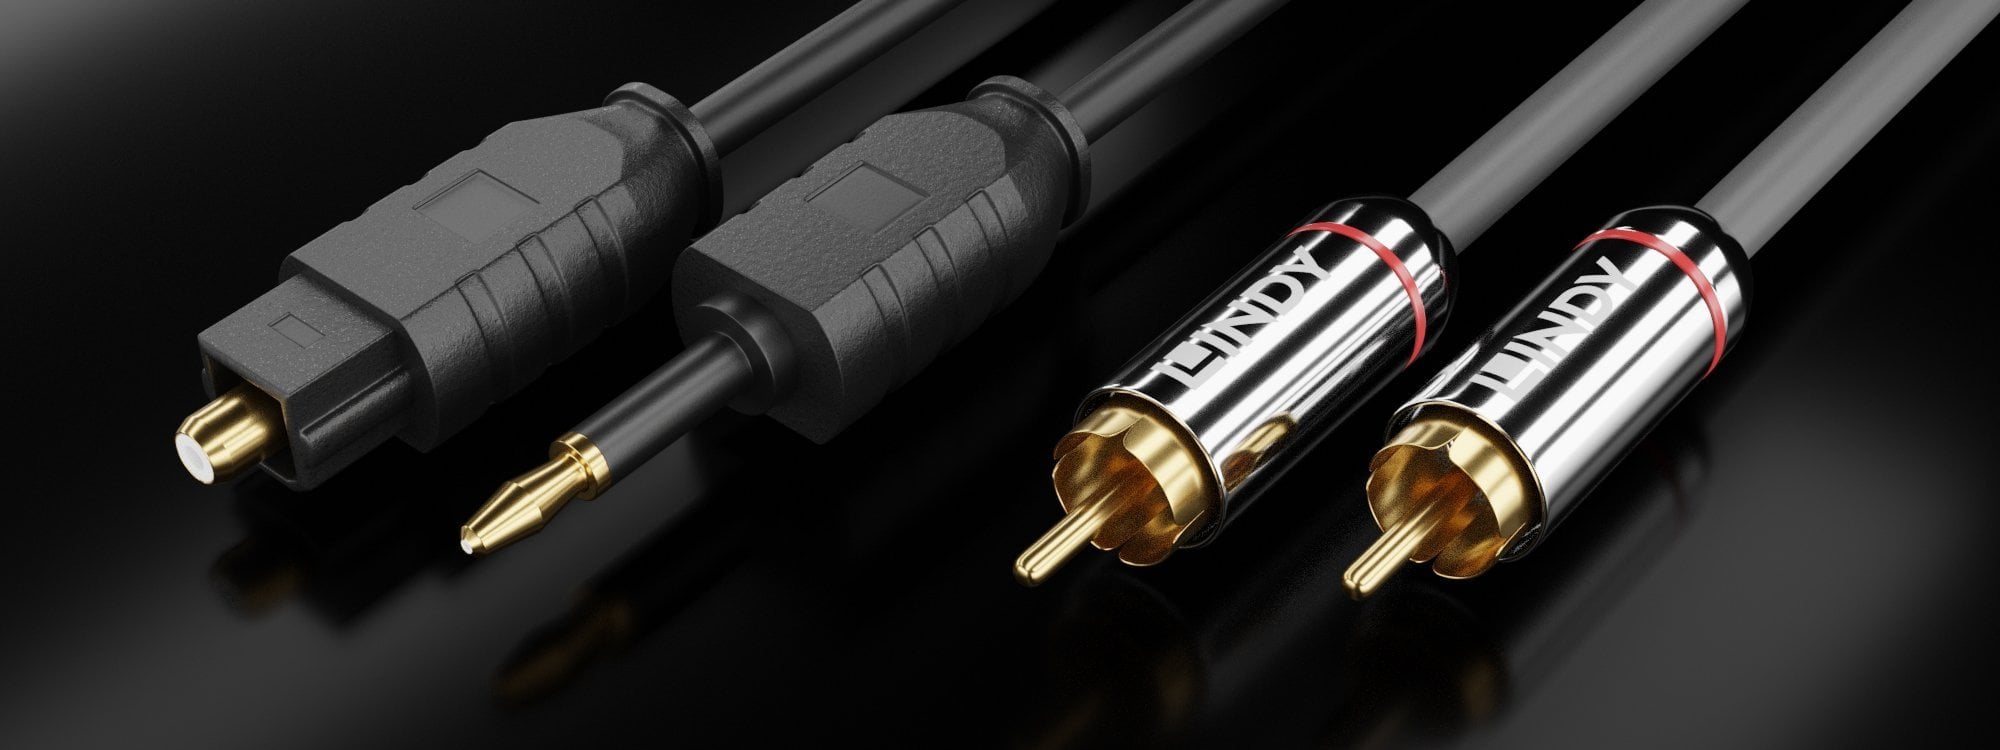
- Connectivity: Consider the connectivity options that you require. USB audio interfaces are the most common and convenient choice, as they offer plug-and-play functionality and are compatible with a wide range of devices. However, if you expect to work with higher-end equipment or require more inputs and outputs, you may want to consider interfaces with Thunderbolt, Firewire, or PCIe connections.
- Number of Inputs and Outputs: Determine how many simultaneous audio sources you need to connect. If you only require a single microphone or instrument input, a basic 2-input audio interface will suffice. However, if you plan on hosting panel discussions or connecting multiple audio sources, consider an interface with more inputs and outputs to accommodate your needs.
- Preamp Quality: The quality of the preamps in the audio interface can significantly impact the sound quality of your recordings. Look for interfaces with high-quality preamps that offer clean amplification and low noise levels. This is especially important if you plan on using condenser microphones that require phantom power.
- Sample Rate and Bit Depth: Consider the sample rate and bit depth options offered by the audio interface. Higher sample rates and bit depths allow for better audio quality and more accurate recordings. While 24-bit/48kHz is a common standard, some interfaces offer higher resolutions for professional-grade recording.
- Control Features: Check if the audio interface offers hardware control features, such as volume knobs, gain adjustment, or direct monitoring. These features provide hands-on control and flexibility during your Zoom calls, allowing you to adjust settings as needed without relying solely on software controls.
- Budget: Set a budget for your audio interface purchase and consider the features and specifications that are critical to your needs. Audio interfaces come in various price ranges, so it’s important to strike a balance between your requirements and your budget.
Ultimately, the right audio interface for your Zoom calls will depend on your specific requirements, budget, and preferences. It’s important to do thorough research, read reviews, and consider your use case before making a decision.
Remember, a high-quality audio interface can greatly enhance the audio experience during your Zoom calls, ensuring clear and professional sound for effective communication and collaboration.
Setting up Your Audio Interface for Zoom
Setting up your audio interface for Zoom is a relatively straightforward process that involves a few simple steps. Follow these instructions to ensure a smooth integration:
- Connect the Audio Interface: Start by connecting your audio interface to your computer via the appropriate cable (such as USB or Thunderbolt). Ensure that the interface is properly powered on.
- Install Drivers (if necessary): In some cases, your computer may require drivers to recognize and communicate with the audio interface. Check the manufacturer’s website for any driver downloads and follow the installation instructions if needed. Restart your computer after installing the drivers.
- Open Zoom and Access Audio Settings: Launch the Zoom application on your computer. Click on the gear icon in the top right corner to access the Settings menu.
- Select Audio Settings: In the Settings menu, select the “Audio” tab. This is where you can configure your audio input and output devices.
- Select the Audio Interface: Under the microphone section, choose your audio interface as the input device. Similarly, select your audio interface as the output device under the speaker section.
- Adjust Input and Output Levels: Use the input and output level controls on your audio interface to adjust the sound levels. Start with a lower volume and gradually increase it while monitoring the audio to avoid any distortion or clipping.
- Test the Audio: To ensure that your audio interface is working properly with Zoom, use the “Test Speaker” and “Test Microphone” options in the Audio Settings. Follow the on-screen instructions to perform the tests and make any necessary adjustments.
- Save Settings and Exit: Once you are satisfied with your audio settings, click on the “Save” button at the bottom of the Audio Settings window to apply the changes. Close the Settings menu.
With these steps, your audio interface should now be properly set up and integrated with Zoom. You can now join or host meetings with enhanced audio quality and control.
It’s important to note that some audio interfaces may offer additional features and configurations that require specific settings within the interface’s control software. Consult the user manual or the manufacturer’s website for instructions on accessing and configuring these settings.
Remember to test your audio setup before important meetings or presentations to ensure that everything is working as expected. Adjust the input gain, output levels, and any other settings to suit your preferences and the requirements of your Zoom calls.
By setting up your audio interface properly and optimizing the audio settings in Zoom, you can enjoy professional-grade audio quality and a seamless communication experience during your Zoom calls.
Configuring Audio Settings in Zoom
Configuring the audio settings in Zoom is crucial to ensure optimal sound quality and functionality during your meetings, webinars, or virtual conferences. Follow these steps to configure your audio settings in Zoom:
- Open Zoom and Access Settings: Launch the Zoom application on your computer and sign in to your account. Click on the gear icon in the top right corner of the screen to access the Settings menu.
- Access Audio Settings: In the Settings menu, select the “Audio” tab. This is where you can configure your audio input and output devices, as well as adjust other audio-related settings.
- Test Speaker and Microphone: To ensure that your audio devices are working properly, click on the “Test Speaker” and “Test Microphone” buttons. Follow the on-screen instructions to perform the tests and make any necessary adjustments.
- Select Input and Output Devices: Under the microphone section, choose the desired input device from the dropdown menu. This is where you can select your audio interface as the input device. Similarly, select the appropriate output device from the dropdown menu in the speaker section.
- Adjust Audio Input and Output Levels: Use the input and output volume sliders to adjust the sound levels. Start with a lower volume and gradually increase it while monitoring the audio to avoid distortions or clipping.
- Enable/Disable Automatically Adjust Microphone Volume: Zoom has a feature called “Automatically adjust microphone volume” that adjusts the input volume based on your microphone’s sensitivity. You can choose to enable or disable this feature based on your preferences.
- Enable/Disable Suppress Background Noise: Zoom provides an option to suppress background noise during your meetings. Evaluate this setting based on your environment and the type of call you are hosting. Enable it if you want to minimize background noise, or disable it for a more natural audio experience.
- Enable/Disable Echo Cancellation: Zoom has built-in echo cancellation to reduce echoing or feedback during your calls. You can enable or disable this feature based on your audio setup and requirements.
- Save Settings and Close: Once you have configured your audio settings, click on the “Save” button at the bottom of the Audio Settings window to apply the changes. You can now close the Settings menu.
Remember to test your audio setup after configuring the settings to ensure that everything is functioning as expected. Make adjustments to the input gain, output levels, and other settings as needed.
It’s worth noting that some audio interfaces may have their own control software with additional settings and configurations. Be sure to consult the user manual or the manufacturer’s website for instructions on accessing and configuring these settings within the interface’s control software.
By configuring the audio settings in Zoom, you can optimize the sound quality, tailor the settings to your specific devices, and ensure a smooth and professional audio experience during your Zoom calls.
Troubleshooting Common Issues with Audio Interfaces and Zoom
While using an audio interface with Zoom can greatly enhance your audio experience, it’s not uncommon to encounter some issues along the way. Here are some common problems and their potential solutions:
- No Audio Output: If you’re experiencing a lack of audio output during Zoom calls, ensure that your audio interface is properly connected and powered on. Check the audio settings in Zoom to confirm that the correct output device is selected. Additionally, verify that the volume levels on your audio interface and computer are turned up.
- Poor Audio Quality: If you’re hearing low-quality or distorted audio, check the input gain level on your audio interface. Adjust it to an appropriate level, avoiding both too low and too high settings. Make sure that your microphone or audio source is properly connected and that any necessary drivers or software are up to date.
- Audio Latency: Latency, or delay between audio input and output, can be a frustrating issue. To minimize latency, use the direct monitoring feature on your audio interface, if available. Adjust the buffer size in your audio interface settings or Zoom’s audio settings to reduce latency. Additionally, closing other resource-heavy applications on your computer may help alleviate latency issues.
- Noise or Hum: If you’re experiencing noise or hum in your audio, check for any loose connections. Ensure that all audio cables are securely plugged in and that there are no issues with grounding. Experiment with different USB ports on your computer, as some may introduce noise. Additionally, consider using balanced audio cables and proper grounding techniques to minimize interference.
- Compatibility Issues: Some audio interfaces may have compatibility issues with certain operating systems or Zoom versions. Ensure that you have the latest drivers and firmware installed for your audio interface. Check the manufacturer’s website for any updates or troubleshooting guides specific to your interface model.
- Interference with Other Devices: If you’re experiencing interference or audio disruptions, ensure that your audio interface is positioned away from any other electronic devices that may cause interference. This includes Wi-Fi routers, smartphones, or other wireless devices. Experiment with different placement options to minimize interference.
- Audio Interface Not Recognized: If your audio interface is not being recognized by your computer or Zoom, try connecting it to a different USB port. If that doesn’t resolve the issue, check the compatibility requirements and make sure your operating system is up to date. If necessary, reinstall the drivers for your audio interface.
If you continue to experience issues despite troubleshooting, reaching out to the manufacturer’s customer support or seeking assistance from audio interface forums or online communities can provide further guidance.
Remember to regularly check for updates for your audio interface’s drivers and firmware, as well as the Zoom application, to ensure compatibility and optimize performance. With some patience and the right troubleshooting steps, you can overcome common issues and enjoy a seamless audio experience with your audio interface and Zoom.
Conclusion
Using an audio interface with Zoom can significantly elevate your online communication and collaboration experience. By investing in a professional audio setup, you can enjoy improved audio clarity, reduced latency, and more control over your sound. Whether you are hosting virtual meetings, teaching online classes, or delivering presentations, an audio interface allows you to deliver a polished and professional audio performance.
In this article, we explored what an audio interface is and discussed the benefits it brings to your Zoom calls. We also provided guidance on choosing the right audio interface based on your needs and preferences. Additionally, we delved into the process of setting up your audio interface for seamless integration with Zoom, as well as configuring the audio settings within the Zoom application.
Furthermore, we covered troubleshooting common issues that may arise when using an audio interface with Zoom. From addressing audio output problems to minimizing latency and resolving noise issues, we provided potential solutions to ensure a smooth and high-quality audio experience.
Remember, the key to success is to thoroughly research and choose the audio interface that best suits your needs. Consider factors such as compatibility, connectivity options, and the number of inputs and outputs required. Additionally, take advantage of the configuration settings in Zoom to fine-tune the audio quality and address any potential issues.
By leveraging the power of an audio interface and optimizing your audio settings, you can take your Zoom calls to the next level. Enjoy clearer communication, enhanced sound quality, and a professional audio experience that will impress colleagues, clients, and participants.
So, what are you waiting for? Start exploring the world of audio interfaces and transform your Zoom calls into immersive and engaging experiences!