Home>Production & Technology>Background Music>How To Add Background Music In Obs


Background Music
How To Add Background Music In Obs
Modified: January 22, 2024
Learn how to add background music in OBS with our step-by-step guide. Enhance your live streams and recordings with the perfect audio accompaniment.
(Many of the links in this article redirect to a specific reviewed product. Your purchase of these products through affiliate links helps to generate commission for AudioLover.com, at no extra cost. Learn more)
Table of Contents
Introduction
Welcome to the world of content creation! Whether you are a streamer, a YouTuber, or a video producer, adding background music to your content can greatly enhance the viewer’s experience. It can set the mood, create a professional atmosphere, and elevate the overall quality of your videos or streams.
In this article, we will guide you through the process of adding background music to OBS Studio, a popular broadcasting software. OBS Studio allows you to capture video and audio sources, mix them together, and stream or record them with ease.
Before we begin, it’s important to note that while background music can be a fantastic addition to your content, it’s vital to respect copyright laws and make sure you have the necessary permissions to use the music in your videos or streams. There are several sources for royalty-free music, such as YouTube Audio Library, Epidemic Sound, and SoundCloud’s Creative Commons section, where you can find music that is free to use with proper attribution.
Now that we have covered the importance of using copyright-free music, let’s dive into the step-by-step process of adding background music to OBS Studio. By the end of this article, you will be able to seamlessly integrate music into your content and captivate your audience.
Step 1: Setting up OBS Studio
Before we can start adding background music to OBS Studio, we need to ensure that OBS Studio is properly set up on your computer. If you haven’t already, download and install OBS Studio from the official website.
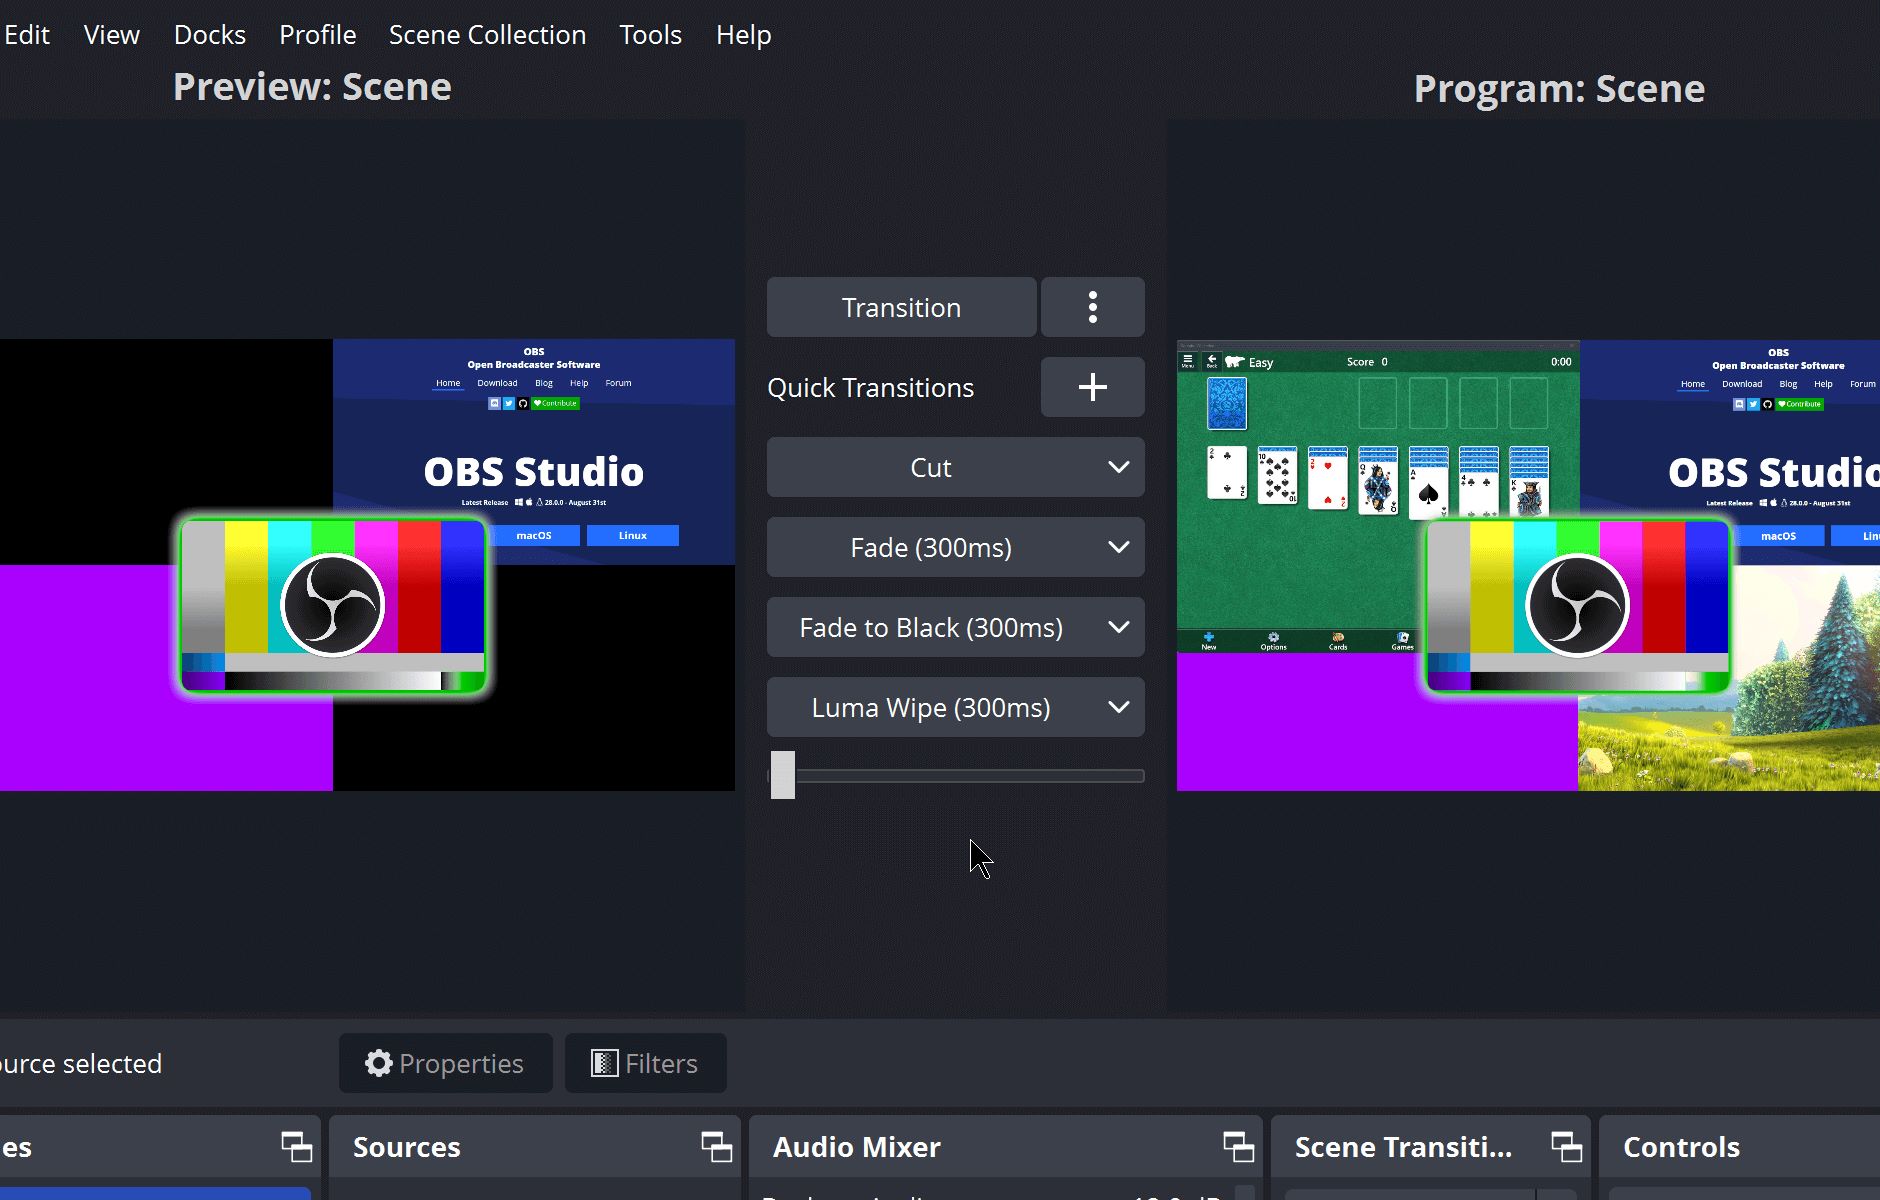
Once OBS Studio is installed, open the program and familiarize yourself with the interface. OBS Studio consists of different sections, including Scenes, Sources, and Mixer. These sections allow you to organize and control your video and audio sources.
To add background music, we’ll be utilizing the audio features of OBS Studio. However, it’s important to note that OBS Studio does not have a built-in media player for playing audio files directly. Instead, we’ll be adding the audio files as a source and configuring the settings accordingly.
To add an audio source, go to the Sources section in OBS Studio and click on the “+” button. From the dropdown menu, select “Audio Input Capture” or “Audio Output Capture” depending on your specific setup. Audio Input Capture is ideal if you want to capture the audio from your microphone or another external source, while Audio Output Capture is useful if you want to capture the audio coming from your computer.
After selecting the appropriate audio source, you’ll be prompted to name the source. Give it a descriptive name like “Background Music.” Click “Ok” to add the audio source to OBS Studio.
Now that we have added the audio source, you’ll notice that it appears in the list of sources in OBS Studio. To adjust the volume and other audio settings, click on the gear icon next to the audio source in the sources list. This will open the properties window, where you can configure various options.
In the properties window, you can adjust the volume of the background music by dragging the slider. You can also enable or disable monitoring, which allows you to listen to the audio in real-time. Additionally, you can configure filters, such as noise suppression or equalization, to enhance the audio quality of the background music.
Once you have adjusted the settings to your liking, click “Ok” to save the changes. OBS Studio is now set up and ready to have background music added to it.
In the next step, we’ll explore various options for selecting the background music to be used in OBS Studio. So let’s move on to Step 2: Selecting background music.
Step 2: Selecting background music
Now that OBS Studio is set up and ready, it’s time to choose the perfect background music for your content. The music you select should align with the overall theme or mood you want to convey. There are several options for sourcing background music:
- Royalty-free music libraries: Websites like YouTube Audio Library, Epidemic Sound, and SoundCloud’s Creative Commons section offer a wide range of royalty-free music that you can use in your videos or streams. These platforms provide music that is free of copyright restrictions or can be used with proper attribution.
- Private music collection: If you have access to your own music collection, you can select tracks that you have the rights to use. Be sure to check if the music requires any attribution or permission for use.
- Custom music: If you have the skills or resources, you can create custom background music specifically tailored to your content. This can add a unique and personalized touch to your videos or streams.
When selecting background music, consider the tempo, genre, and mood that best fit your content. It’s important to strike a balance between having music that complements your content without overpowering it. For example, if you’re creating a relaxing vlog, you might opt for soft and soothing instrumental music, while an energetic gaming stream might call for upbeat and fast-paced tracks.
Once you have chosen the background music, make sure to download or save the audio files to your computer in a format that is compatible with OBS Studio (such as MP3 or WAV). Remember to keep your music library organized for easy access during your content creation process.
Now that you have your background music ready, it’s time to add it to OBS Studio. In the next step, we will cover how to add audio sources in OBS Studio and integrate your selected background music into your content. Let’s move on to Step 3: Adding audio sources in OBS.
Step 3: Adding audio sources in OBS
Now that you have selected the perfect background music for your content, it’s time to add it as an audio source in OBS Studio. Adding audio sources in OBS allows you to easily control and manipulate the background music during your live streams or video recordings.
To add an audio source, follow these steps:
- Open OBS Studio and navigate to the Sources section.
- Click on the “+” button to add a new source.
- From the dropdown menu, select “Audio Output Capture”.
- Give the audio source a descriptive name, such as “Background Music”.
- Click “Ok” to add the audio source to OBS Studio.
Once you have added the audio source, you will notice that it appears in the list of sources in OBS Studio. To configure the audio settings for the background music, right-click on the audio source and select “Properties” from the context menu.
In the properties window, you can adjust various settings for the audio source, including volume levels, monitoring options, and filters. To adjust the volume of the background music, simply drag the slider to the desired level. You can also enable or disable monitoring to listen to the audio in real-time.
If you want to enhance the audio quality of the background music, you can apply filters such as noise suppression, equalization, or compression. These filters can help eliminate unwanted background noise or enhance specific frequencies to make the music sound even better.
Once you have configured the audio settings to your desired preferences, click “Ok” to save the changes. Your background music source is now set up and ready to be used in your content.
In the next step, we will explore how to adjust audio settings in OBS Studio to ensure a seamless integration of the background music and other audio sources. Let’s move on to Step 4: Adjusting audio settings.
Step 4: Adjusting audio settings
Once you have added the background music as an audio source in OBS Studio, it’s important to fine-tune the audio settings to ensure a smooth and balanced audio experience for your viewers. Adjusting the audio settings will allow you to control the volume levels, balance multiple audio sources, and optimize the audio quality of your content.
Here are some key settings to consider when adjusting the audio settings in OBS Studio:
- Volume levels: Use the volume slider in the audio source properties window to adjust the volume of your background music. Ensure that the volume is set at an appropriate level, neither too loud nor too soft, relative to your other audio sources.
- Audio Mixer: OBS Studio’s Audio Mixer allows you to control the audio levels of all your sources. It lets you adjust the volume of individual sources and ensure a proper balance between your background music and other audio sources, such as microphone or game sound effects.
- Transitioning: If you want to smoothly transition between scenes in your content while keeping the background music playing continuously, make sure to enable the “Audio Transition” option in the advanced audio properties. This will ensure that the background music doesn’t abruptly cut off when transitioning between scenes.
- Monitoring: OBS Studio provides monitoring options that allow you to listen to your audio sources in real-time. This can be useful for checking the audio quality of your background music and making any necessary adjustments on the fly.
Experiment with different volume levels and settings to find the right balance between your background music and other audio sources. Remember to regularly test your audio settings using headphones or external speakers to ensure that they sound good across different devices and playback systems.
Lastly, it’s important to periodically check and adjust the audio levels during your live streams or recordings to maintain a consistent audio experience for your viewers. OBS Studio’s Audio Mixer provides a quick and easy way to make on-the-fly adjustments to the volume levels of your background music and other audio sources during your content creation process.
In the next step, we will cover how to test and fine-tune your background music to ensure it blends seamlessly with your content. Let’s move on to Step 5: Testing and fine-tuning the background music.
Step 5: Testing and fine-tuning the background music
After setting up and adjusting the audio settings for your background music in OBS Studio, it’s crucial to thoroughly test and fine-tune the music to ensure it blends seamlessly with your content. Testing and fine-tuning will allow you to make any necessary adjustments to the volume levels, transitions, and overall quality of the background music.
Here are some steps to follow when testing and fine-tuning your background music:
- Play and listen: Start playing your background music in OBS Studio and listen carefully to how it sounds. Pay attention to the volume levels, balance with other audio sources, and overall audio quality. Make note of any areas that need improvement.
- Adjust volume levels: If you find that the background music is too loud or too soft compared to your other audio sources, go back to the audio source properties in OBS Studio and adjust the volume levels accordingly. Fine-tune the volume until it balances well with the rest of your content.
- Test transitions: Transition between different scenes in your content and observe how the background music behaves. Ensure that the music continues seamlessly without any abrupt cuts or pauses during scene changes. If needed, adjust the audio transition settings in OBS Studio to ensure smooth transitions.
- Listen with headphones: Put on a pair of headphones and listen to your content to get a more detailed and accurate representation of how the background music sounds. This will help you identify any subtle audio issues or imperfections that may not be as noticeable when listening through speakers.
- Solicit feedback: Share your content with trusted friends or colleagues and ask for their feedback on the background music. Get their insights on the volume levels, audio balance, and overall integration of the music. Their feedback can provide valuable perspectives and help you make further improvements.
Remember, the process of testing and fine-tuning is iterative. It may take a few rounds of testing and adjustments to achieve the desired audio experience. Be patient and open to making necessary changes based on feedback and your own observations.
By thoroughly testing and fine-tuning your background music, you can ensure that it enhances your content, provides a professional and enjoyable experience for your viewers, and reflects your creative vision.
In the next step, we will explore how to seamlessly transition between scenes in OBS Studio while maintaining the background music. Let’s move on to Step 6: Transitioning between scenes with music.
Step 6: Transitioning between scenes with music
Transitioning between scenes in OBS Studio while maintaining the background music can add a professional and polished touch to your content. Smooth scene transitions can create a seamless experience for your viewers, keeping them engaged and immersed in your content.
Here are some steps to help you transition between scenes while keeping the background music playing:
- Create scene transitions: Set up your scenes in OBS Studio and determine the timing and flow of your transitions. Plan ahead how you want your scenes to seamlessly blend together.
- Enable audio transition: In OBS Studio, go to the advanced audio properties of each scene and make sure the “Audio Transition” option is enabled. This will ensure that the background music continues playing smoothly during scene transitions, without any sudden pauses or cuts.
- Adjust audio levels between scenes: Use the Audio Mixer in OBS Studio to adjust the volume levels of your background music and other audio sources between scenes. This will help create a balanced and cohesive audio experience during transitions.
- Sync transitions with the music: Time your scene transitions with the rhythm or beat of the background music, if appropriate for your content. This can create a synchronized and visually pleasing transition that complements the music.
- Preview and fine-tune: Test and preview your scene transitions with the background music to ensure they play seamlessly. Make any necessary adjustments to the timing, volume levels, or other audio settings to achieve a smooth transition.
Remember, scene transitions should be smooth and natural, without jarring interruptions in the background music. Aim for a seamless flow between scenes that aligns with the mood and pacing of your content.
Once you have set up and fine-tuned your scene transitions in OBS Studio, take the time to watch your content from start to finish, paying close attention to how the background music transitions between scenes. Make any final adjustments as needed to ensure a seamless and enjoyable viewer experience.
With proper scene transitions and a well-integrated background music, you can elevate the quality of your content and leave a lasting impression on your viewers.
Congratulations! By following these steps, you have successfully added background music to your OBS Studio setup. Your content now has an enhanced audio experience that will captivate your viewers.
Remember to regularly evaluate and update your background music to keep your content fresh and engaging. Experiment with different genres, tempos, and styles to find the perfect soundtrack that aligns with your unique content.
Thank you for reading, and we hope these steps have helped you in adding background music to OBS Studio. Happy creating!
Conclusion
Adding background music to your content in OBS Studio is a powerful way to enhance the viewer’s experience and elevate the overall quality of your videos or streams. By following the steps outlined in this article, you have learned how to seamlessly integrate background music into your OBS Studio setup.
We started by setting up OBS Studio and adding audio sources specifically for the background music. Then, we discussed the importance of selecting the right background music that aligns with your content’s theme and mood. We explored various options for sourcing royalty-free music or creating custom tracks to ensure compliance with copyright laws.
Next, we covered how to adjust the audio settings in OBS Studio to achieve the perfect balance between your background music and other audio sources. We discussed volume levels, the Audio Mixer, and transitioning between scenes with music to create a professional and seamless audio experience.
Testing and fine-tuning your background music is crucial to ensure it blends seamlessly with your content. We provided steps for testing the music, adjusting volume levels, and seeking feedback to make improvements.
Finally, we discussed the importance of smooth scene transitions while maintaining the background music. By enabling audio transitions, adjusting audio levels between scenes, and syncing transitions with the music, you can create a cohesive and engaging viewing experience for your audience.
Remember, the key to successful background music integration is finding a balance that enhances your content without overpowering it. Regularly review and update your background music to keep it fresh and appealing to your viewers.
Now it’s time to apply what you have learned and get creative with your background music in OBS Studio. Experiment with different genres, tempos, and styles to find the perfect soundtrack that aligns with your unique content and captivates your audience.
Thank you for joining us on this journey of adding background music to OBS Studio. We hope these steps have been helpful, and we wish you all the best in your content creation endeavors. Happy streaming and creating!


